
I re-use the same technics learned in the previous mushroom project (The mushroom).
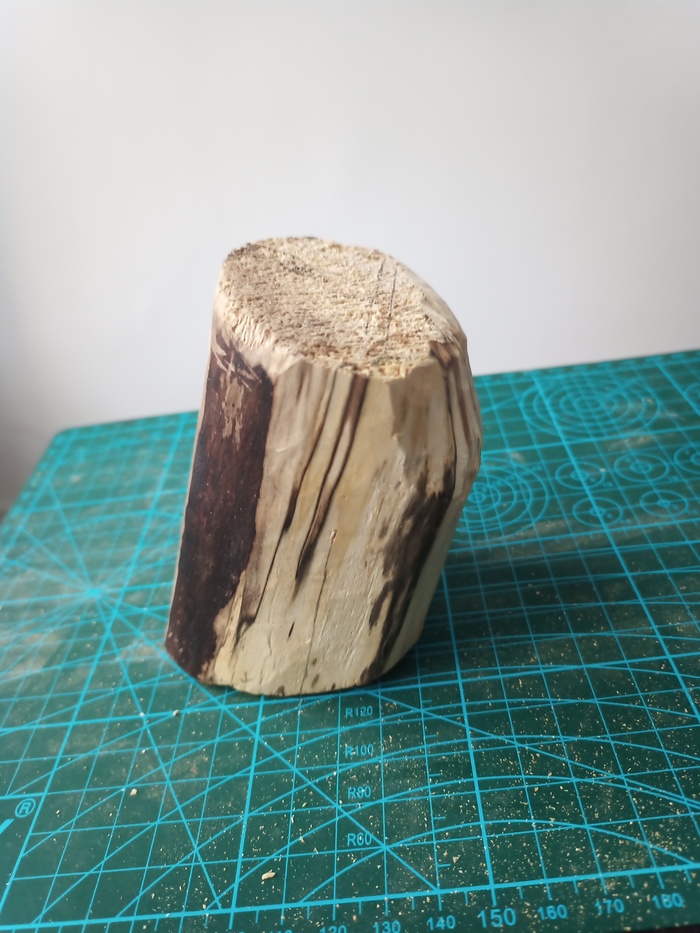
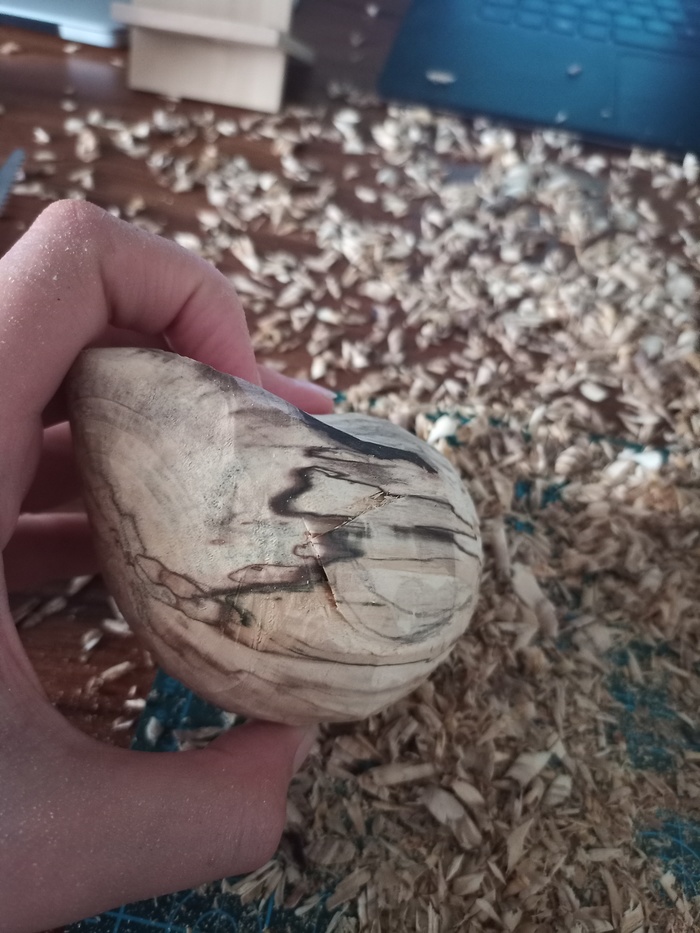
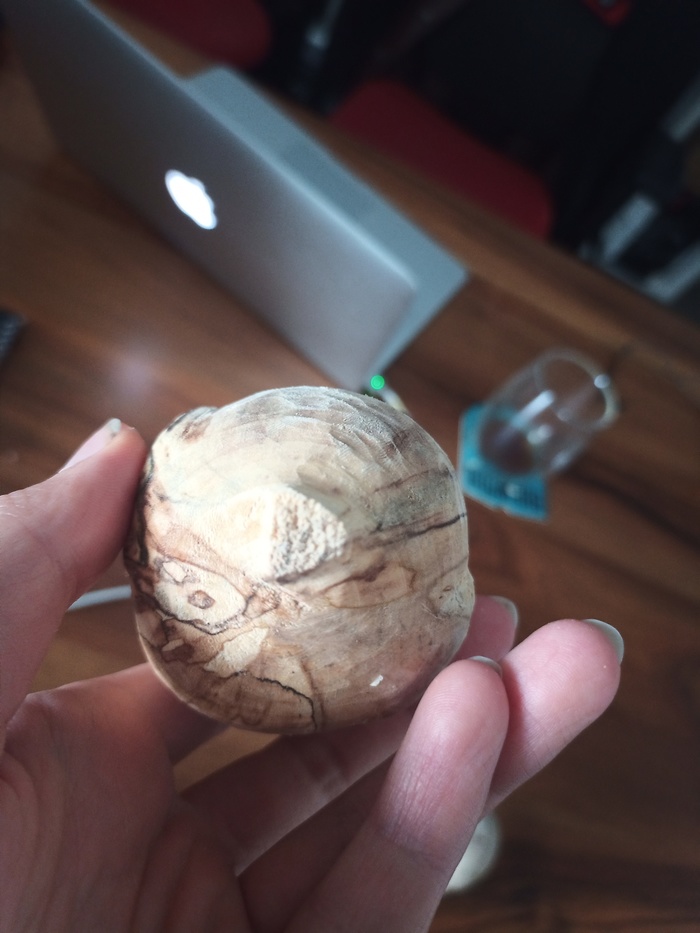
I started with a different wood, to see how different it is to carve. First of all, no worm, so the result would be better.
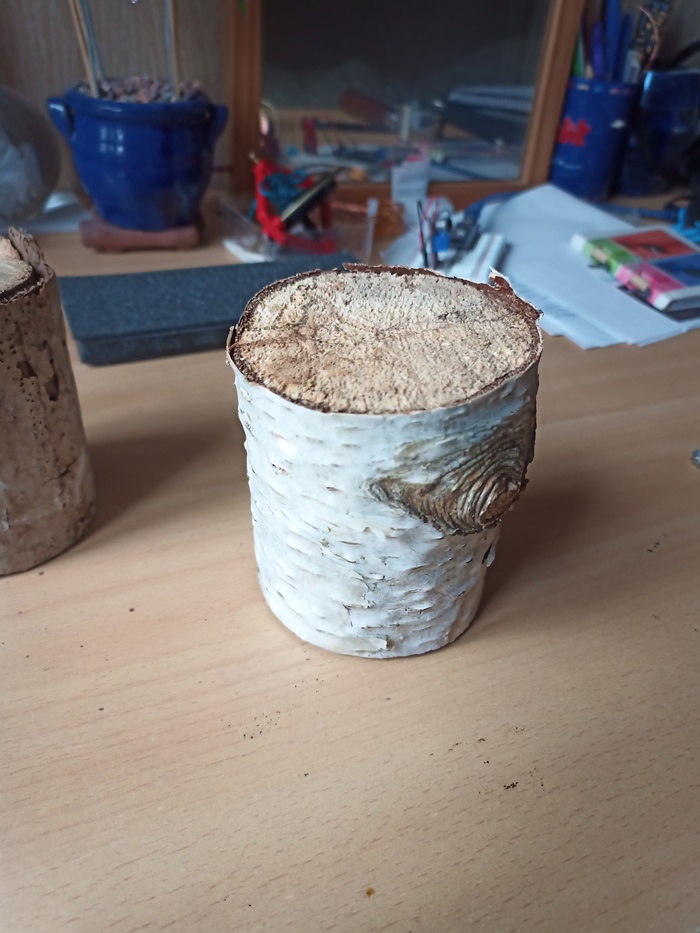
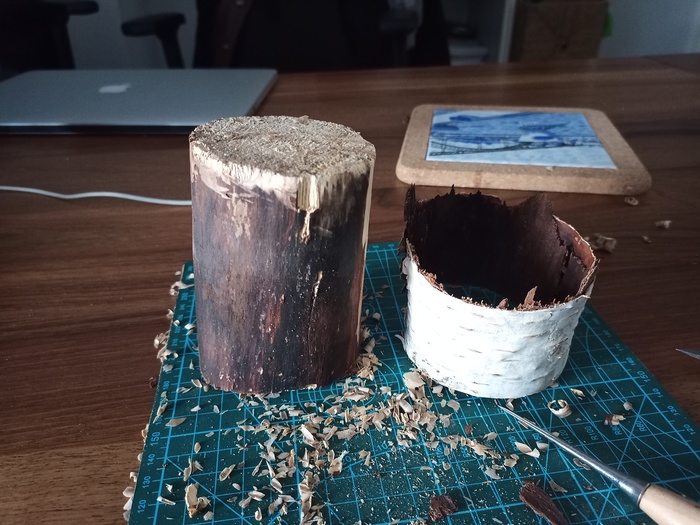
As previously, the bark is easily removed.
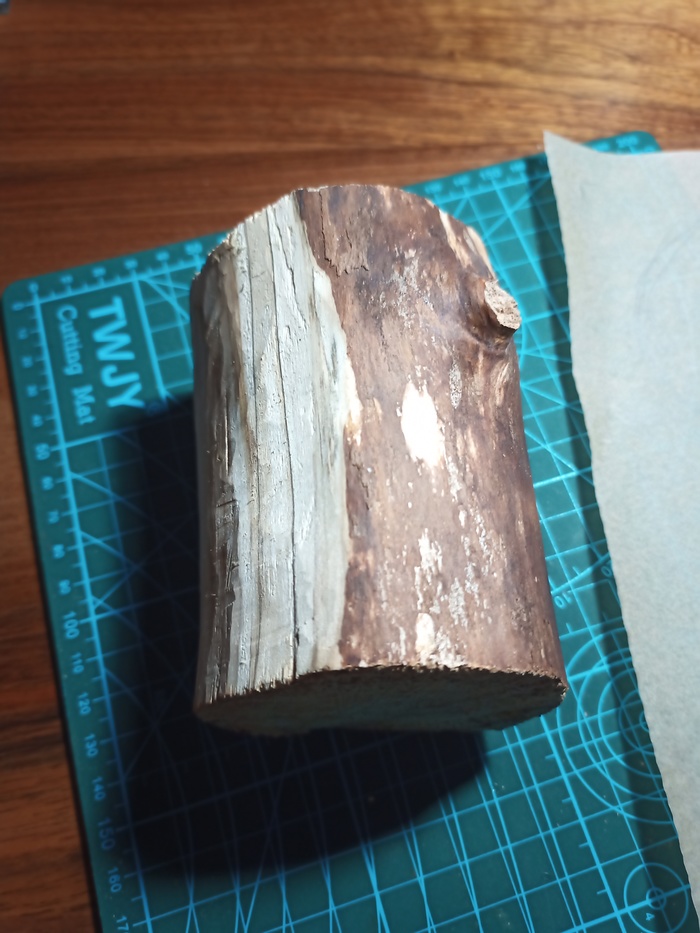
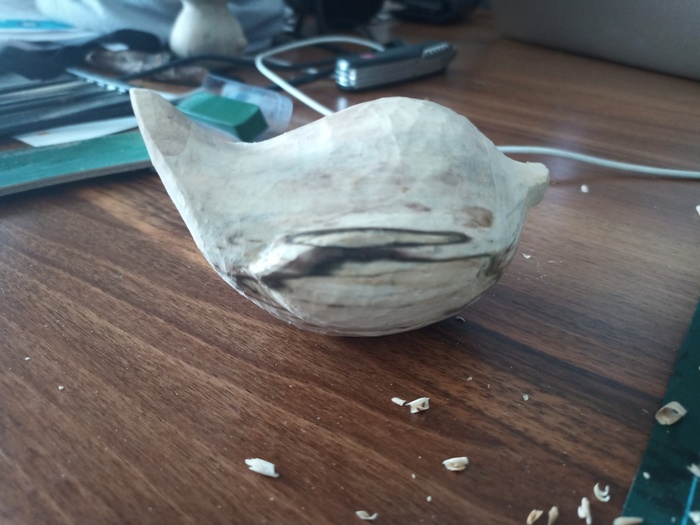
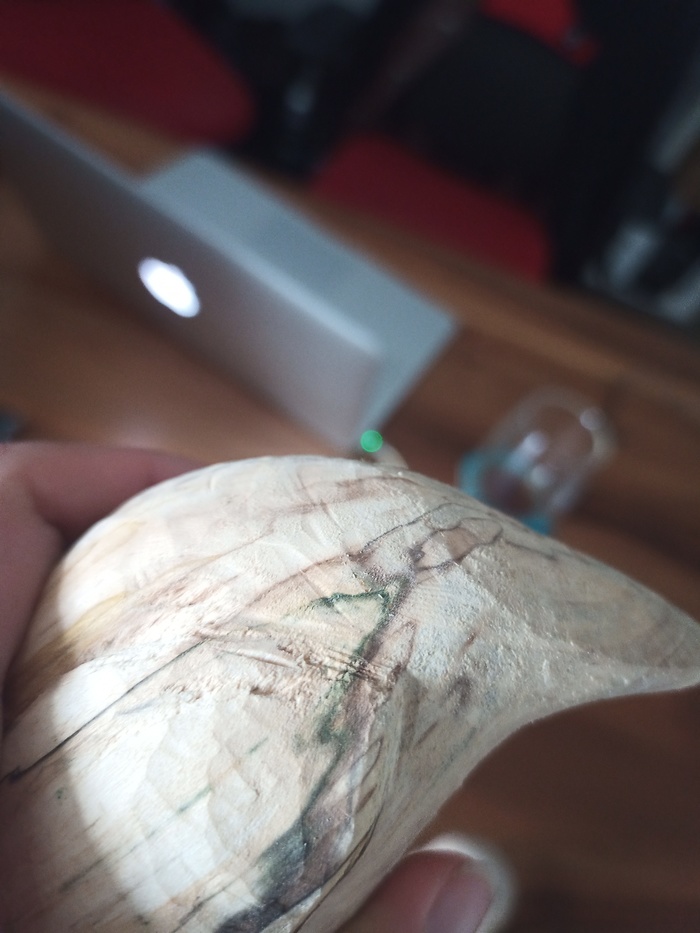
Issue: one branch, which will make the work much harder, as cutting wood lines is hard.
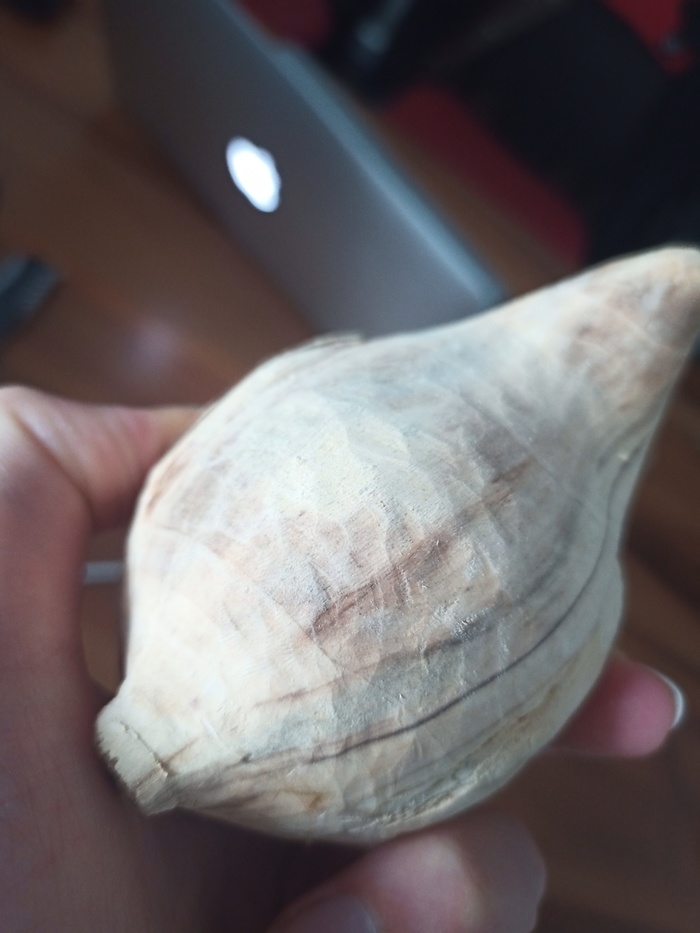
I found on Pinterest many images of the bird I wanted. No direct pattern, so I drawed it myself. Because it is round, the pattern is helpful at the beginning, to put some marks. But after, I followed my intuition, but keeping marking the wood.
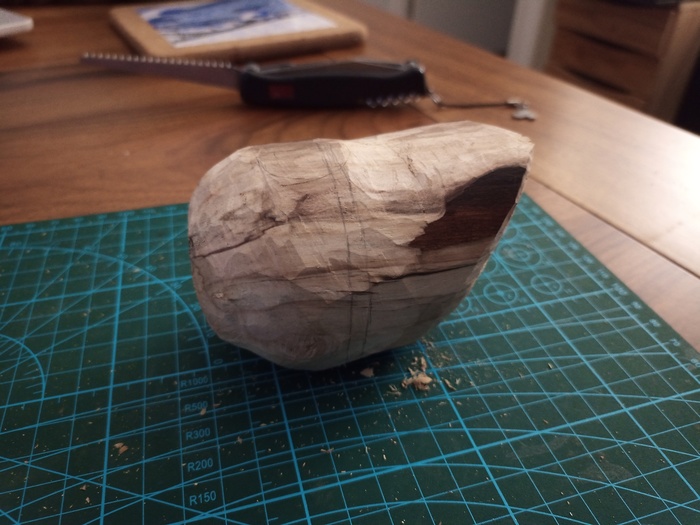
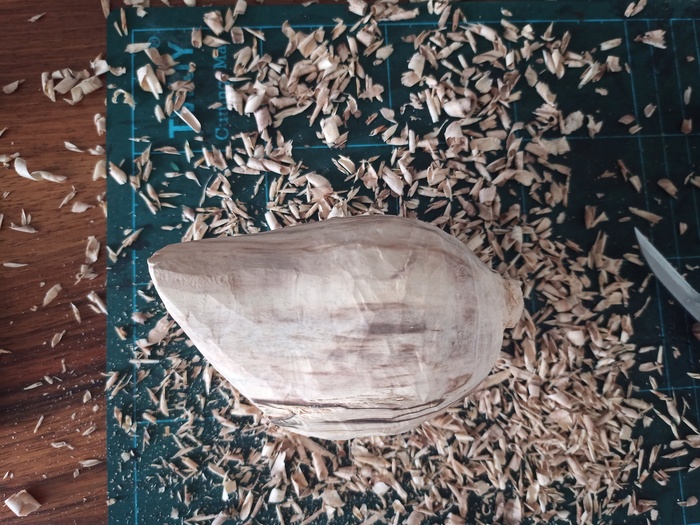
I started with the general shape, cutting the tail first.
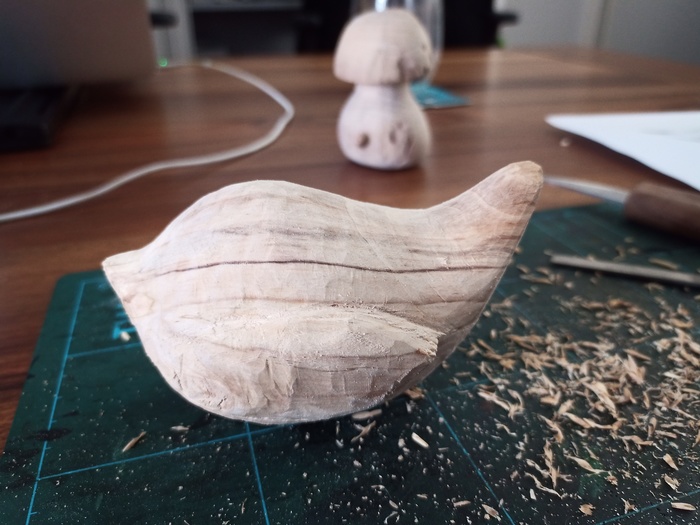
I marked the middle of the wood. When you start cutting one side, it is difficult to remember where the center was, which may distort the symmetry. Making marks allows avoid bias and symmetry loss.

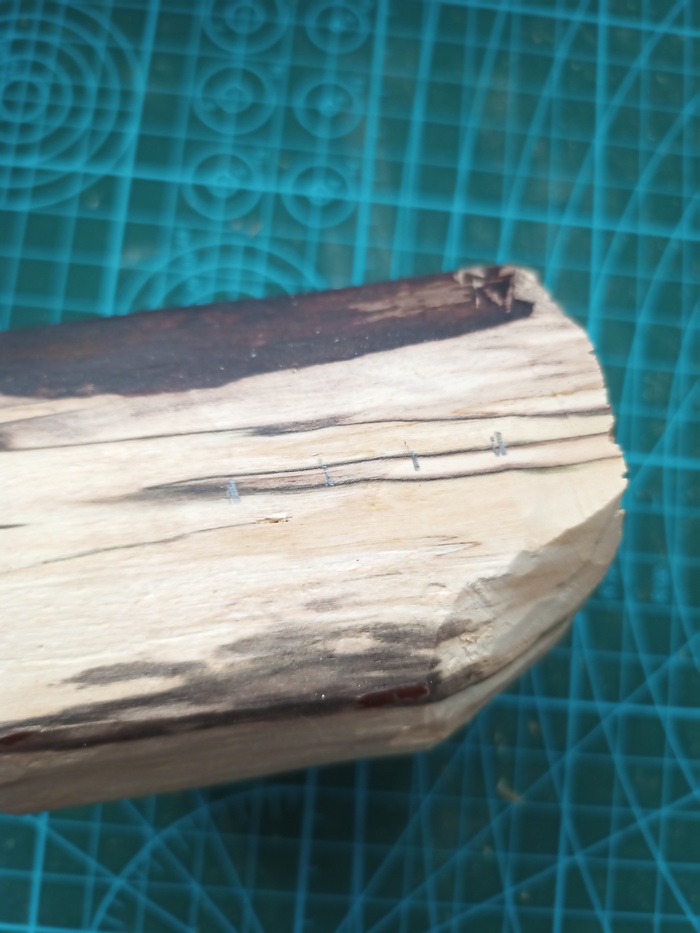
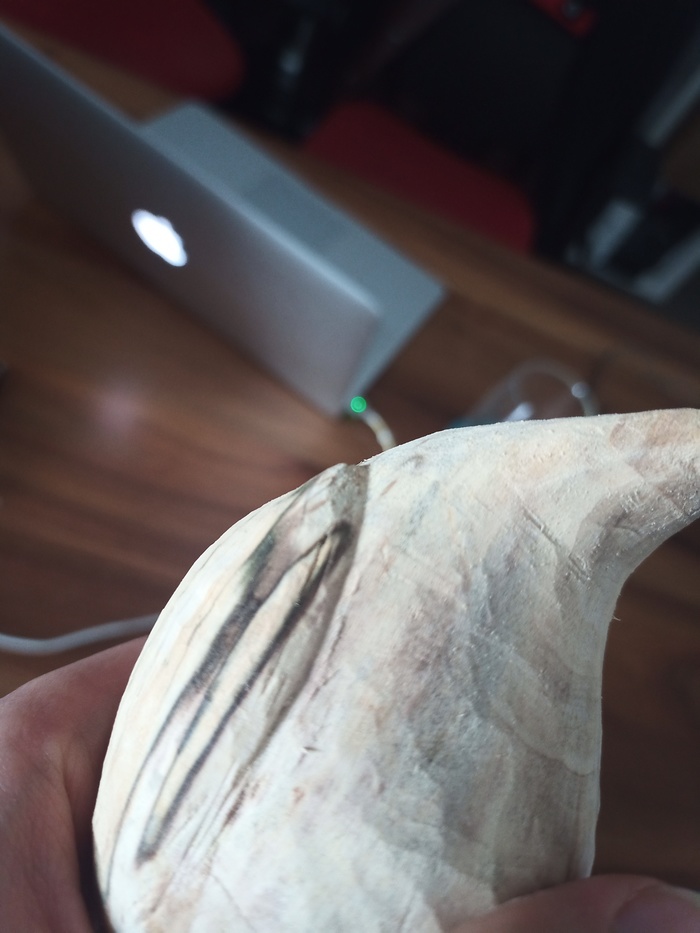
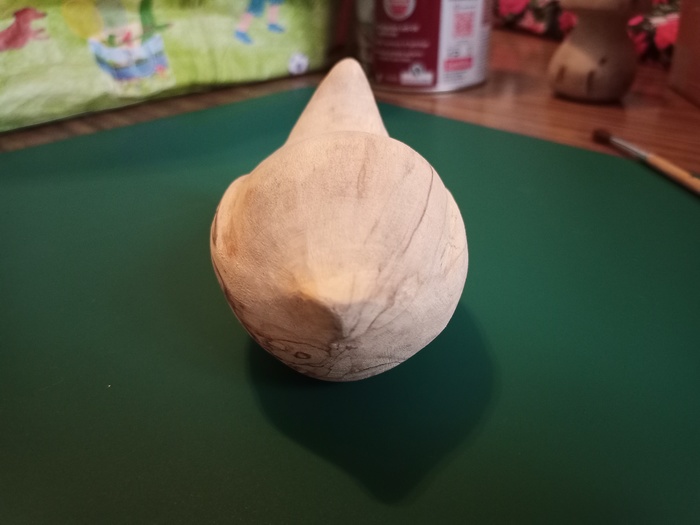
To get an homogeneous shape, I marked a ring all along, to remember where is the bird is the largest.
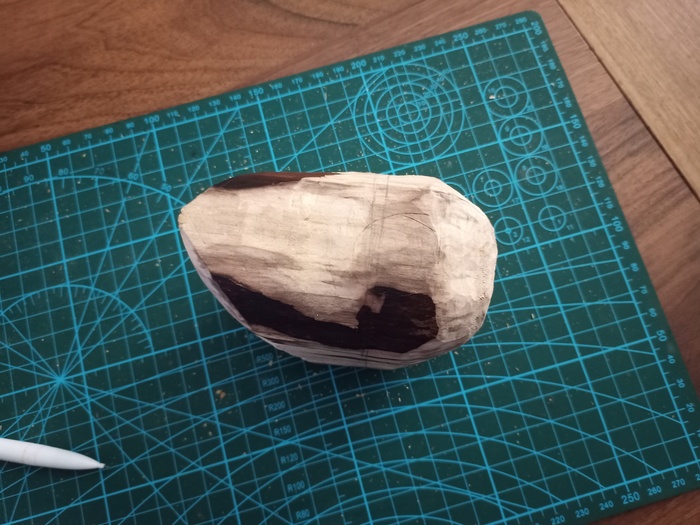
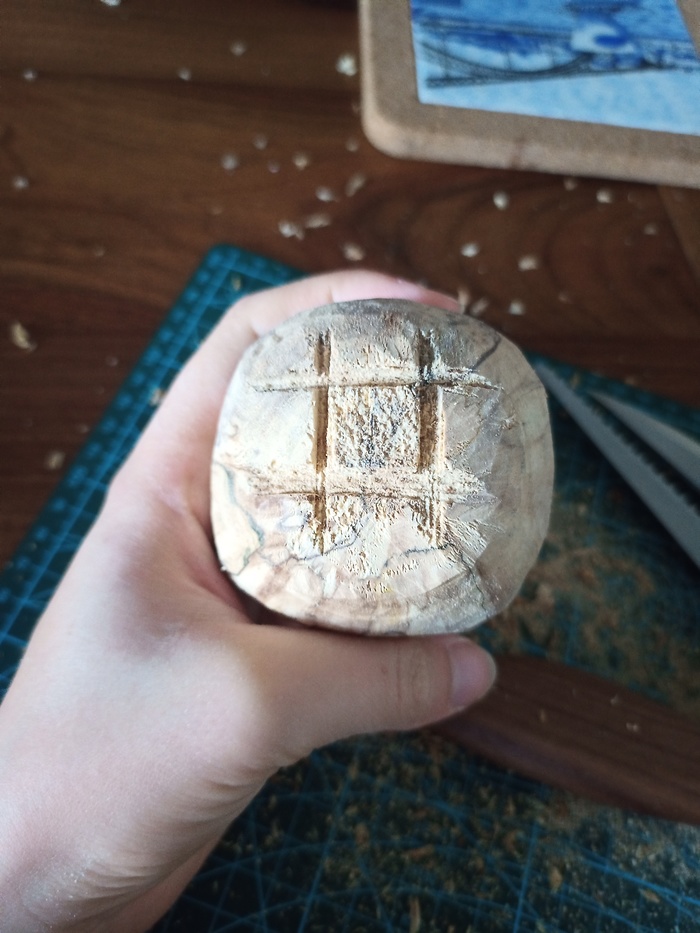
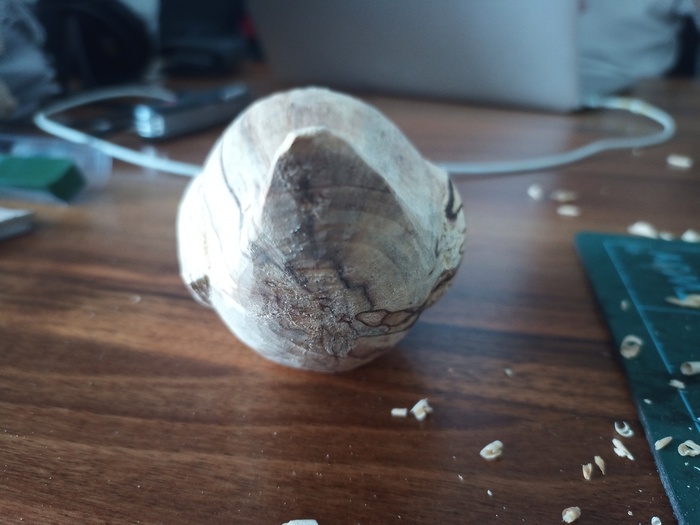
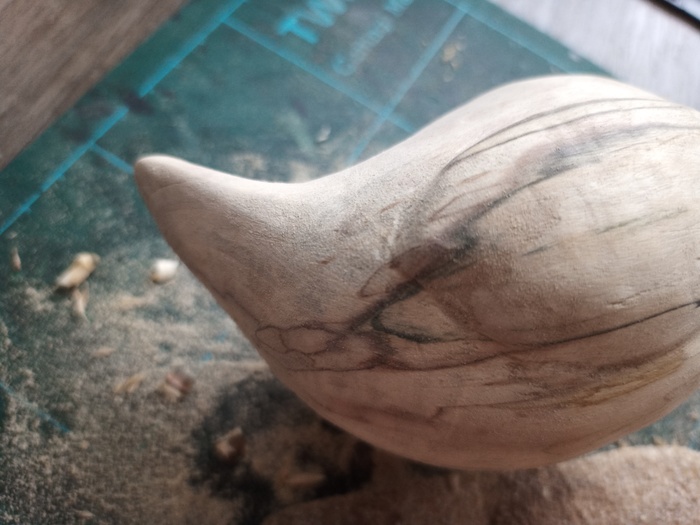
I marked also the beak. We need to do it very early because we need to remove all the material around. And because we are limited by our wood piece, we cannot extend it.

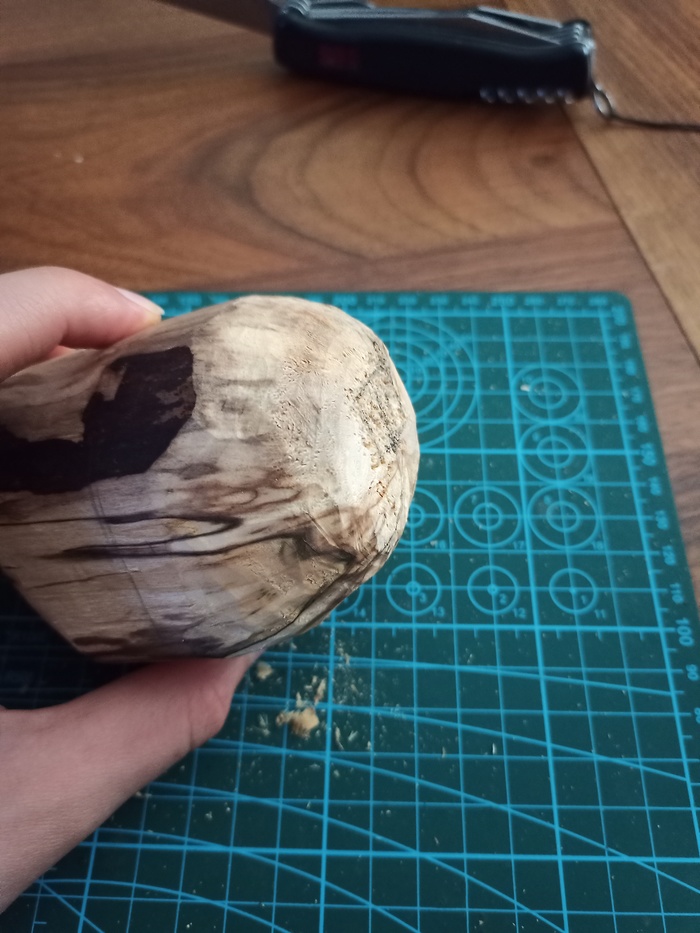
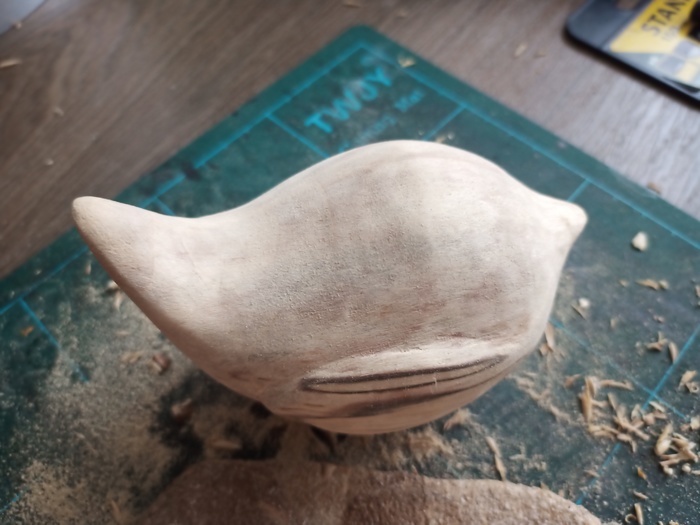
Because we are perpendicular to the wood line, it is difficult to do as with the mushroom top. I used a small jig-saw to mark the border of the beak.
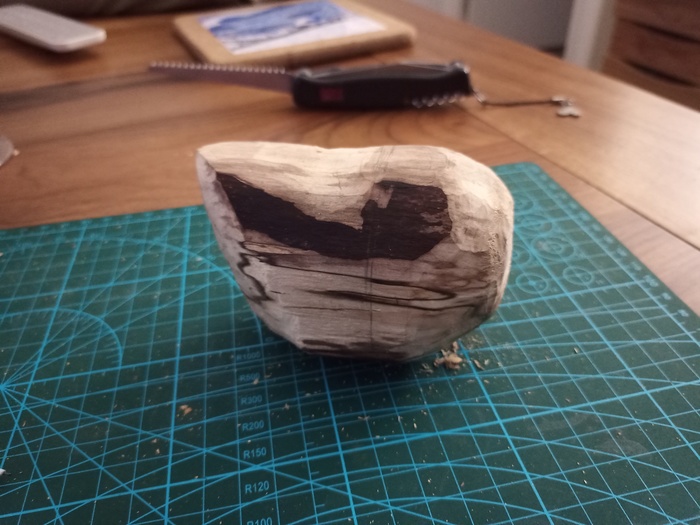
Progressively, we remove the material:
When the body shape start to fit the model, we need to create the wings. We need to plan in advance. As for the beak, wings are created by keeping material. If your bird is too svelt, then after making the wings, it would look degarnished.
You need to cut the wood to delimit the wing location.
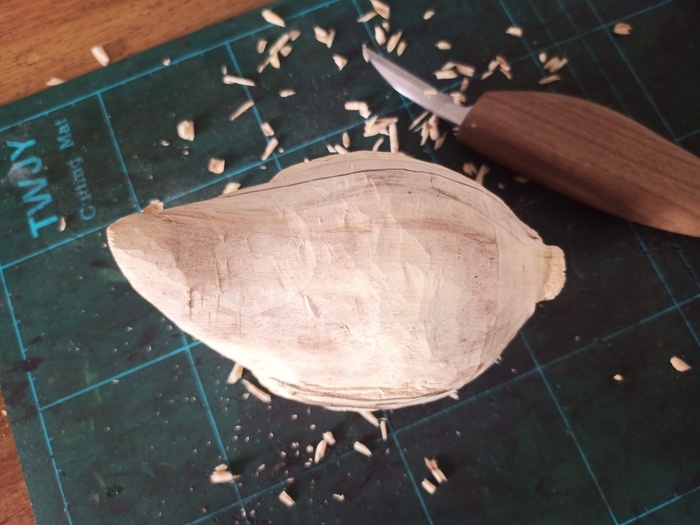
We start with a rough shape.
Progressively remove the material
Then get the shape.
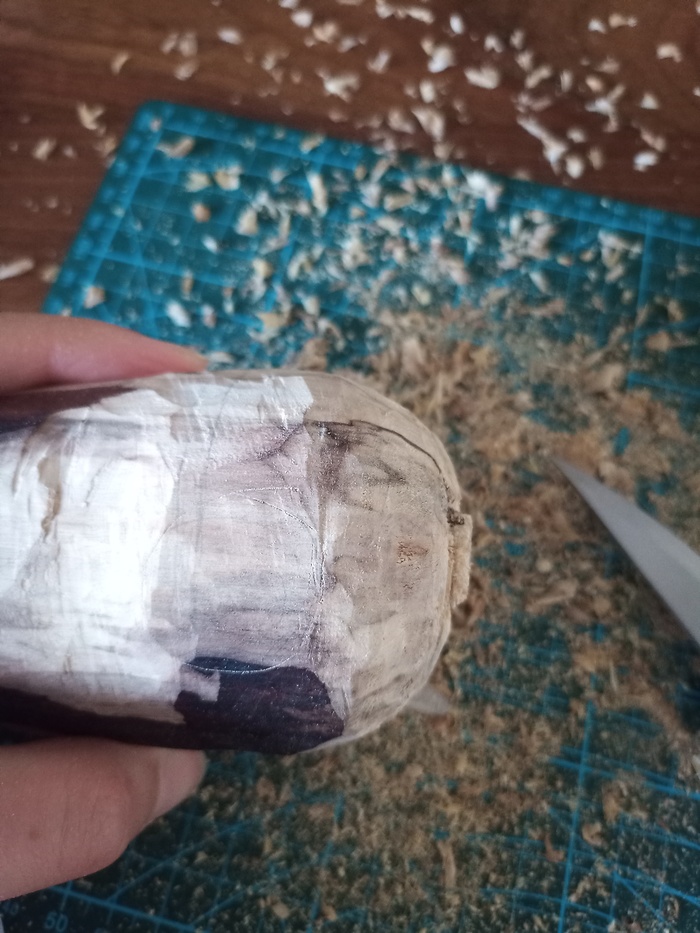
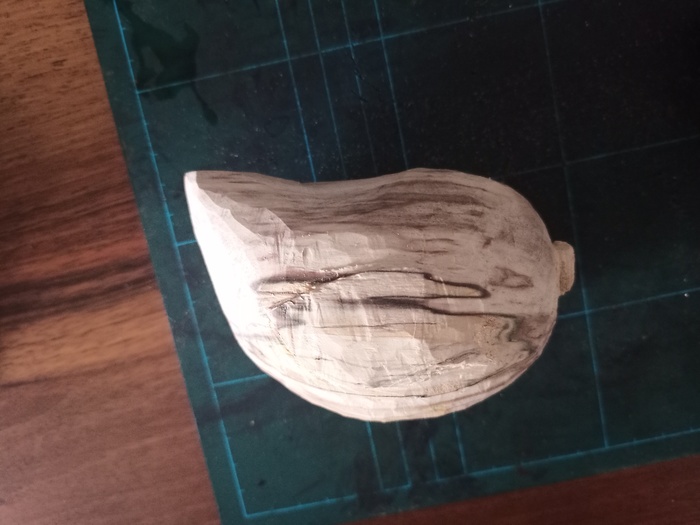
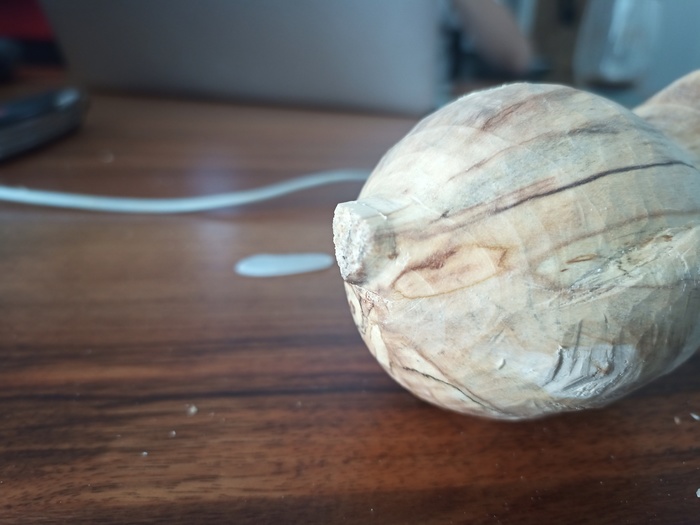
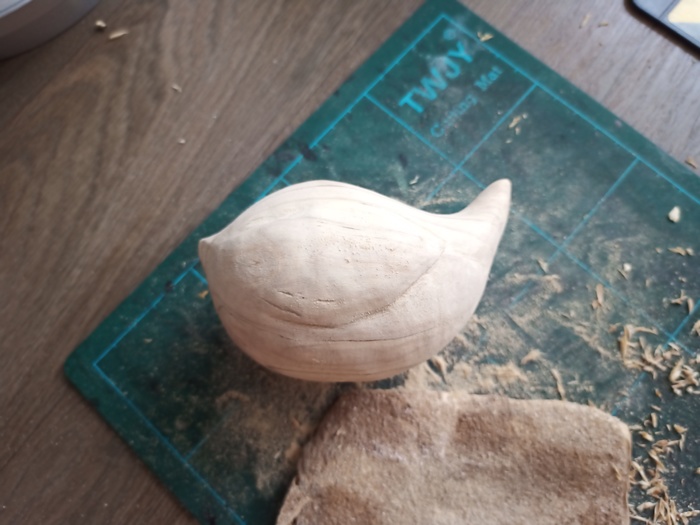
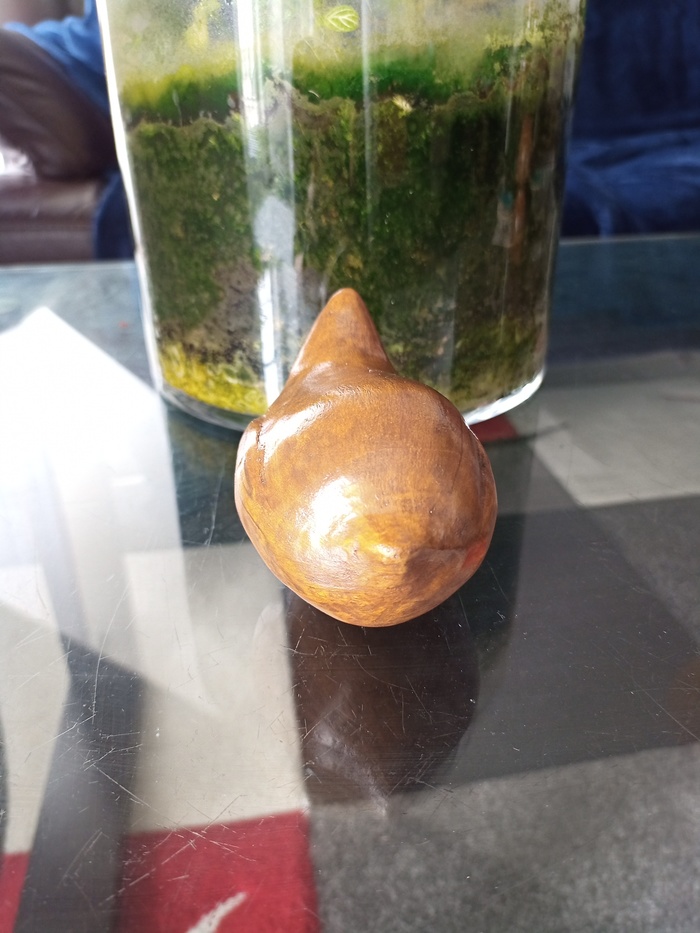
On the other side, you can see the remainder of the branch.
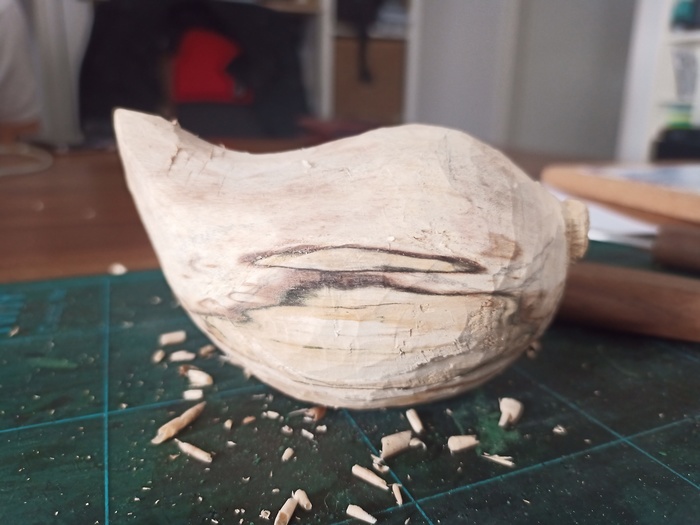
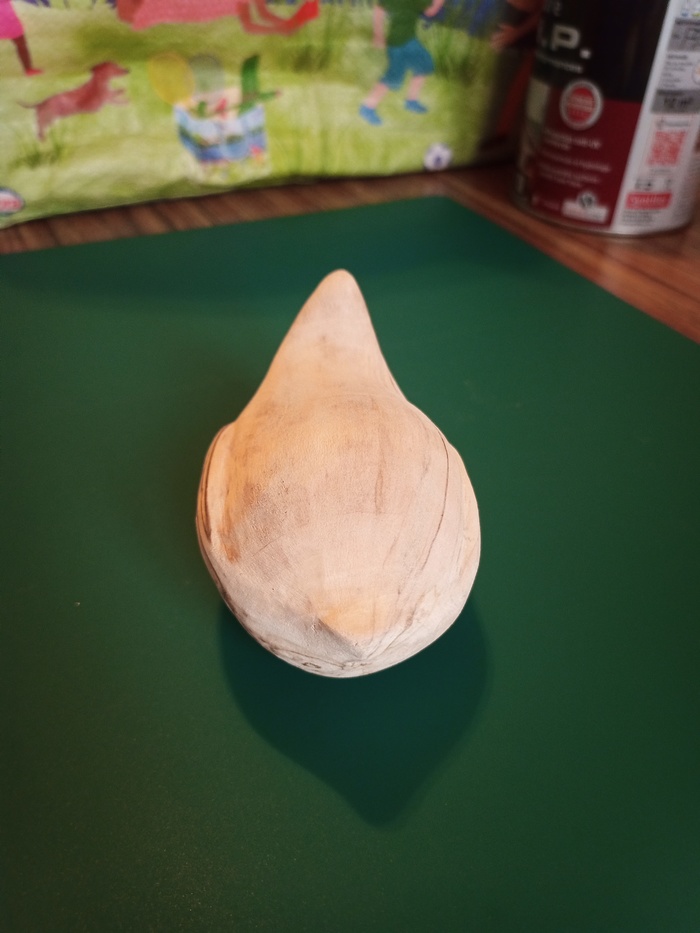
We can look at the evolution from the top:
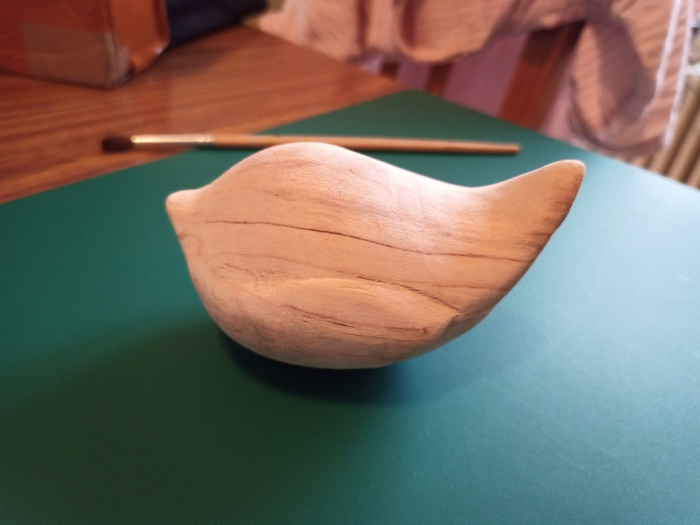
Beak is important to represent a bird. Without it, it would looks weird.
We have to transform this square into a beak.
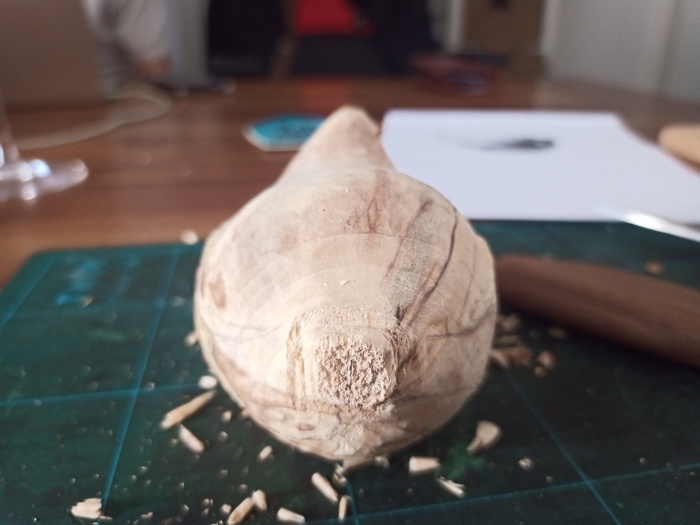
To do that, we would shape it as a triangle.
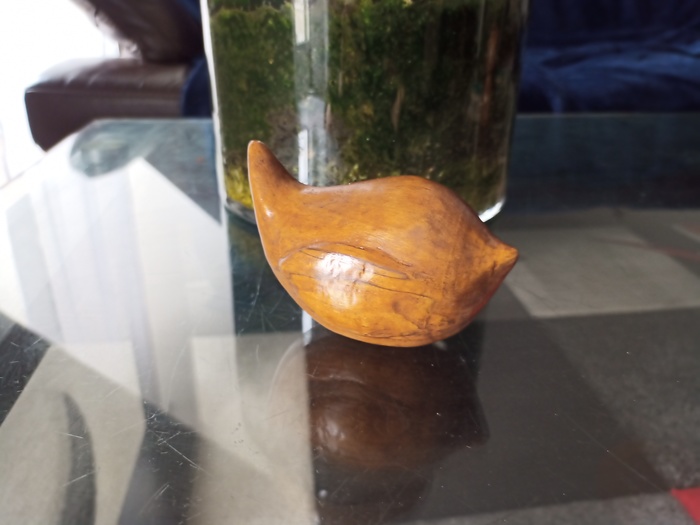
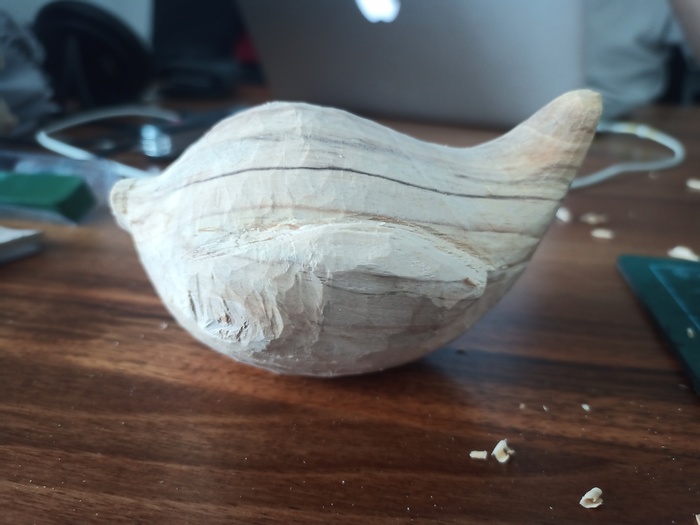
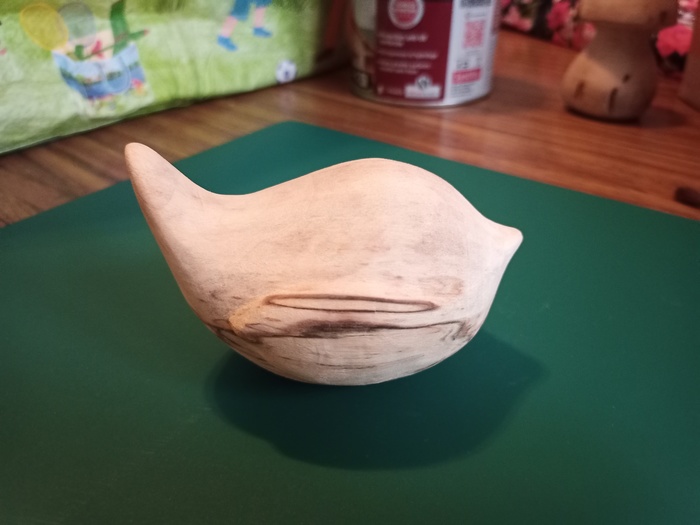
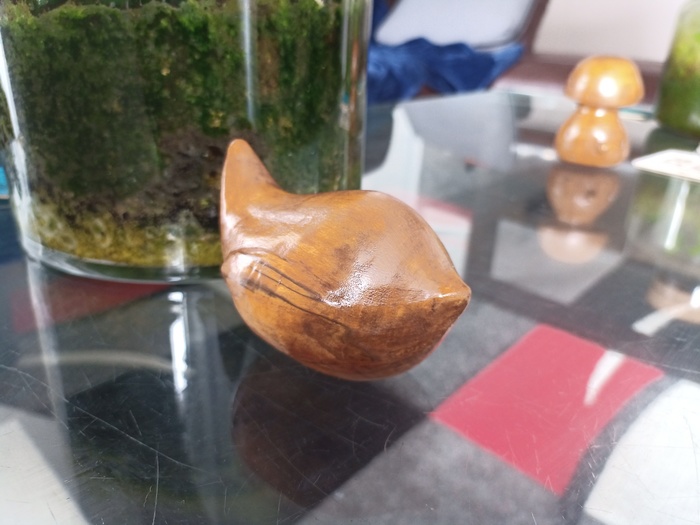
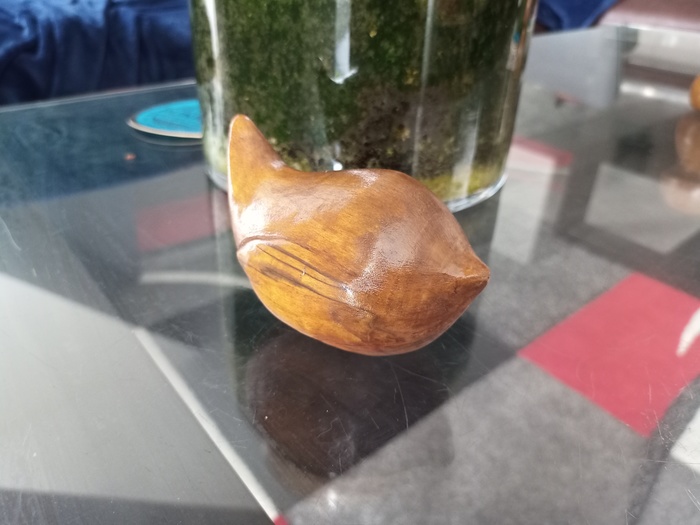
Now, it looks nice !
Without sanding paper, this object would look as a child drawing, with many imperfections. Sanding paper does all the magic:
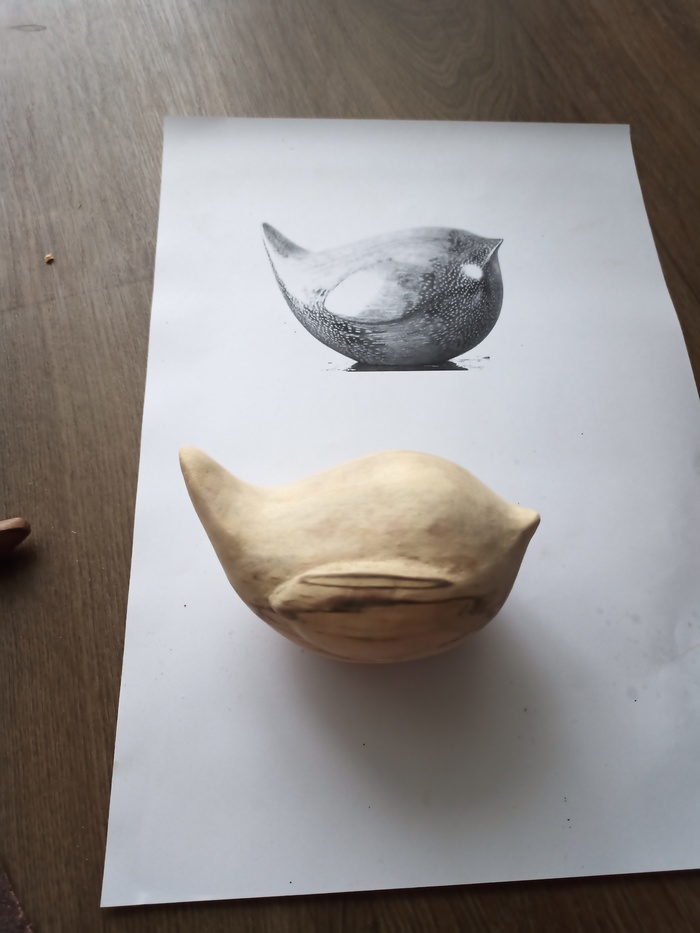
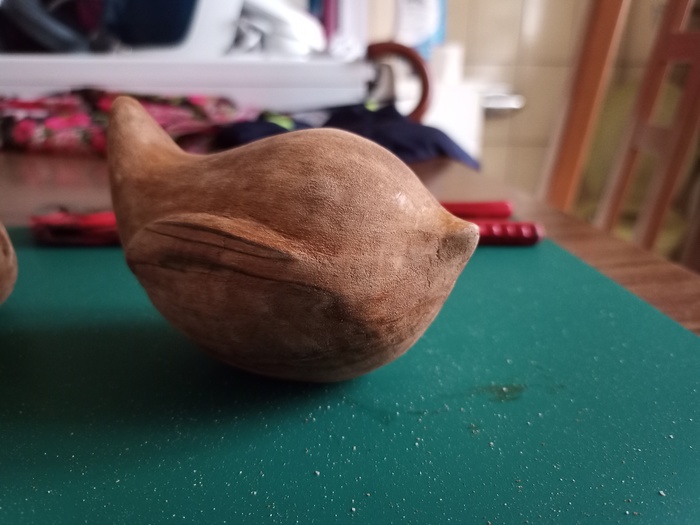
Compare to the original model, we are good
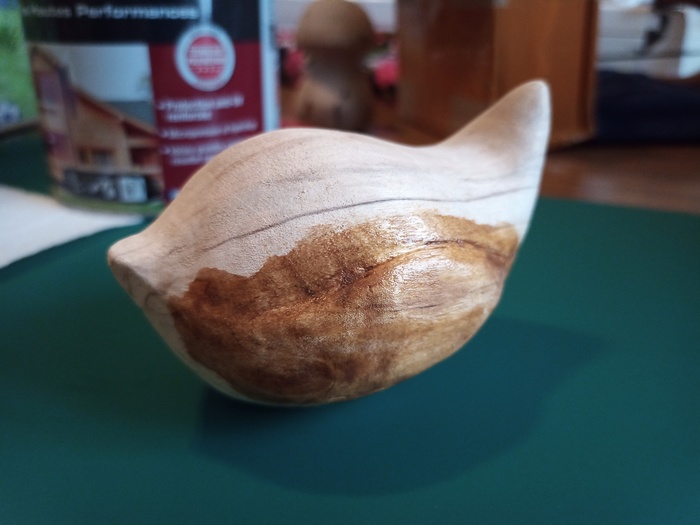
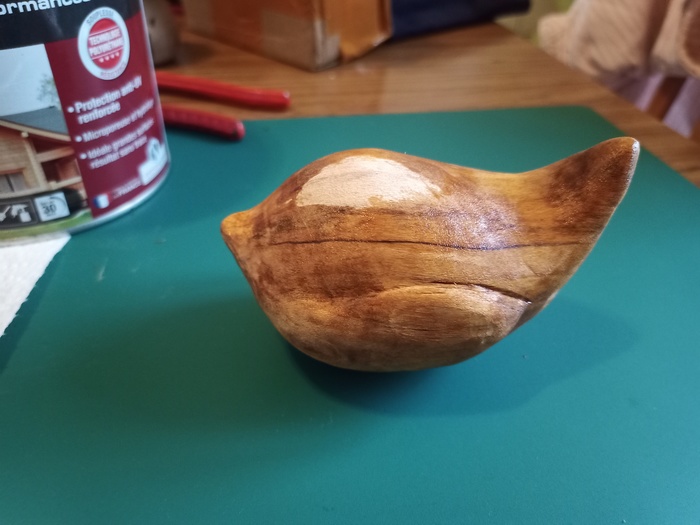
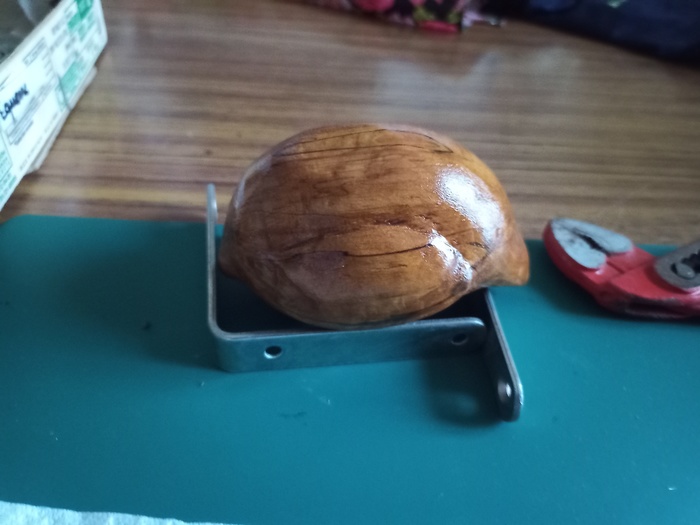
We varnished the bird at the same time as the mushroom. We used exactly the same wood stain, which provides similar color.
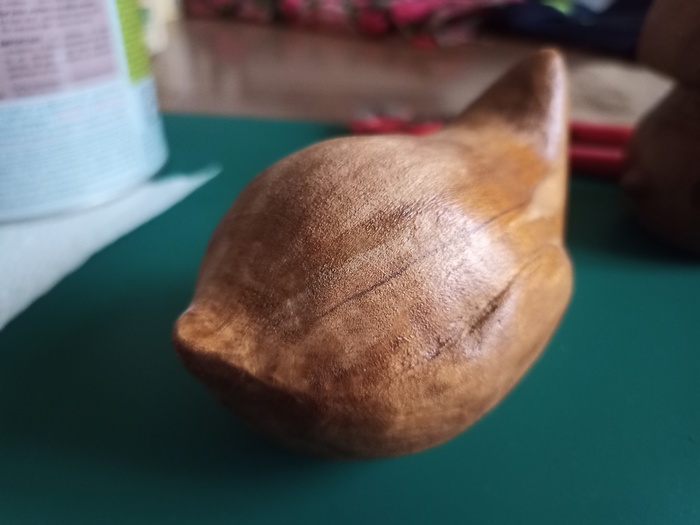
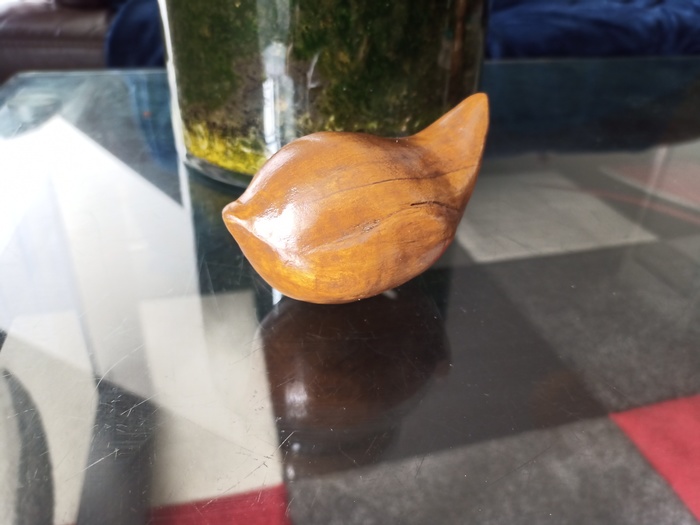
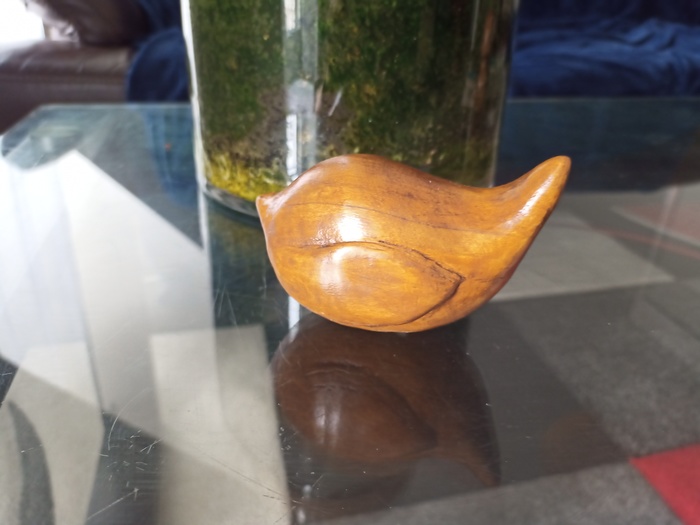
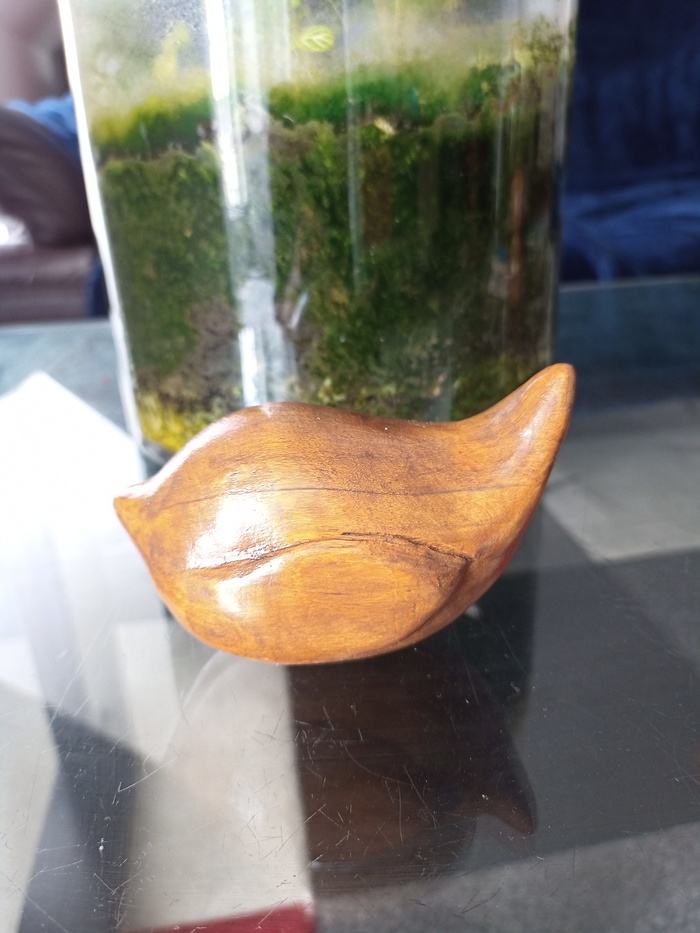
360° around the bird:
Applying the first layer:
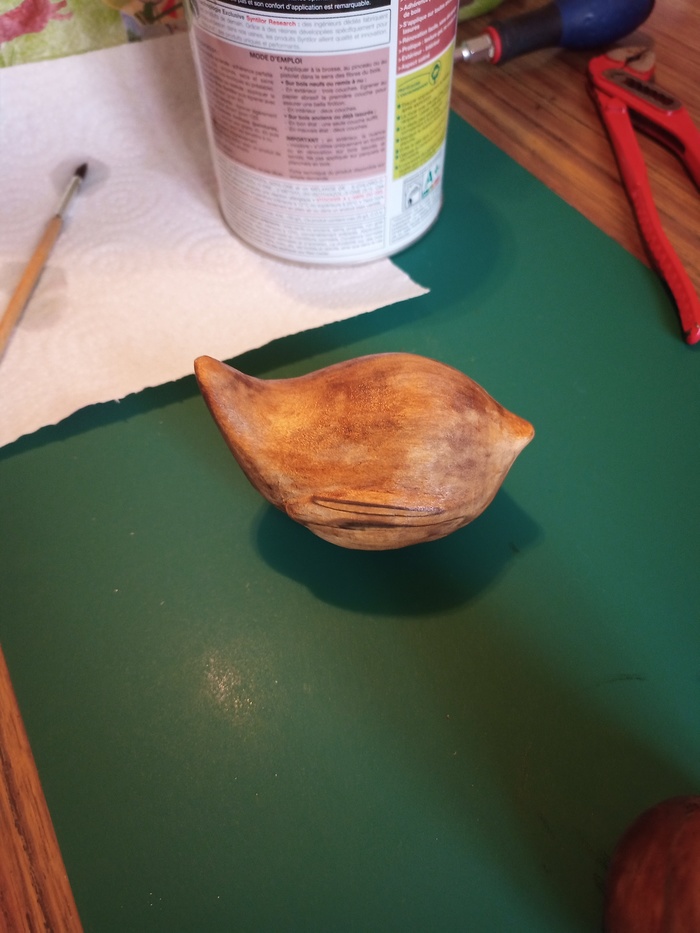
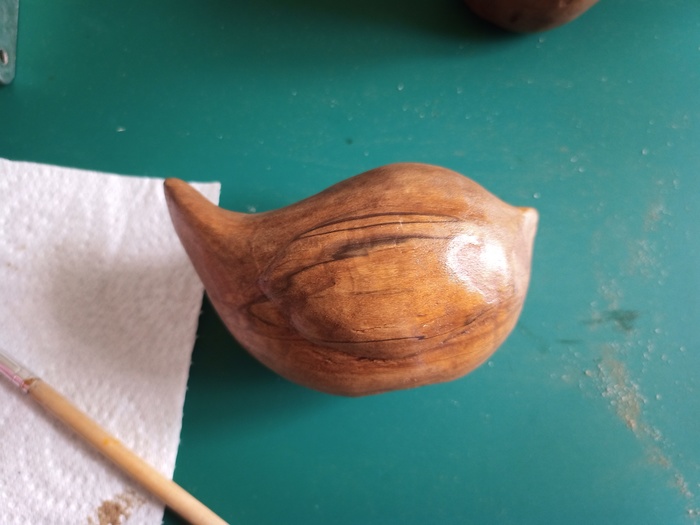
After drying, the wood fibers unsmooth the surface.
We sand it again, add varnish (this time on the bottom).
Adding the third layer:
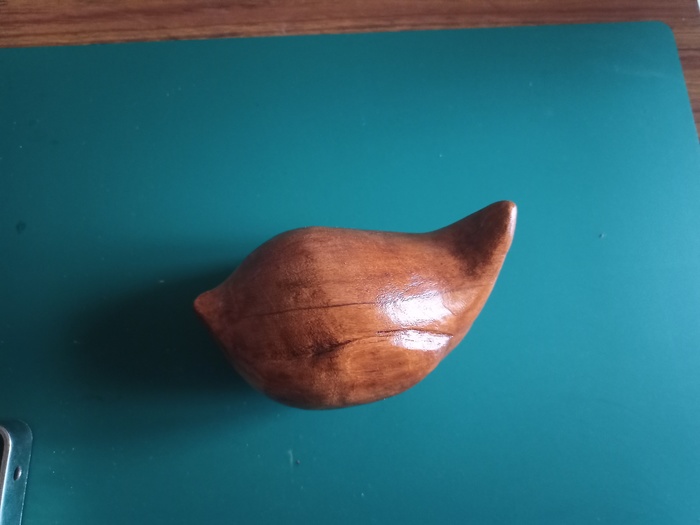
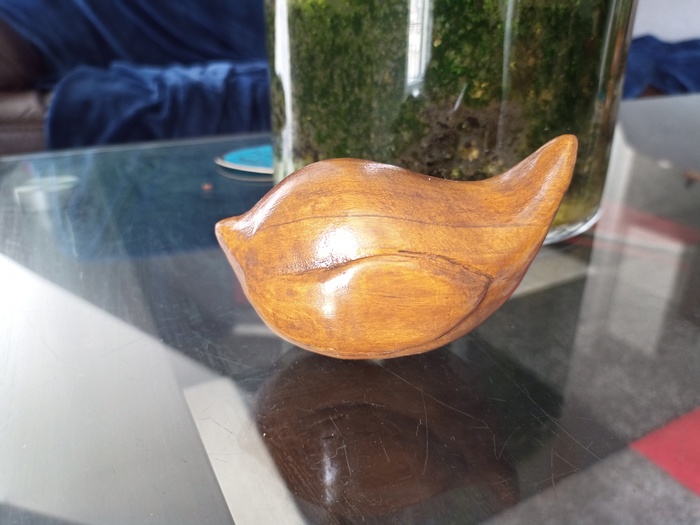
Front
The other side:

>> You can subscribe to my mailing list here for a monthly update. <<