
To start with, I bought a wood carving kit on Amazon:
Only two of the knifes are useful. And a green cutting board is necessary to avoid scratching your table.
For the wood, I took in my garden. I don’t really know what it is, but as it was free, it’s always good for starting.
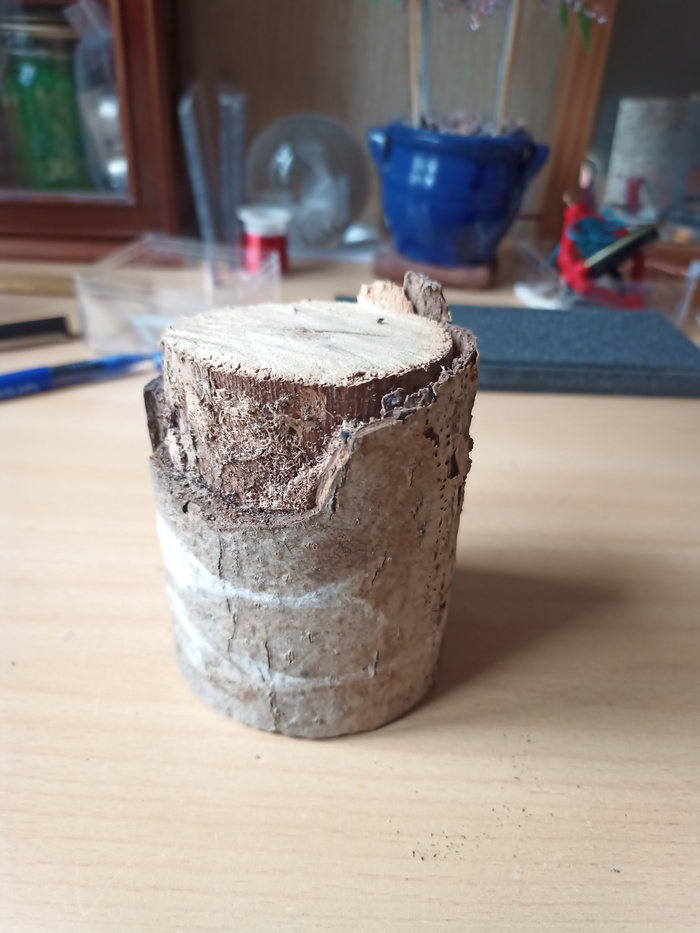
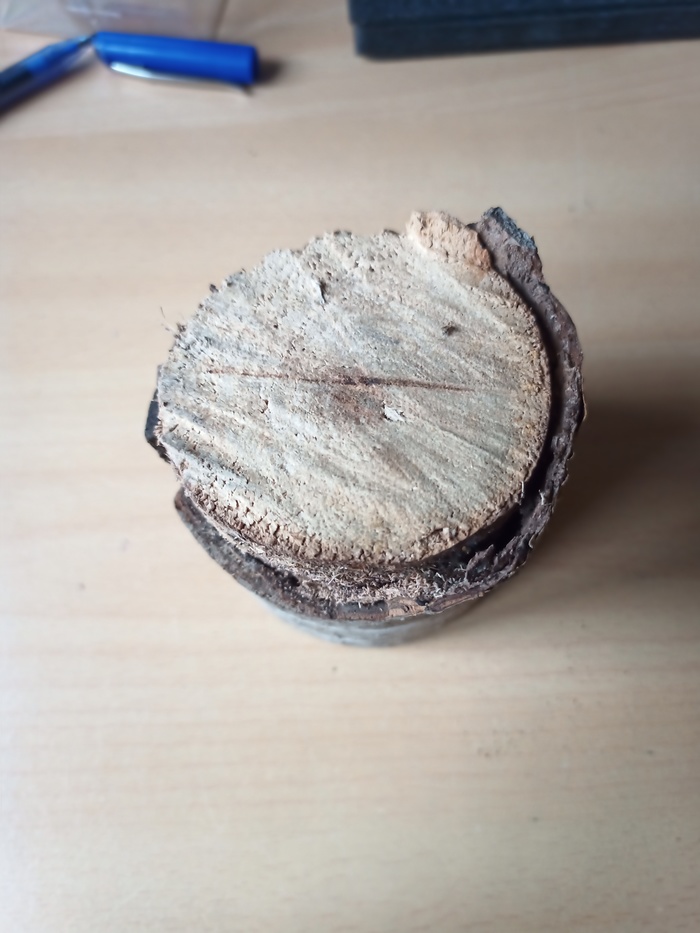
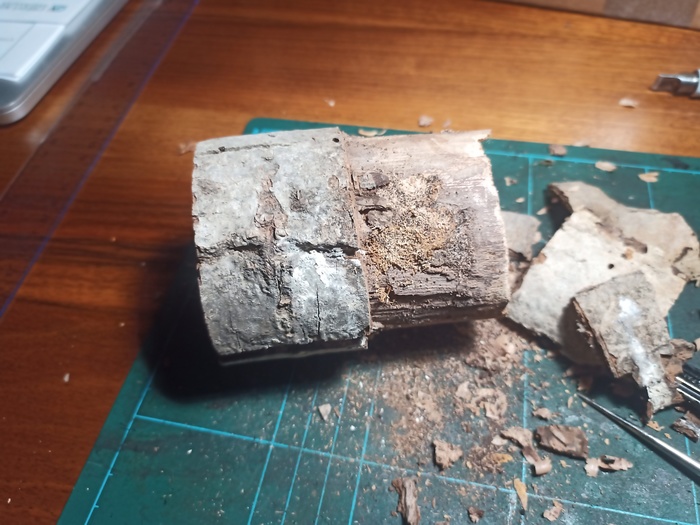
At the start, I wanted to keep the bark of the tree. However, they were wood worm and the bark was not fixed at all, so I removed all
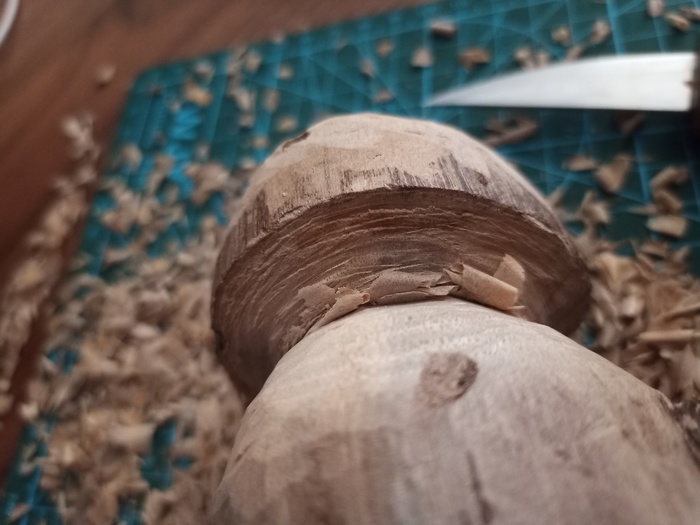
I started with marking the difference between the top and the body of the mushroom. I marked a line, and started to stop by cuts there.
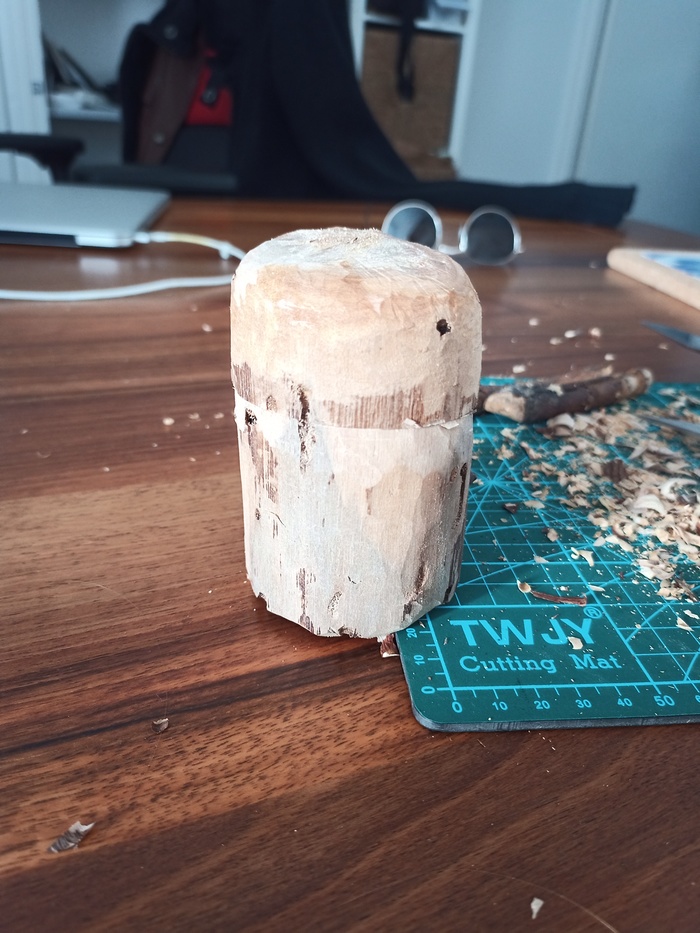
With time, the shape starts appearing
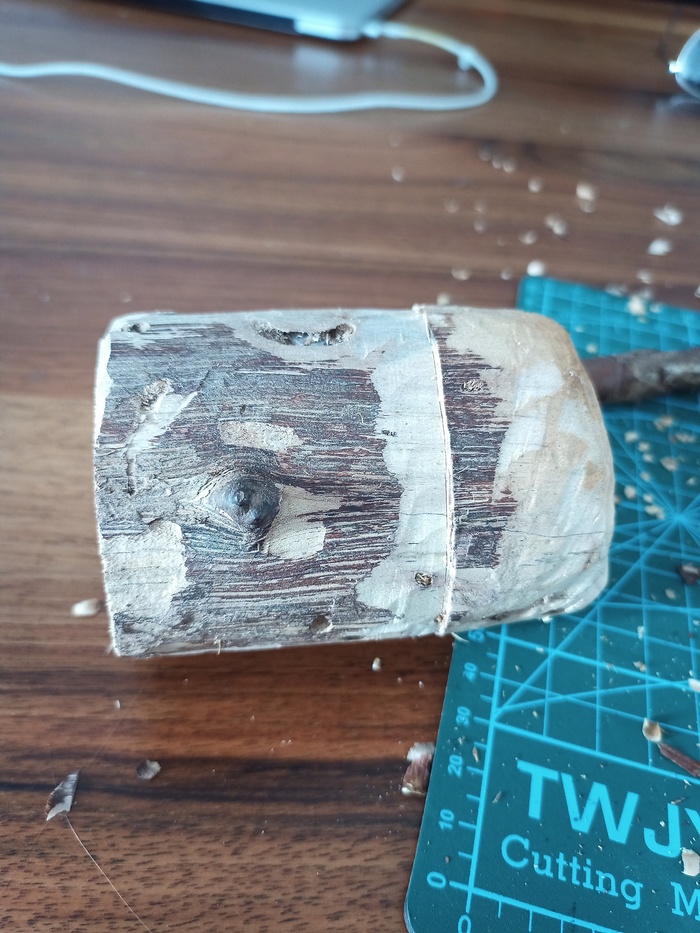
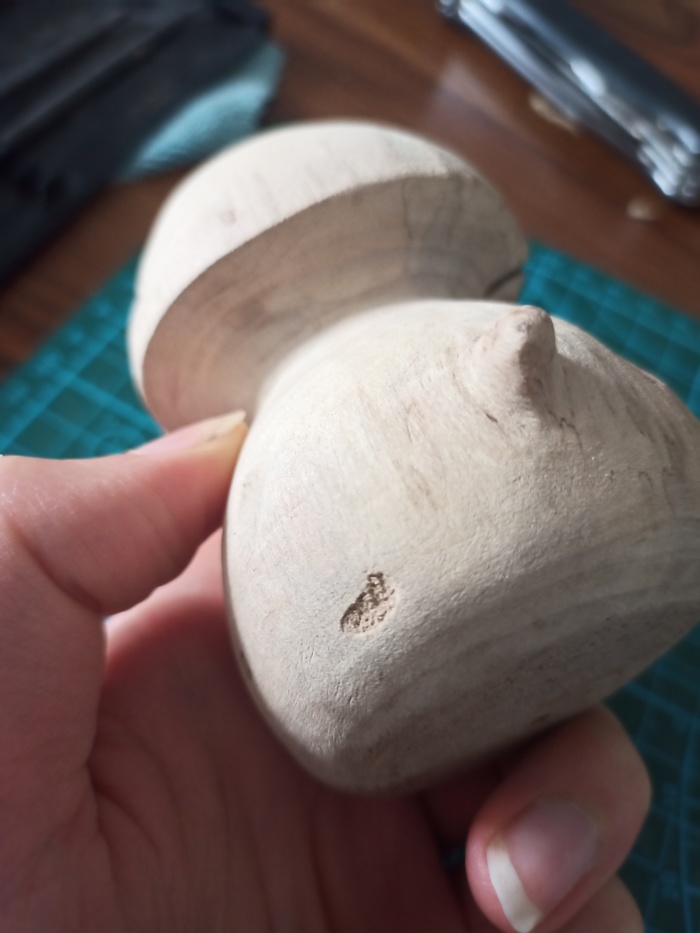
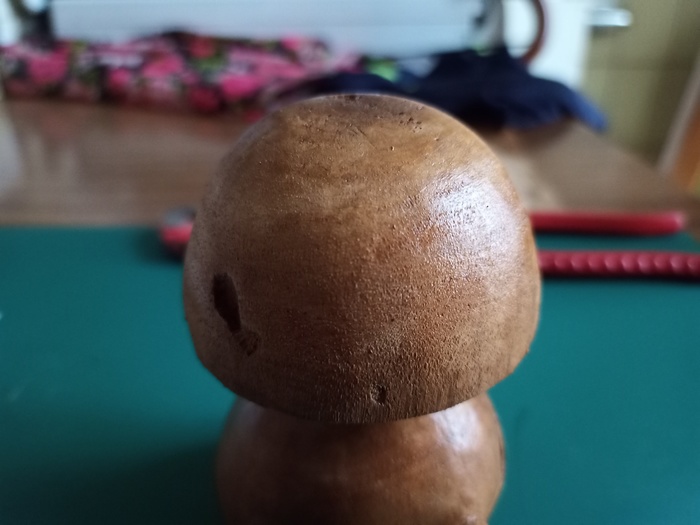
The top is very difficult to cut, because the knife is cutting the wood thread. So it’s not clean at all. Additionally, there is a hole in the center.

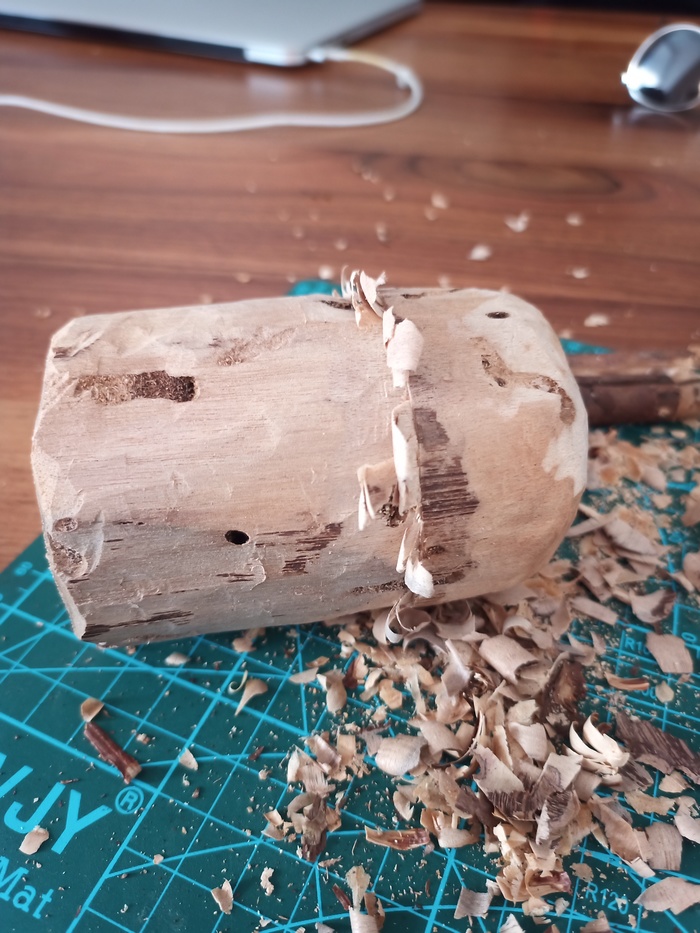
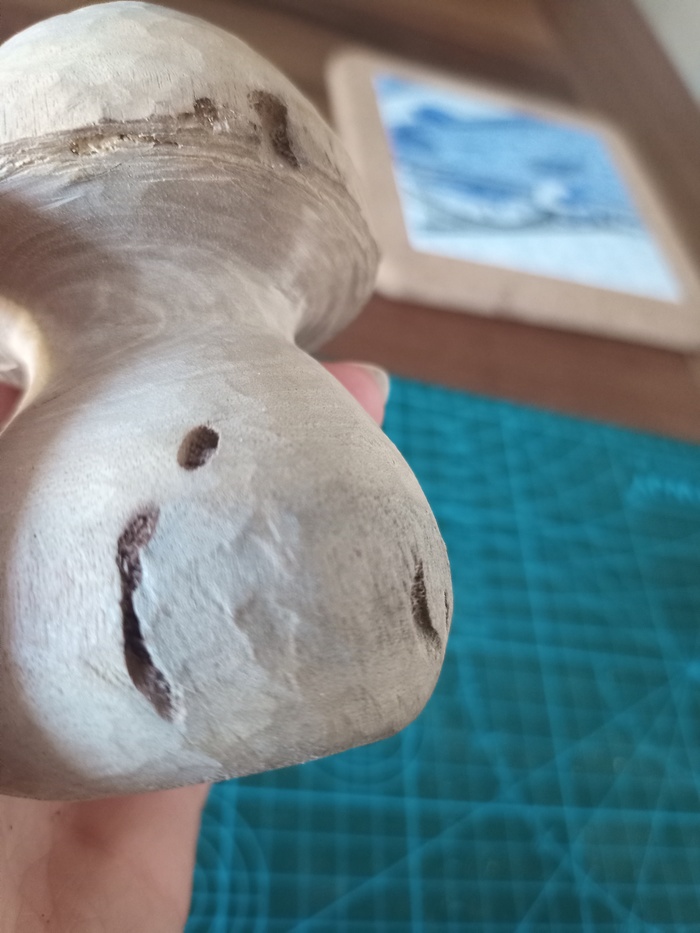
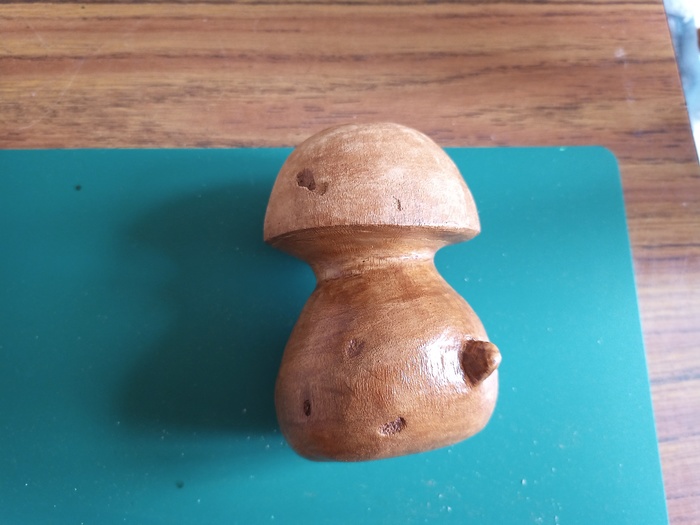
Under the cap, you can see the progression.
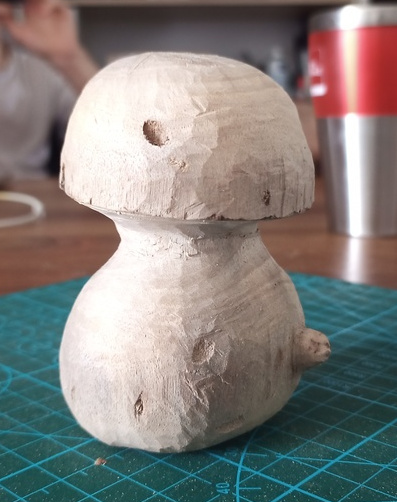
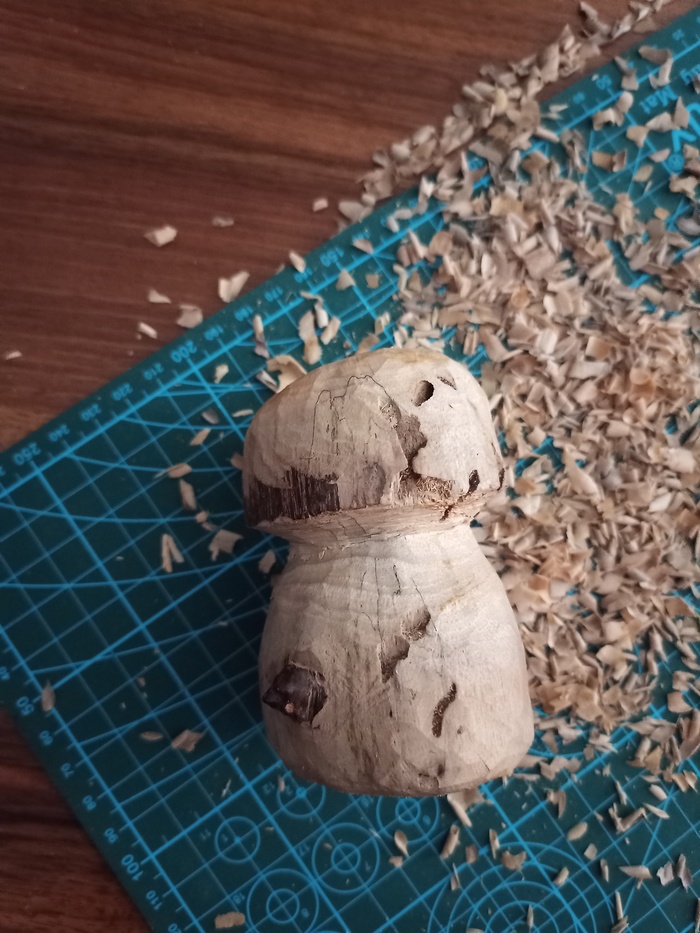
Now, we have the desired shape, we need get it smooth.
This is before grinding, you can see the knife cuts, leading to visible facets

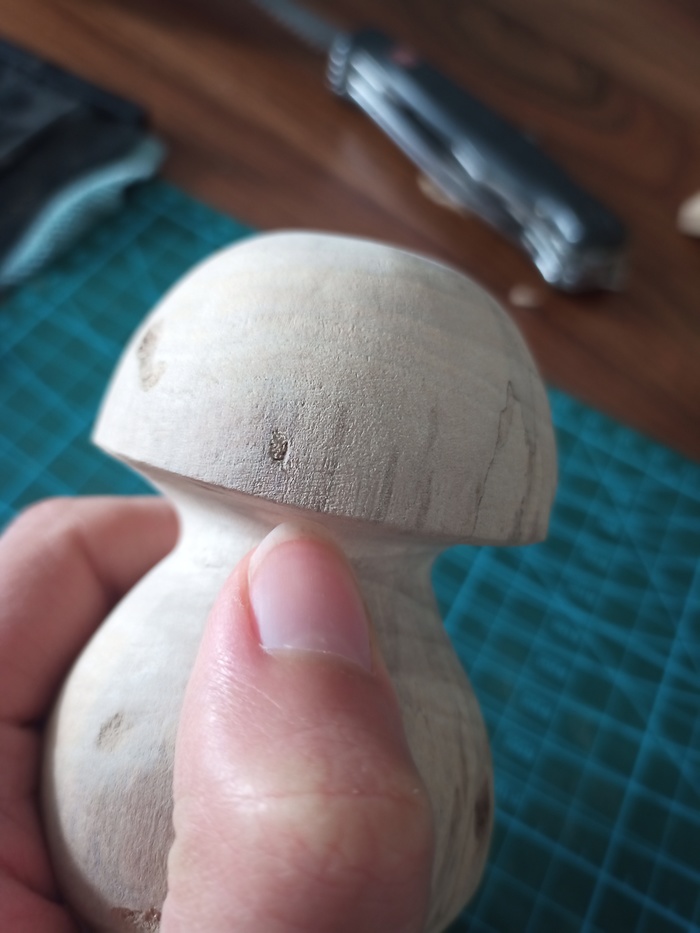
After grinding, it is softer
Now, it’s time to put the varnish. I used a wood stain (not a varnish), because it goes deep inside the wood. Also, a varnish adds a protecting layer on top, which is necessary if the object is subject to agressive contact (parquet for instance). Here, it is a mid oak, which would give a honey color.
Before / After the first layer:
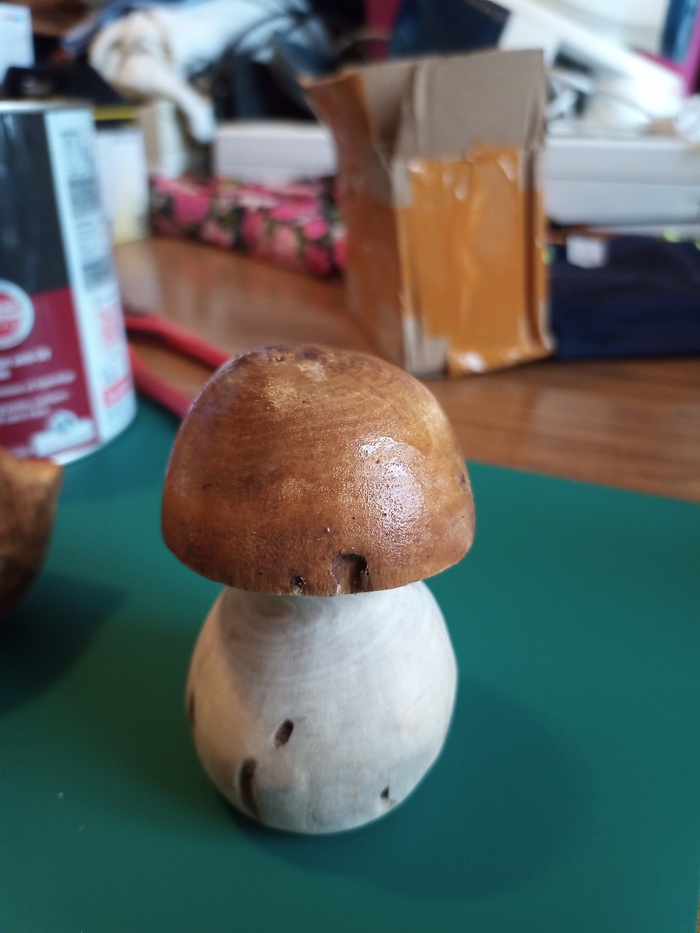
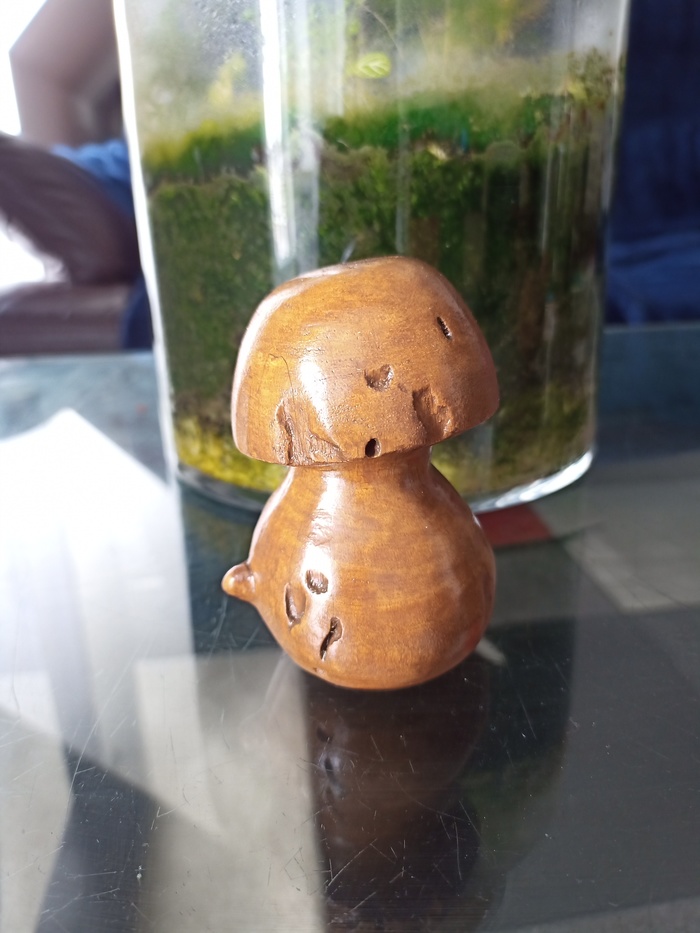
Depending on the light, the color changes a lot
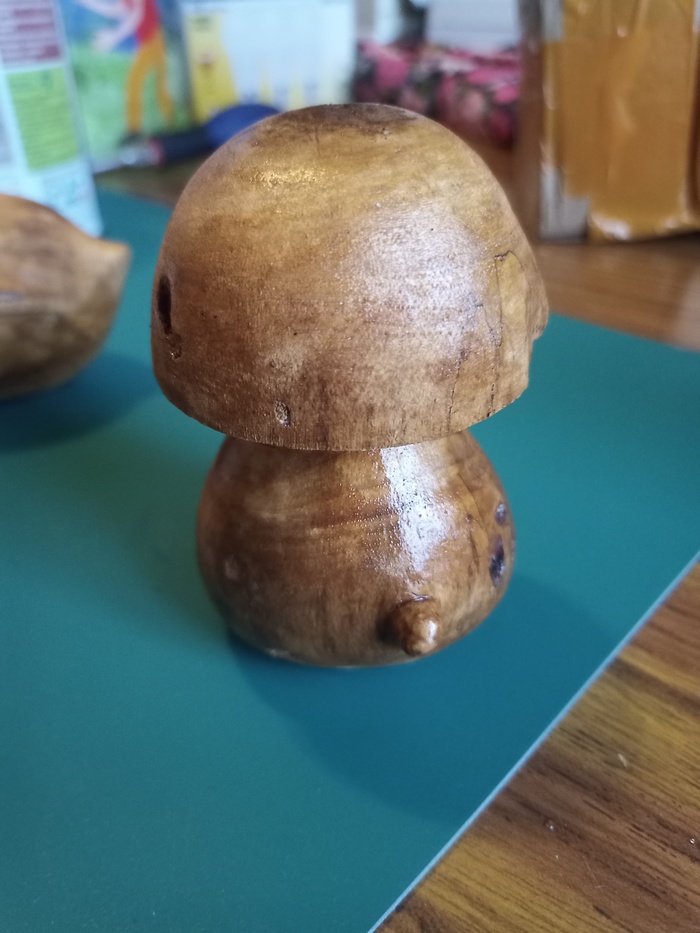
After letting it dry, the wood is not smooth anymore. This is even visible in the photograph.
I needed to grind it again (anyway, I needed to apply several layers, it was planned), and to apply a new layer.
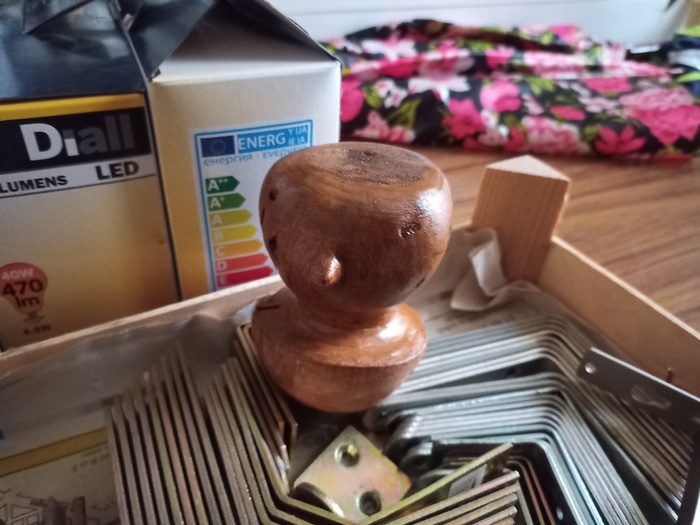
This time, I did the bottom, so I found whatever within reach to maintain the mushroom.
After drying:
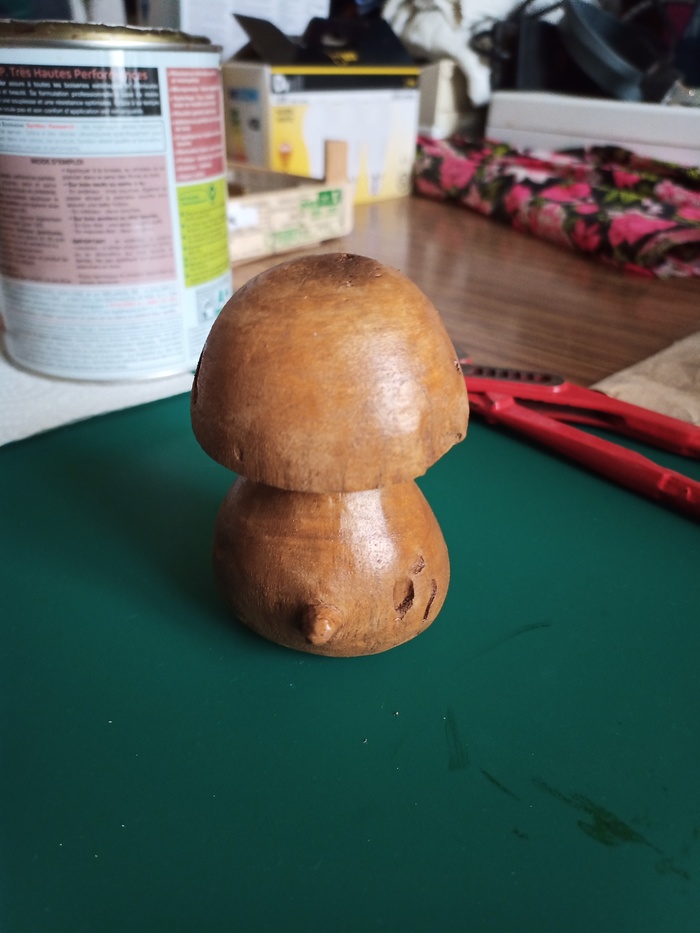
Then, last layer. I grinded it, but it was not perfect. You can see the color irregularities.

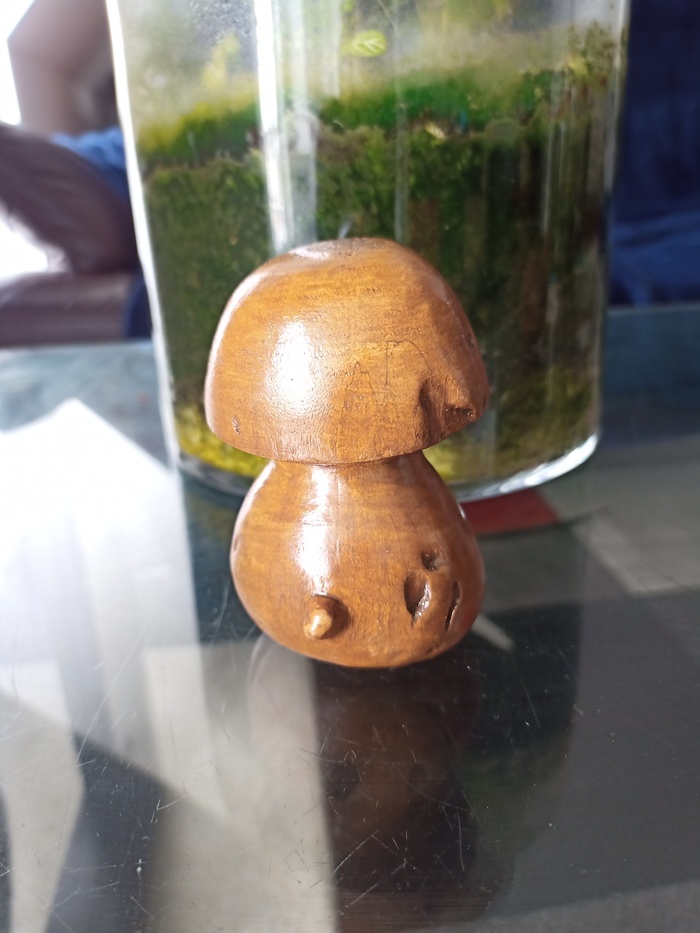
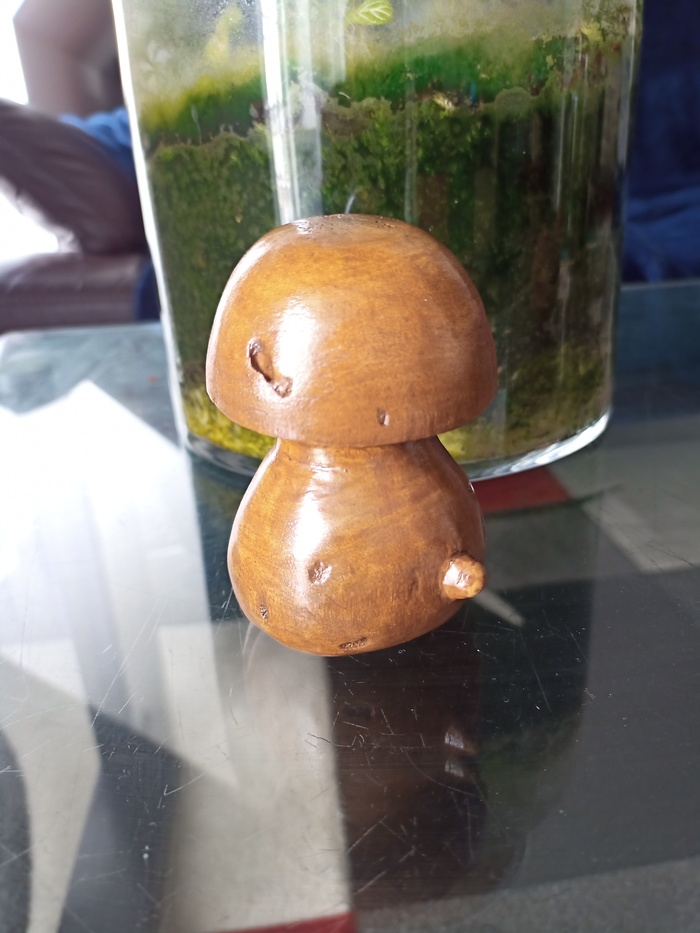
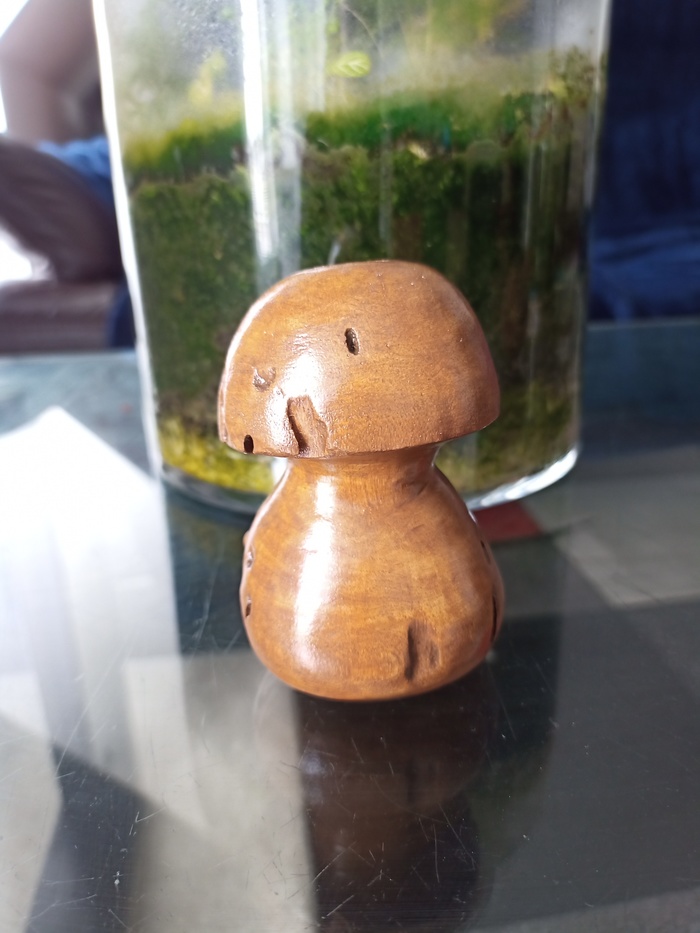
After the 3rd layer, we got a nice honey color. Compared to what I imagined, the wood lines are not very visible. For seeing them, using a lighter color or a wood with more defect may enhance this characteristic.
>> You can subscribe to my mailing list here for a monthly update. <<