
Keychains are easy to make, as we only need a single piece of leather. You will also need a ring and a rivet to make it functional.
Without counting the time to find the image and the drying time when painting, making this keychain takes about 1 hour. Adding the drying time and the time to find your image, one short afternoon.
The first goal is to find a nice drawing on Pinterest, and to select the shape of your keychain.
You have plenty of options there for your shape.
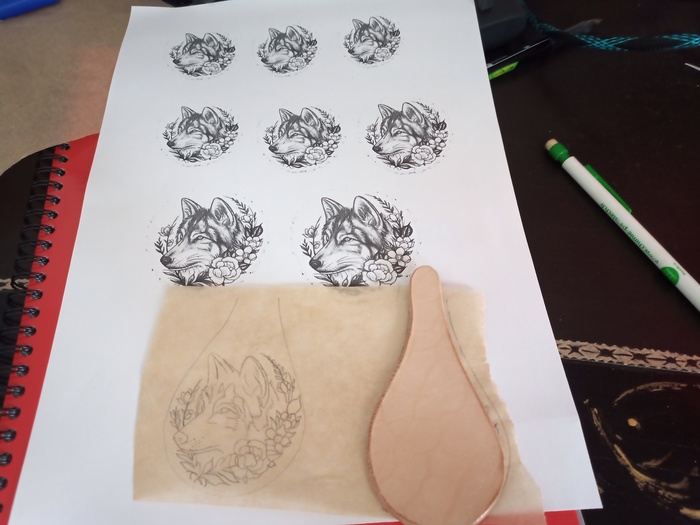
As you have an image on your computer, when printing it, it might be too large or too small. Because tiny details are difficult to reproduce, you want to find the best compromise between a not-too-big keychain and a not-too-small drawing.
To do it one-shot, on any text editor, copy/paste multiple time your image and modify the size for each. Note that to avoid using ink, I turned the image to black and white and increase the contrast.
You can add many details, but some might be tricky to reproduce, especially the hairs.
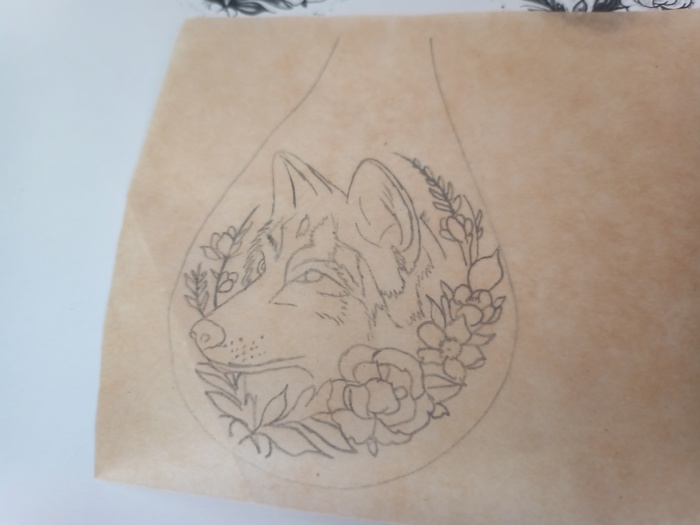
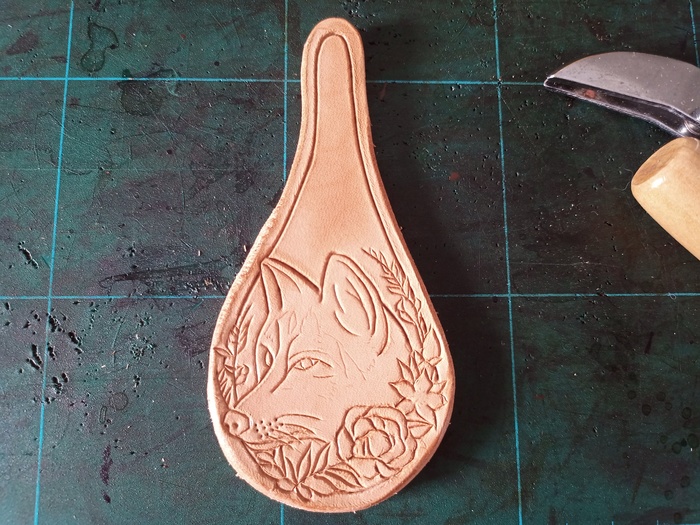
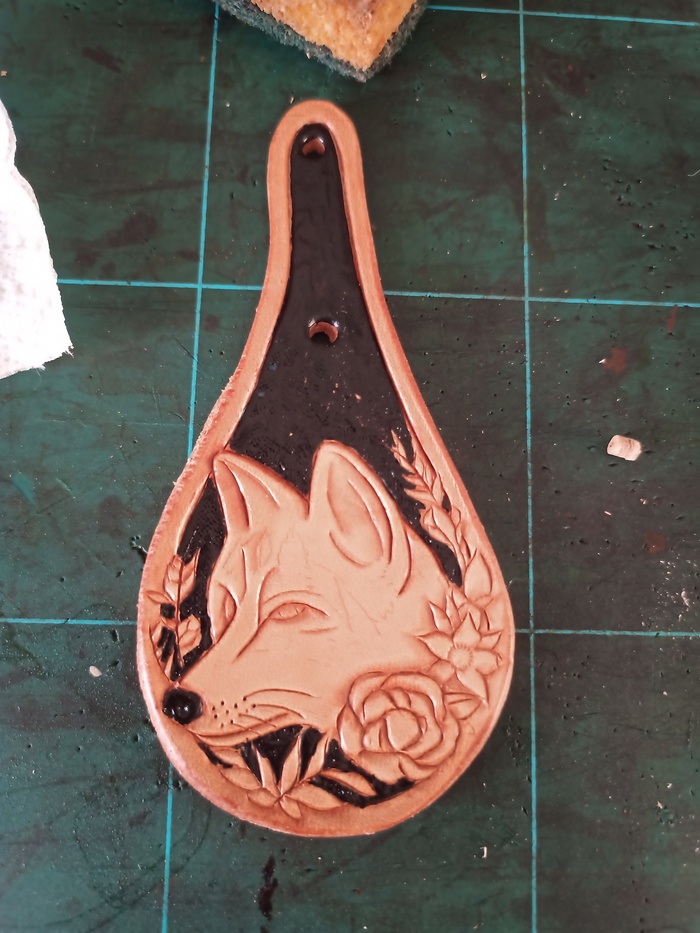
Now, wet the leather, and reproduce the pattern.
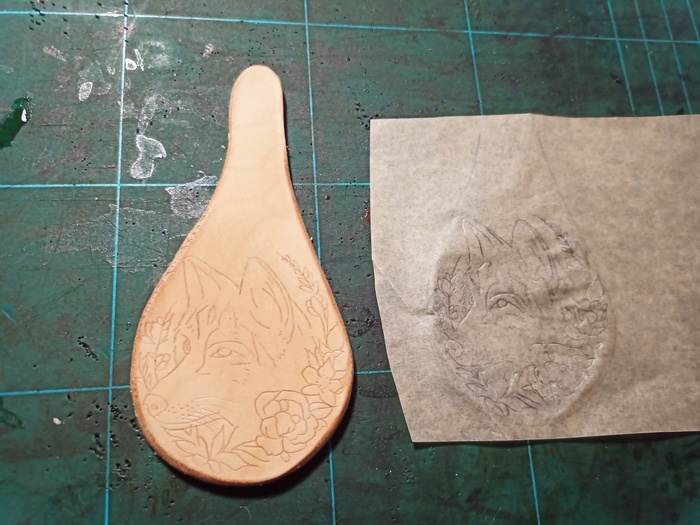
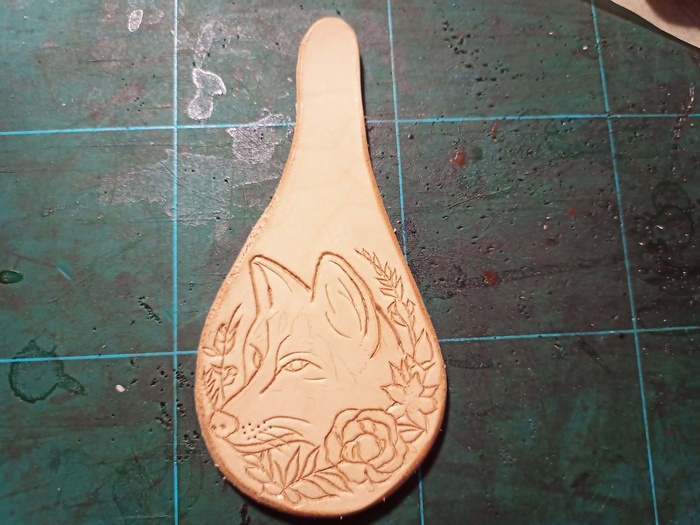
Then, you can use the knife opener to mark the lines.
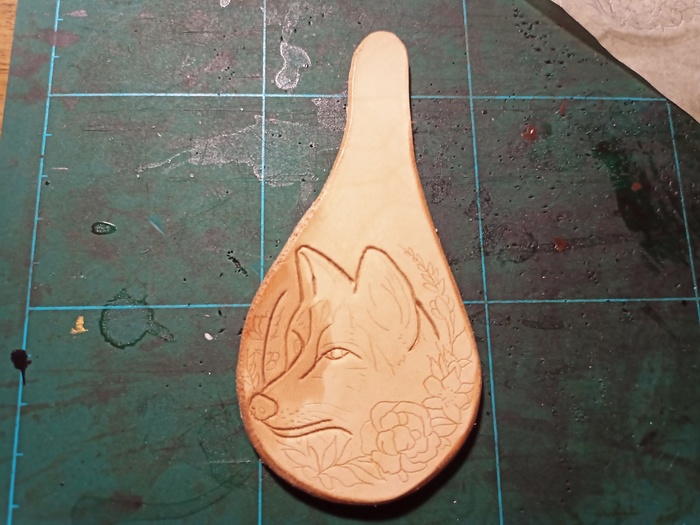
(Result after drying)
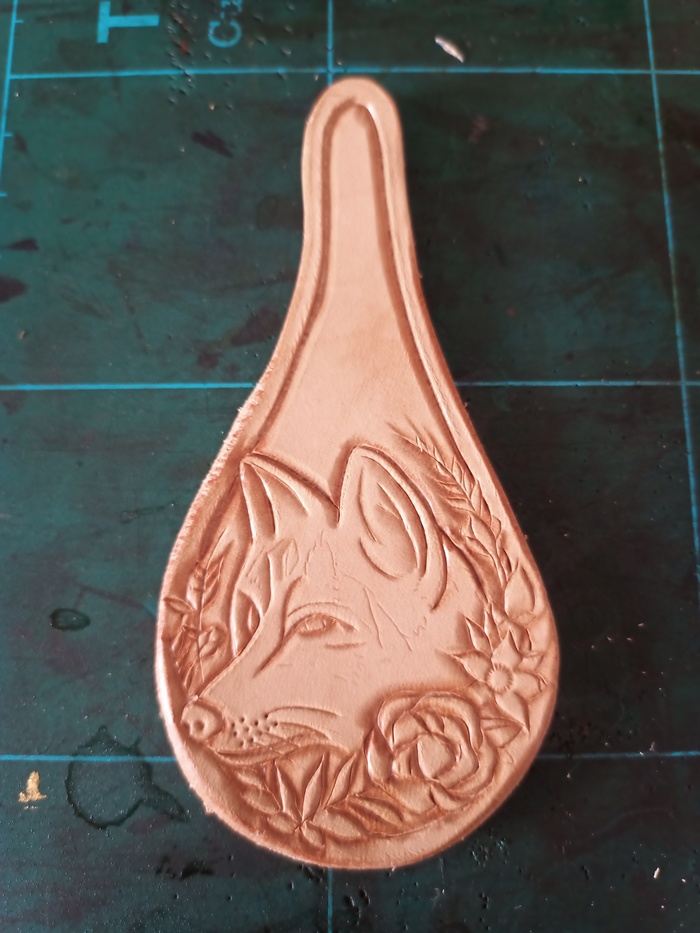
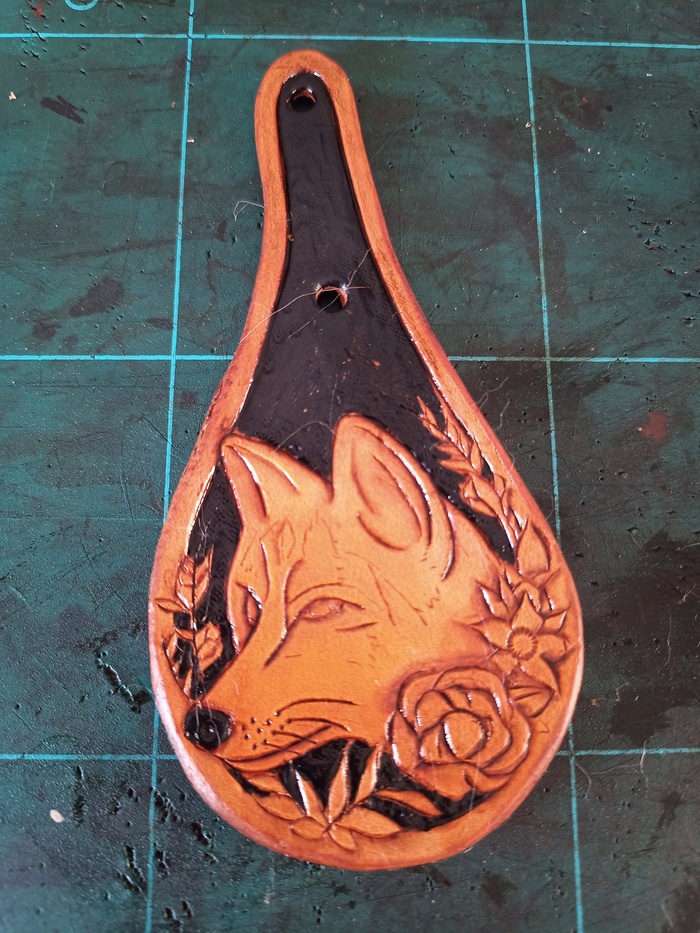
To have a nice border, draw a line 3mm from the border.
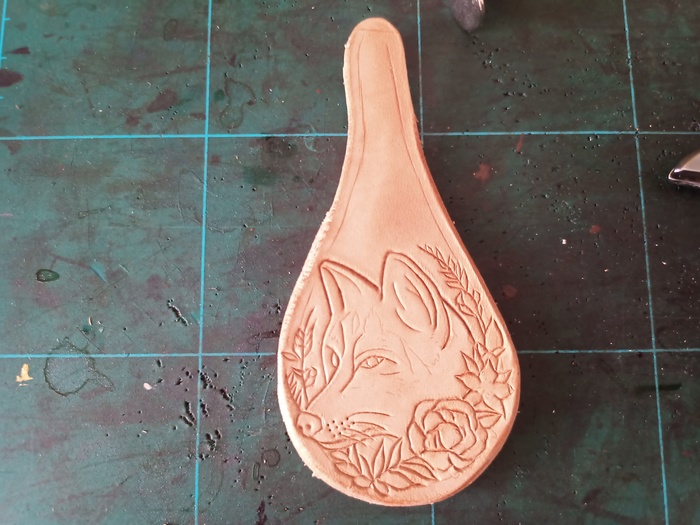
Then, use the knife to open the leather.
Then, cut the line
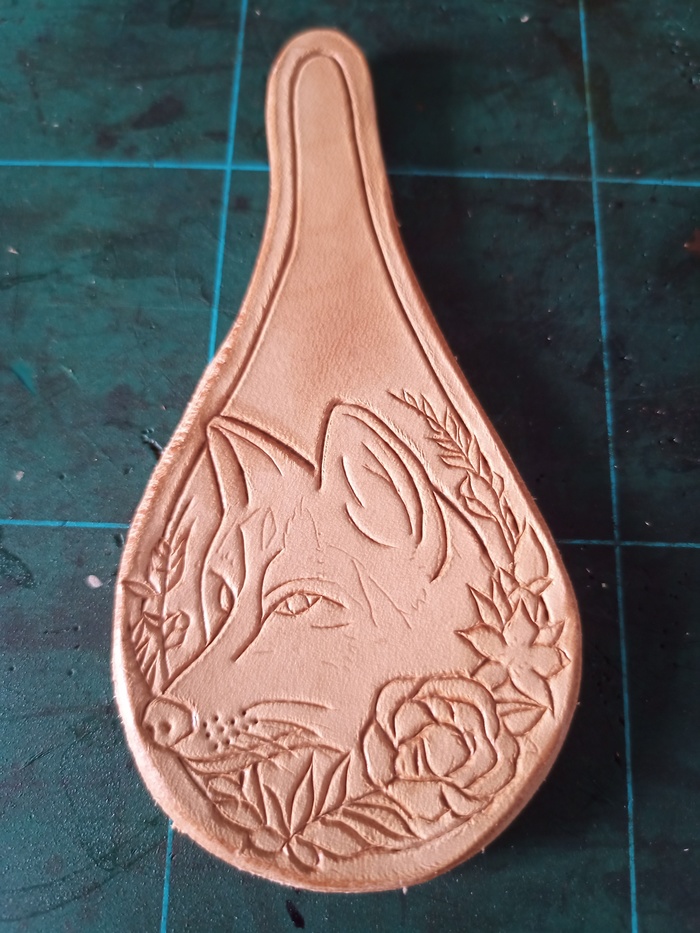
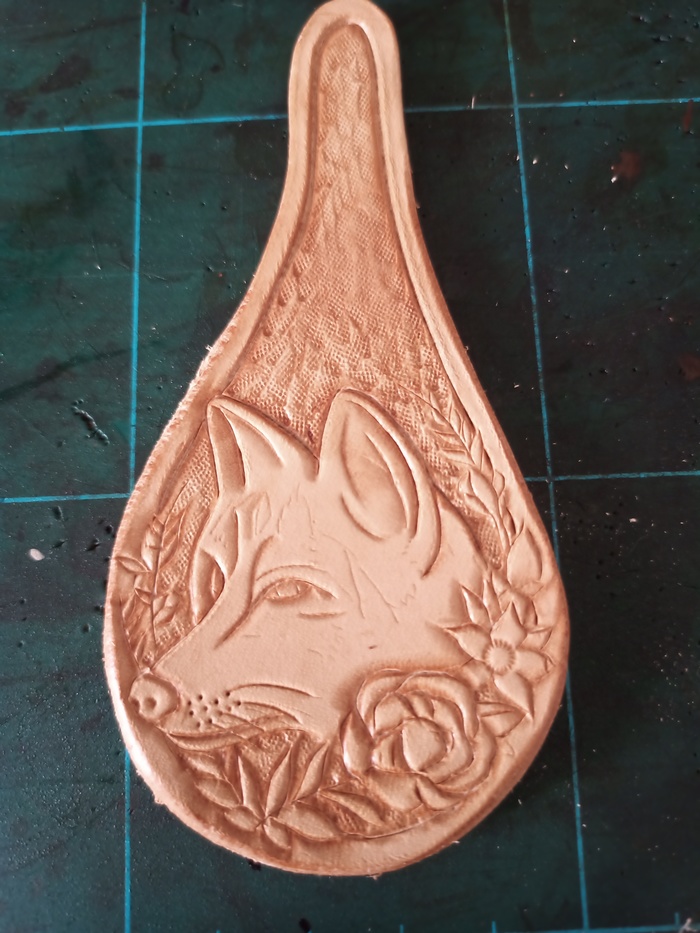
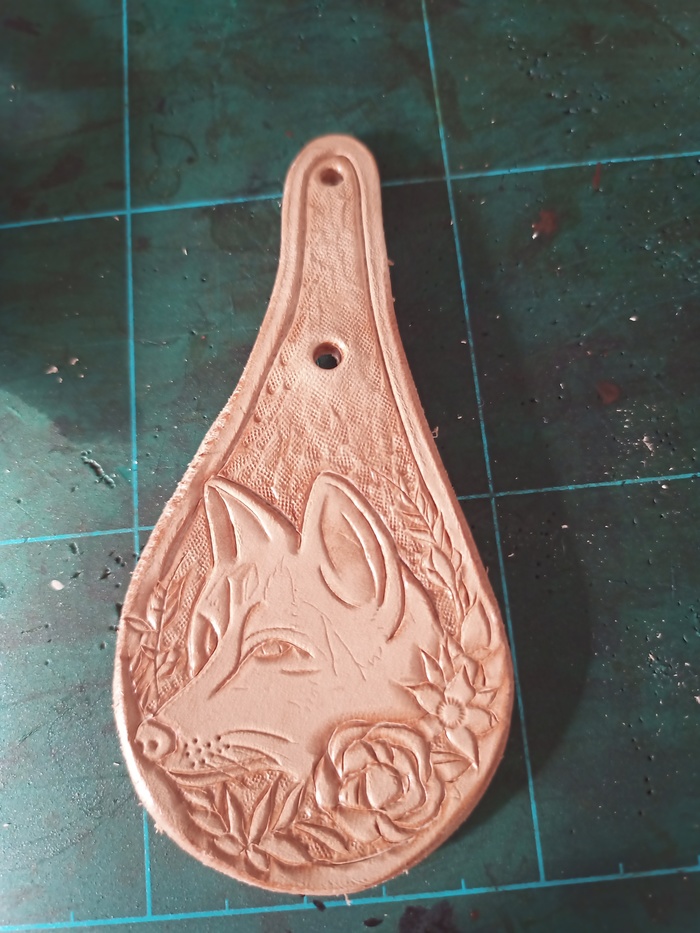
Use the tools to mark the shapes and create contrast between background and foreground.
Then, mark the background.
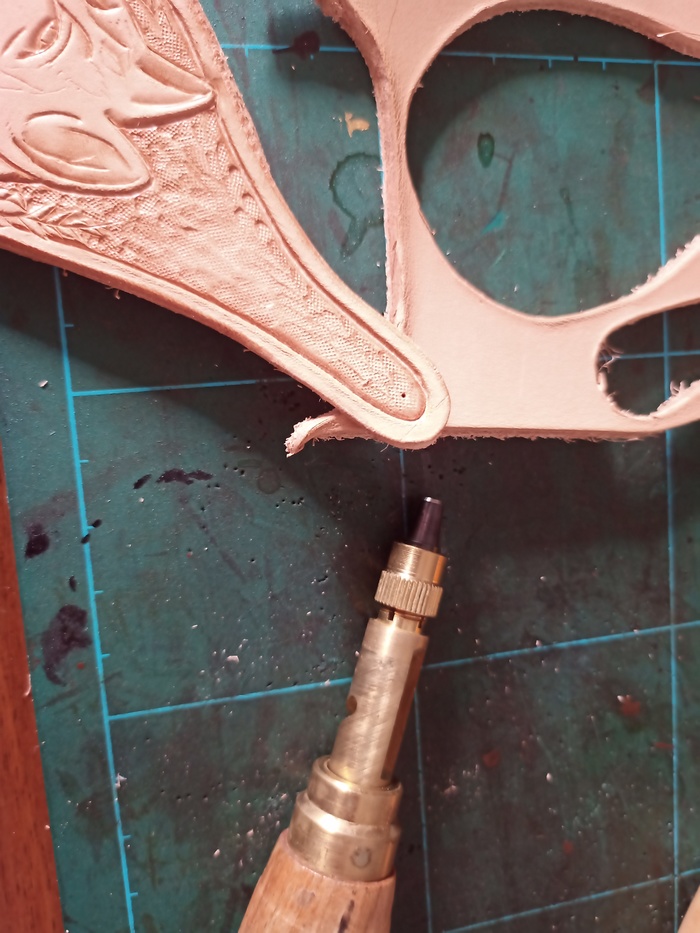
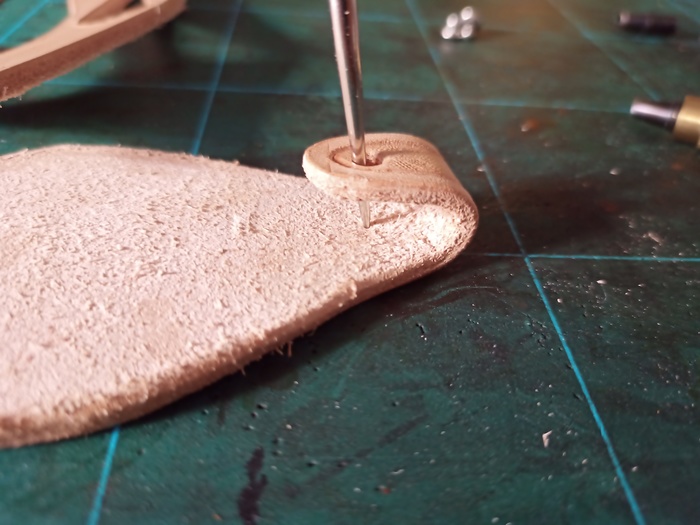
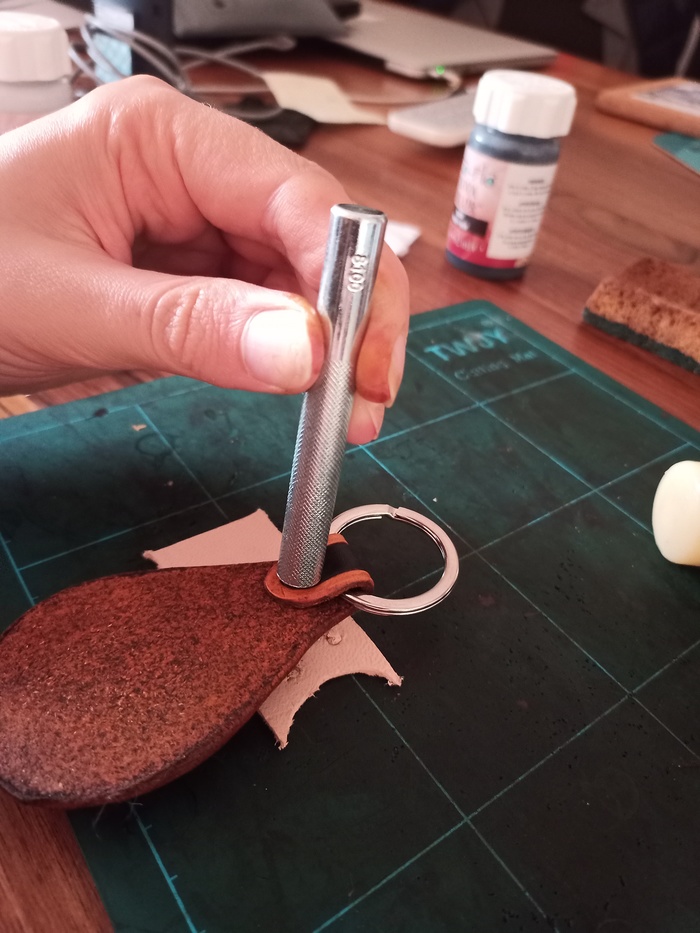
Given your rivet size, find the smallest nozzle larger than the rivet.
Mark the location where you will make the hole.
Create the first hole. Put a piece of leather under as the green board is not the best material to facilitate drilling.
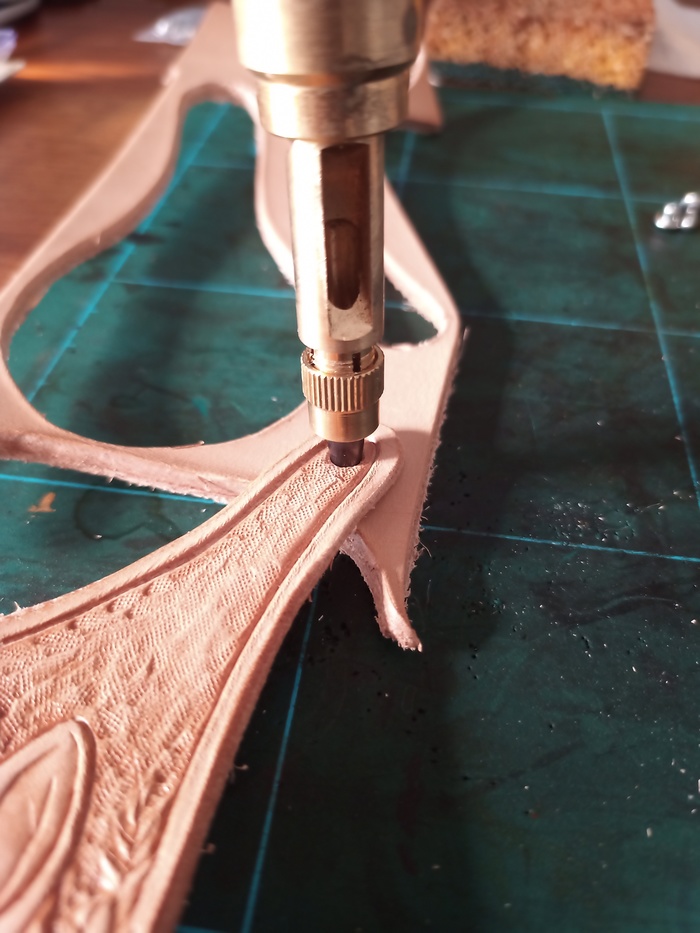
You must see the edges of the tool.
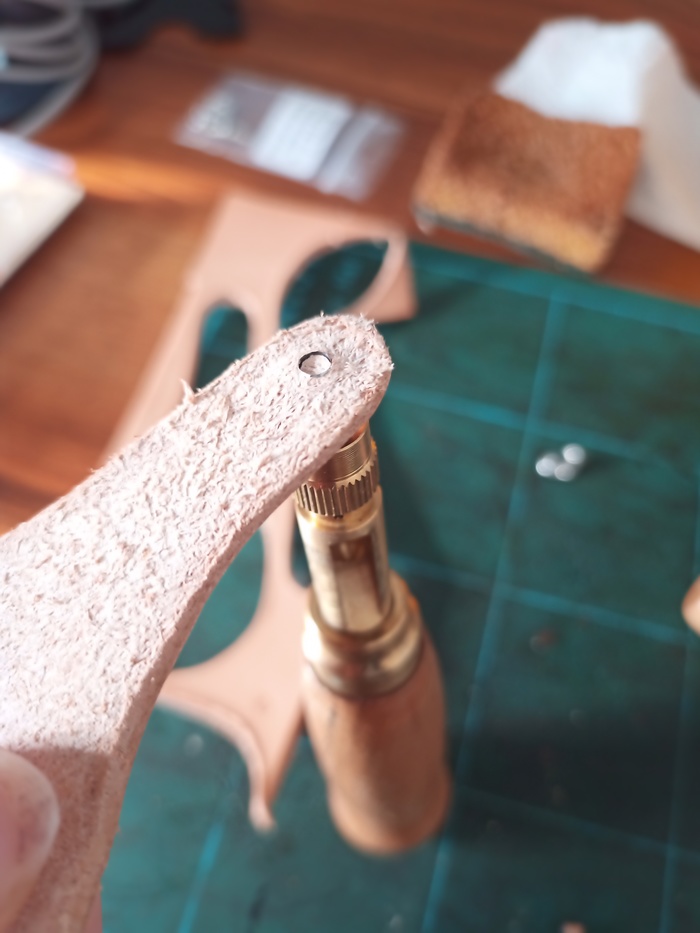
Now, you have a clean hole.
To find where to put the second hole, you have to bent the leather. Use a needle and spike to mark the leather on the front side.
The needle must let a mark which is easy to find.

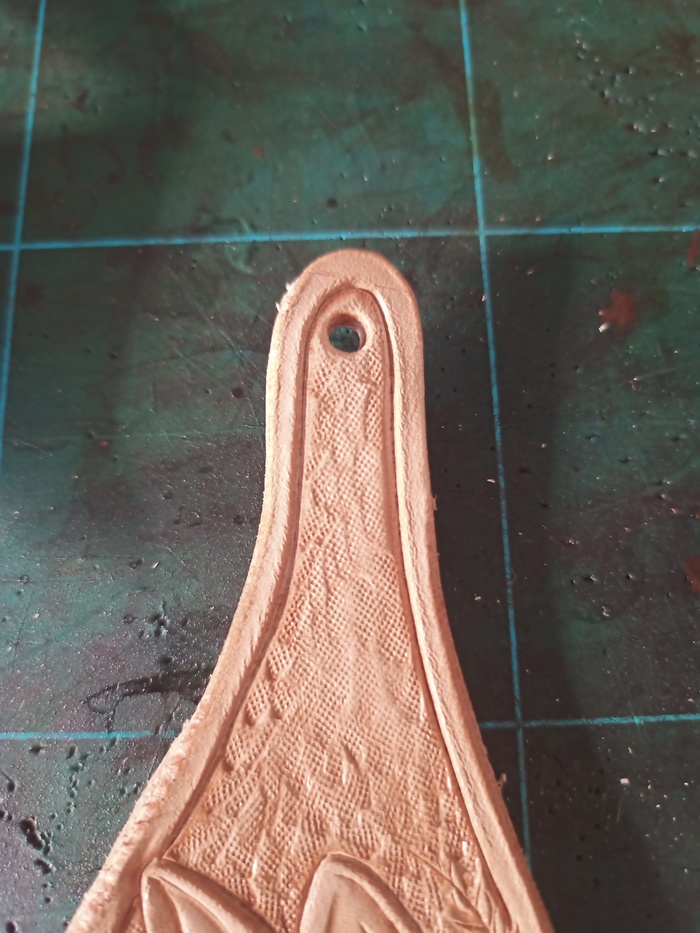
Then, drill the hole.
For the moment, we do not put the rivet. We will first add the color, as it is much easier when the leather is plannar.
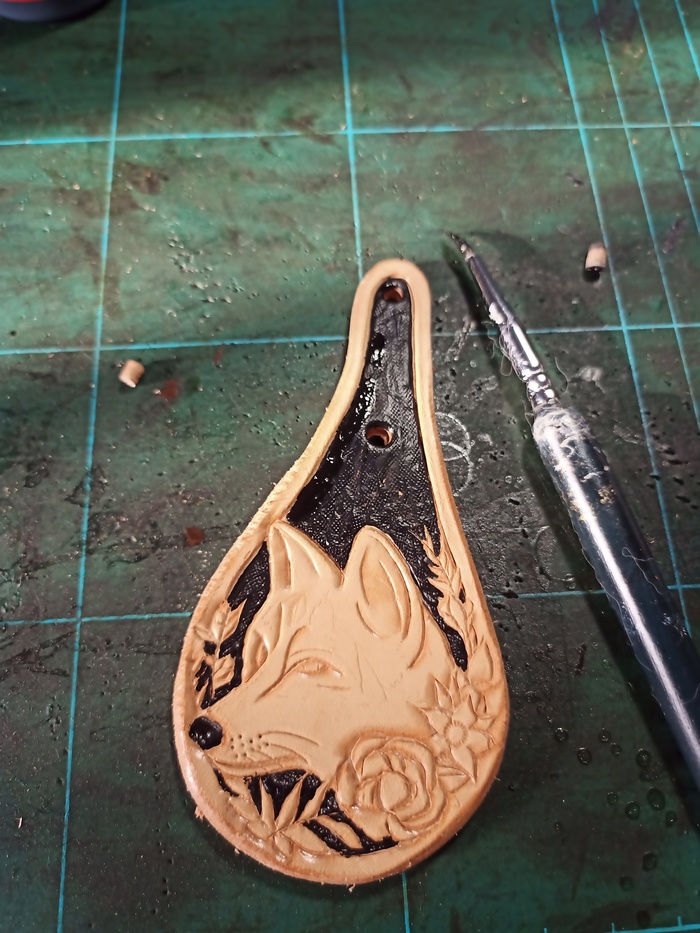
I used acrylic color, as it is easy to manipulate and dry quickly. I made the background first.
Next, I put “super-shene” to close the pores of the skin and make the leather a little bit waterproof.
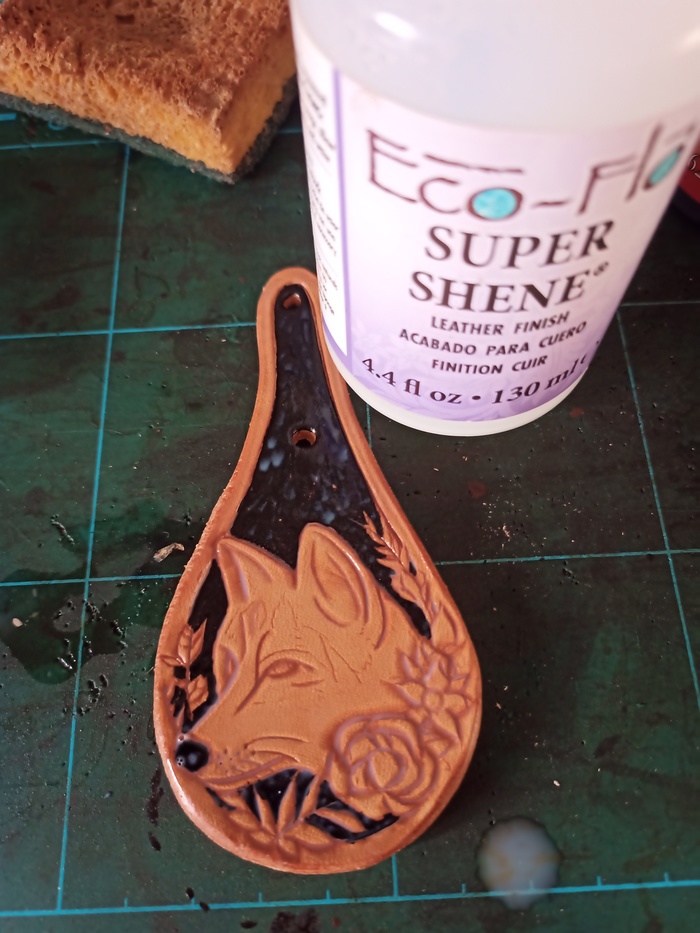
I let it dry completely.
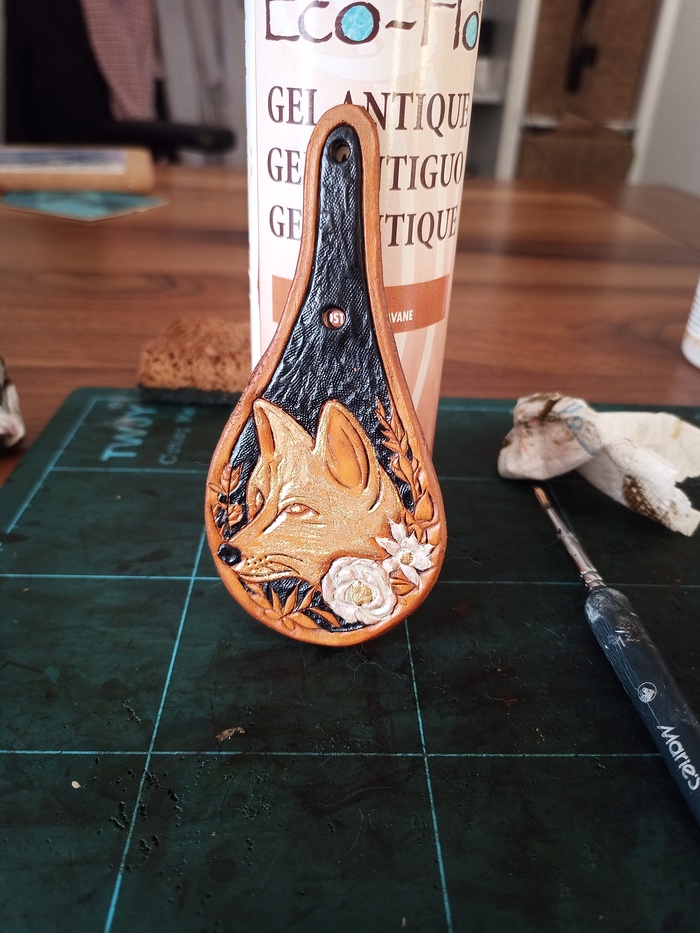
Then, I use antic finish to give a reddish background color. I also put it on the back side of the leather.
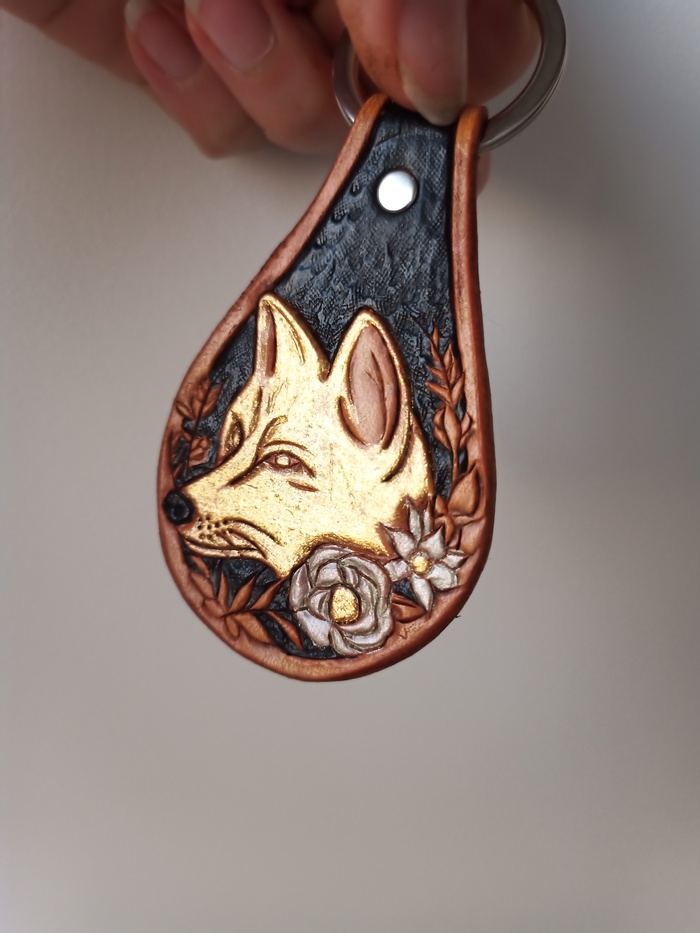
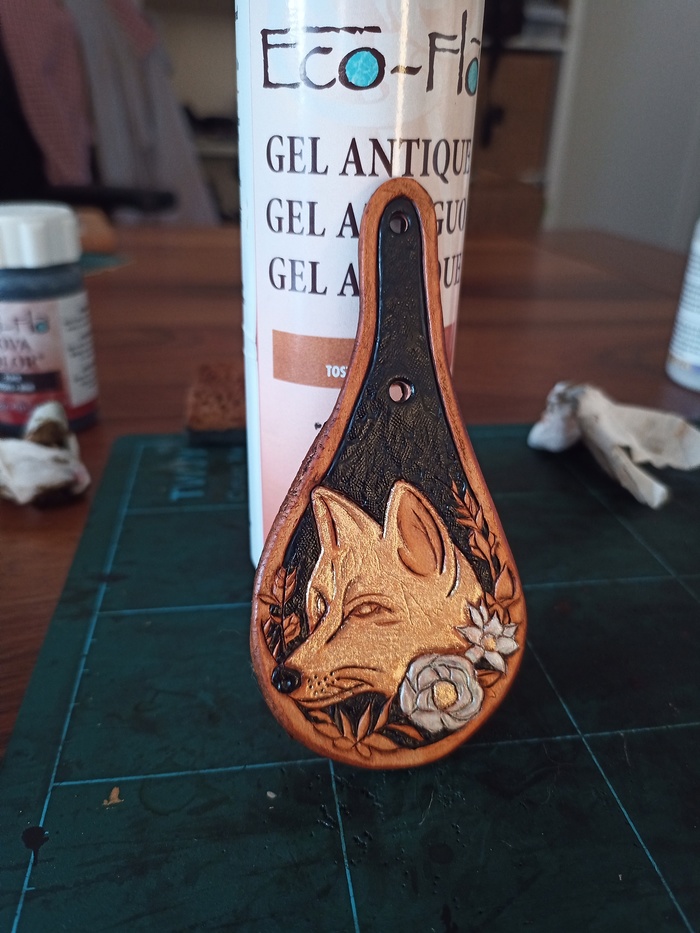
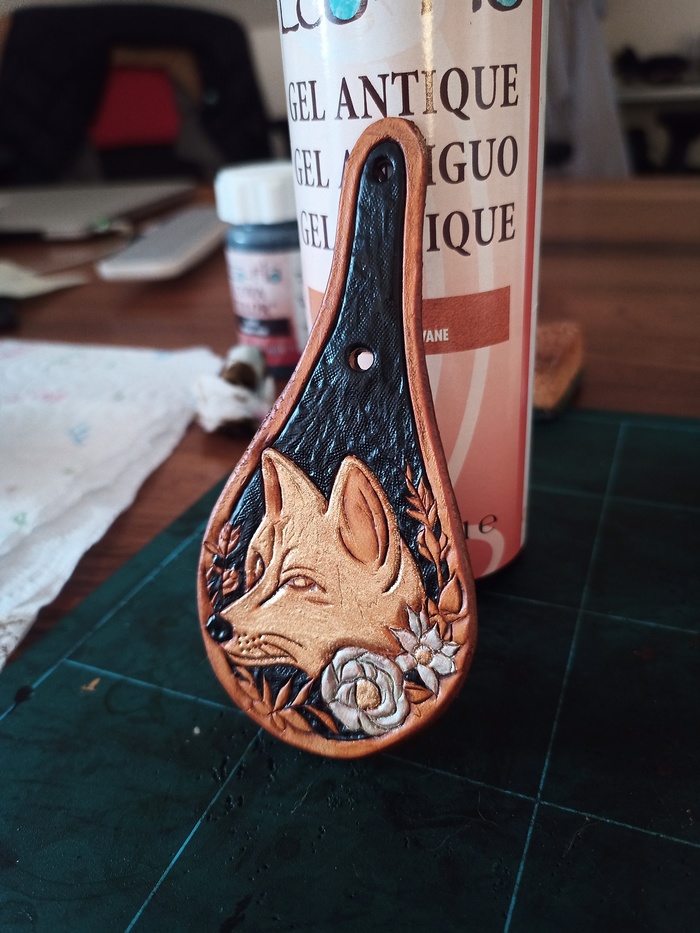
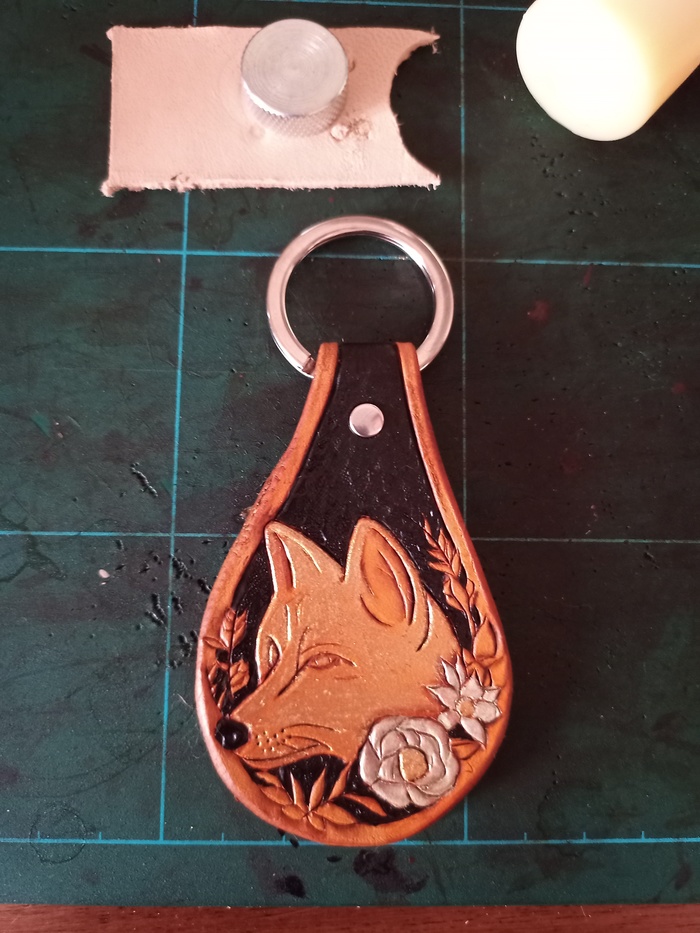
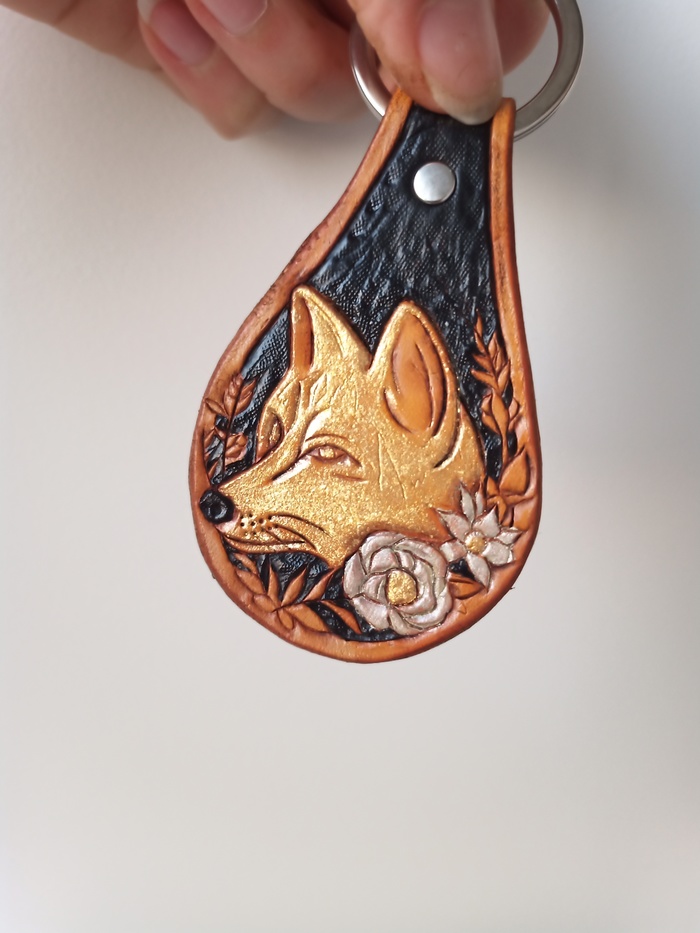
Last, I apply the final colors.
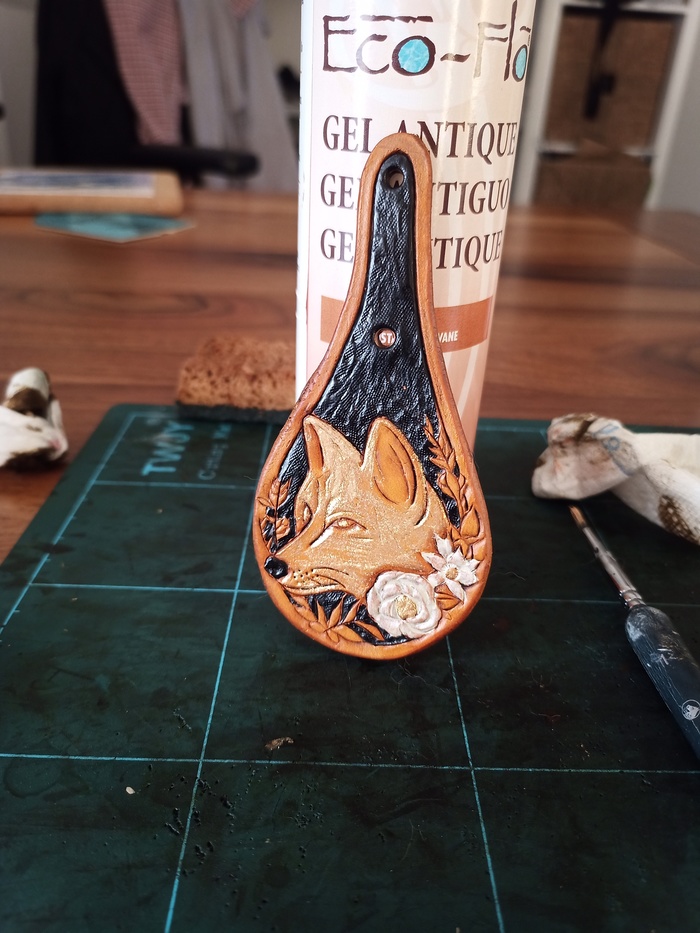
Now, the dog looks like a fox, because I was unable to reproduce the hair details and add the skin pattern. I used a gold color which gives very nice color variations depending on the light.
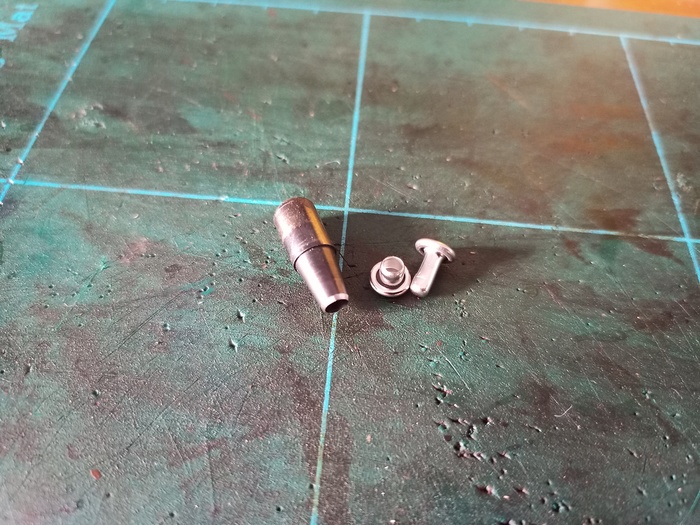
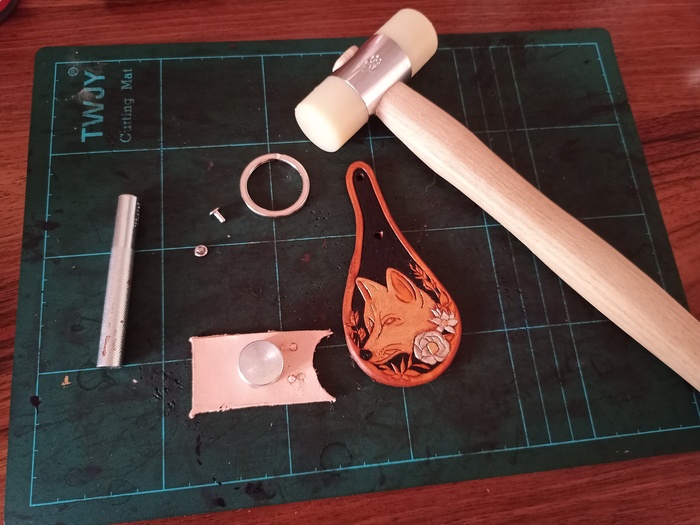
Now, we will make this piece of leather functional. Here is all the material required: A rivet and a small anvil plus a mallet.
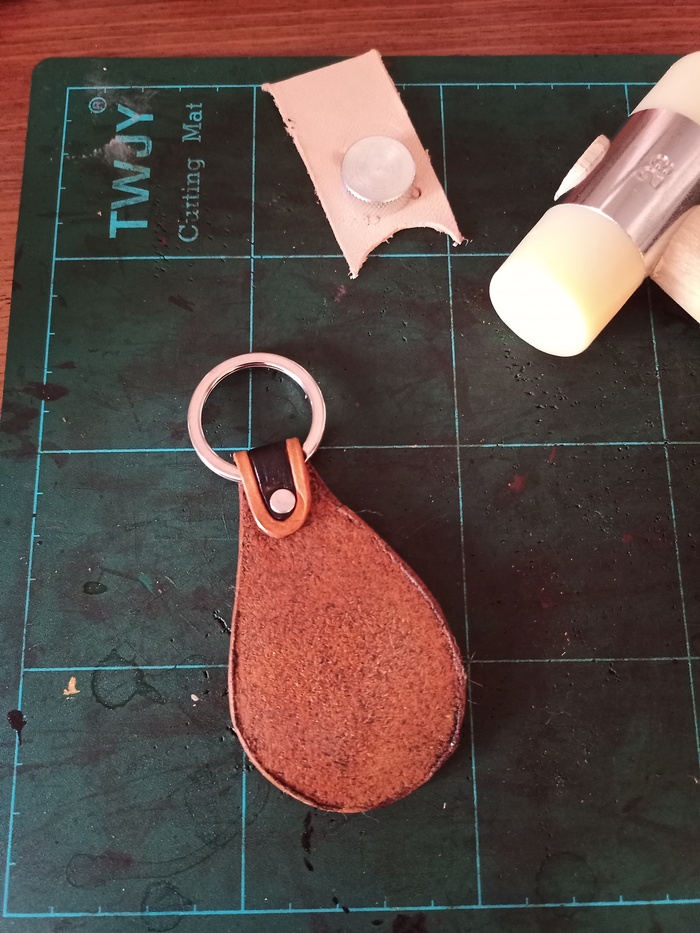
You just need to put the female rivet first, and the male rivet after.
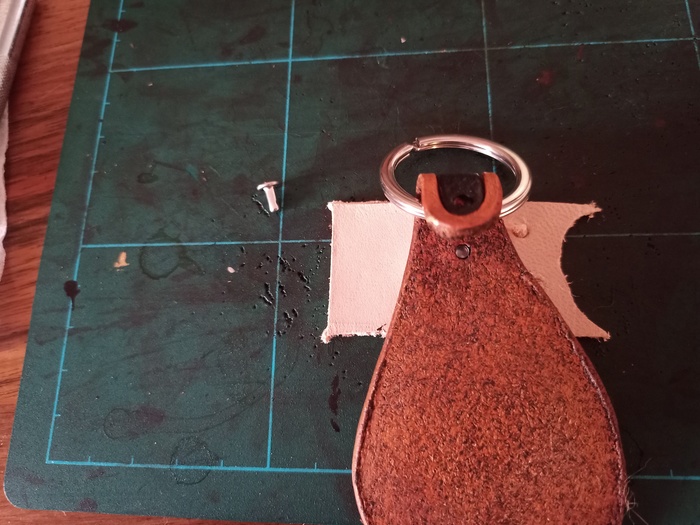
Then, use the anvil to fix definitively the rivet. Don’t forget to put the ring. After fixing the rivet, it is very hard to remove it !
Everything is now tightly attached.
The rivet is not exactly on the center, but that’s ok. It’s well attached.
You can check the other keychain projects here:
>> You can subscribe to my mailing list here for a monthly update. <<