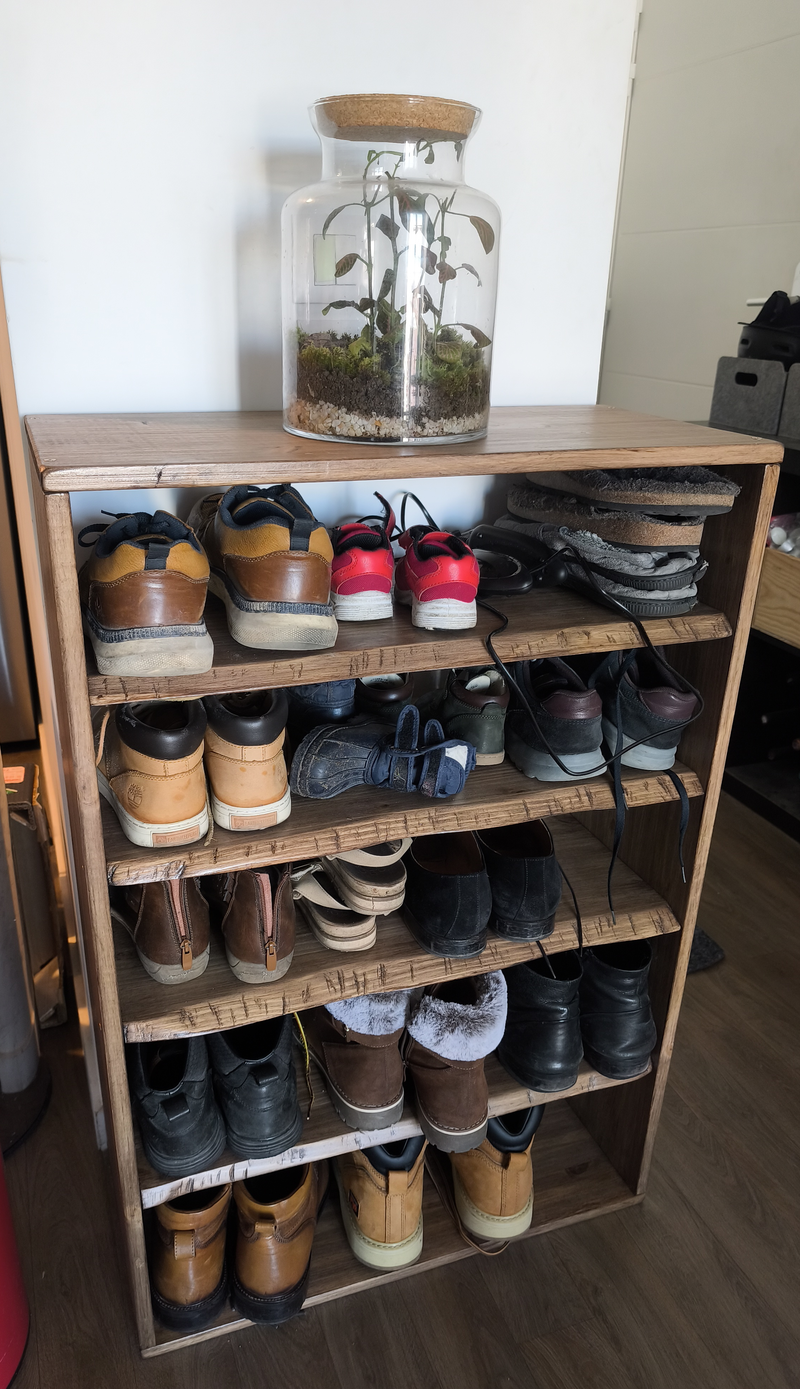
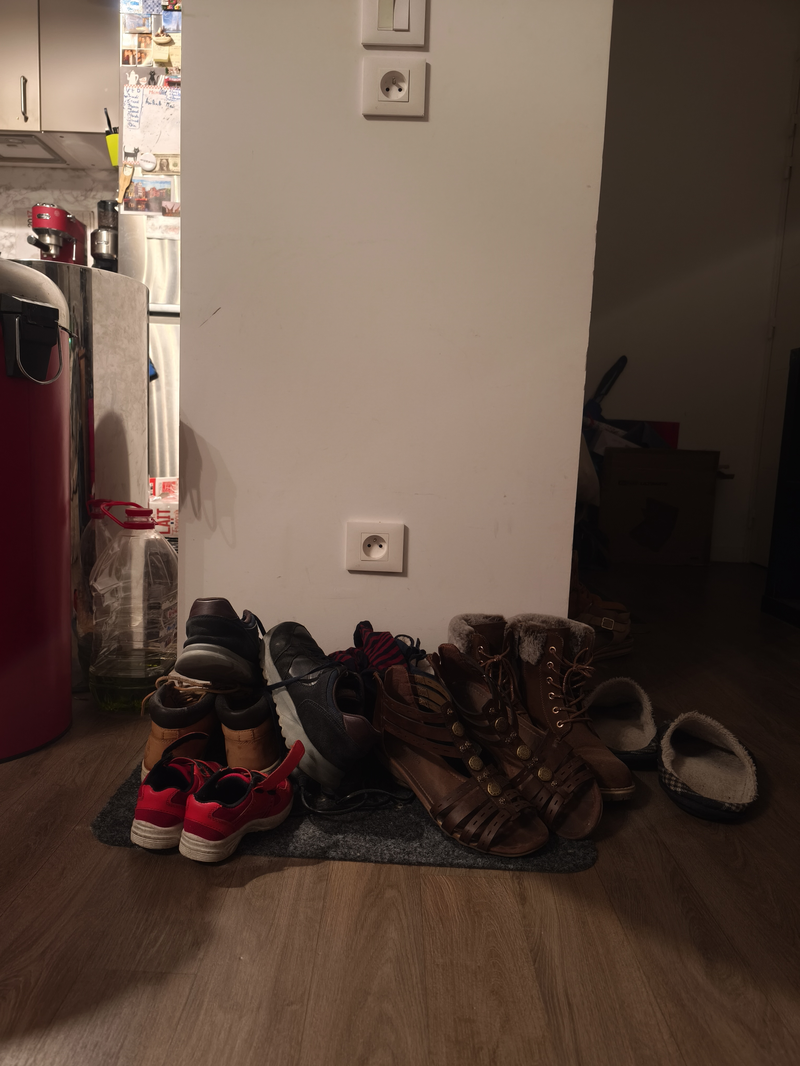
Too many shoes in my appartment entry.
Free space available in one wall to make a shoe-rack with several layers.
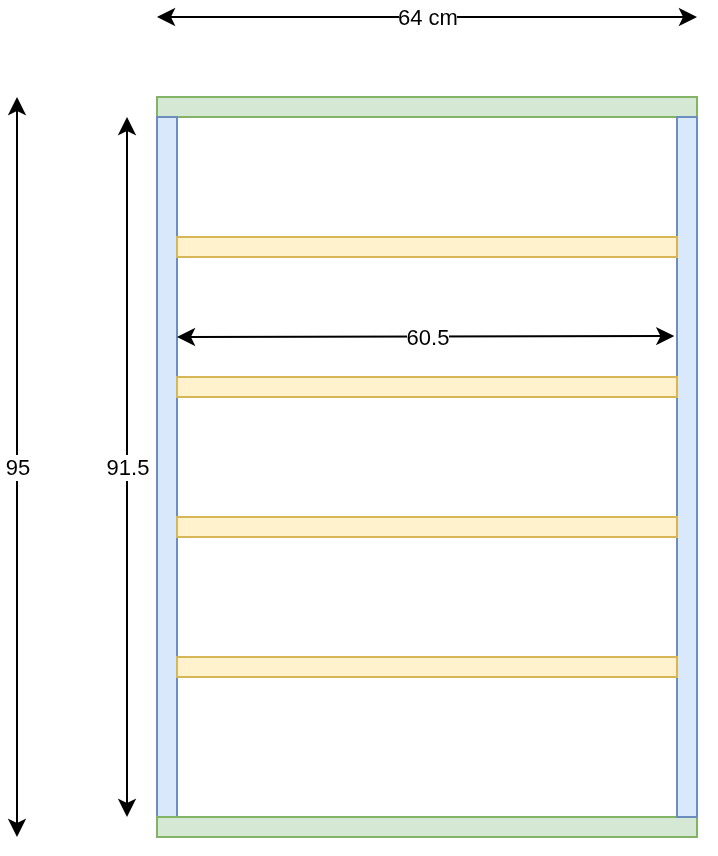
Specification
Wall dimension: 64 cm
Height before electric plug: 95 cm
Optimal depth for shoes: 30 cm
Thickness of common wood: 1.8mm
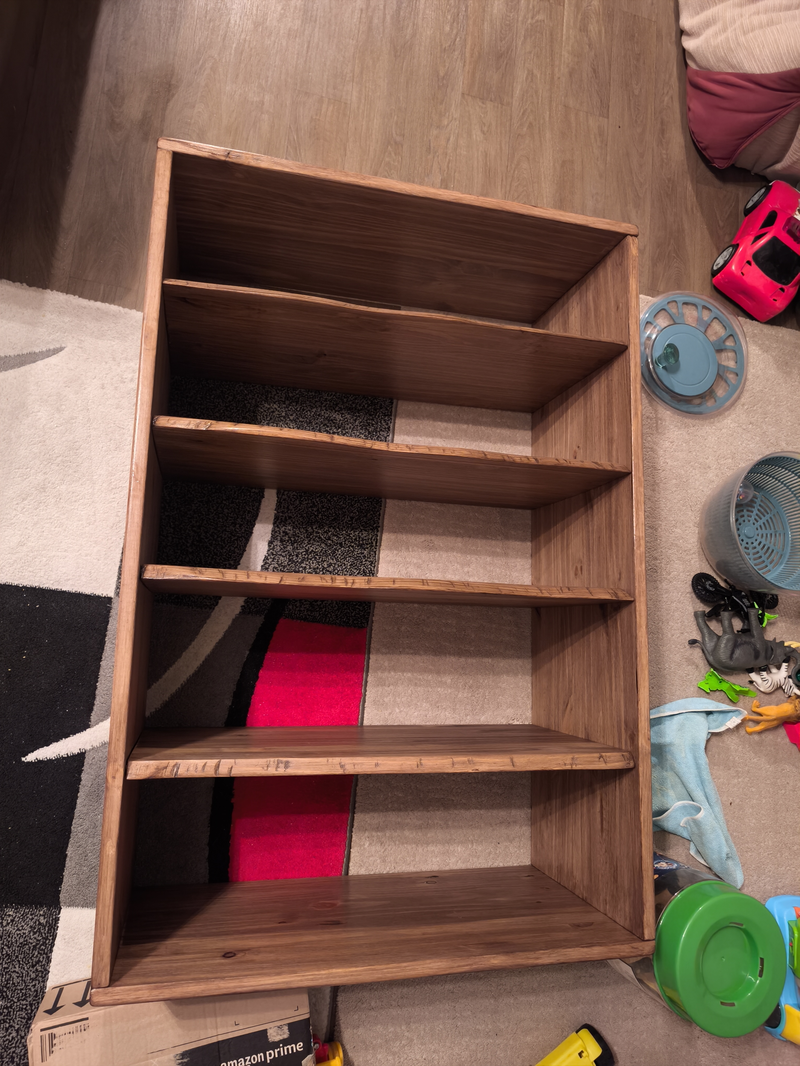
So, here is the diagram of the project, with 5 levels (can contains up to 15 pairs of shoes)
Prices
Price list:
- Wood + cut: 35.70 + 5 = 40.70
- Varnish: 23.90
- Screw (pack of 100, 4.5 diam x 40mm length): 14.50
Total: 79.1€ (excluding human work, gazoline, etc.)
Varnish References
In case I forgot,
- Brand 3V3
- Type: Varnish
- Finish: Satin Cité
- Color: Chene foncé (the result is much lighter than the image)
- Reference: I218
- Volume: 0.5L (6m2 one layer), water based (was the correct fit, a bit left, but would represent less than one layer)
Steps
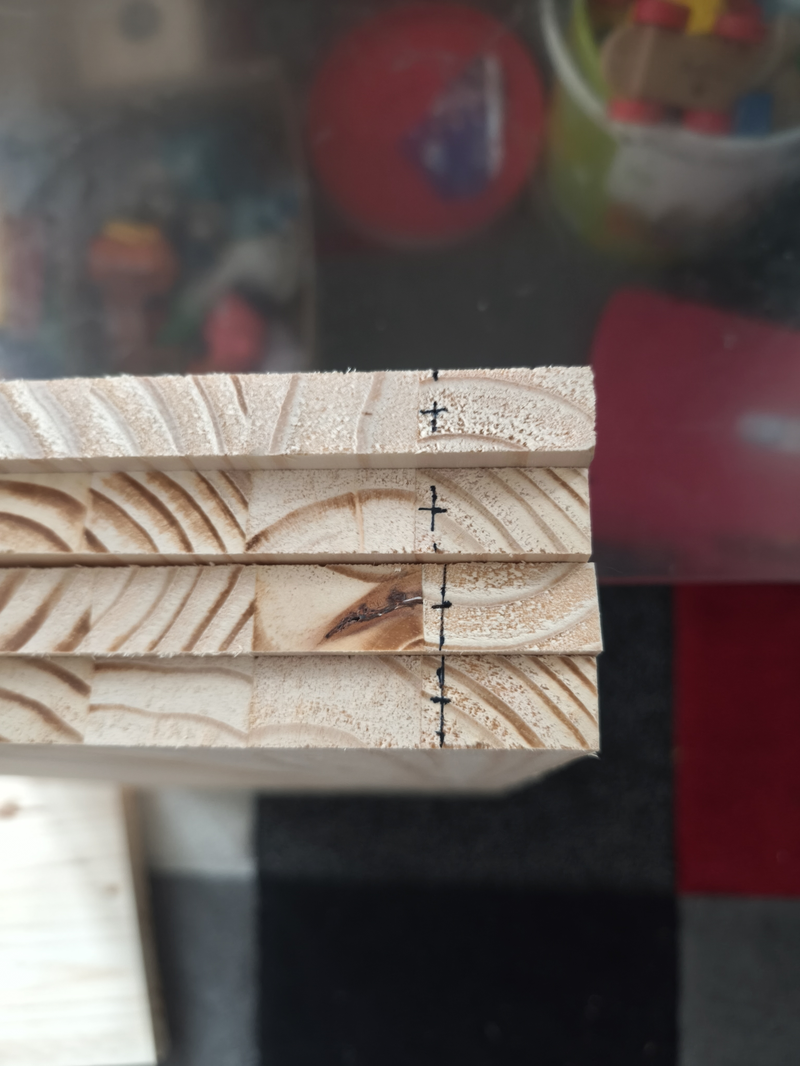
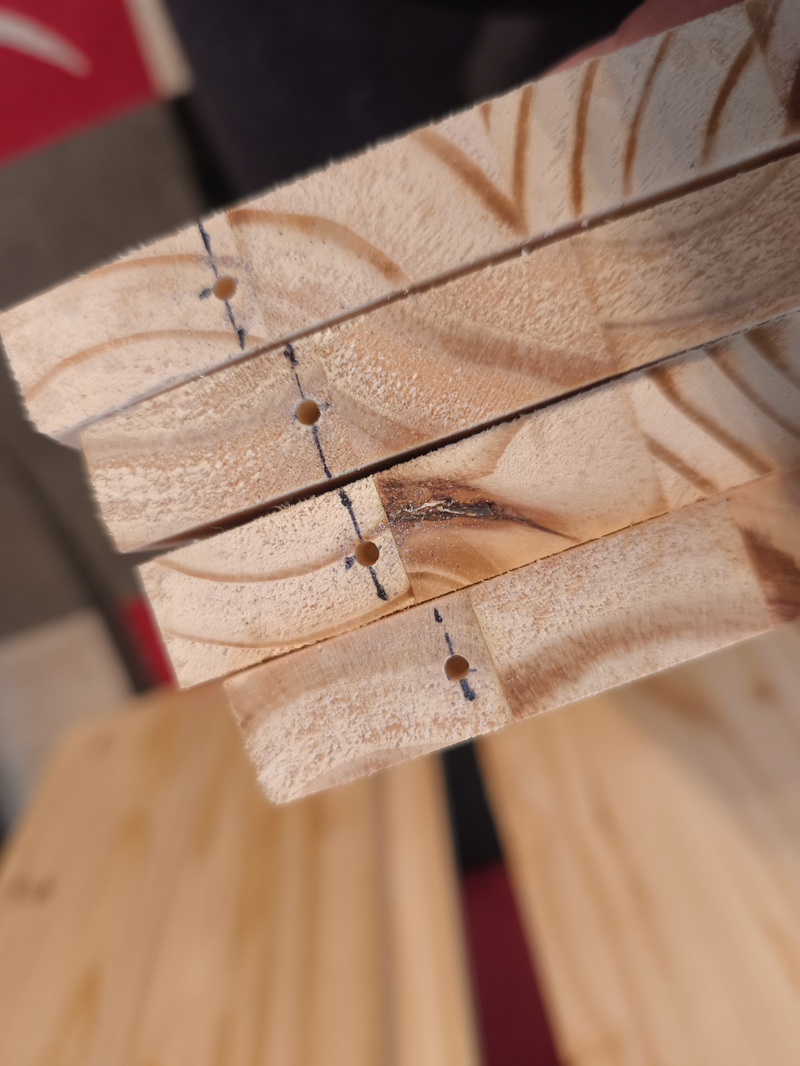
- Measuring and drawing hole location on Inner faces when it applies
- Drilling the holes
- Sanding (I did 80 then 180, wanted to be quick)
- Removing the dust
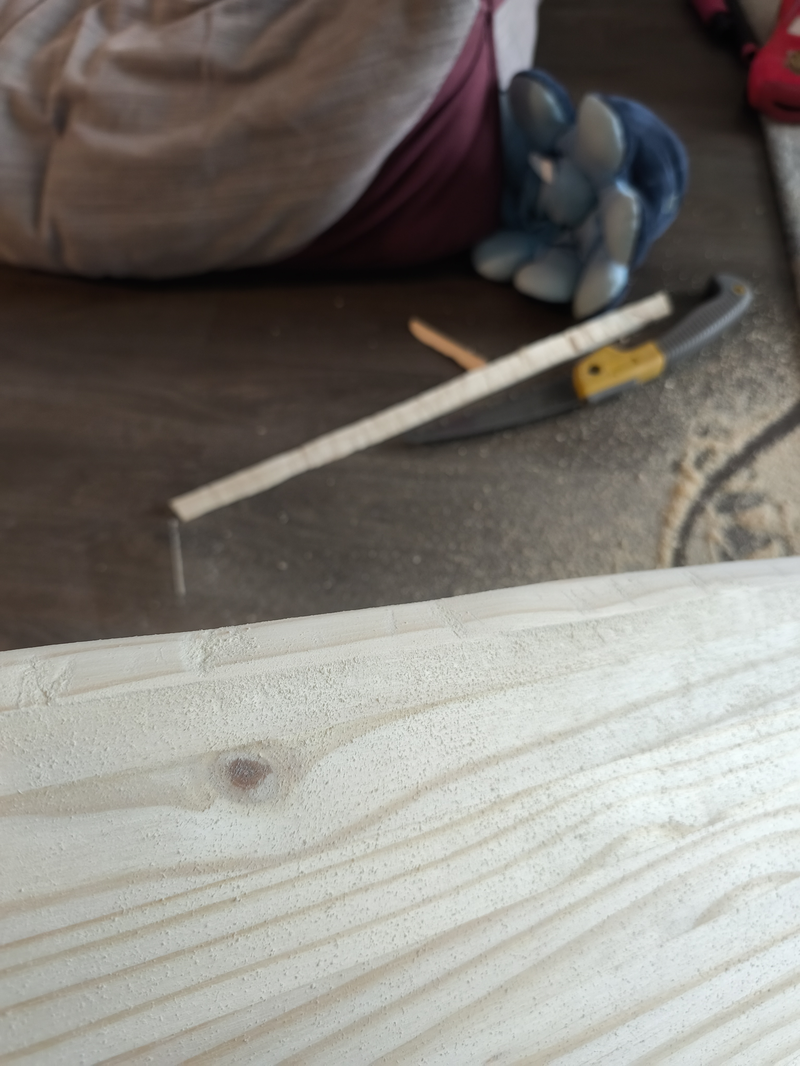
- For tablets, I cutted the border to make “vintage effect”. Used a saw from tree branches (not adapted, but OK for that). Then, sanded with 80 to have a smooth finish, then 180.
- Varnishing upper faces x 2
- Varnishing lower faces x 2
- Screwing when dried
It took me one full day: went at 11am to buy the elements, finished at 11pm, with 4 hour breaks (eating + playing with my child) (did not wait fully 2 hours between layers, nor 24h after final layers.)
Tools available: dremel (sanding done by hand, main cut done by the wood shop, tablet cut done by hand).
Process
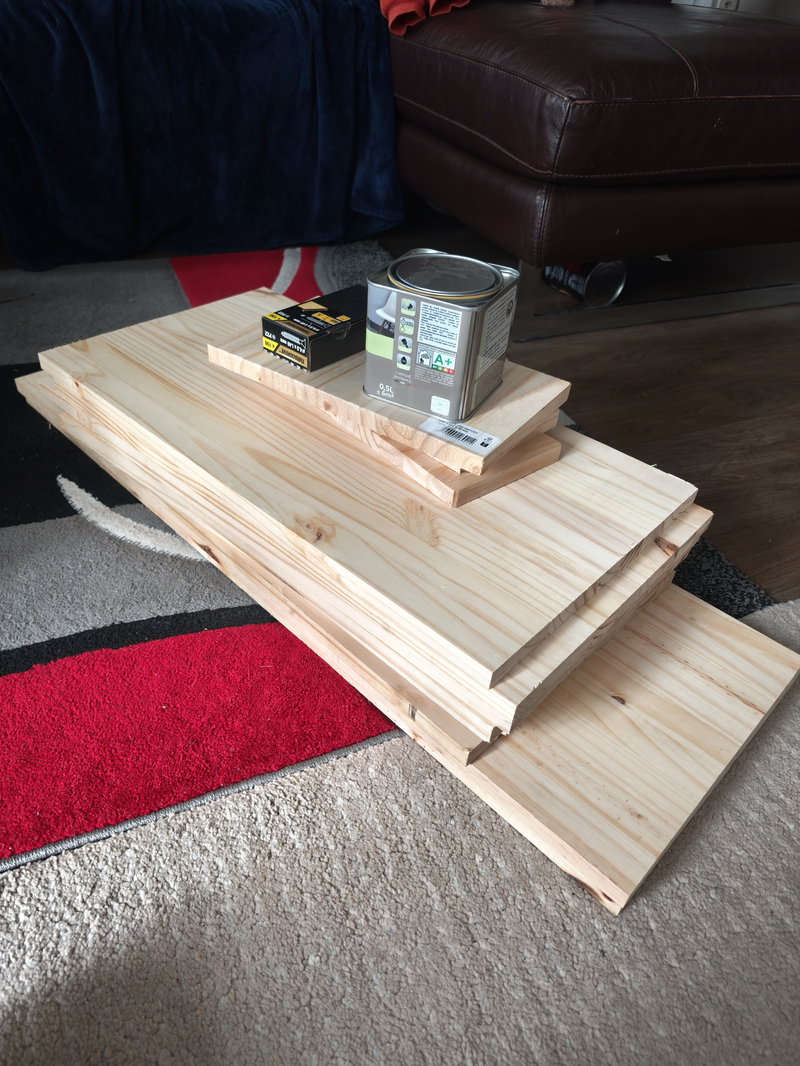
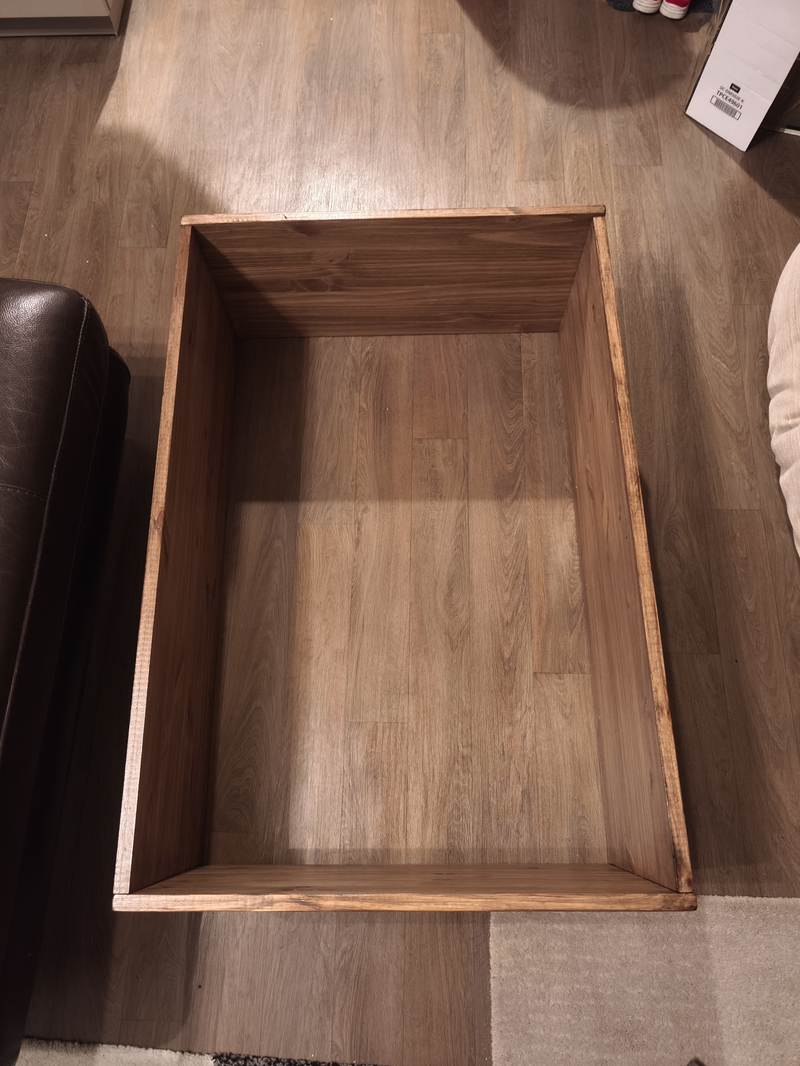
Raw materials
Preparing location of the holes
Drilling
Varnishing
0 -> 1 layer
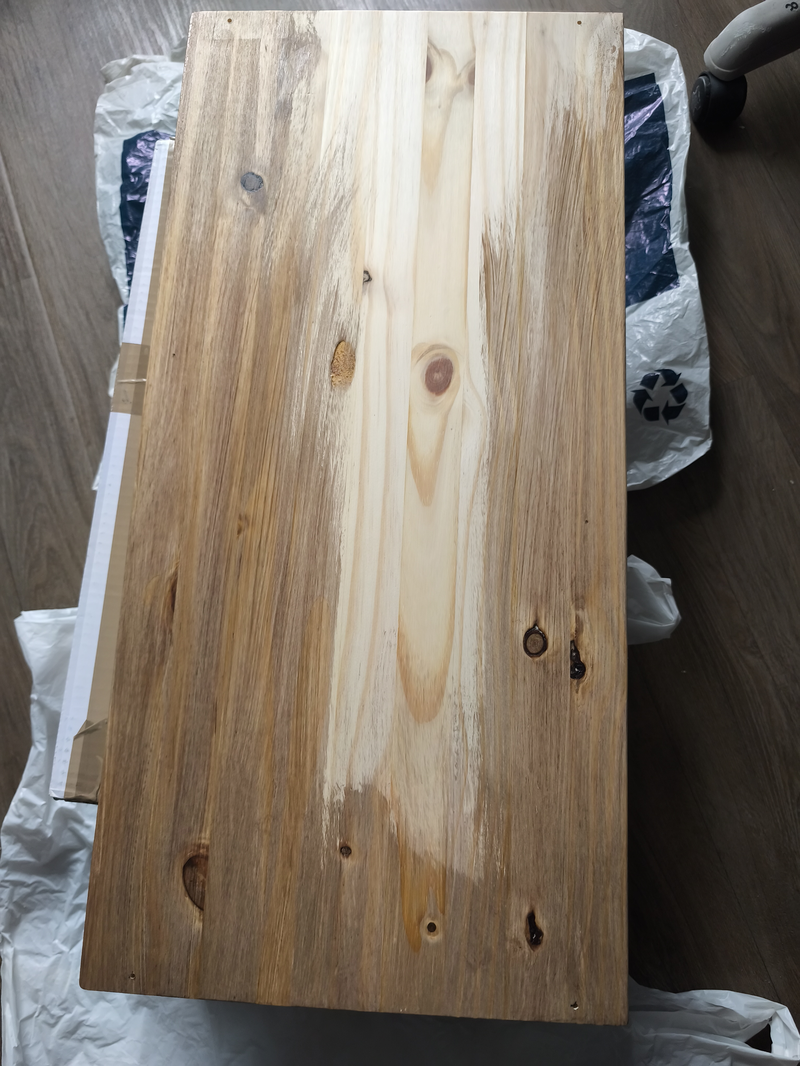
1 (left) -> 2 (right) layers
Edging
Cutting with bias the tablets
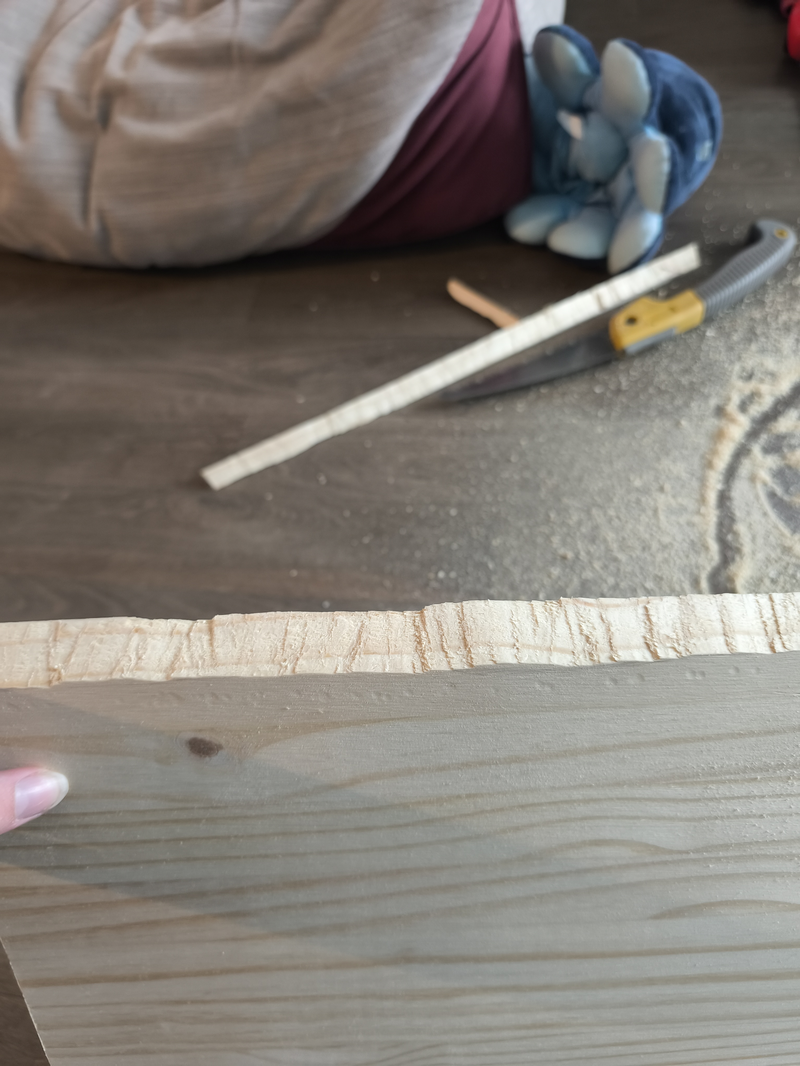
Sanding
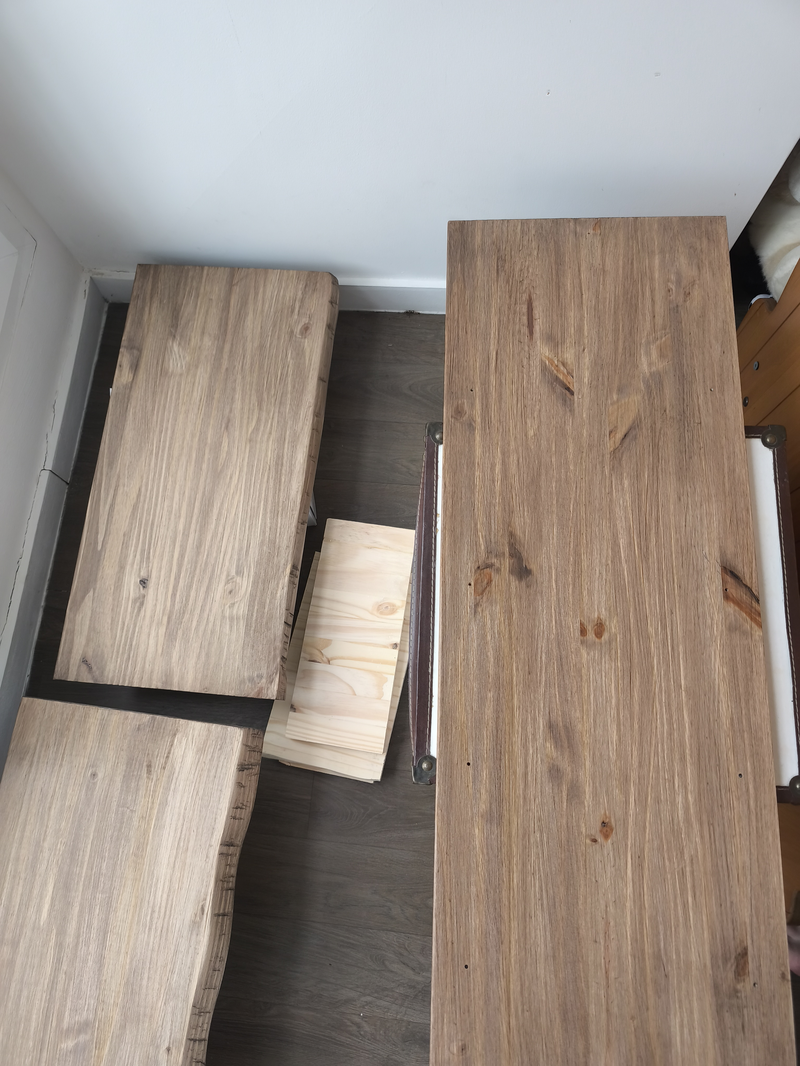
Assembly
Adding the tablets
Before, stack of shoes
Final result