
It took me more than one year to finish this project. Cowhide was hard to sticth, very thick. So doing 10cm was taking a lot of time.
SEP 000
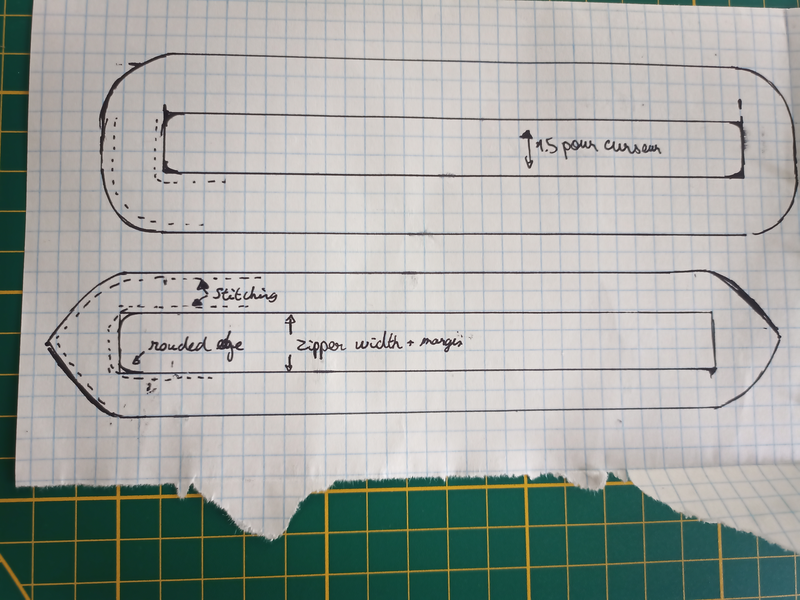
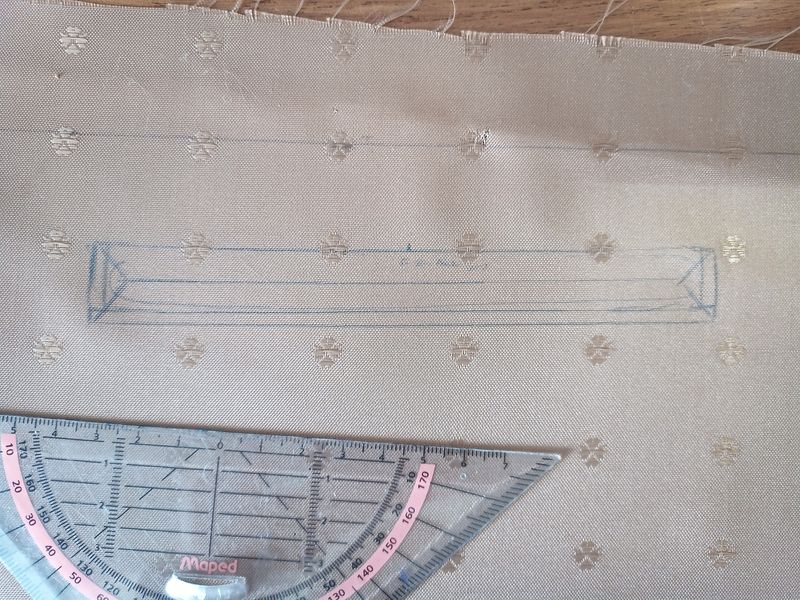
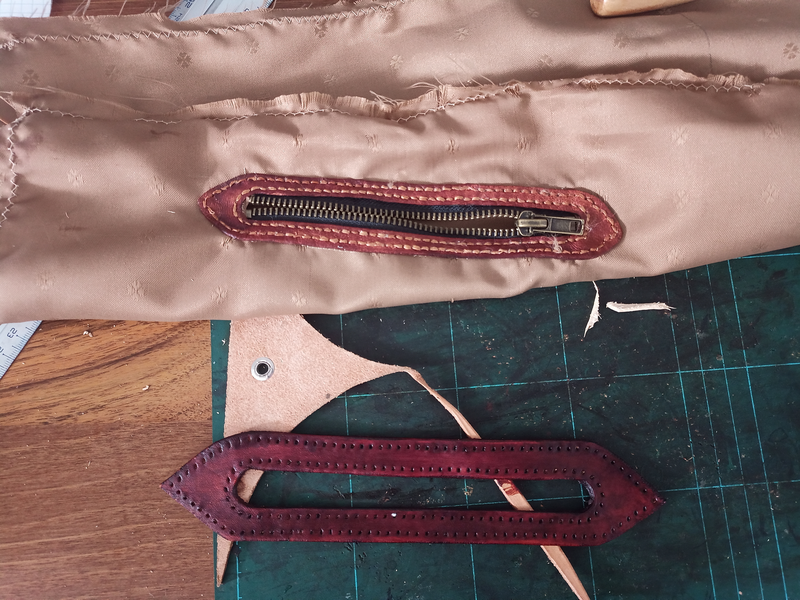
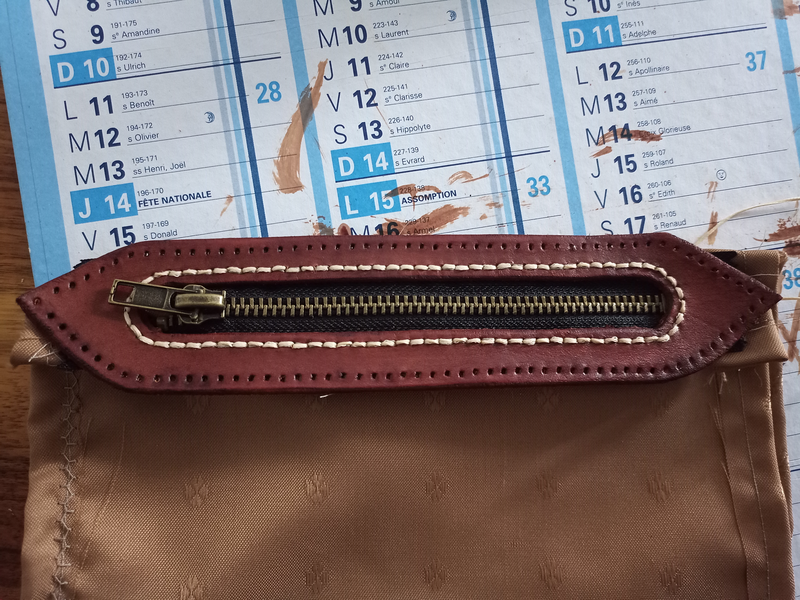
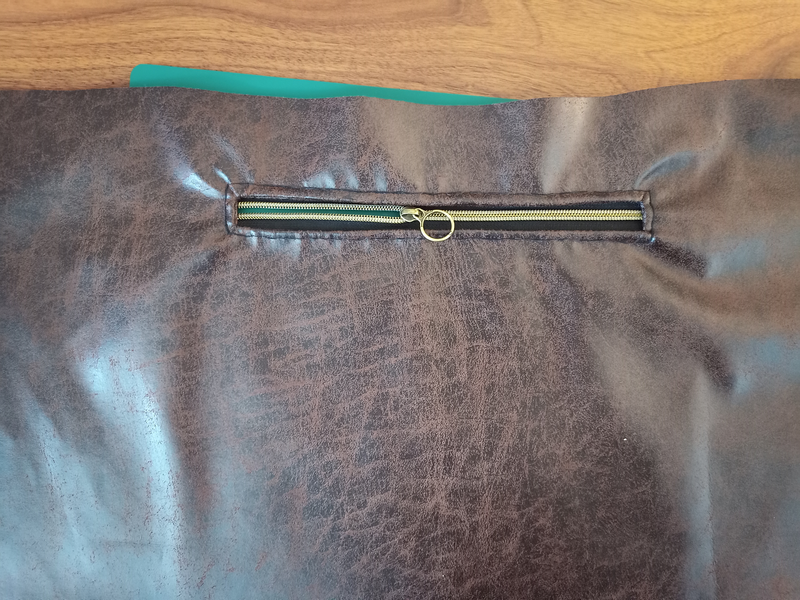
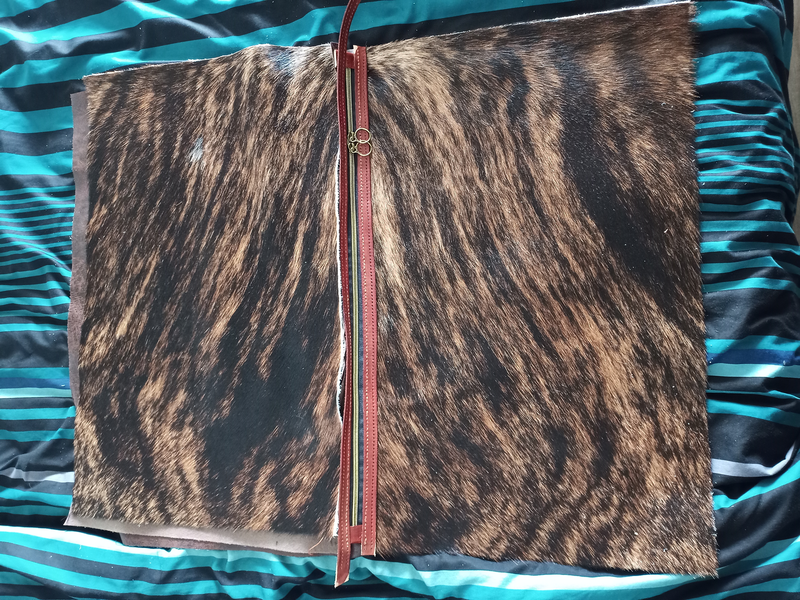
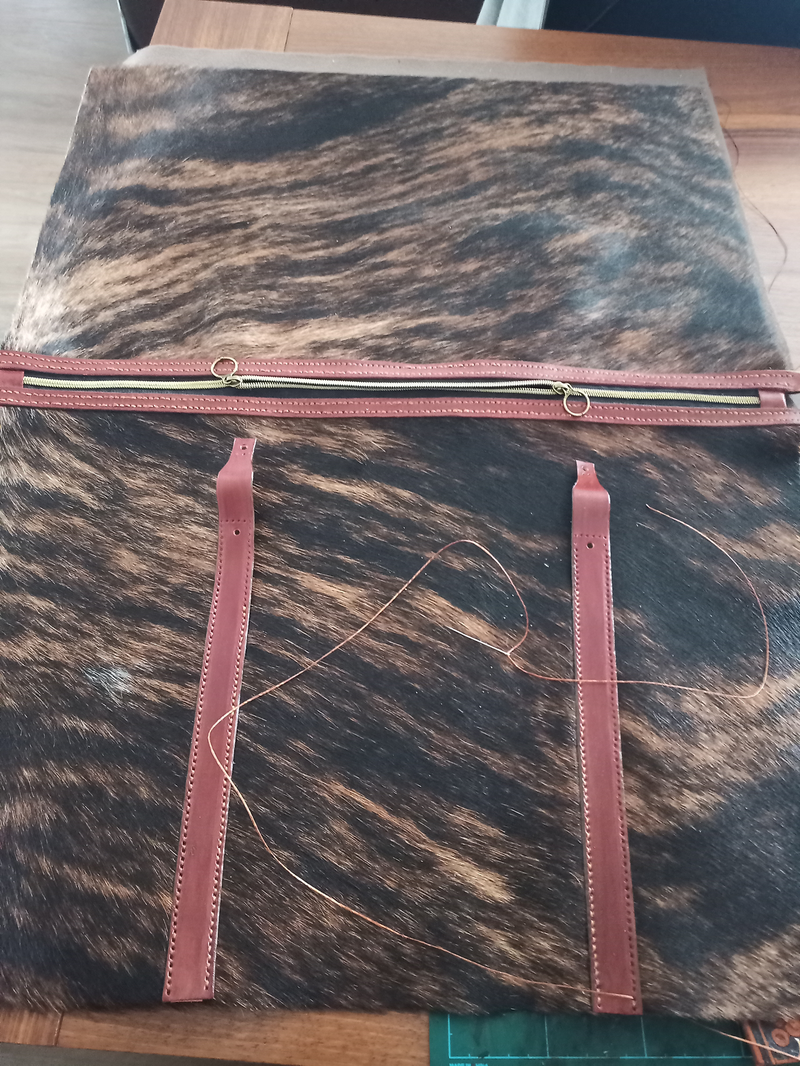
What it would look like after stitching
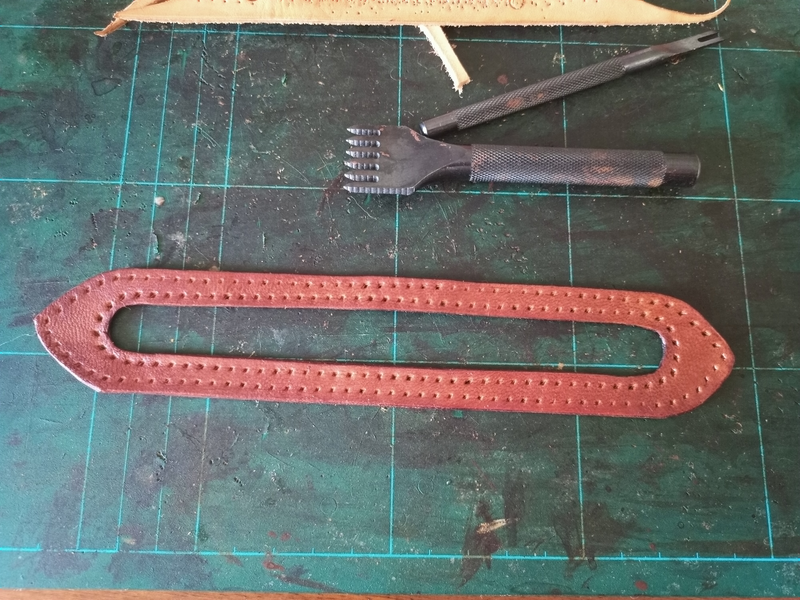
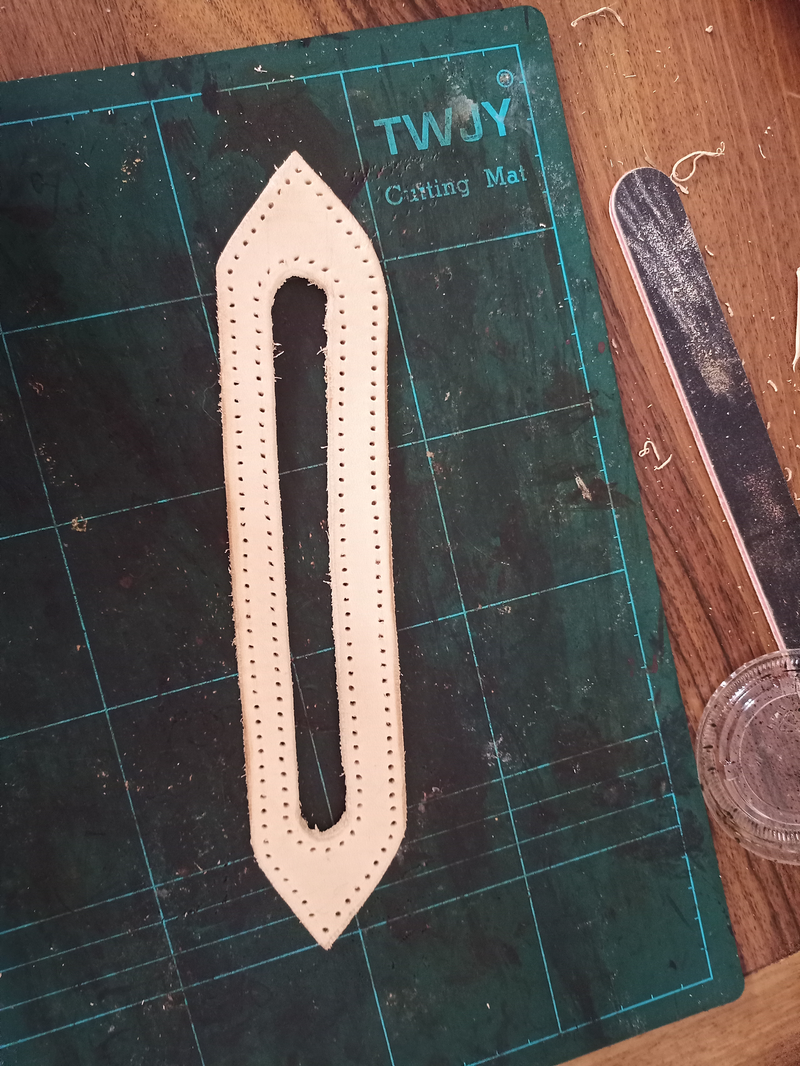
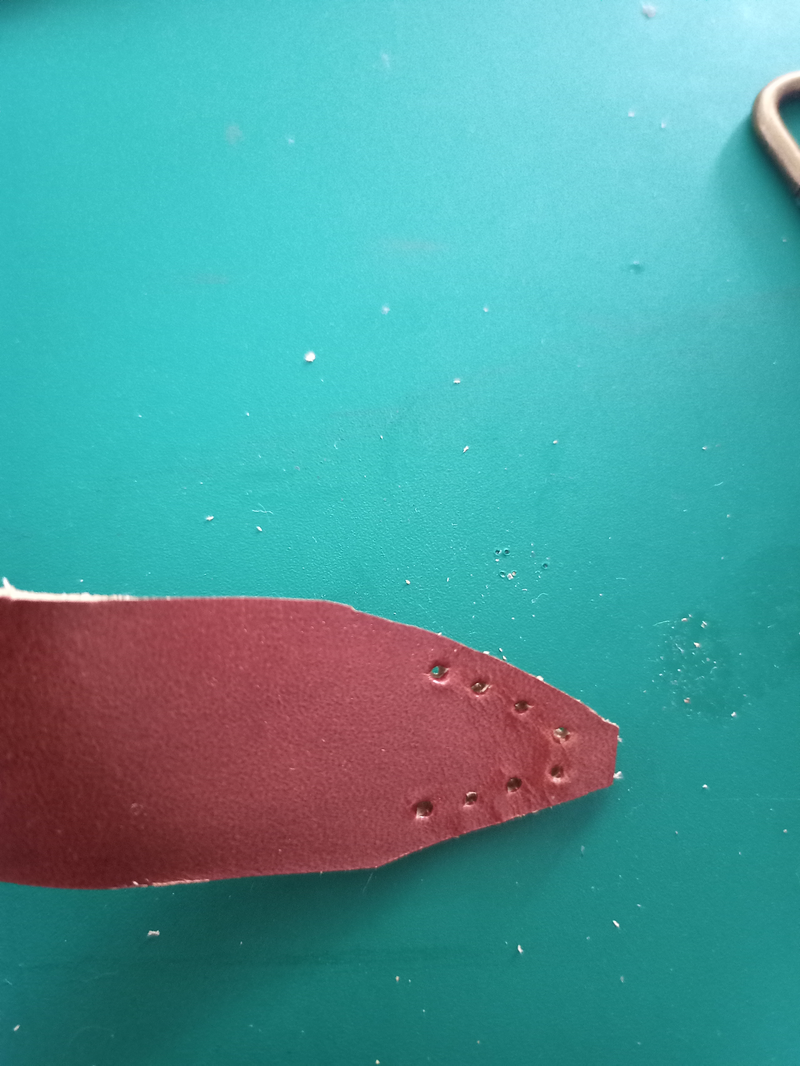
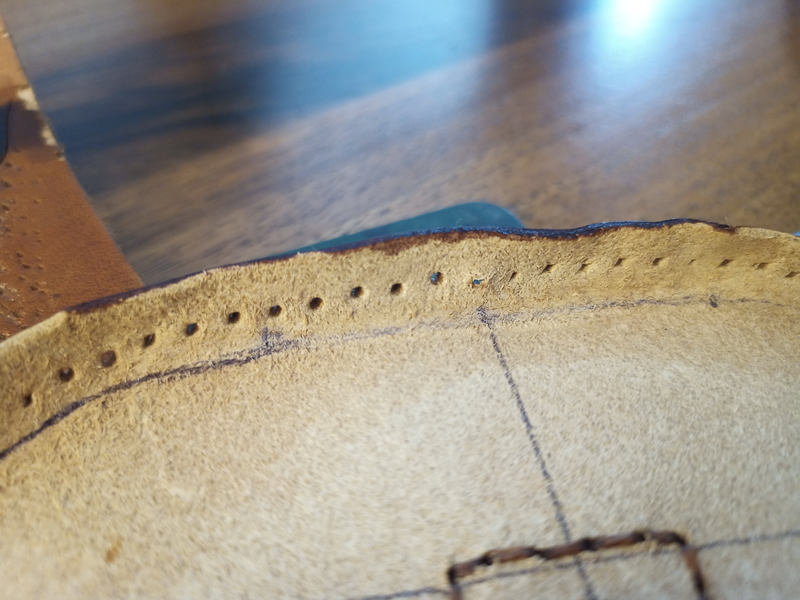
Adding the holes
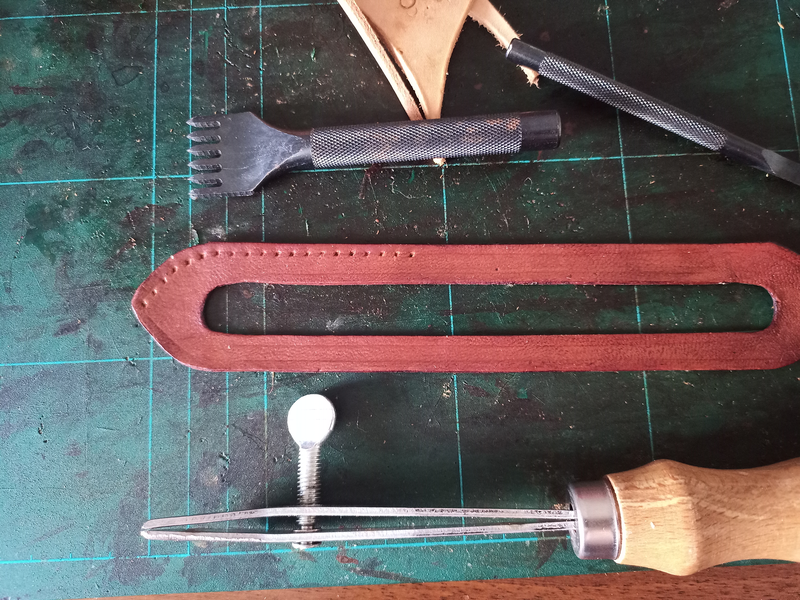
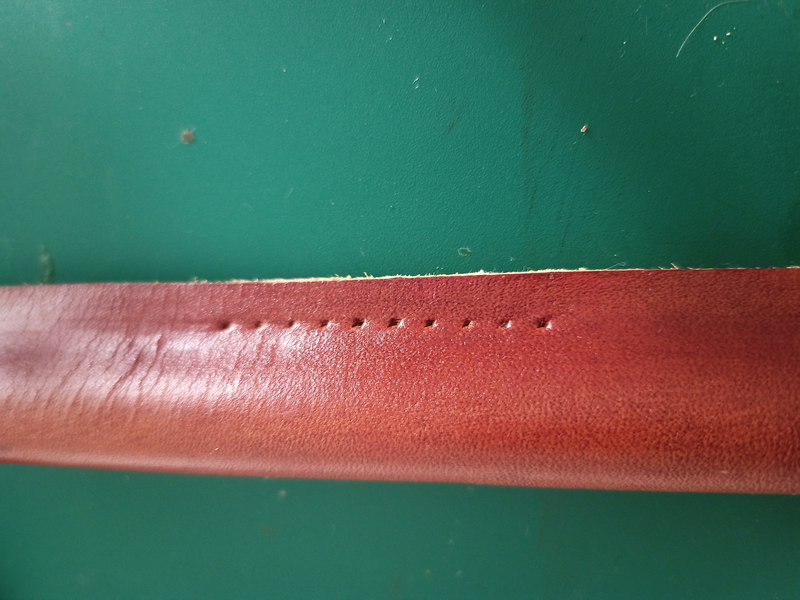
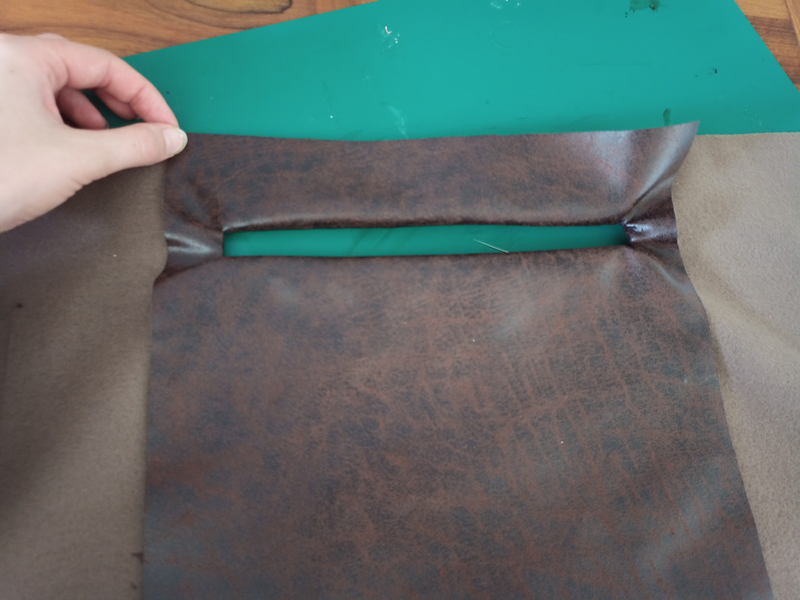
Preparing the hole location
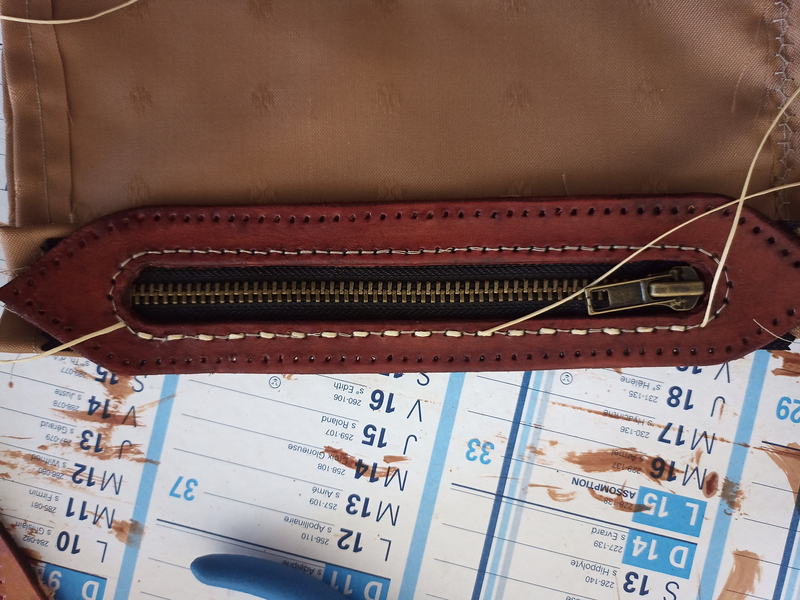
Stitching the borders
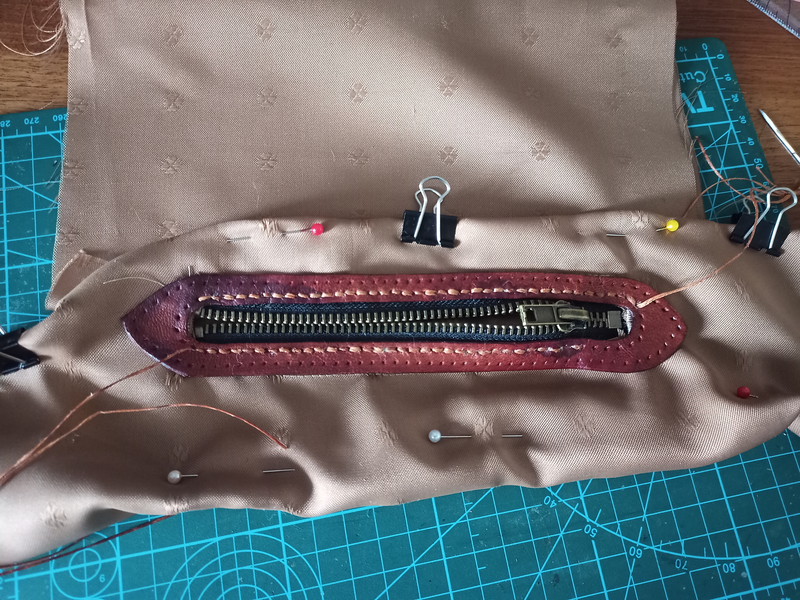
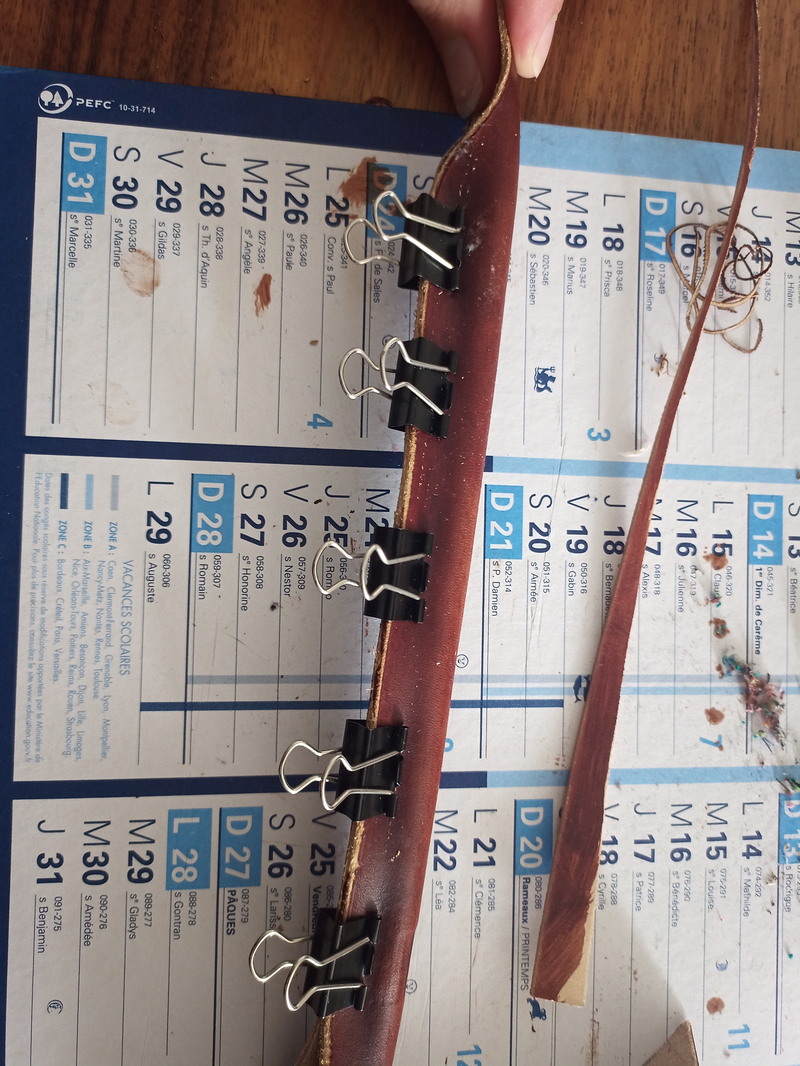
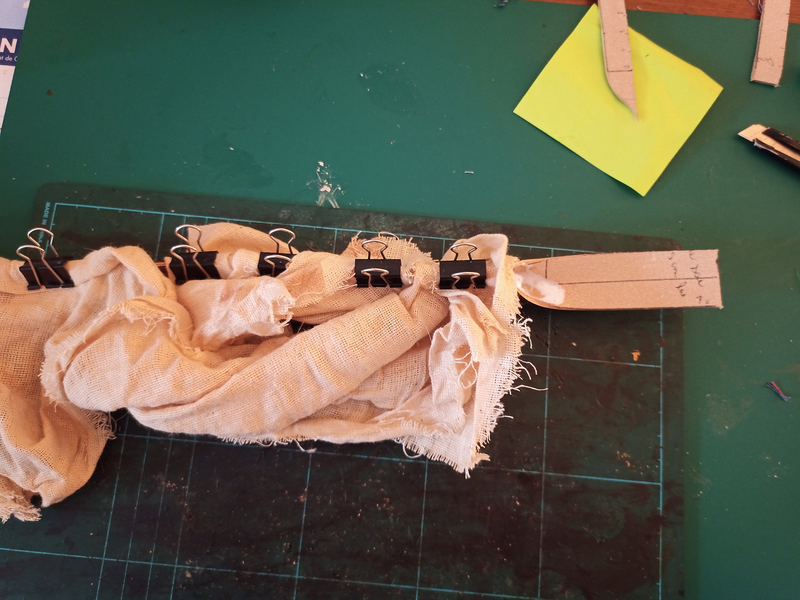
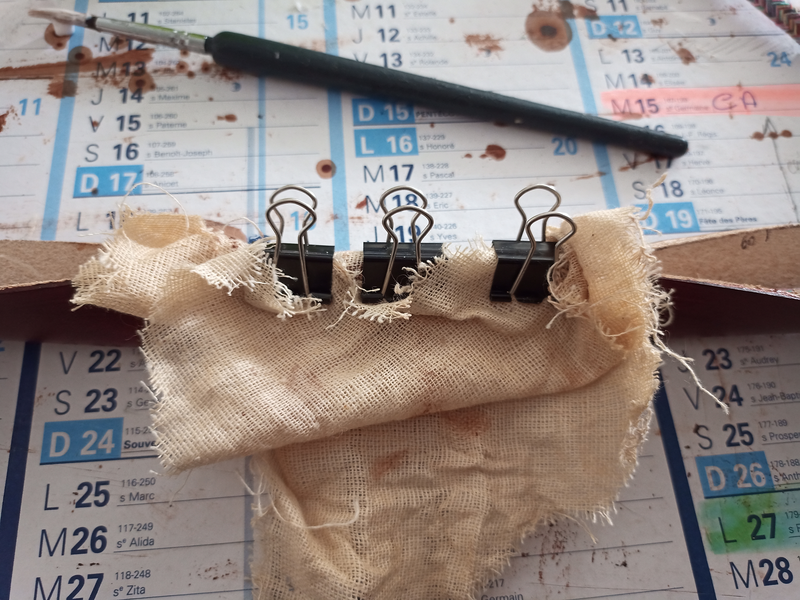
On the reverse side Clamps are here to maintain the fabric to avoid stitching errors
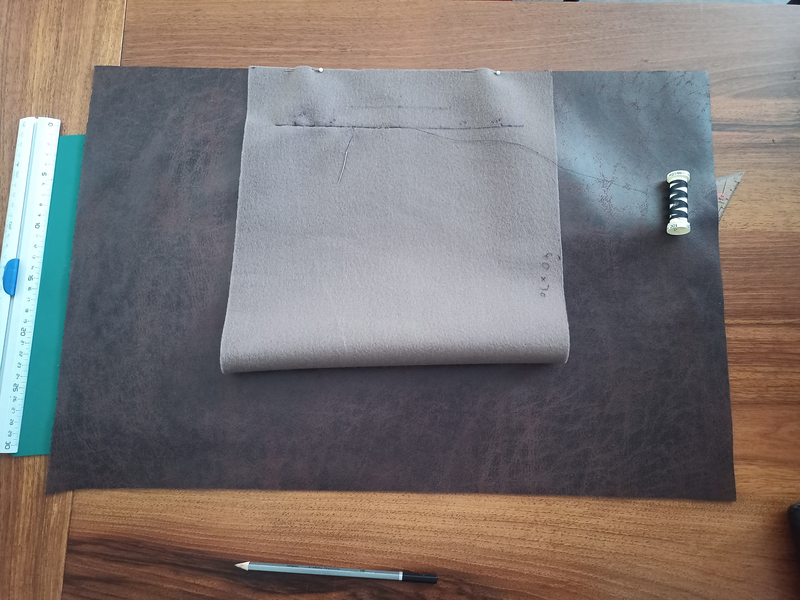
Another pocket to prepare
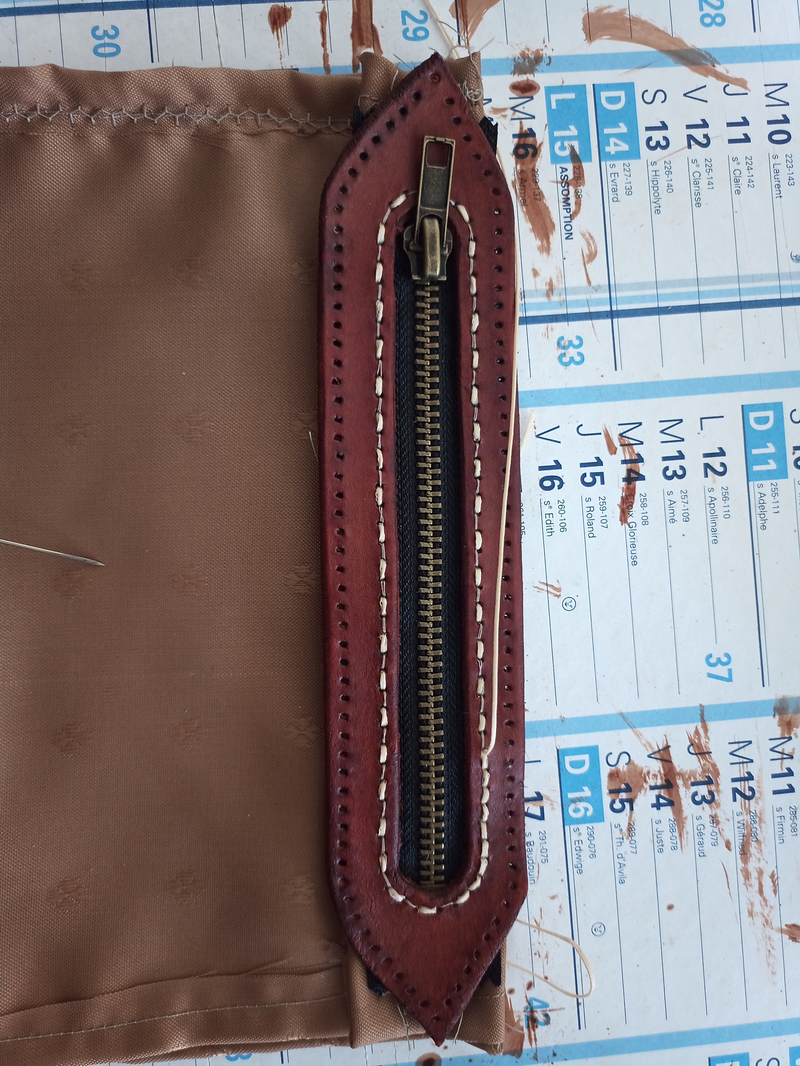
Before after stitching
Stitching to the leather with easy to stitch thread
Adding the nice and strong thread
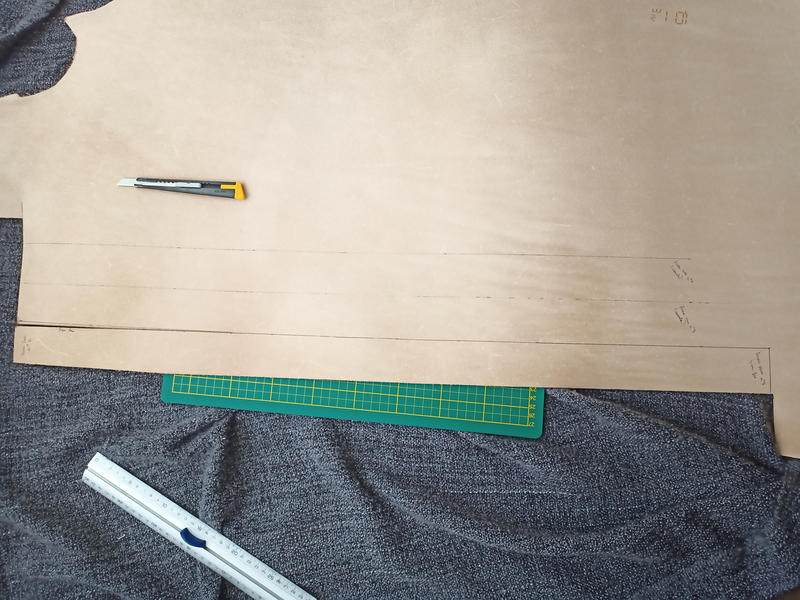
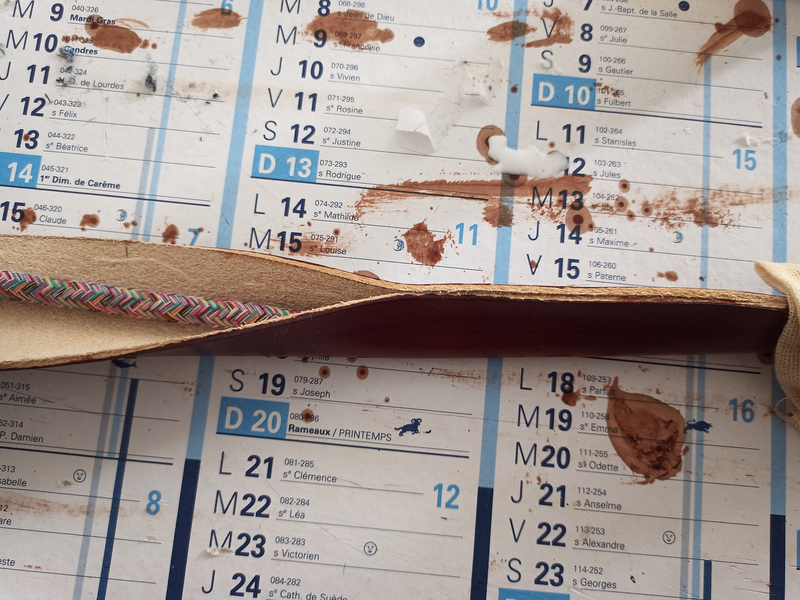
Uncutted leather
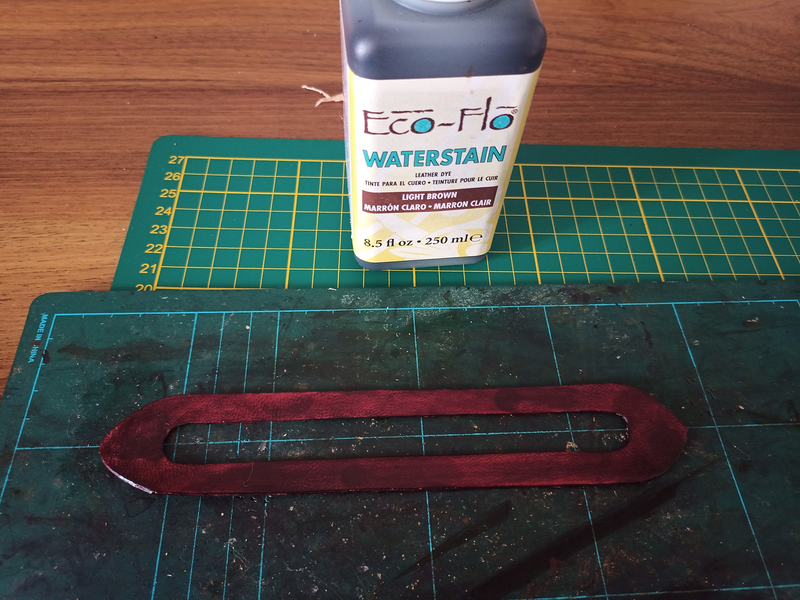
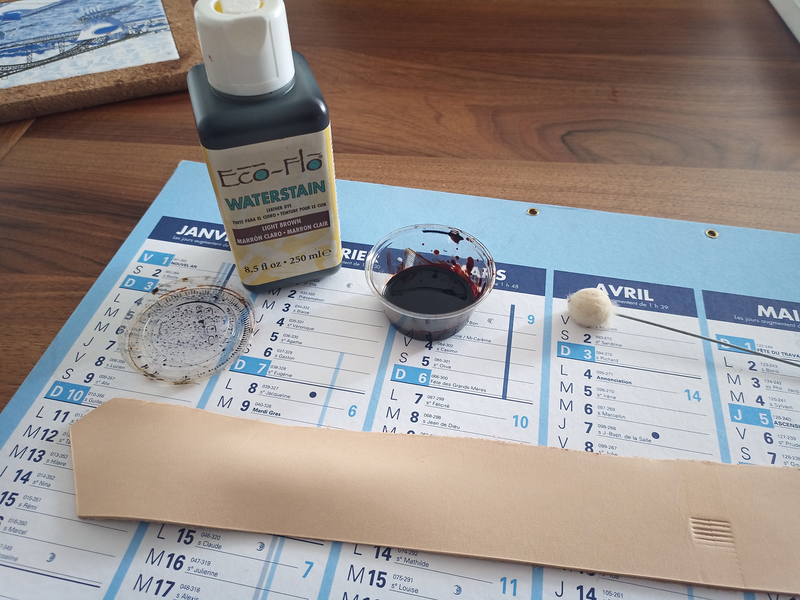
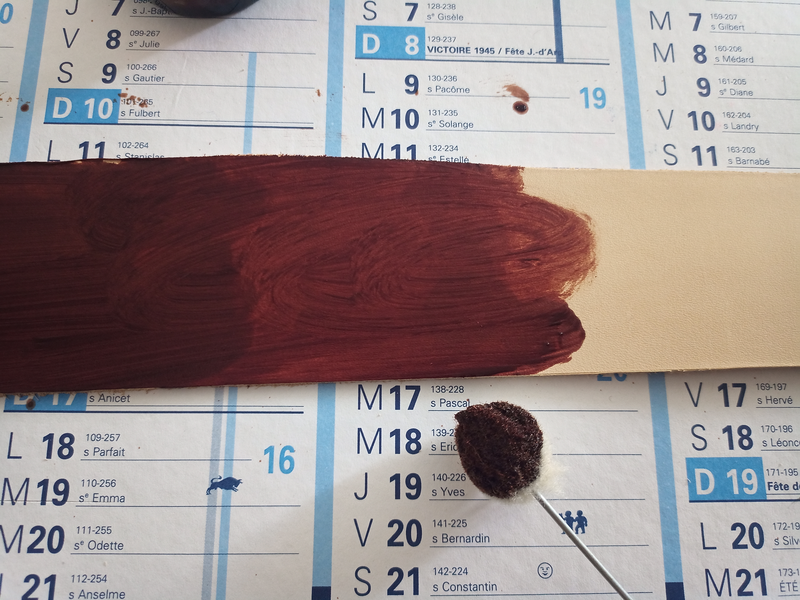
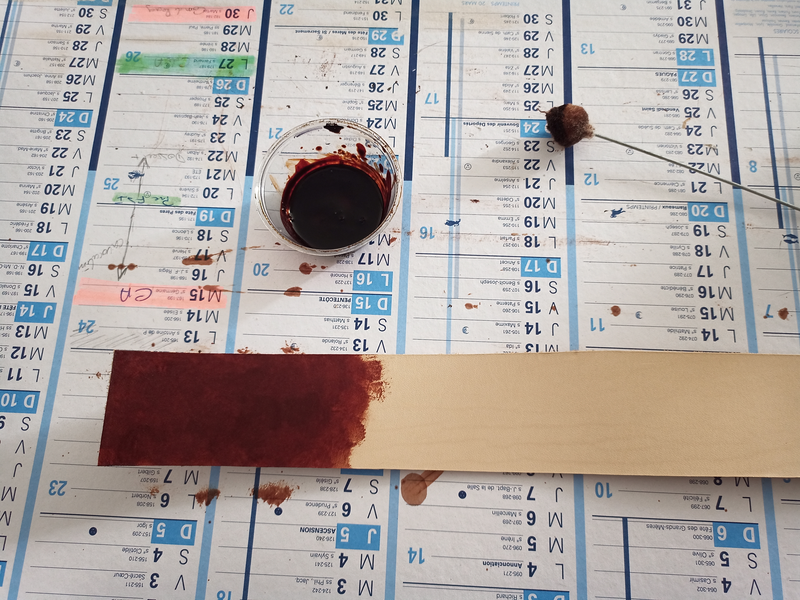
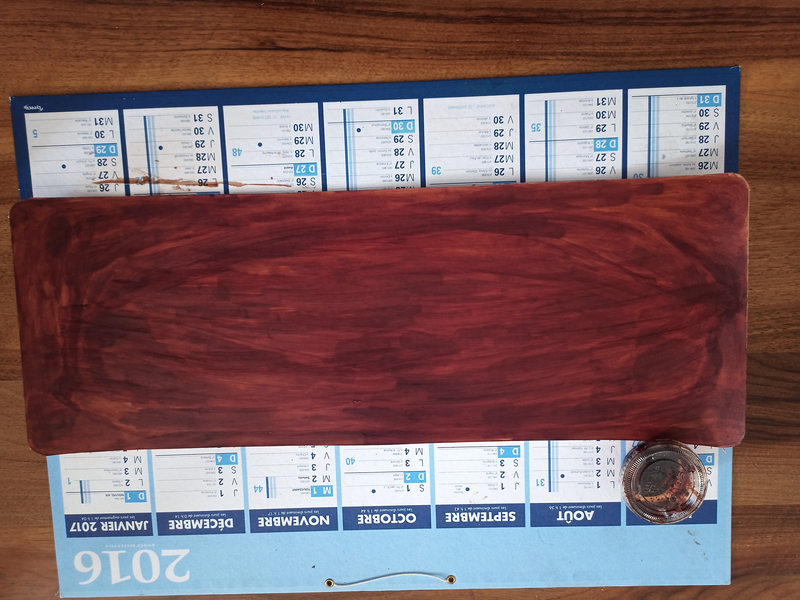
Prepare the dyes
Dye
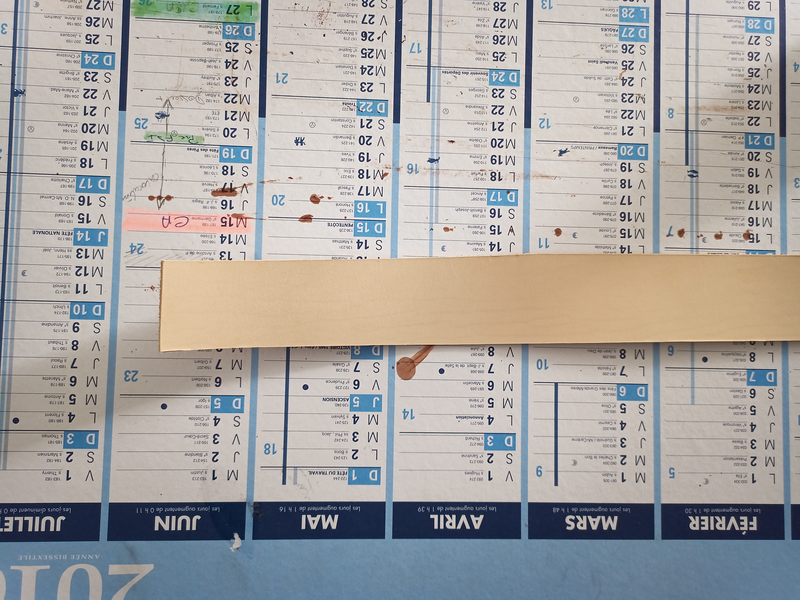
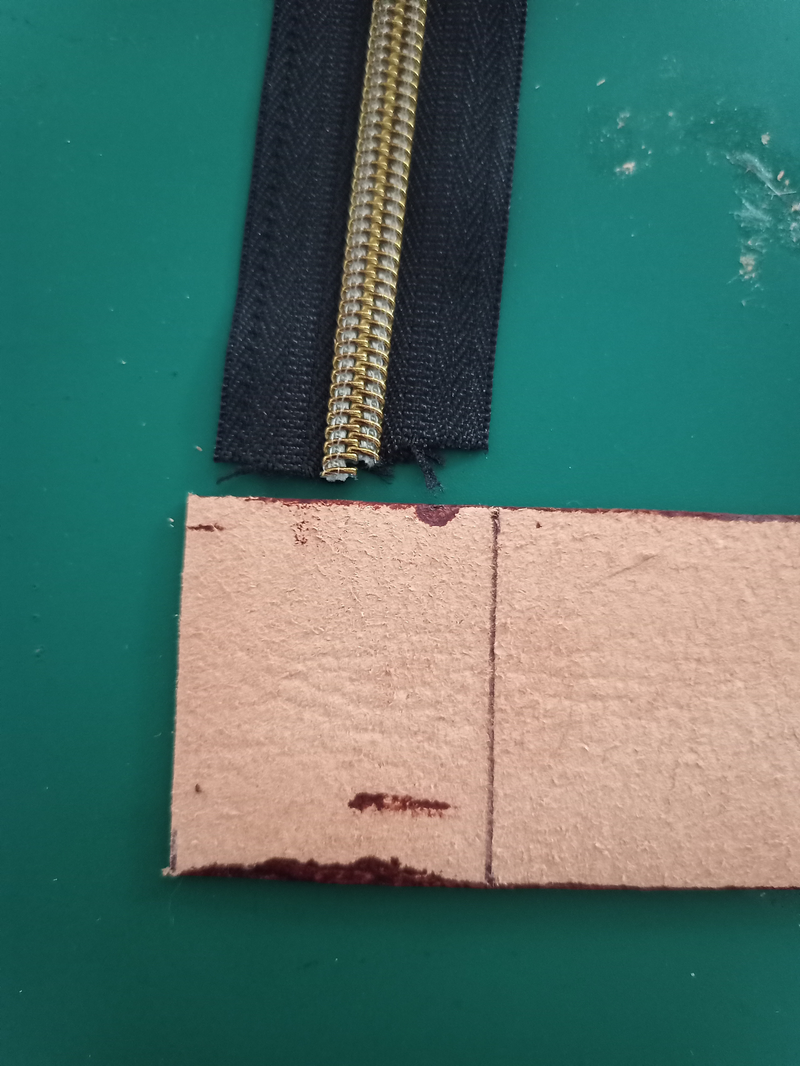
Cut the extremities
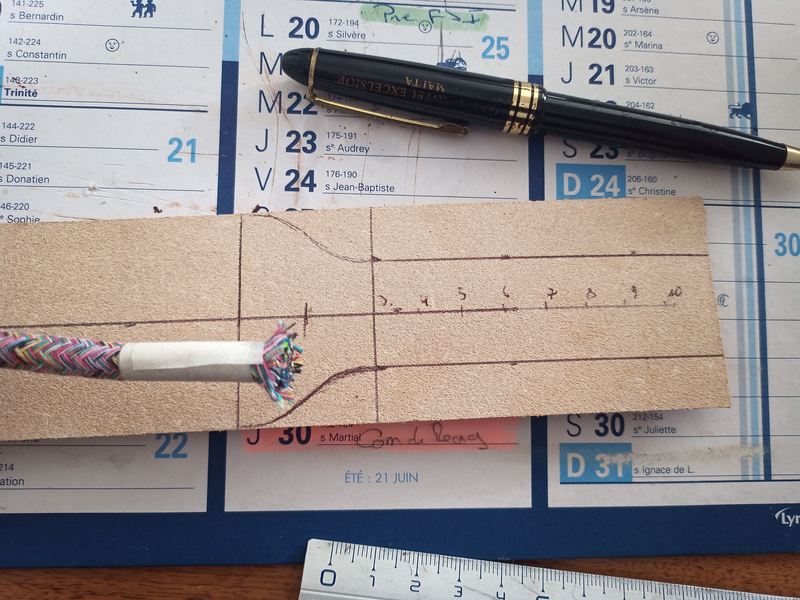
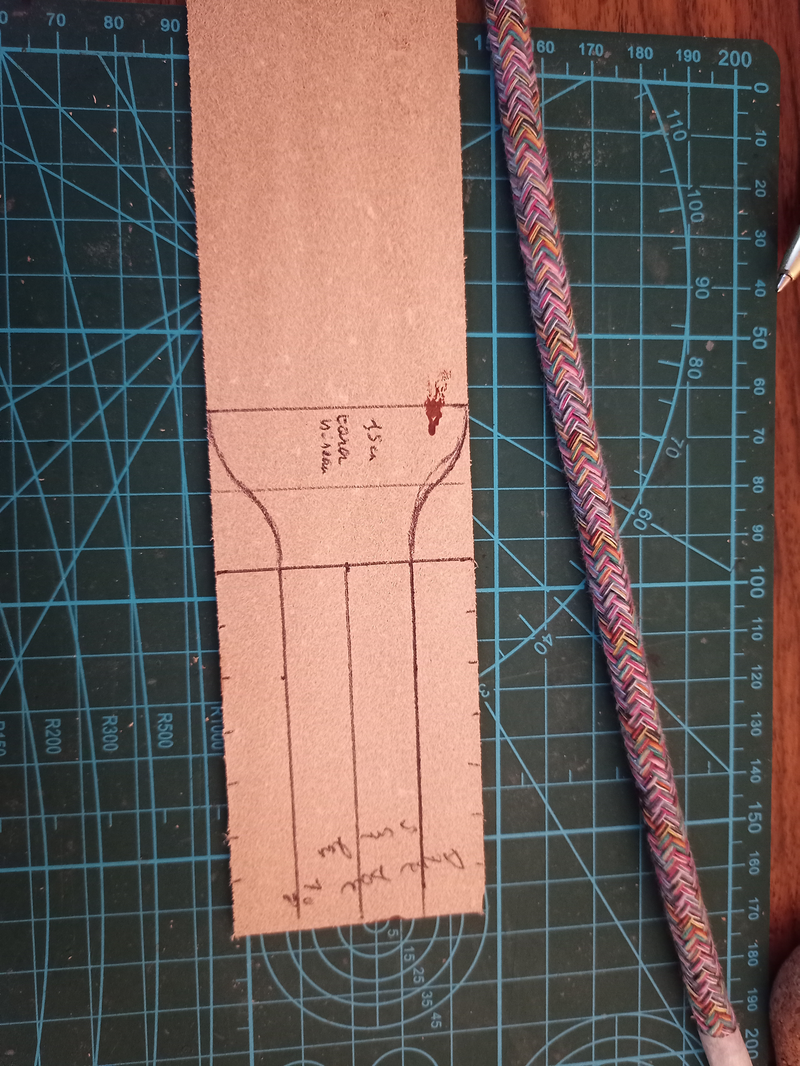
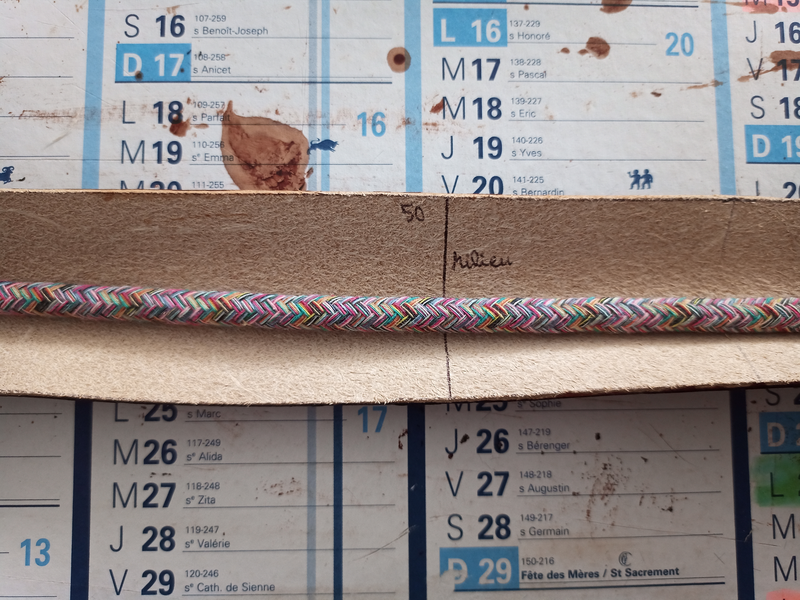
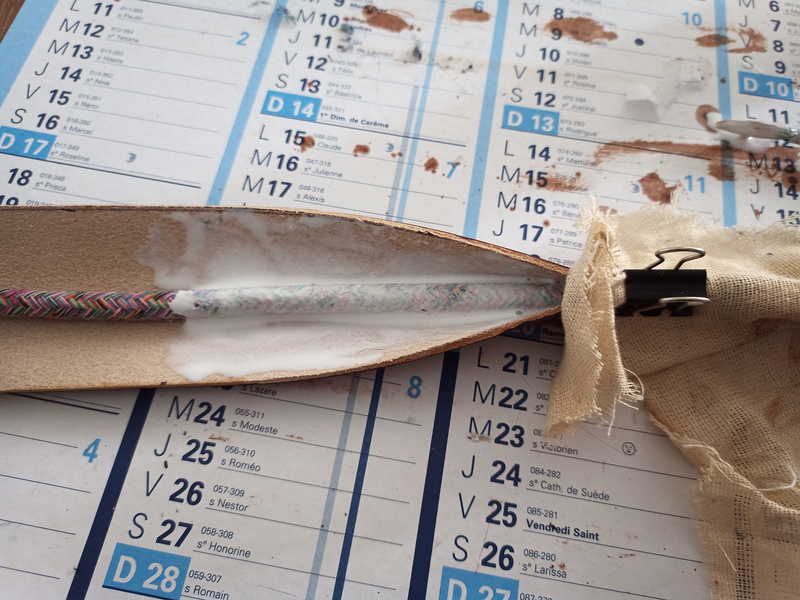
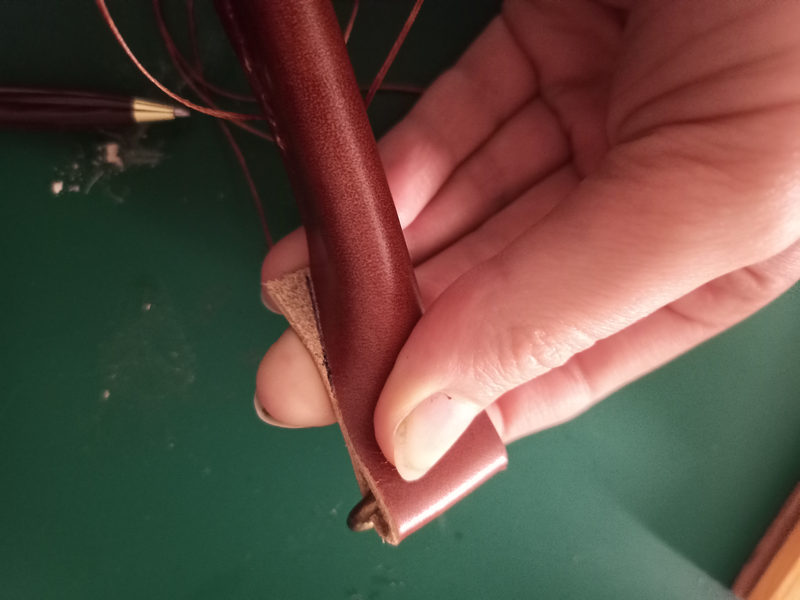
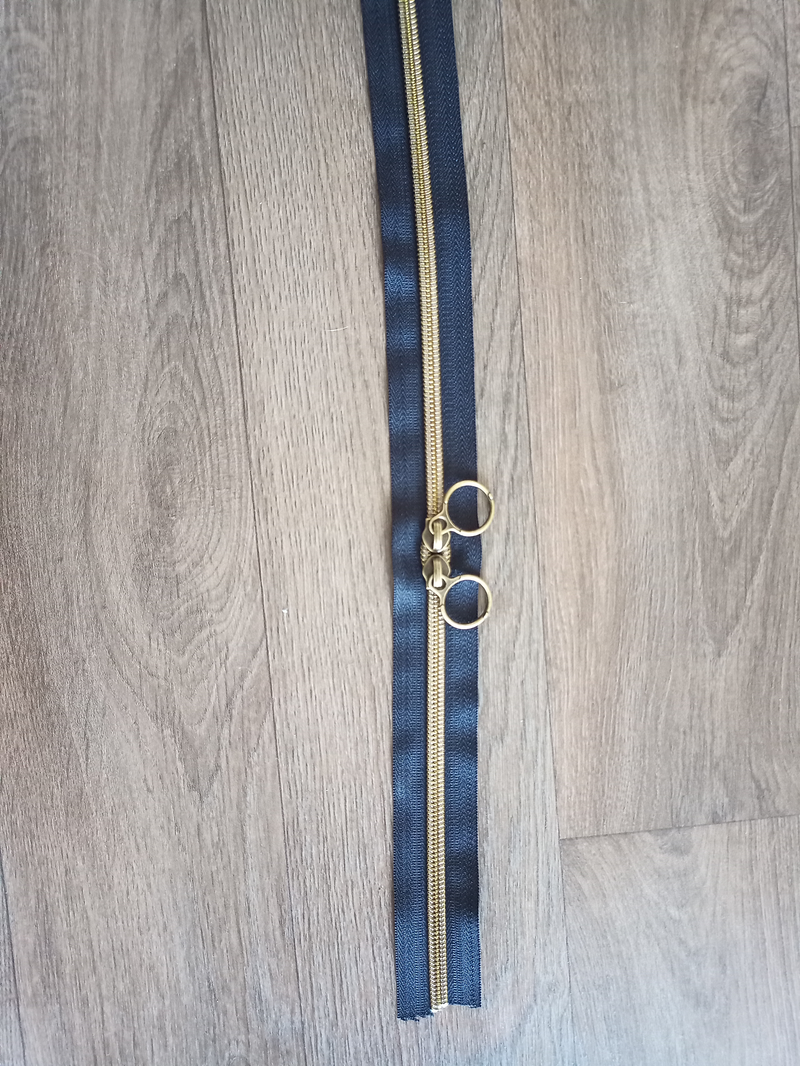
Prepare the coil
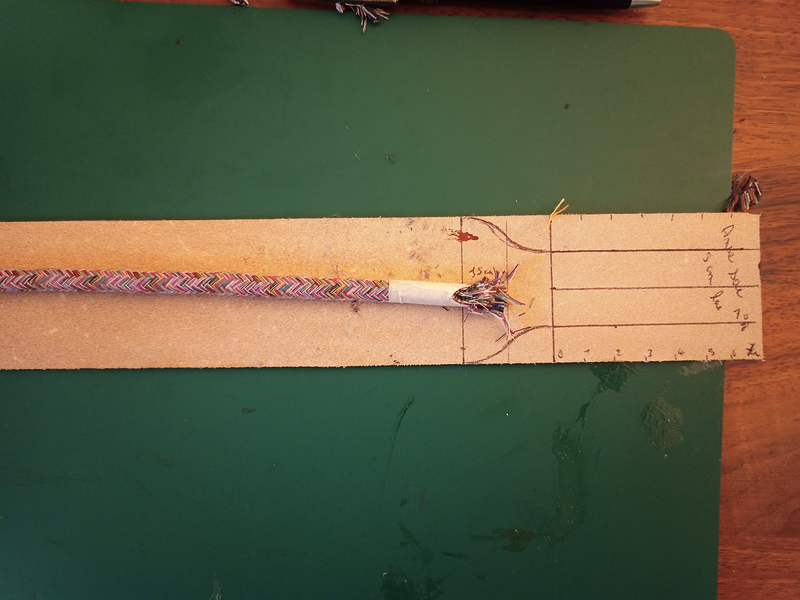
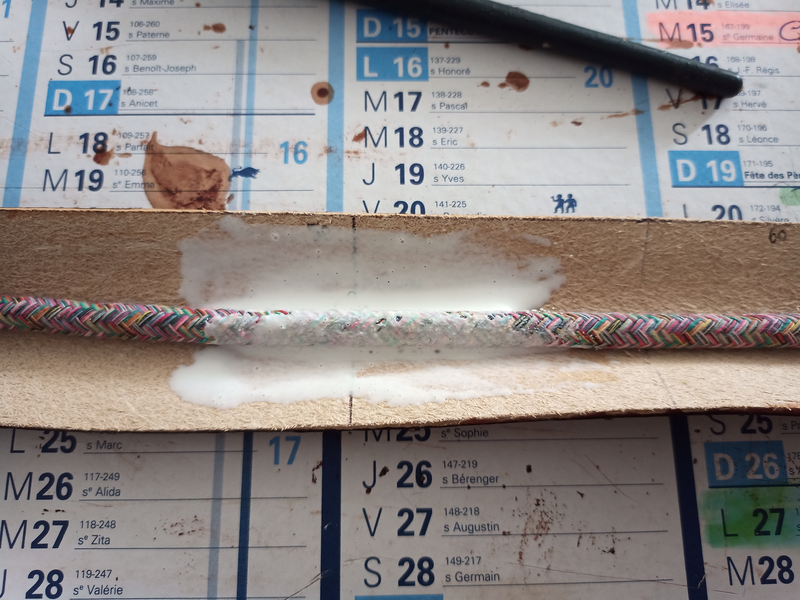
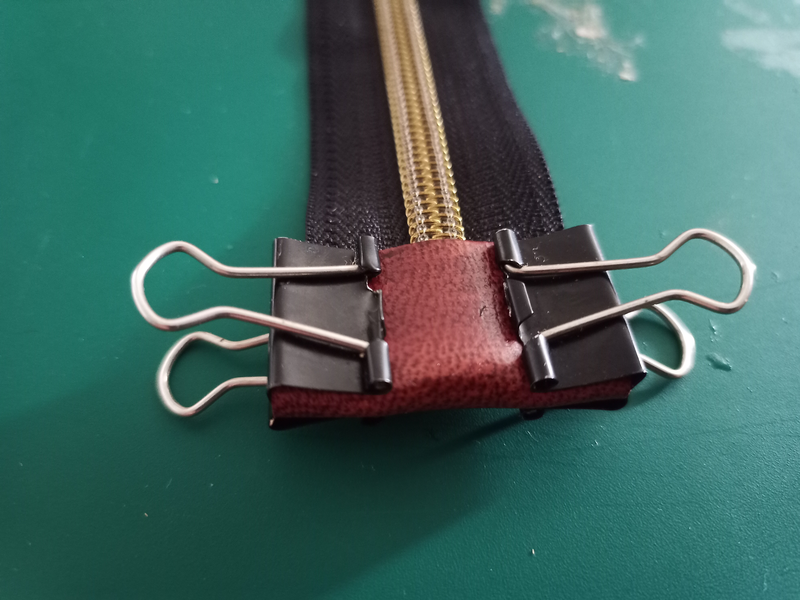
Glue the coil
Use clamps to fix it
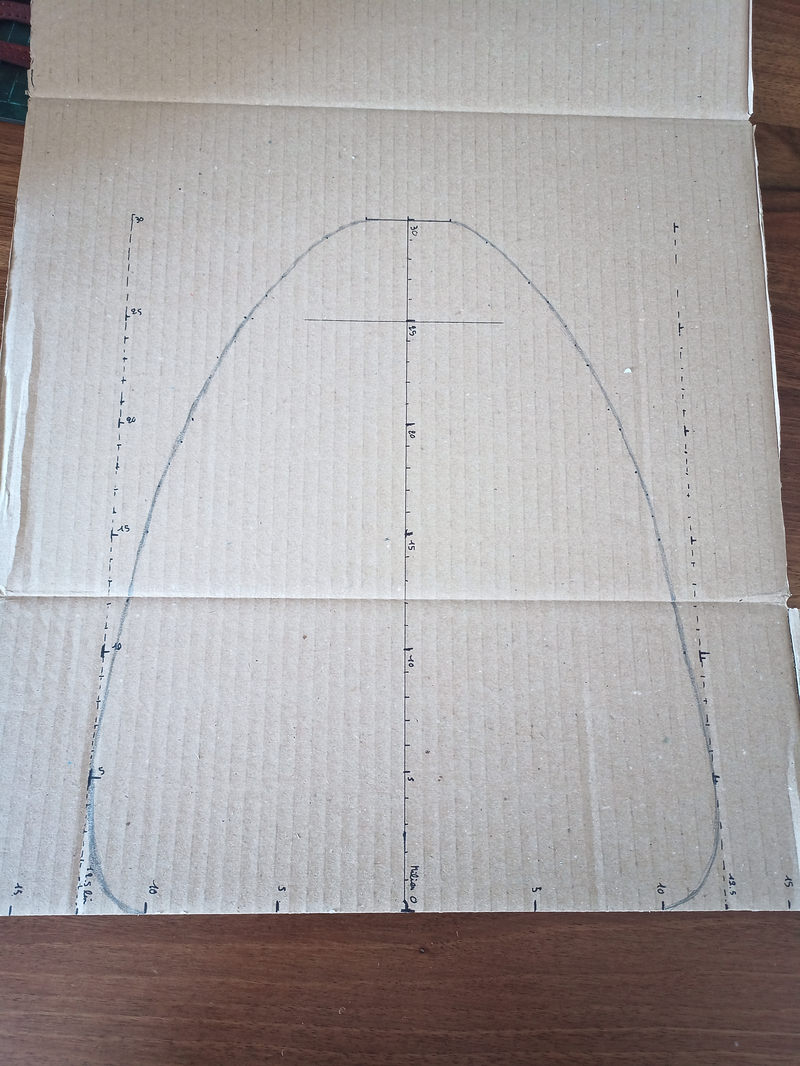
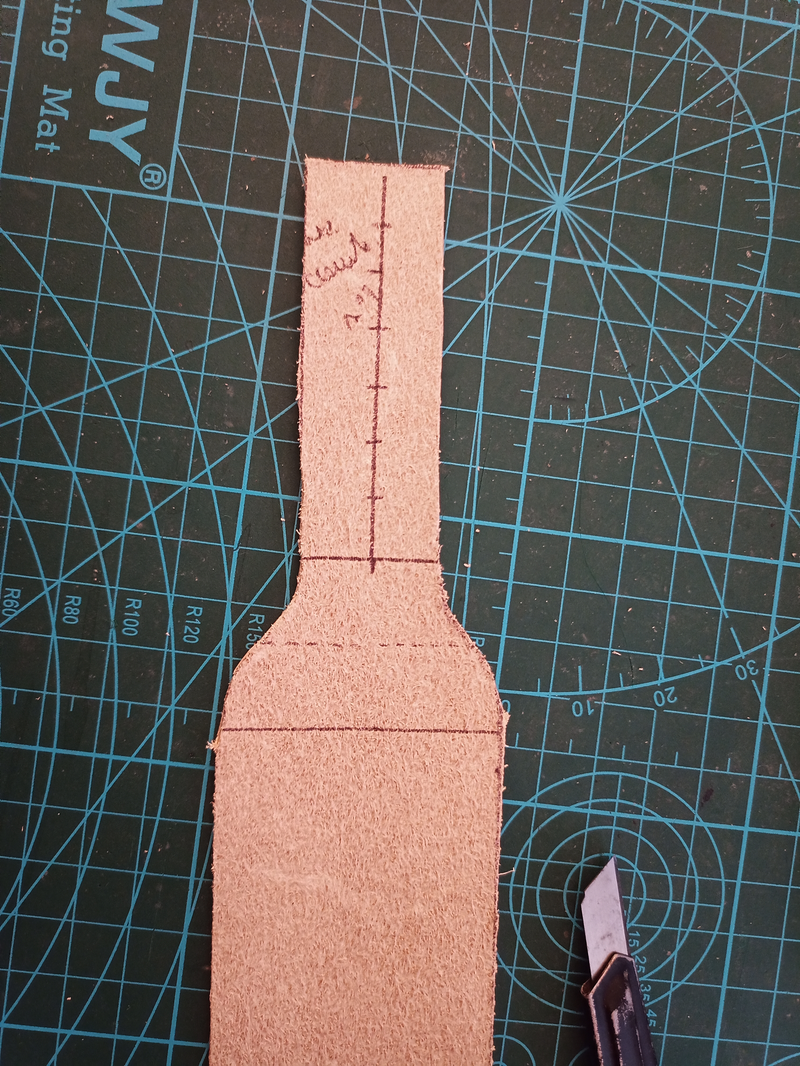
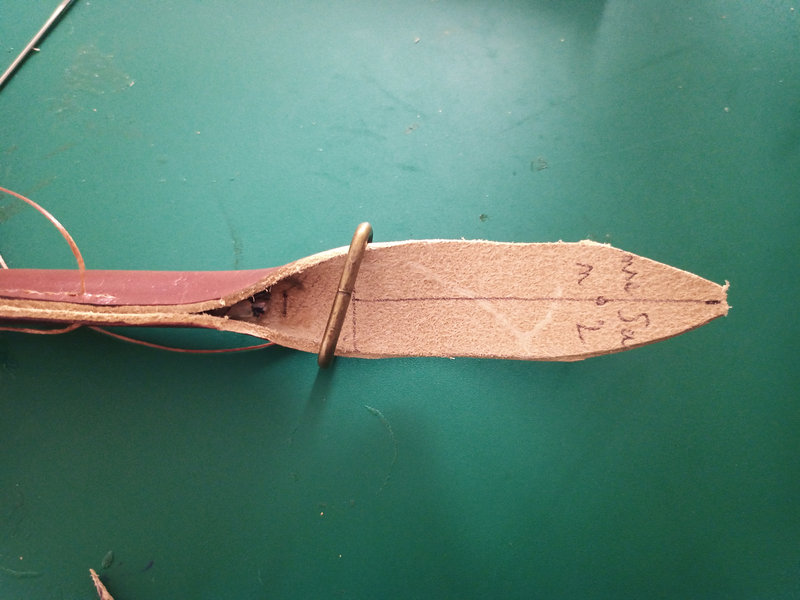
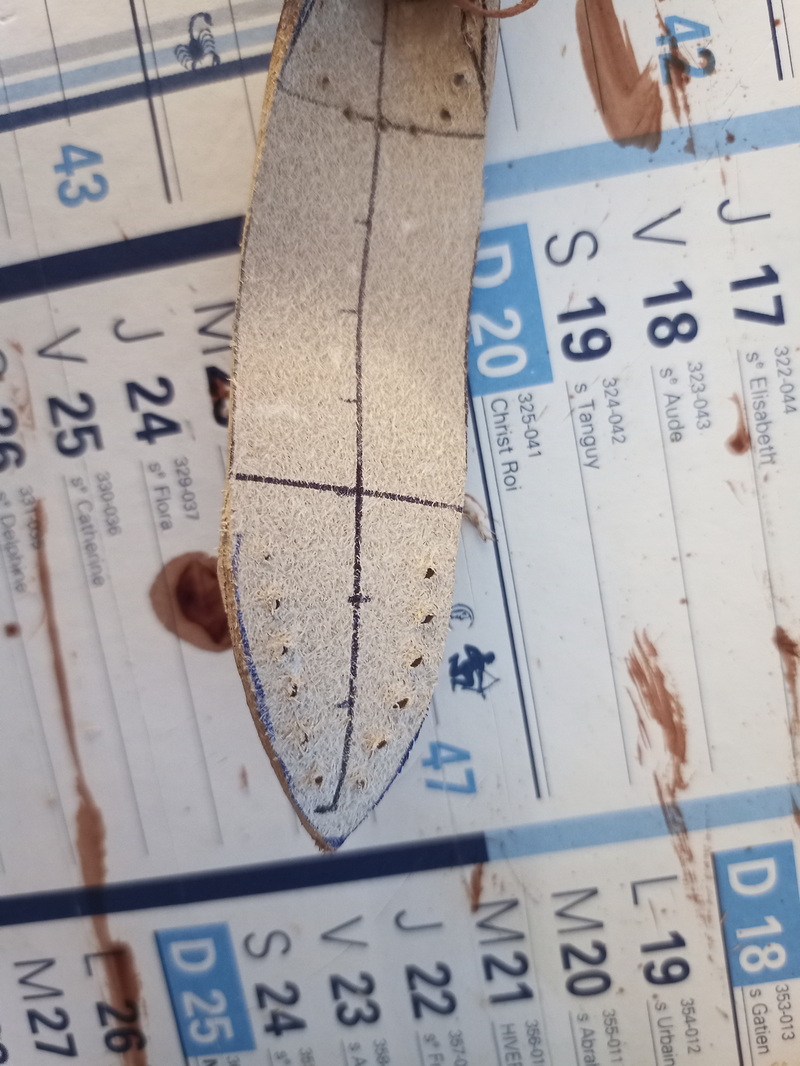
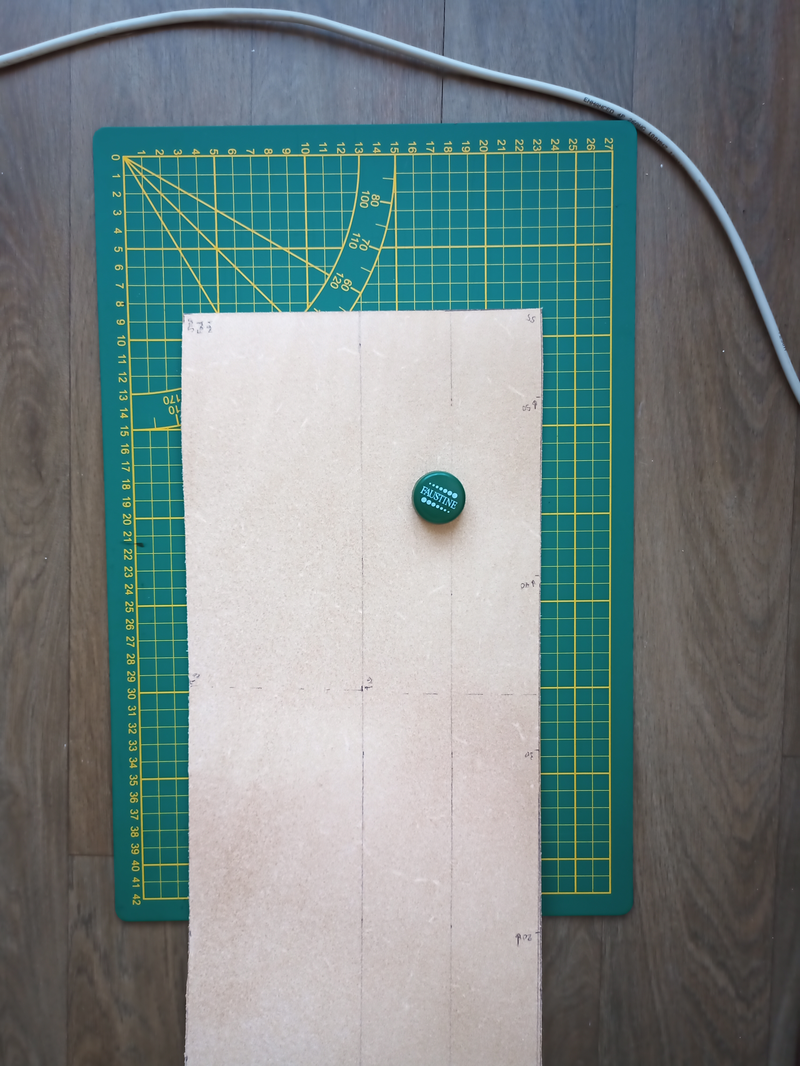
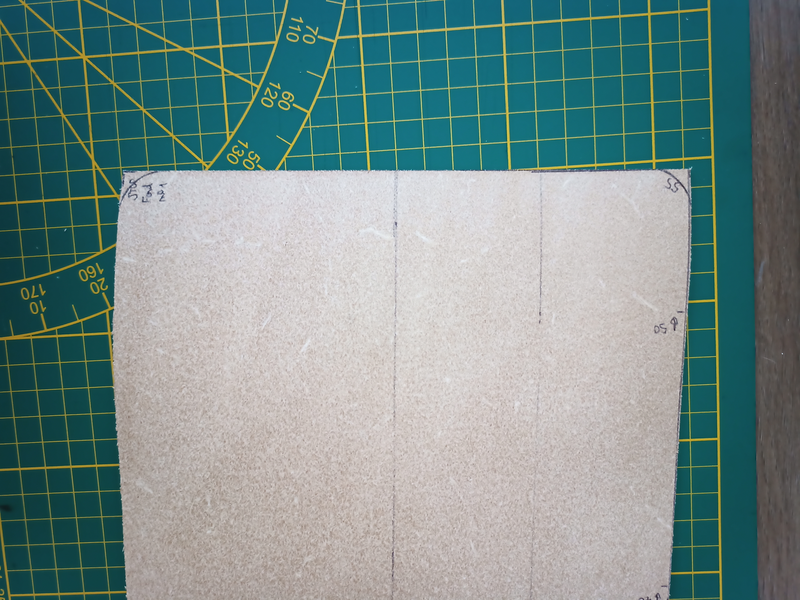
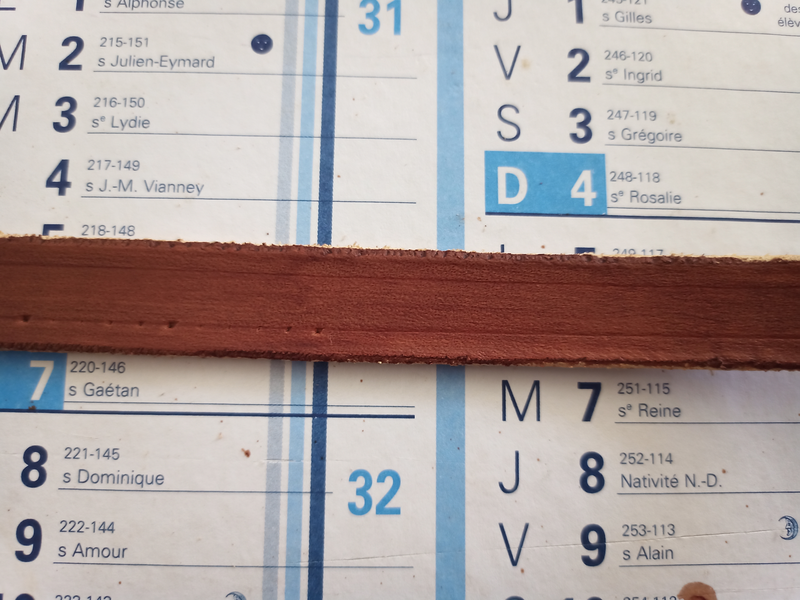
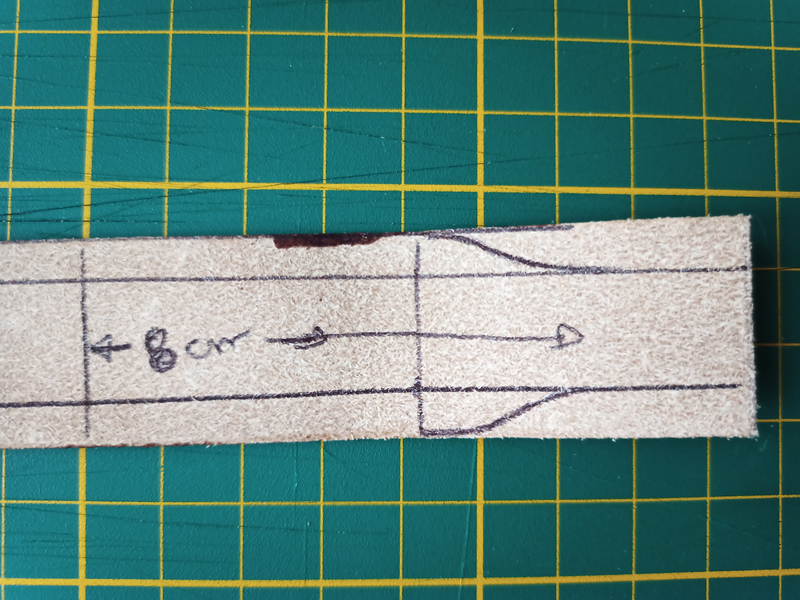
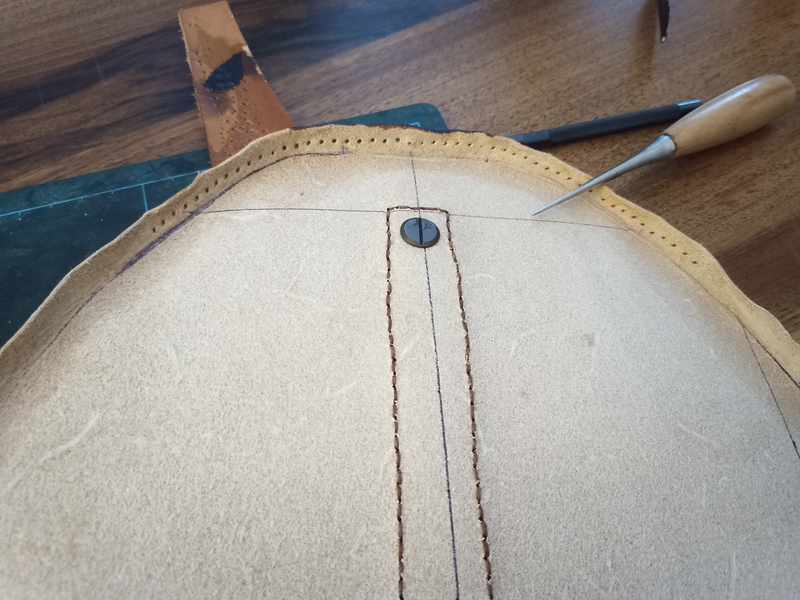
I added marks (in cm) to better know how to reproduce
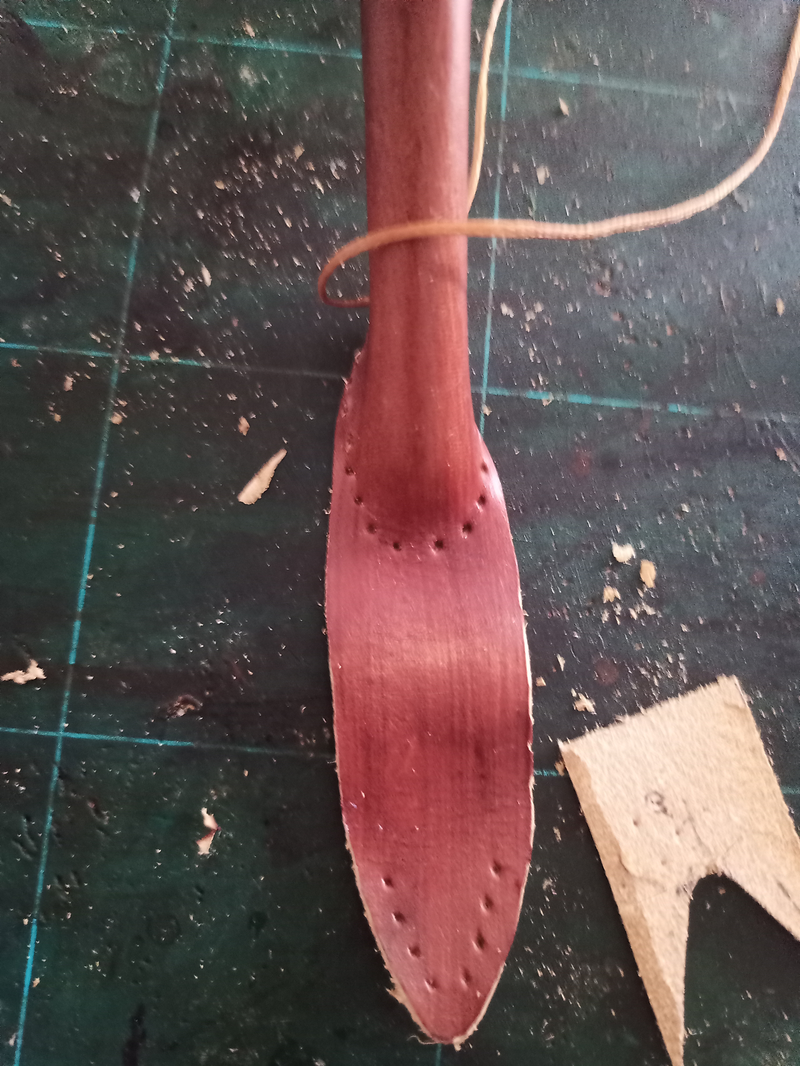
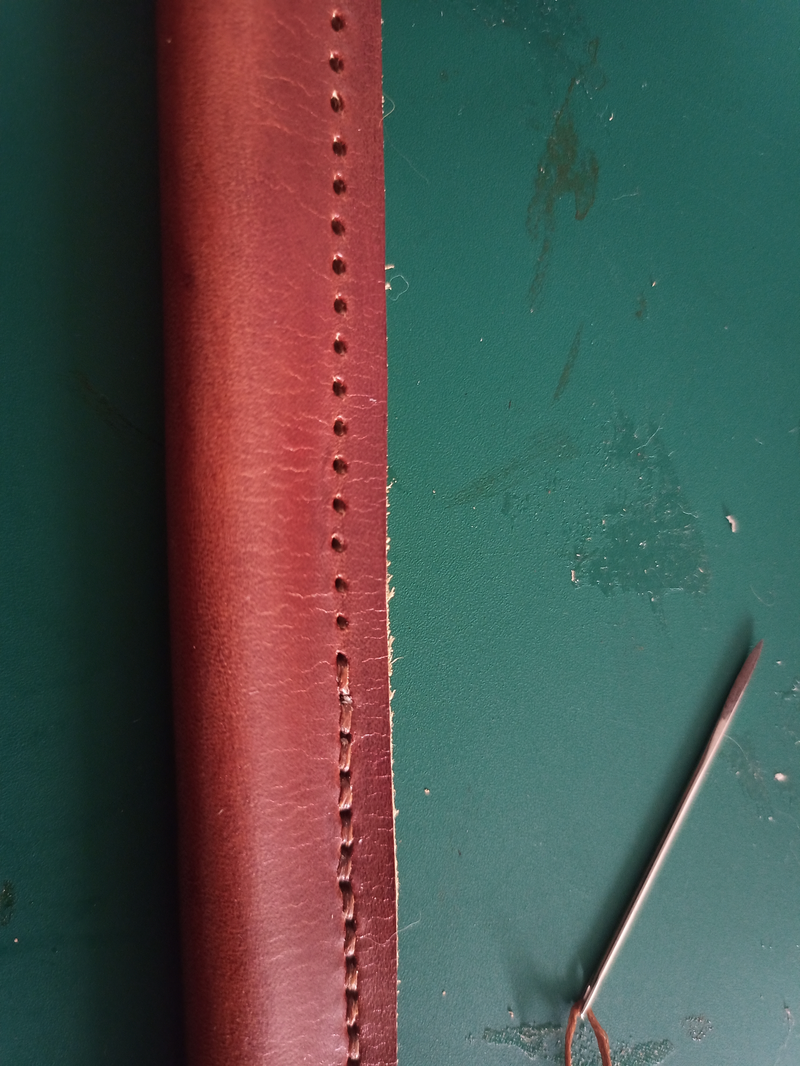
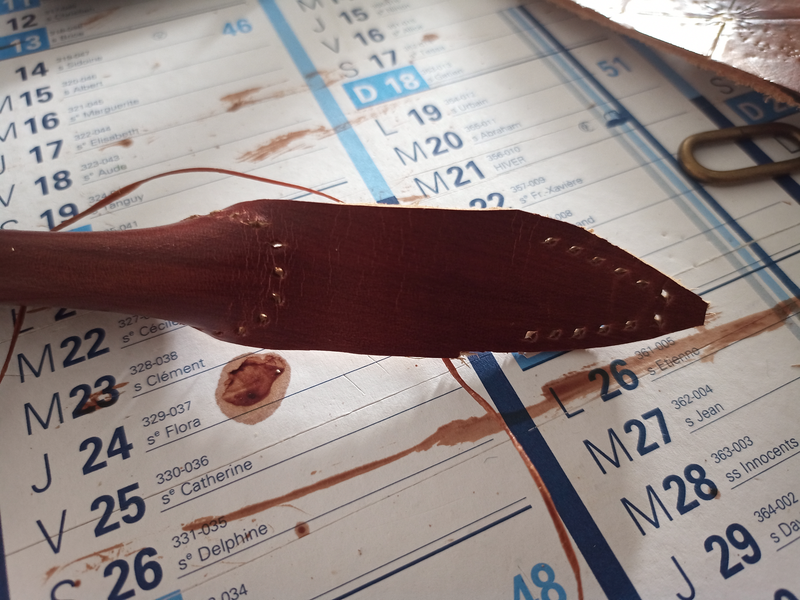
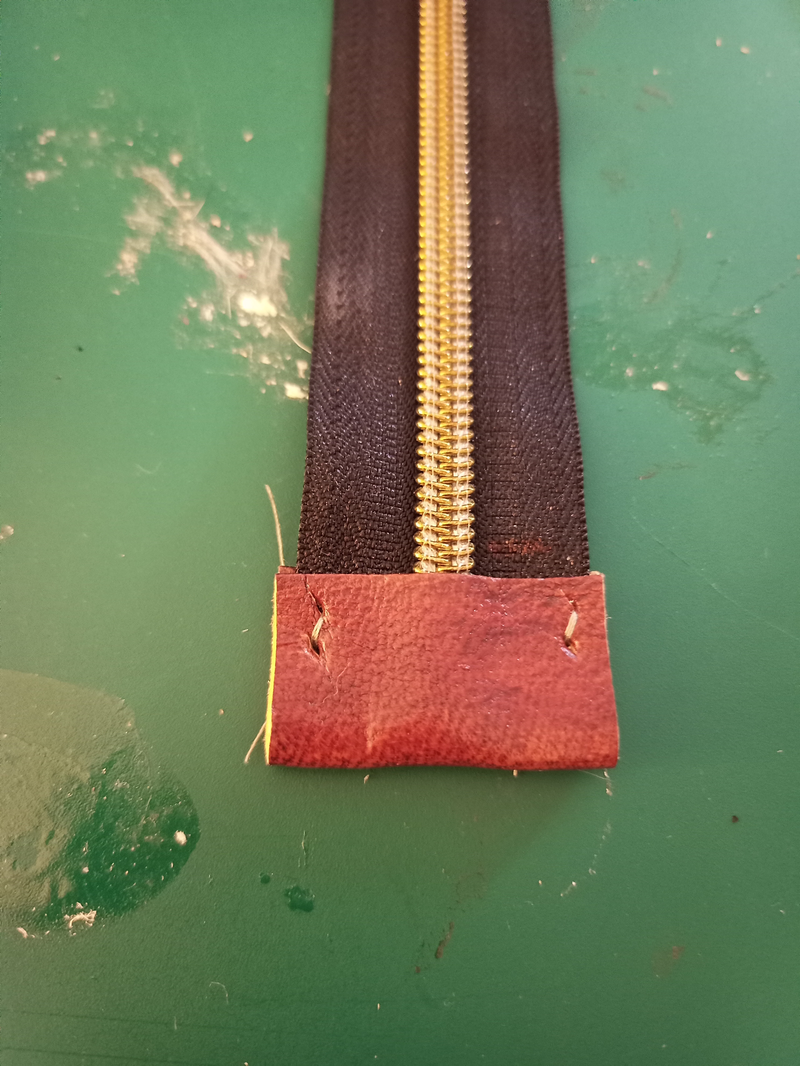
After gluing is done, make the holes (draw a line first)

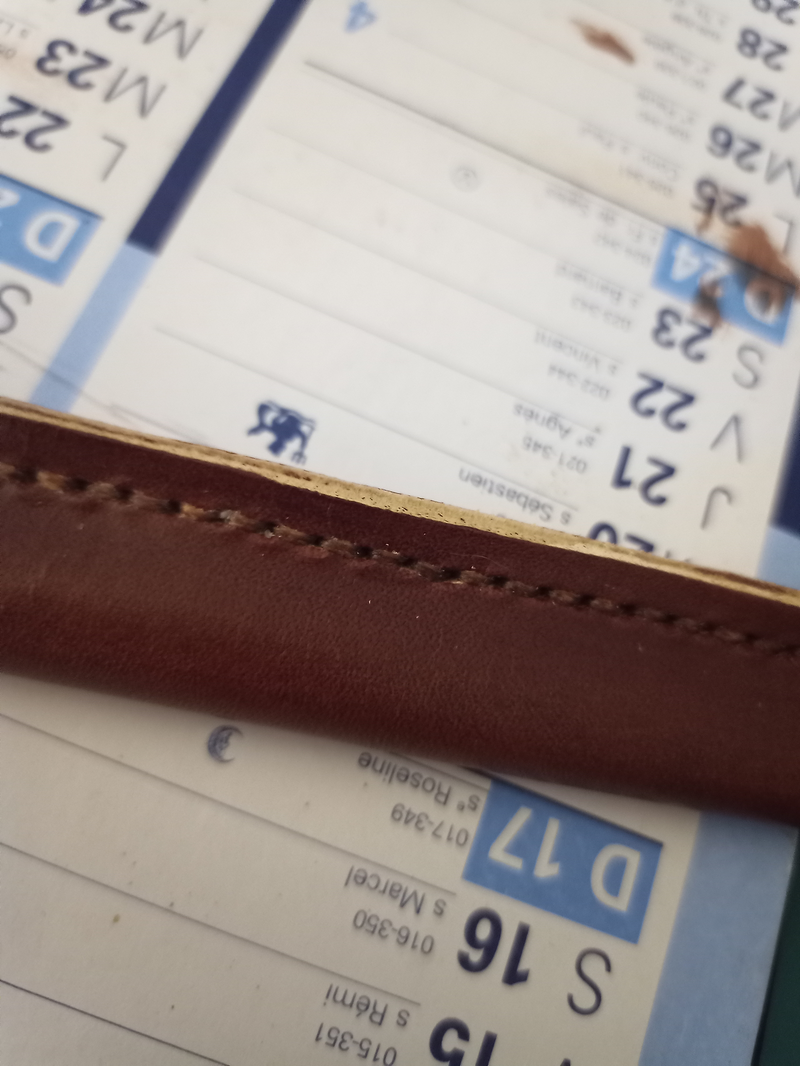
Then stitch to make it nice and make sure the glue effect will never vanish
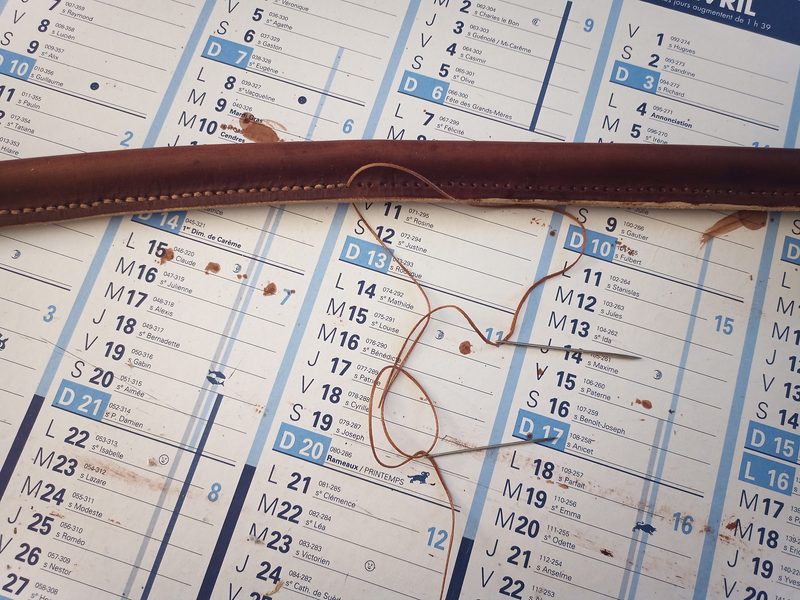
Stop before the shrinking
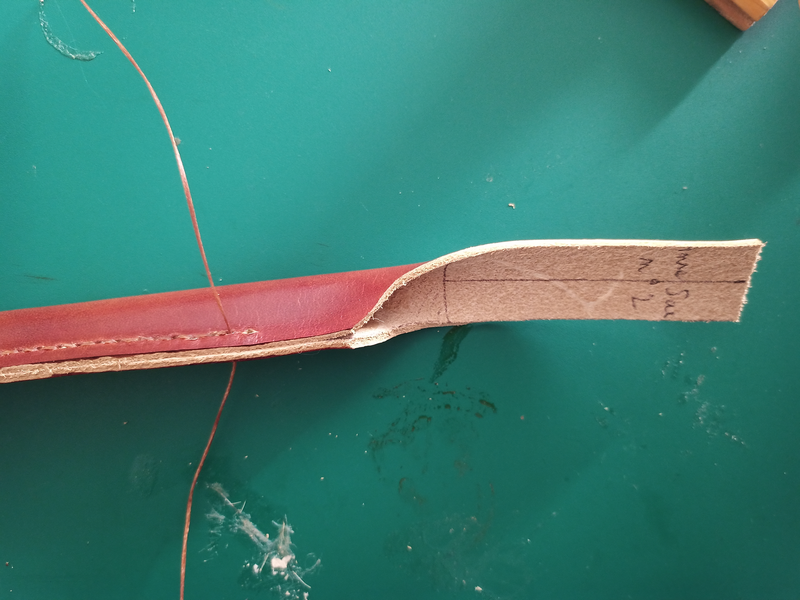
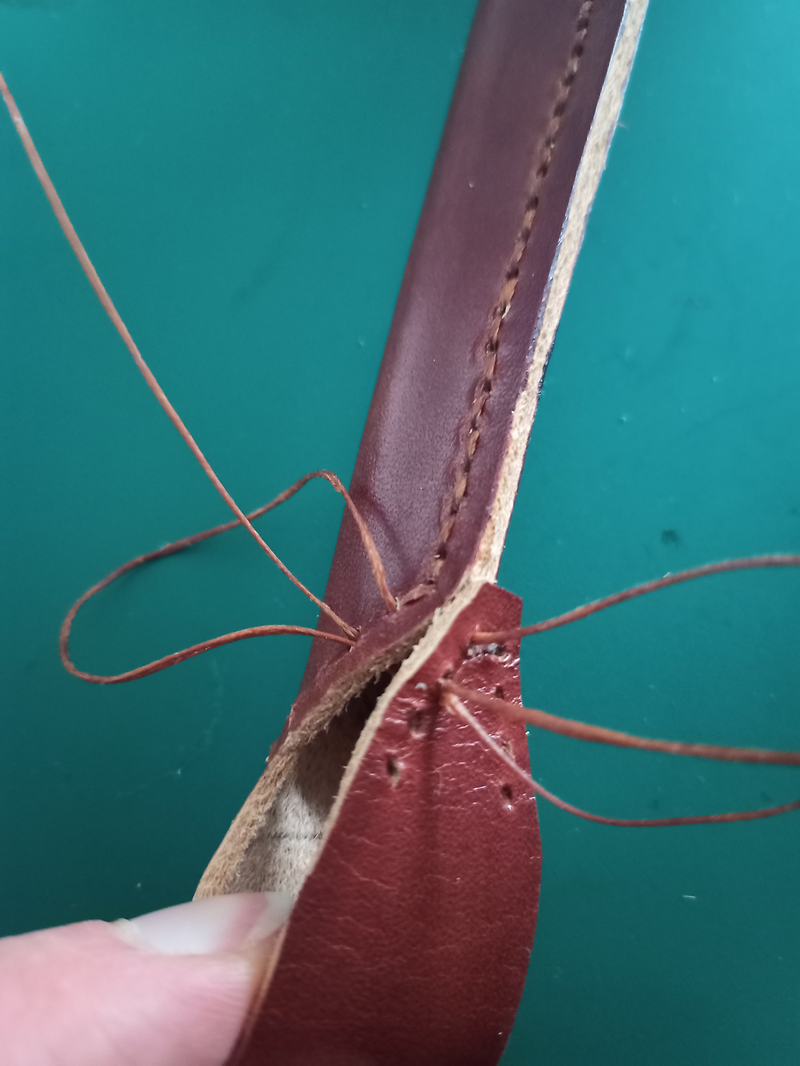
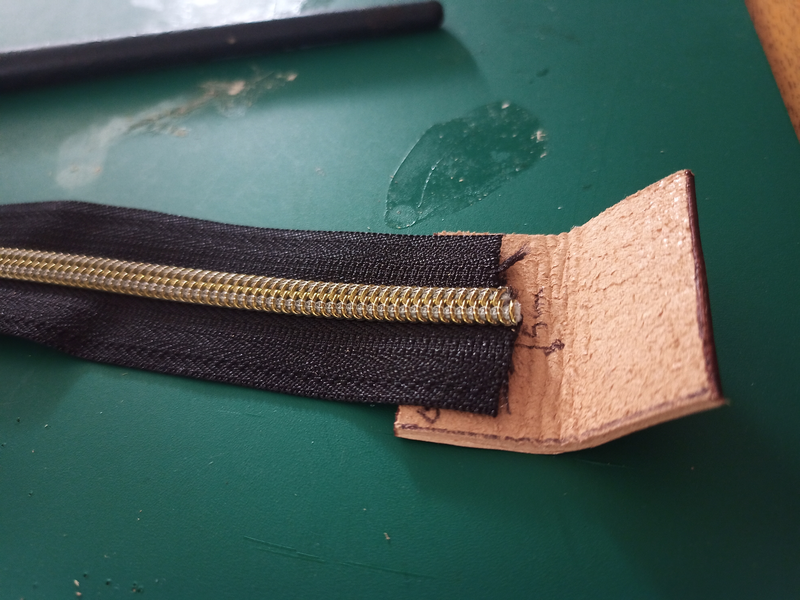
Bent the leather and draw with a pen where the two pieces fit.
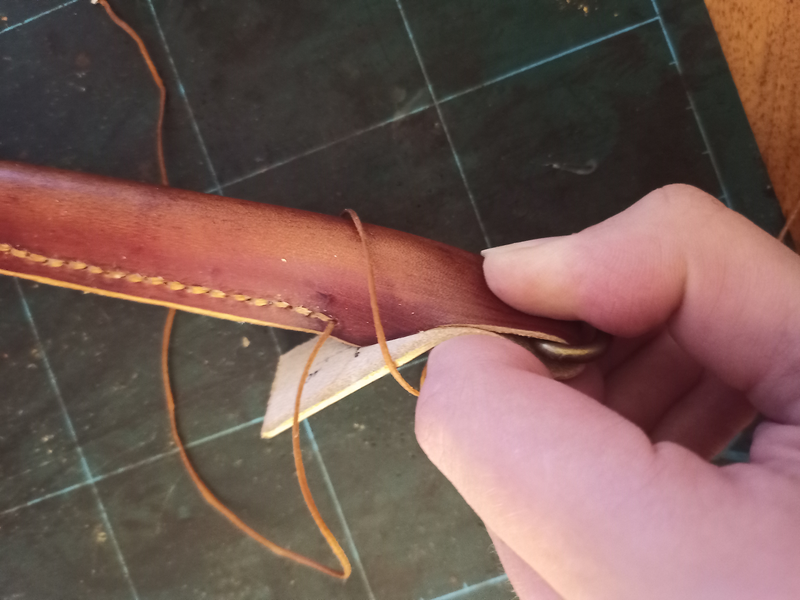
Then cut and prepare the holes
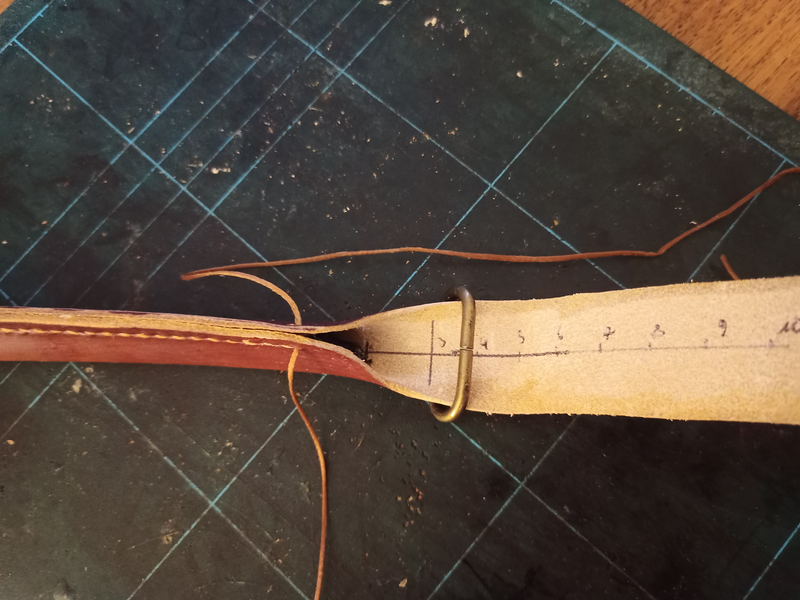
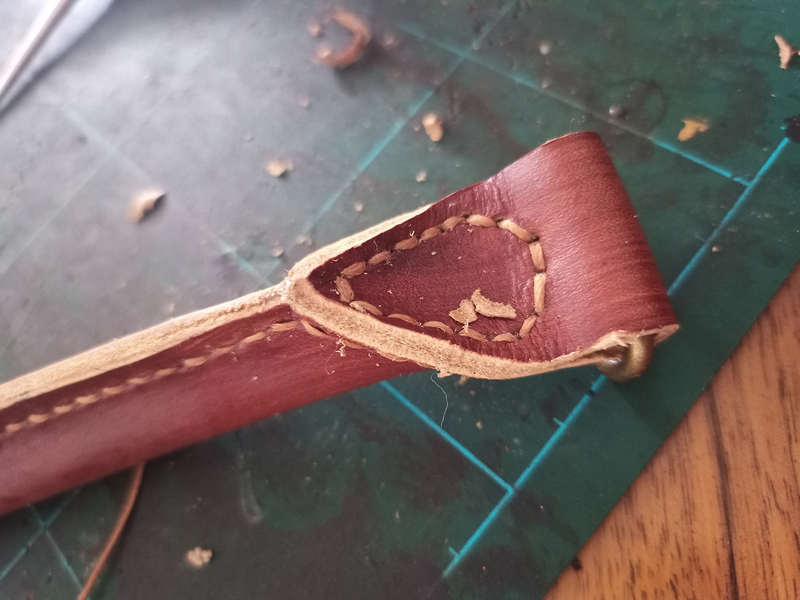
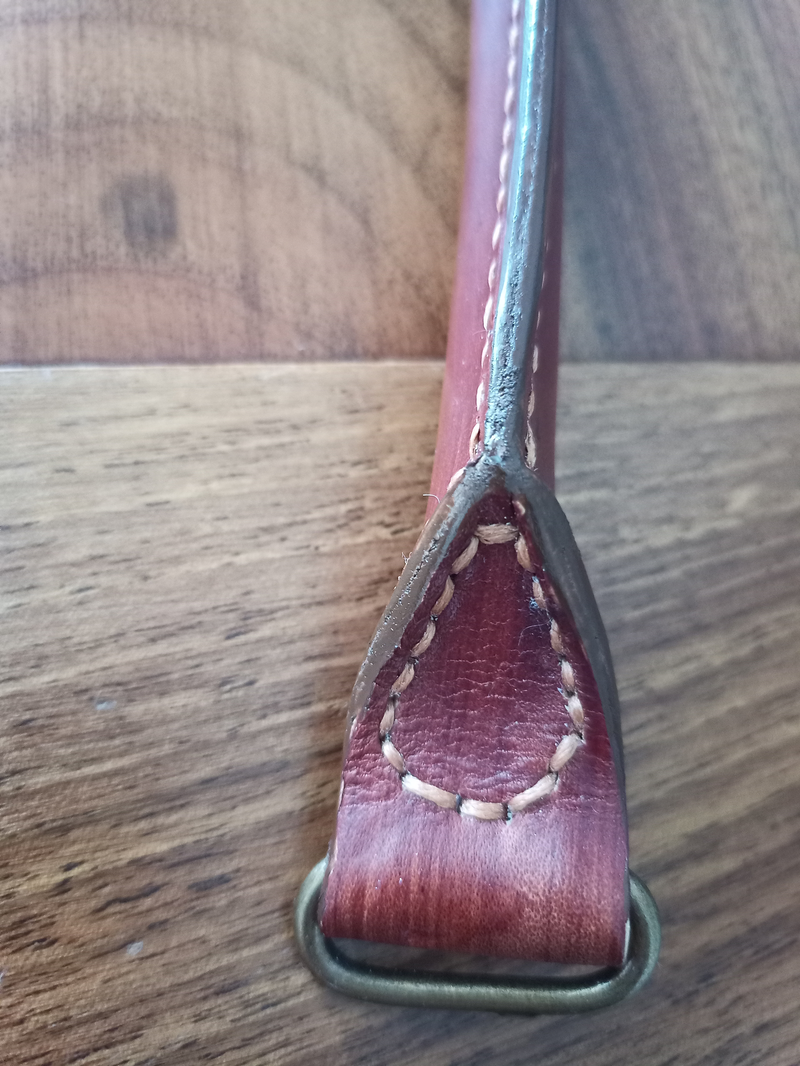
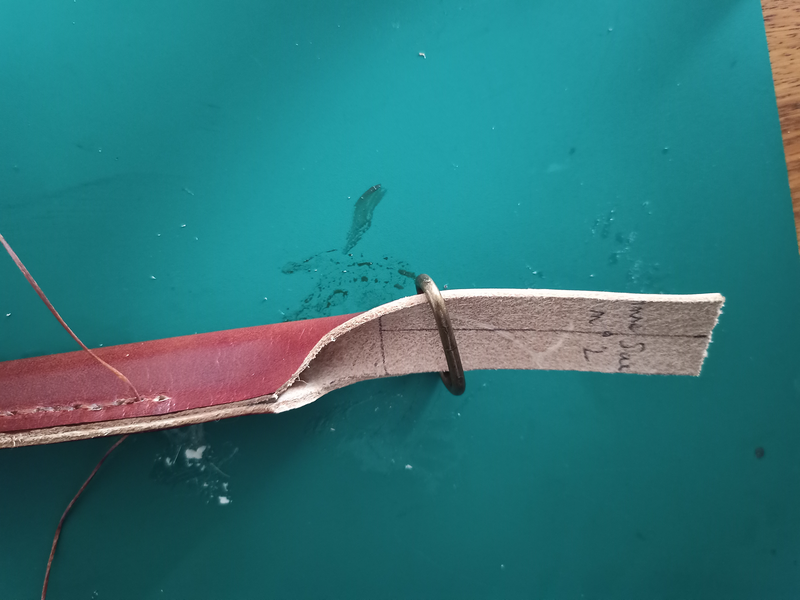
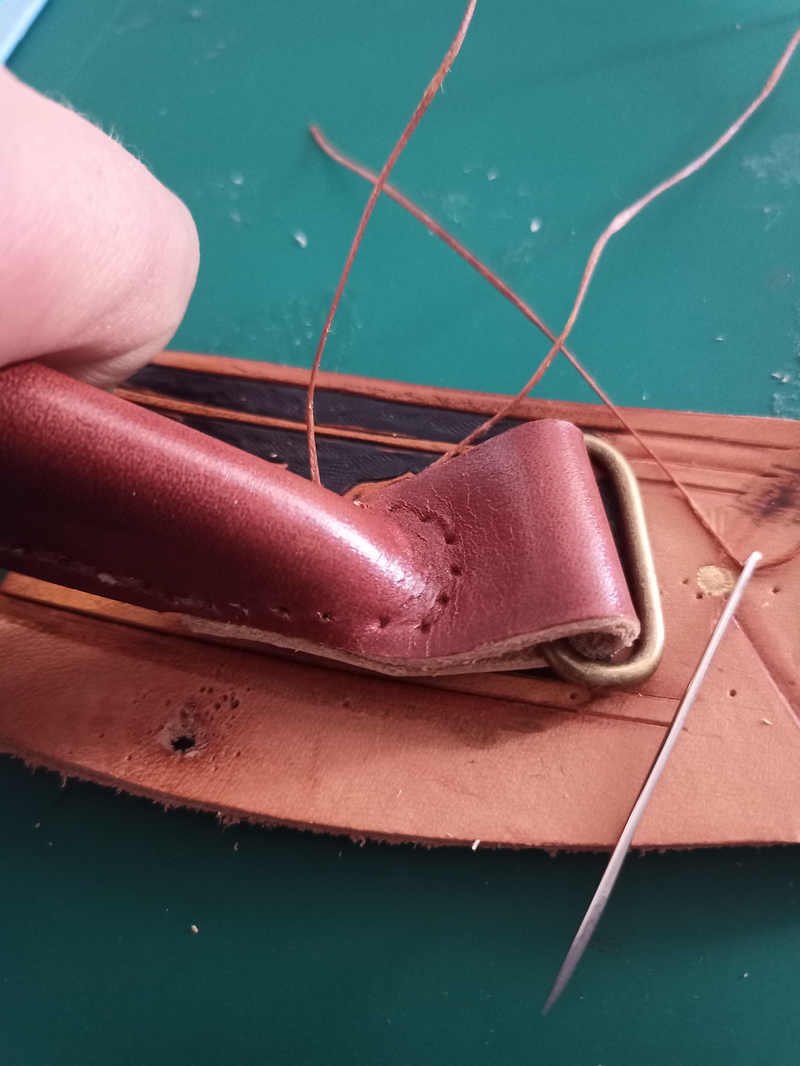
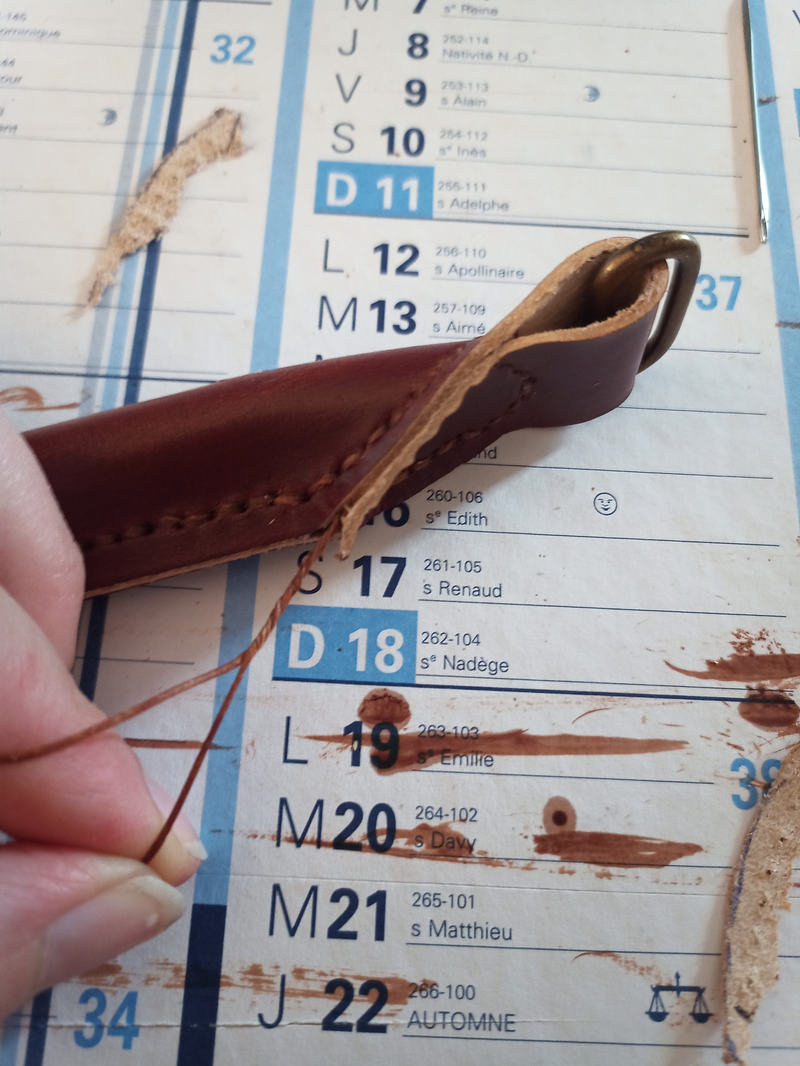
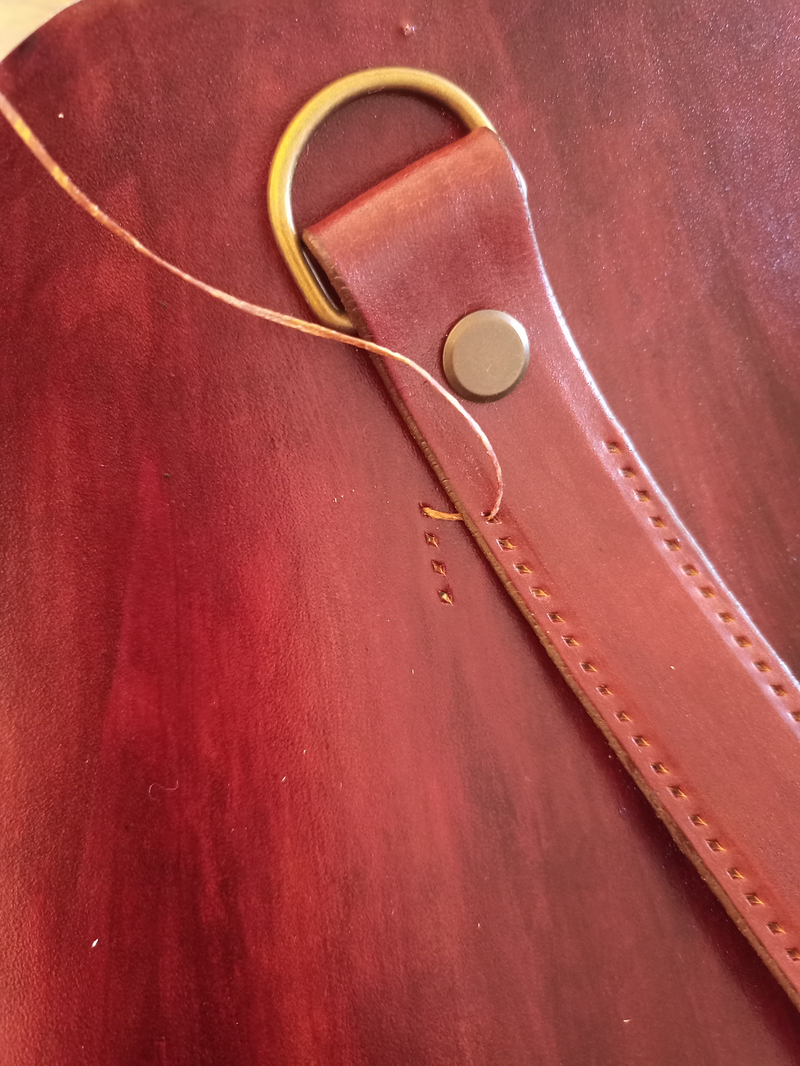
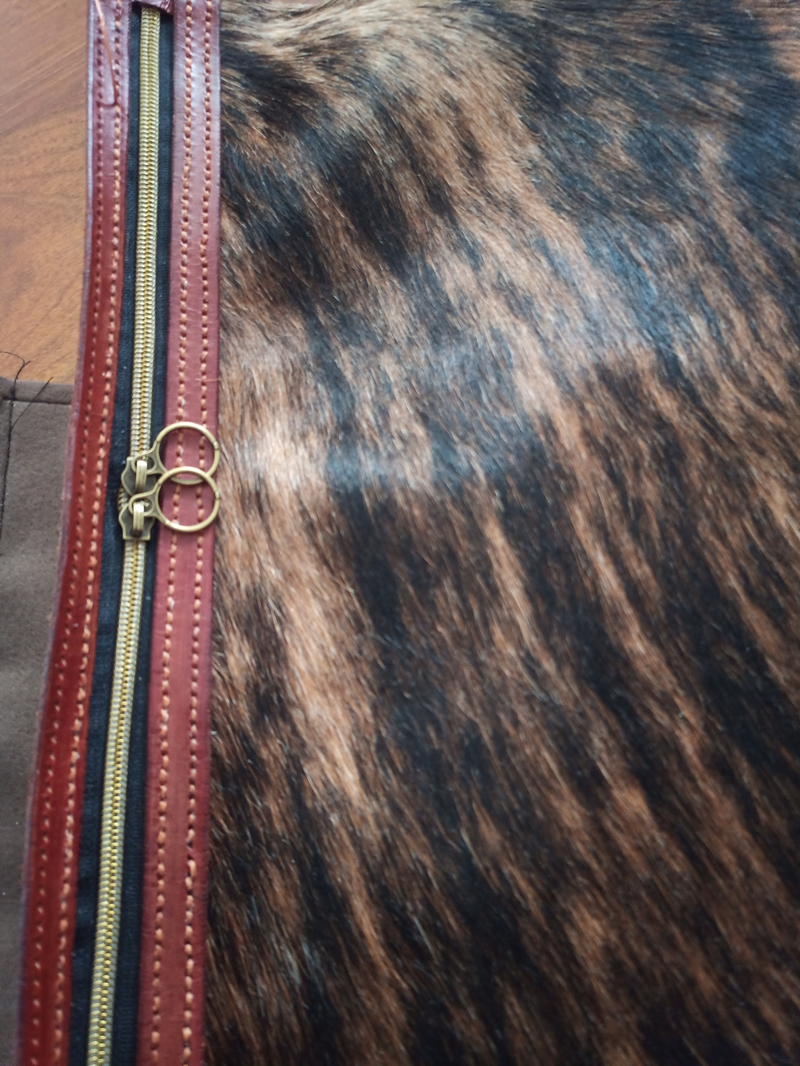
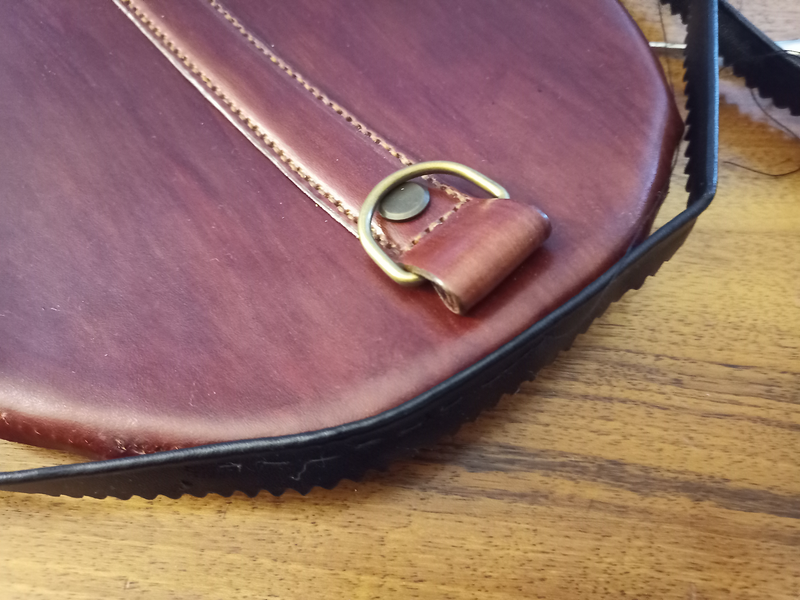
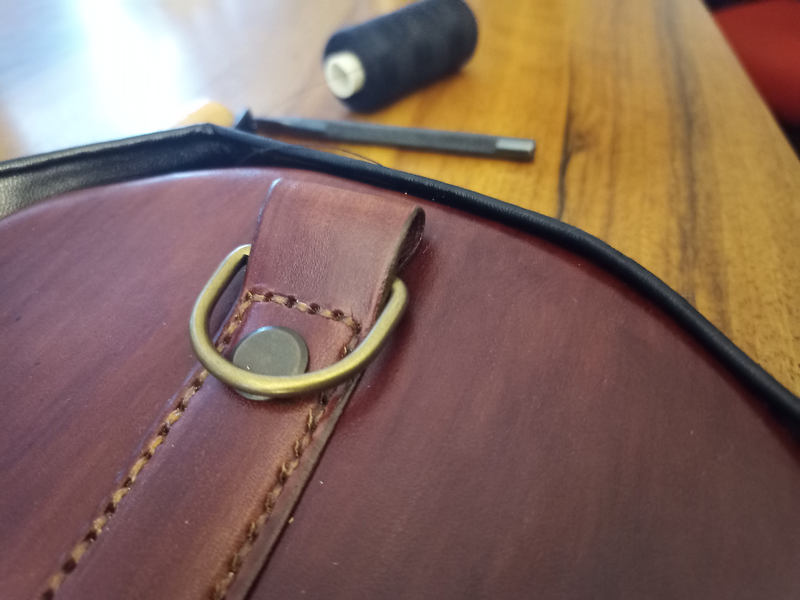
Stitch (Do not forget the metallic ring)
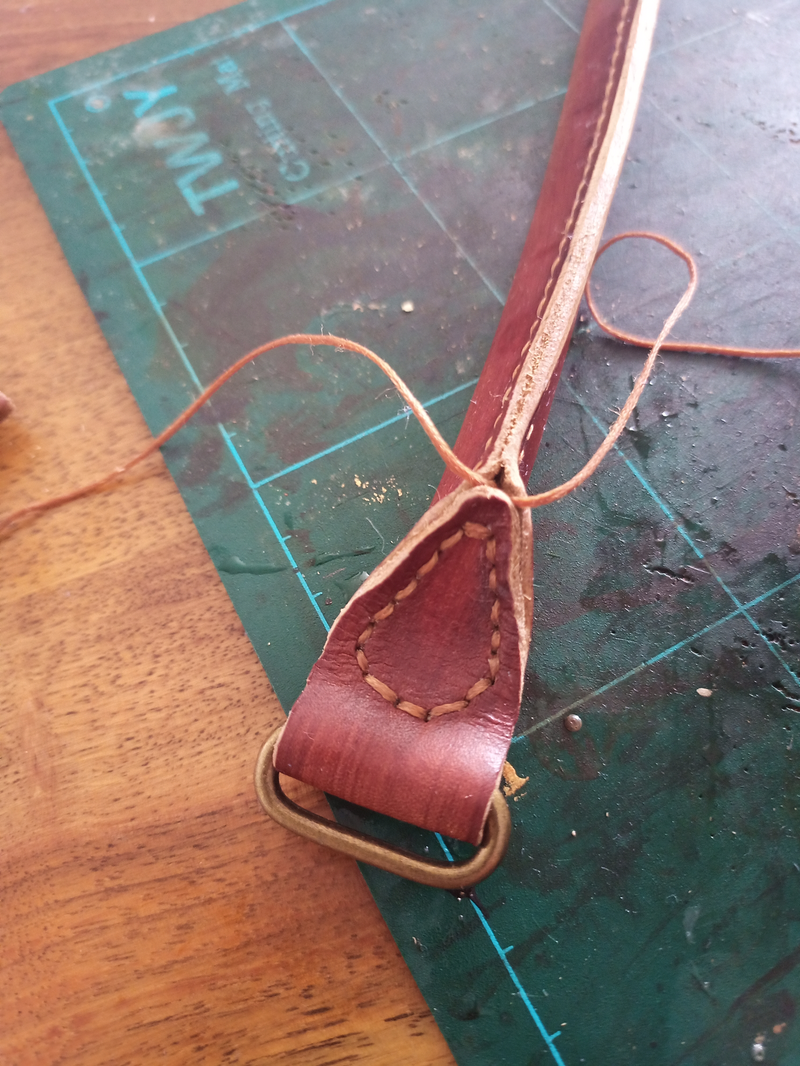
Hide the threads
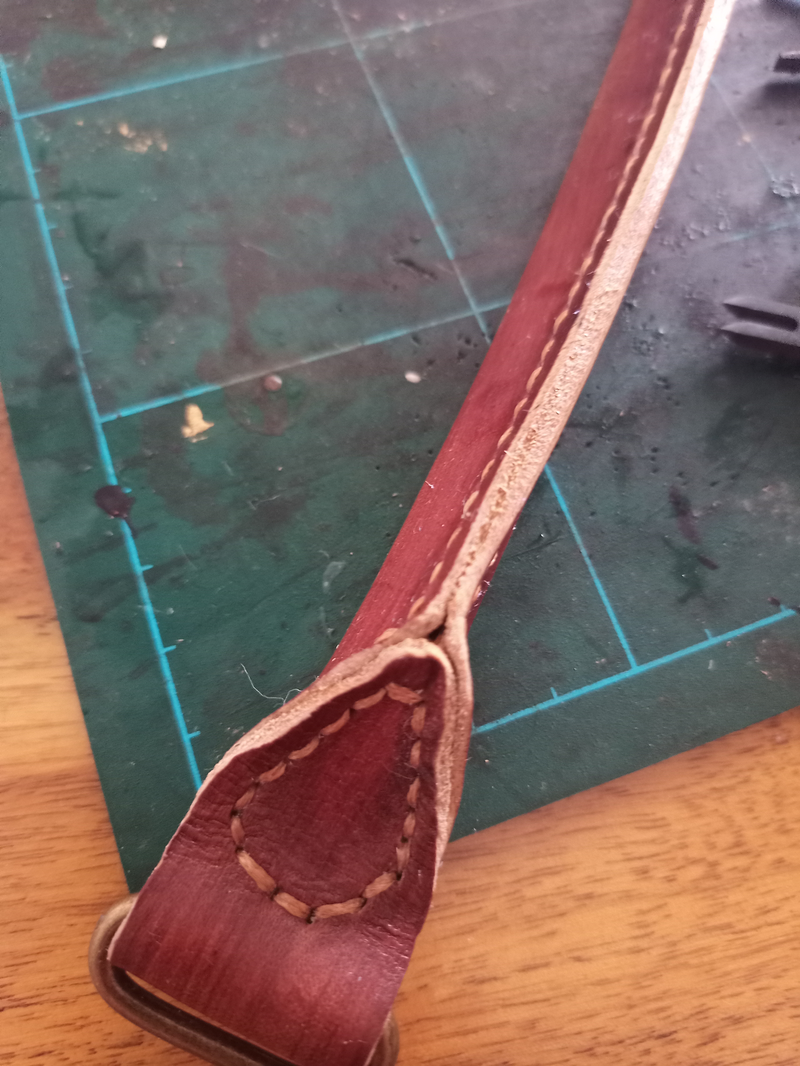
Use a cutter to flatten the edges. Make them regular
Use the cutter to equalize both side of the leather after stitching
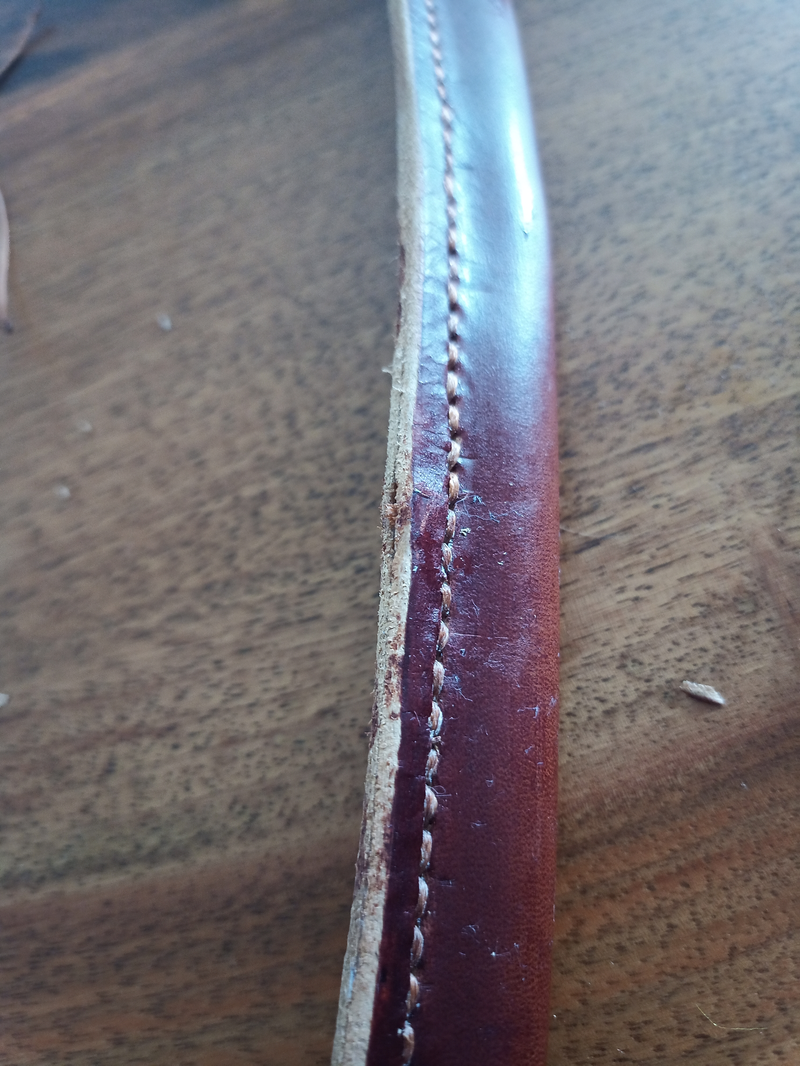
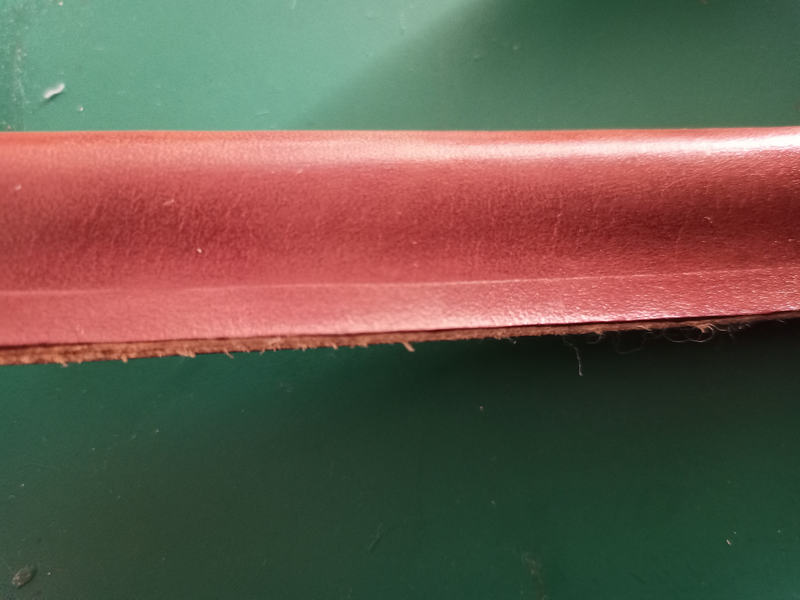
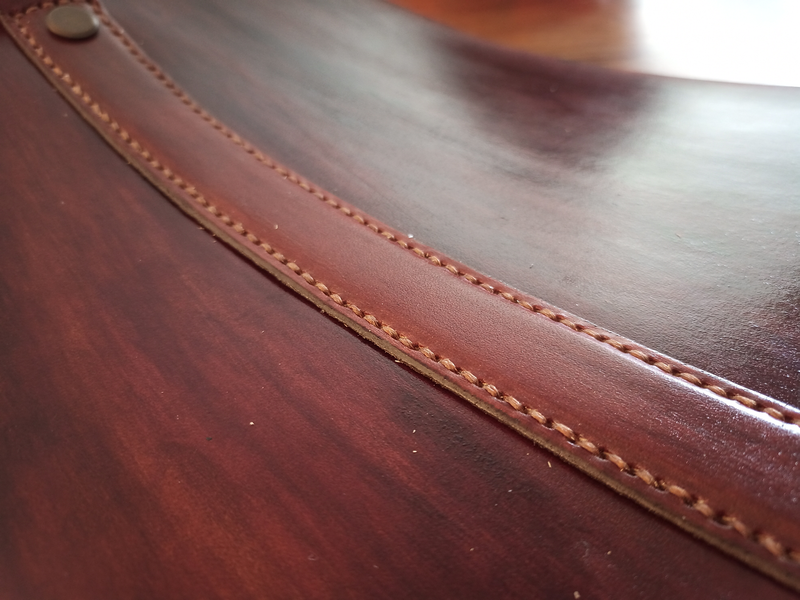
Then, burnish to make edges smooth
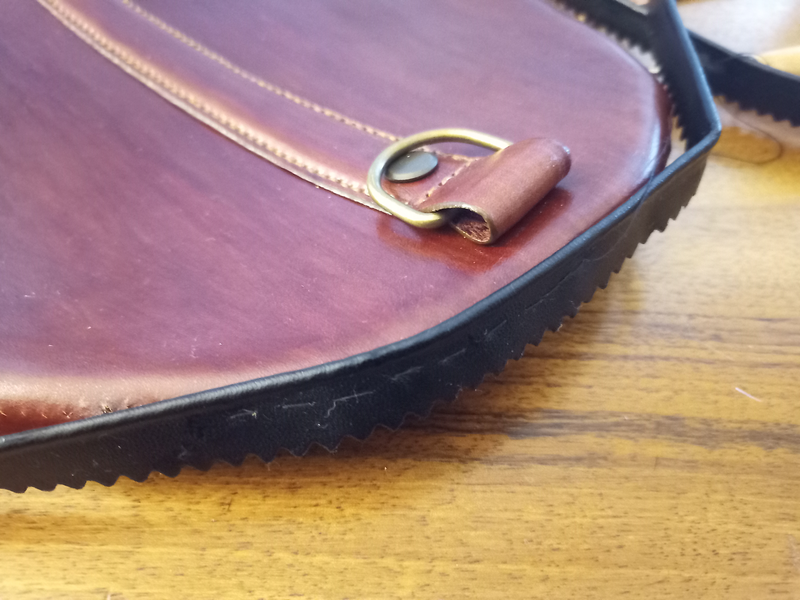
Add edge protector
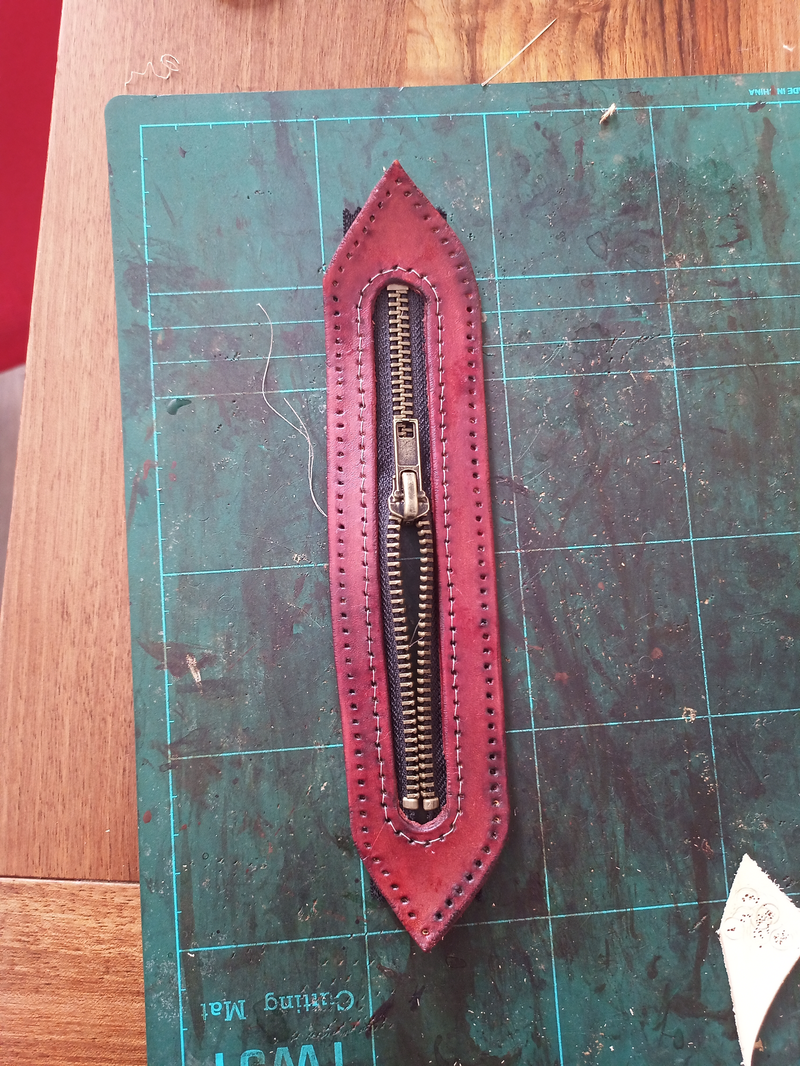
Final result
SEP 017
SEP 018

SEP 019
SEP 020
SEP 021

SEP 022
SEP 023


SEP 024
SEP 026
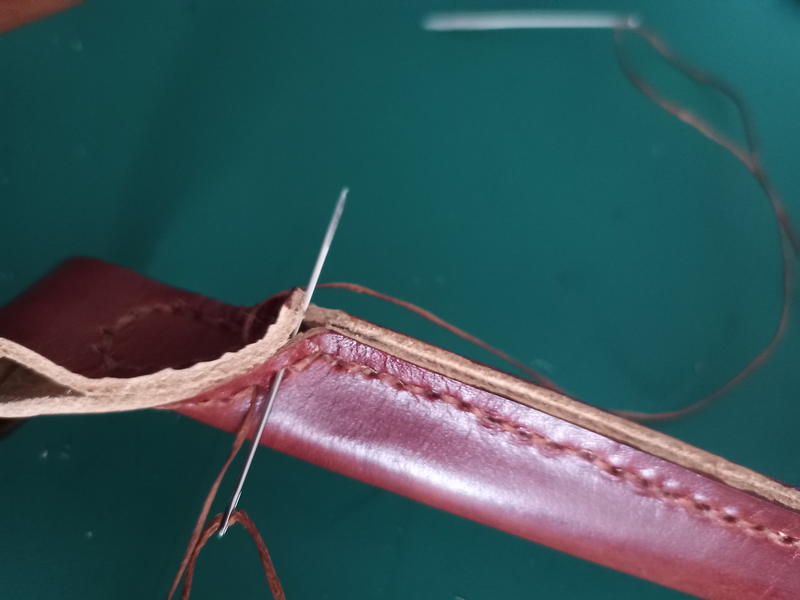
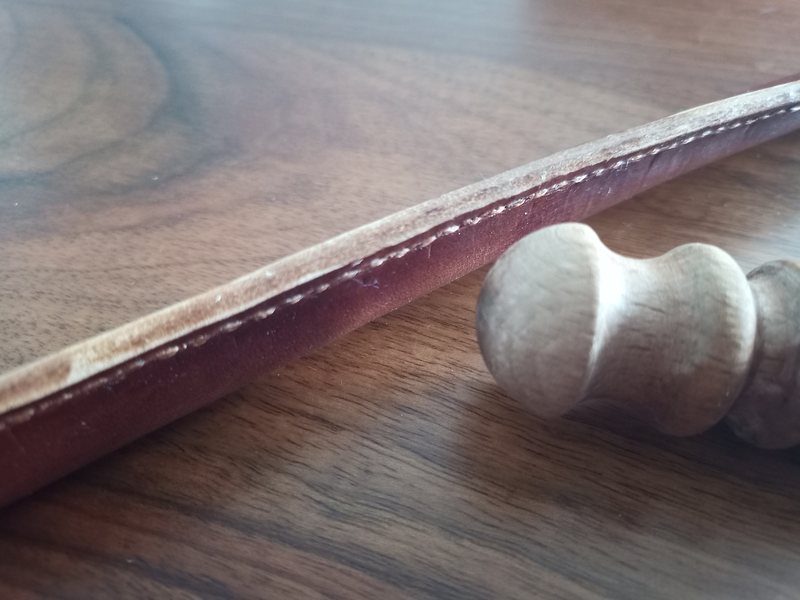
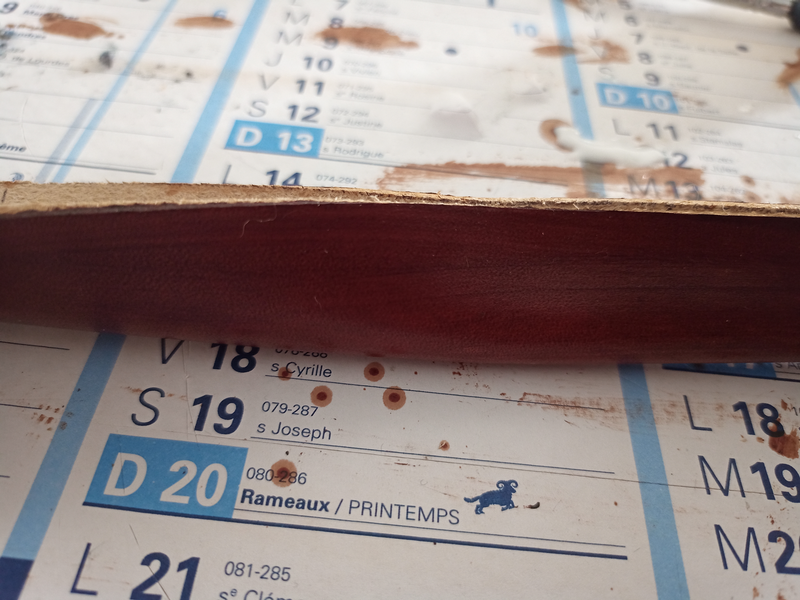
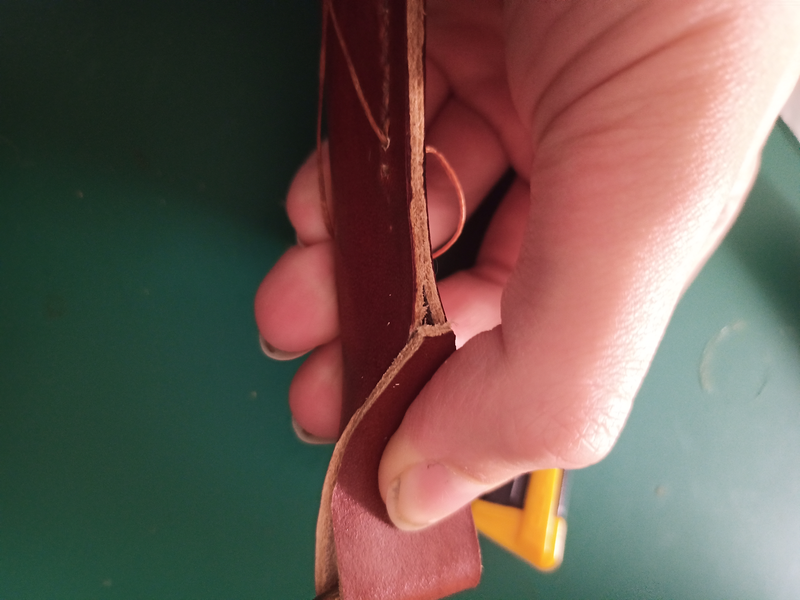
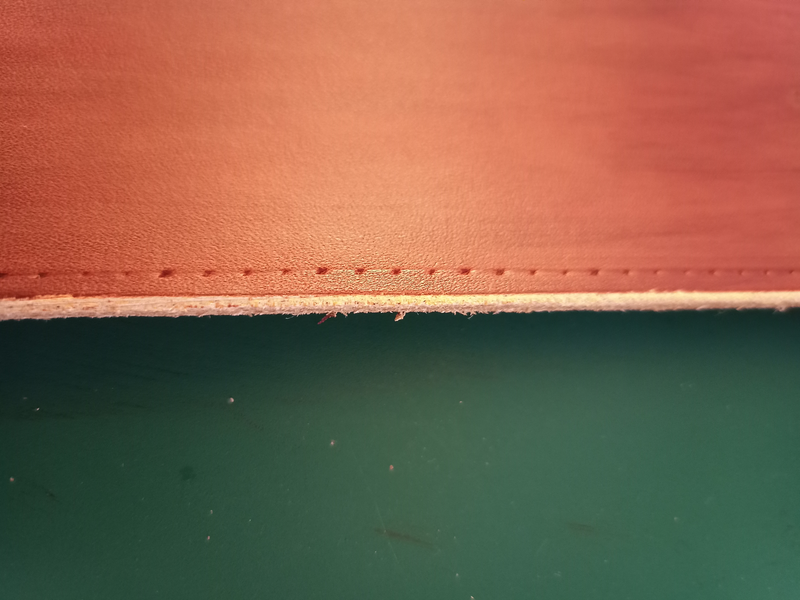
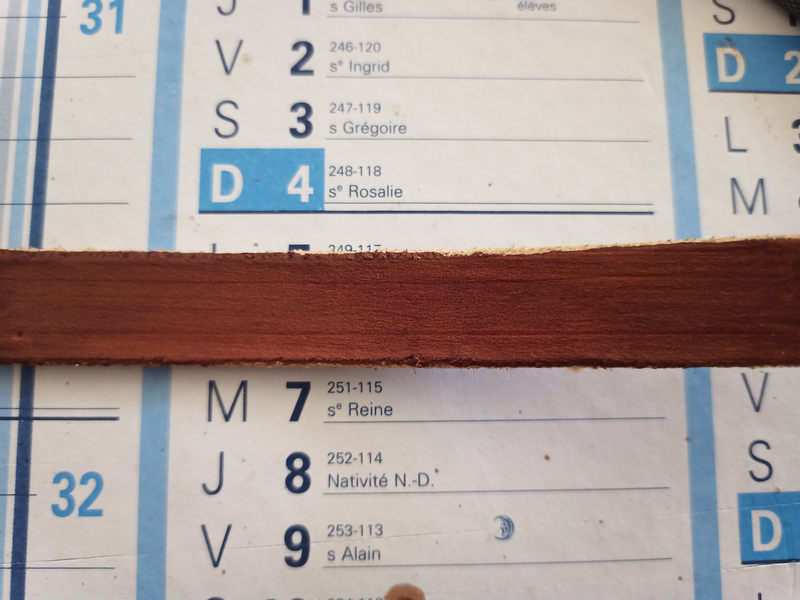
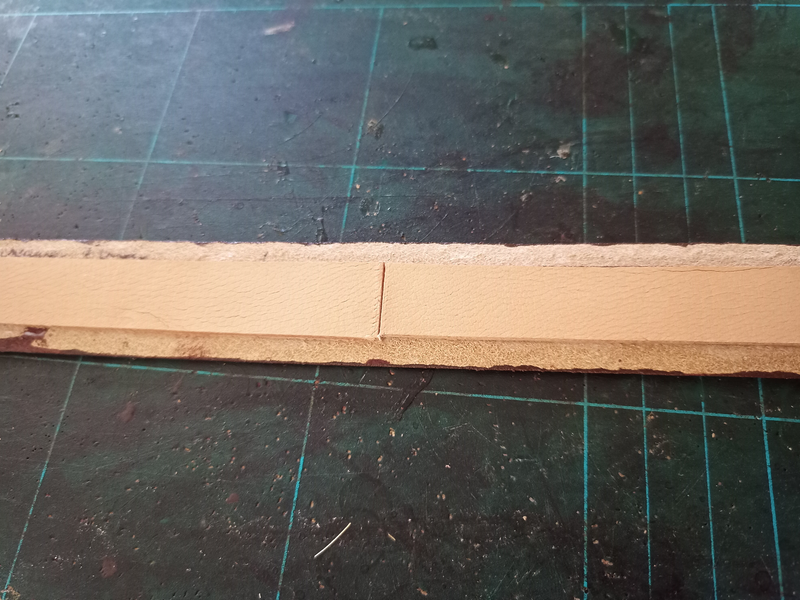
Before cutting the edges: you can see that there is a gap between the two leather parts
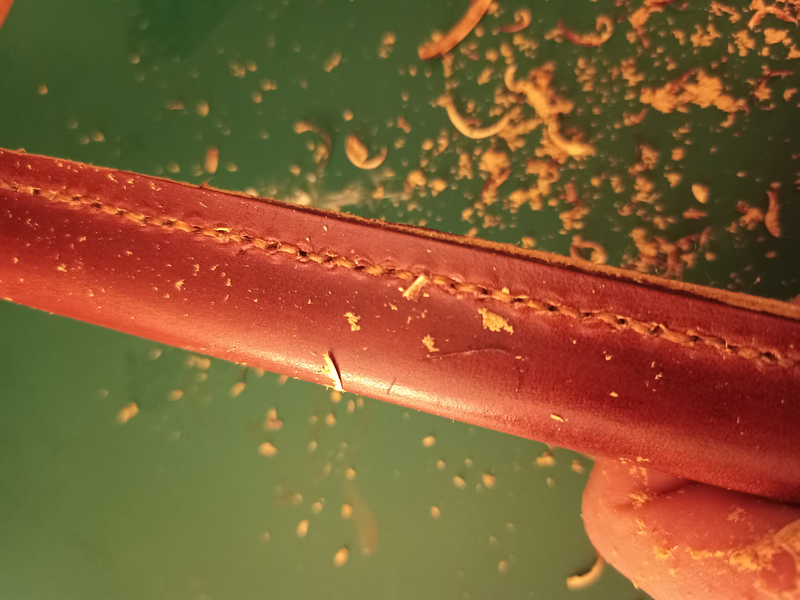
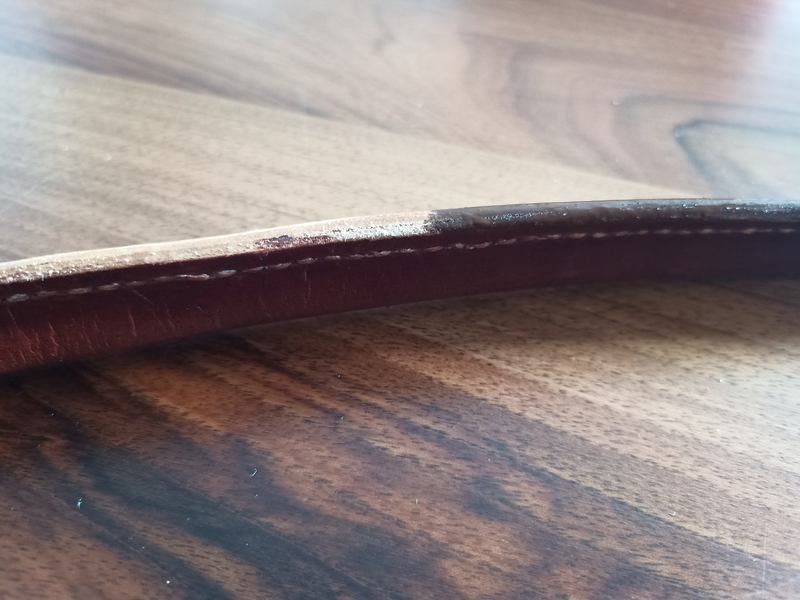
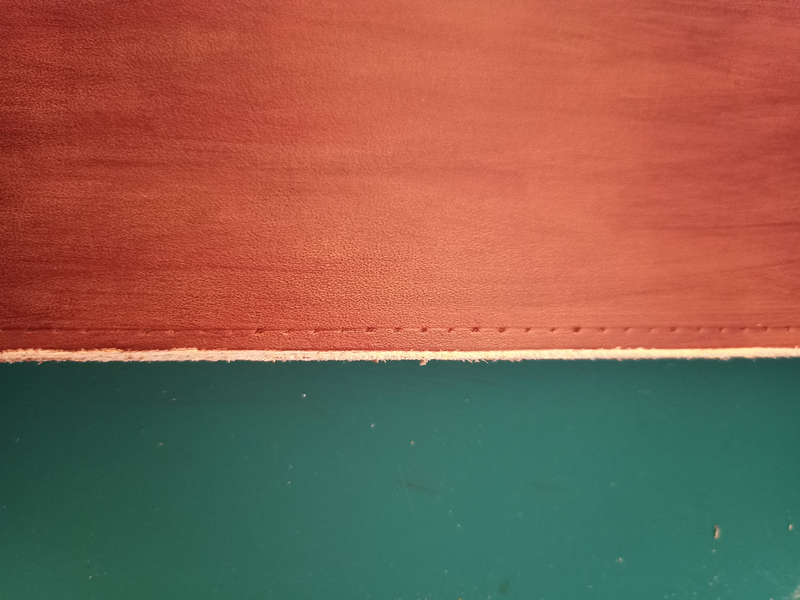
After: the surface is smooth, almost impossible to distinguish the parts
We prepare only the firt holes. Last one will be done progressively, when the two leather parts would be fixed together.
Cutting the edges
Testing dying effects
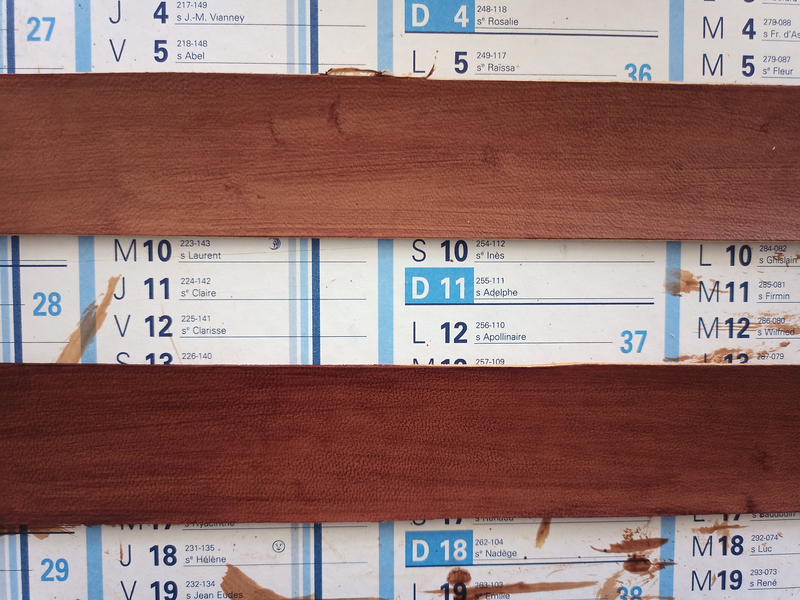
Defect on the leather

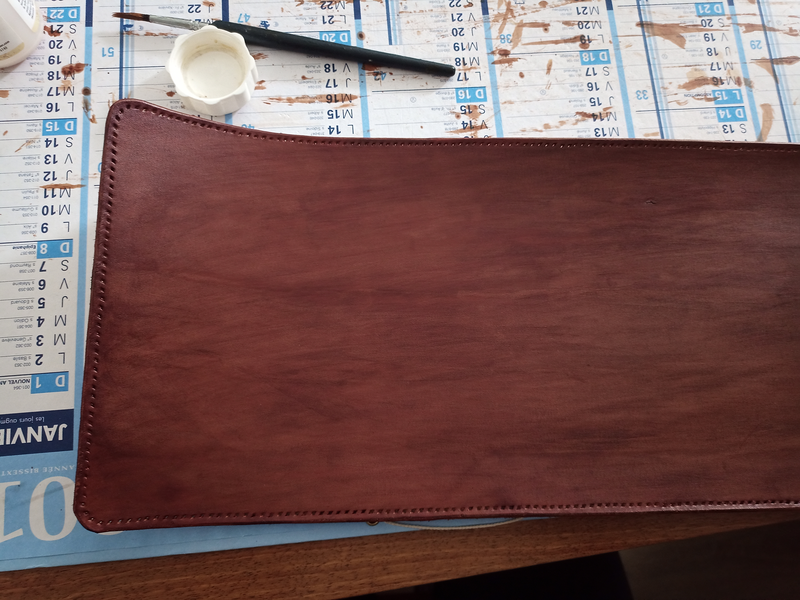
First dying pass
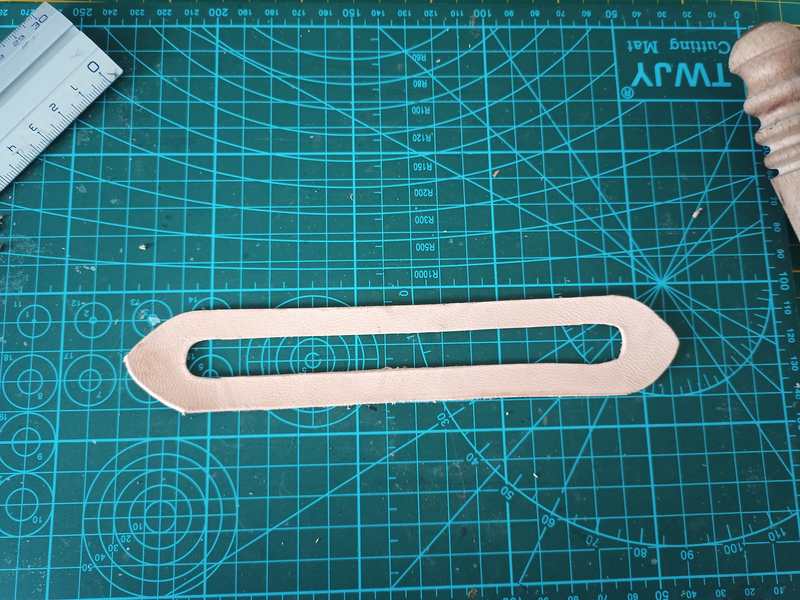
Making the holes

Gluing
Stitching in case of
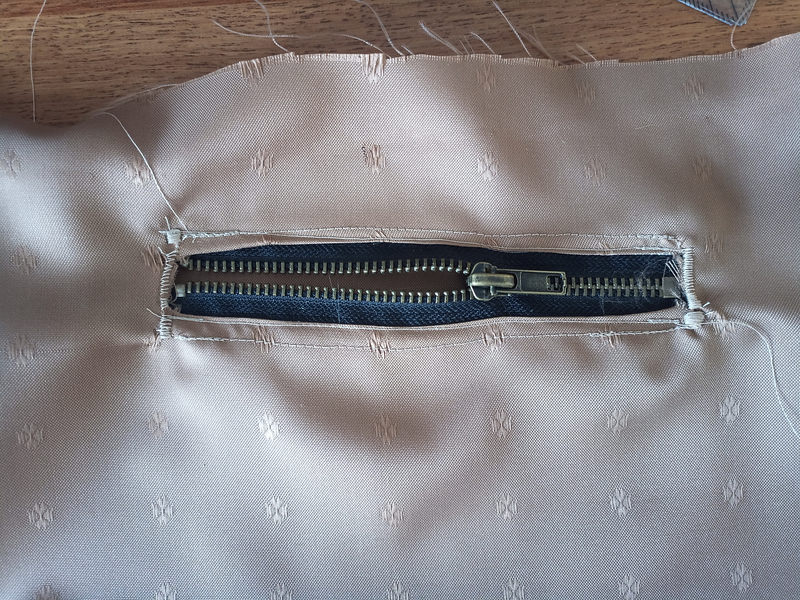
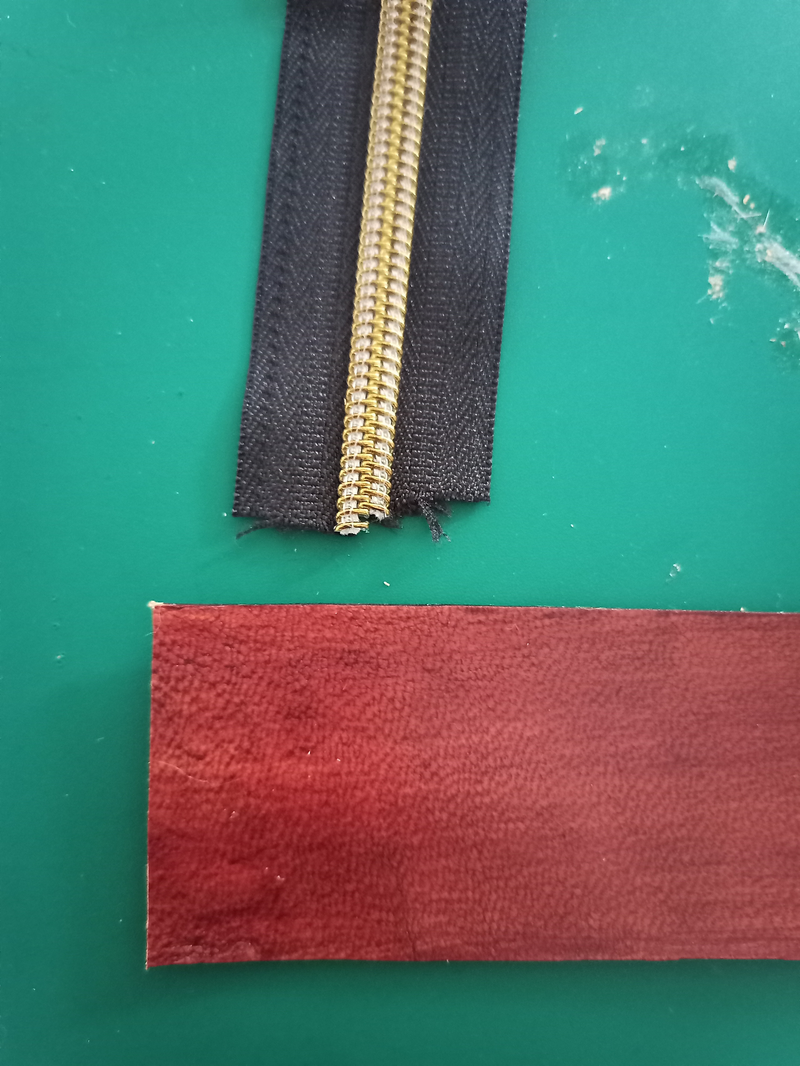
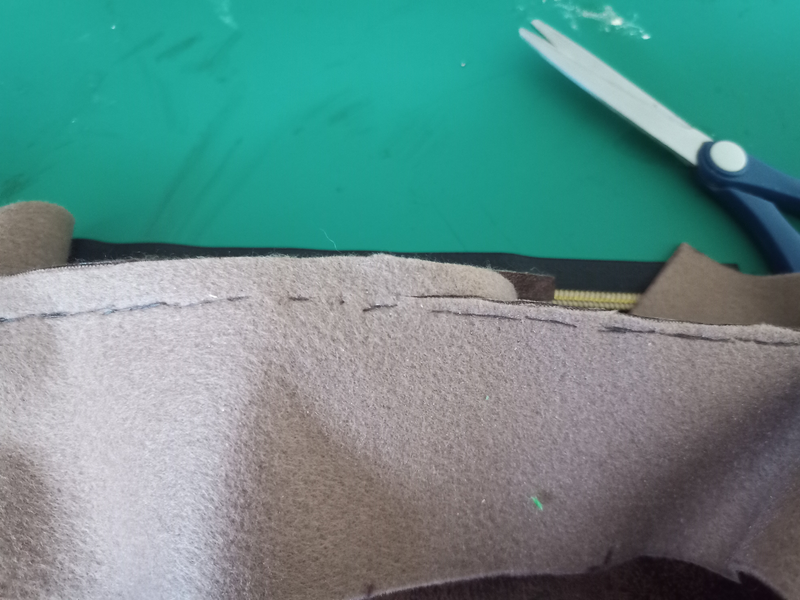
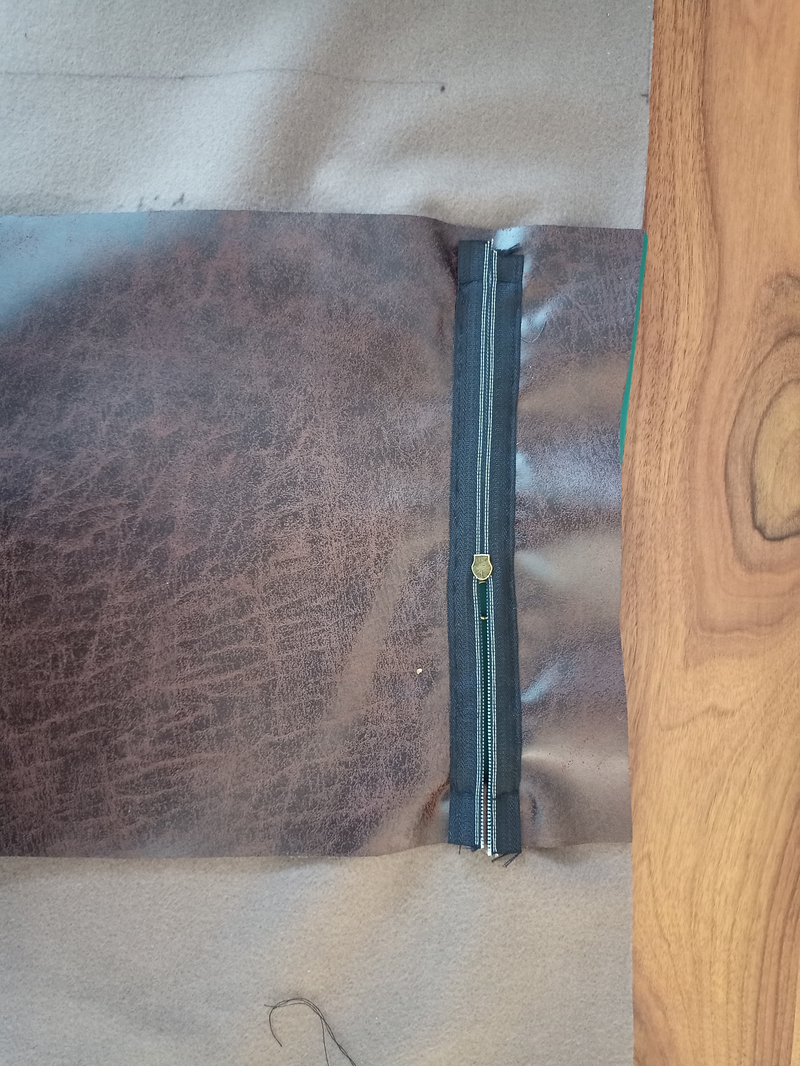
Stitching the zipper to the lining

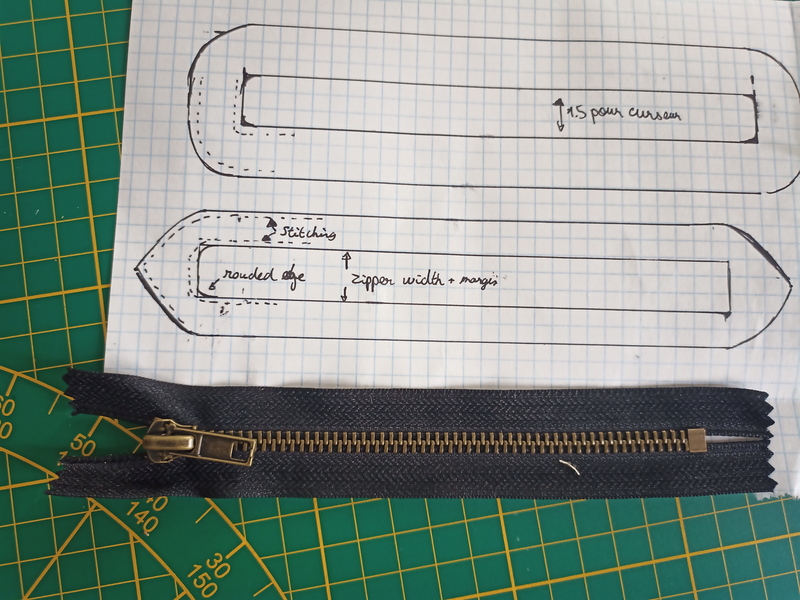
Stitching the leather protection to the zipper
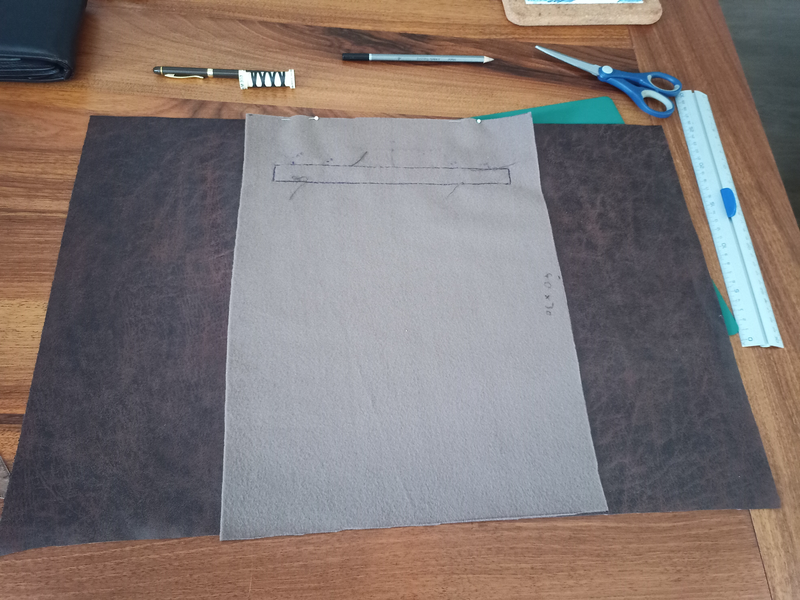
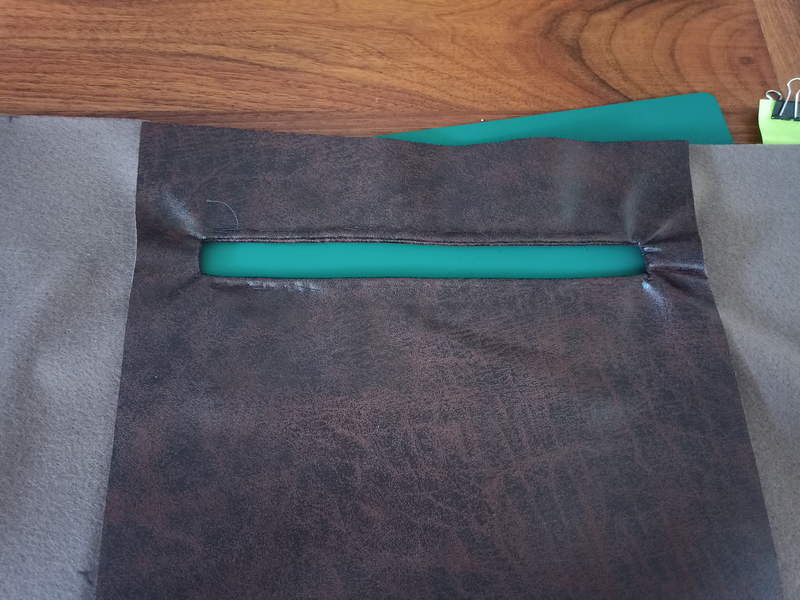
Preparing hole location
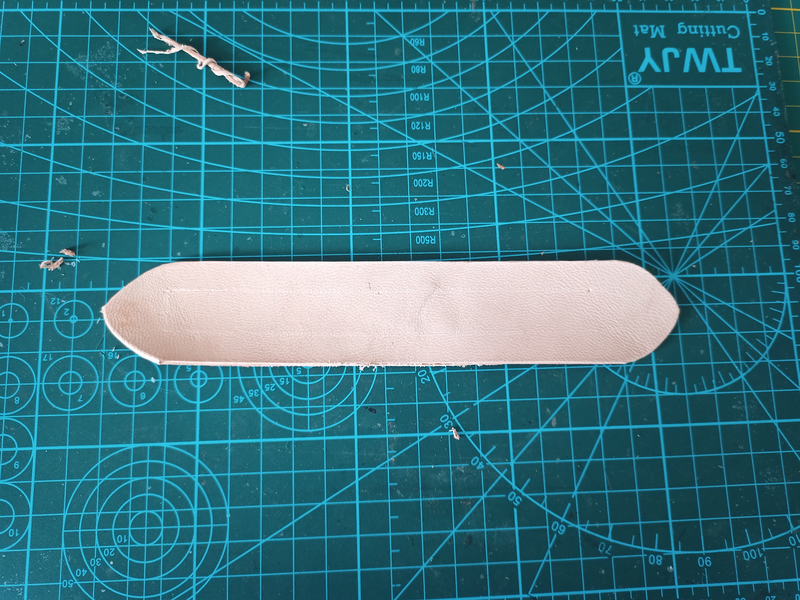
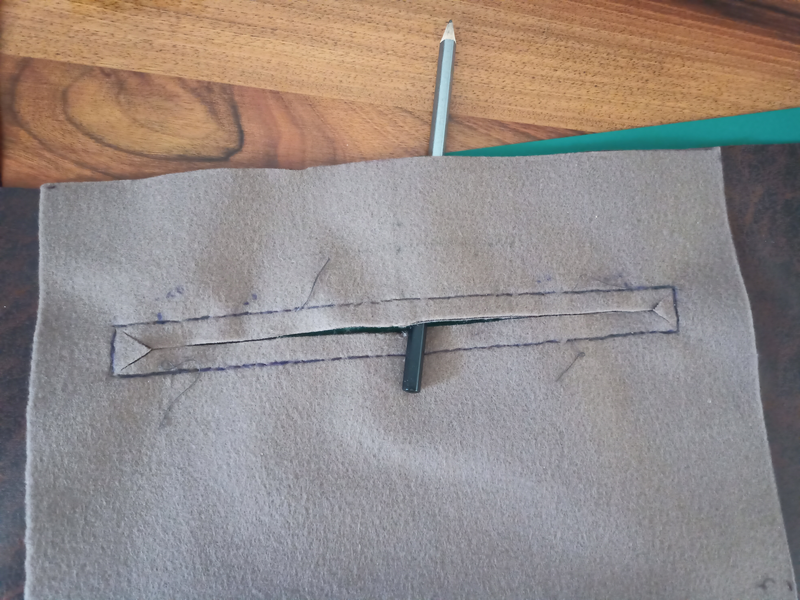
Cutting
Reversal
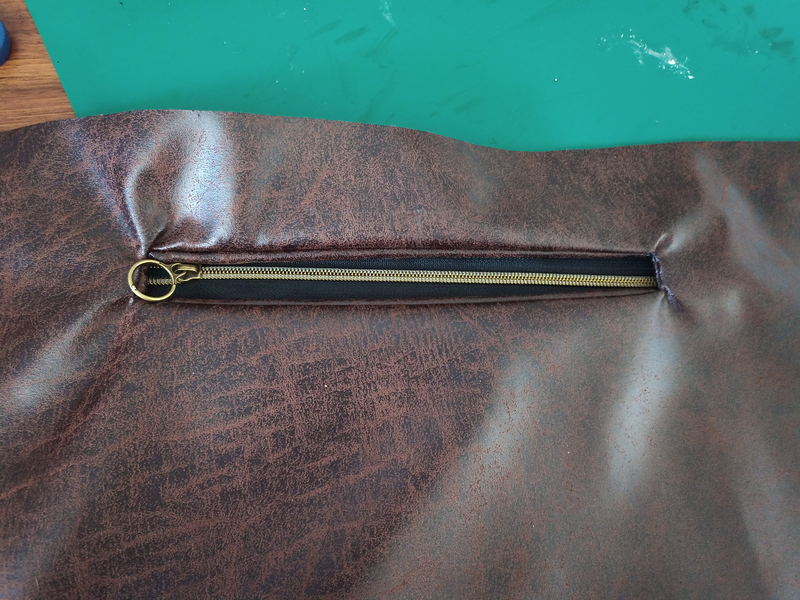
Checking zipper location
Cutting extra lining
Cleaner result
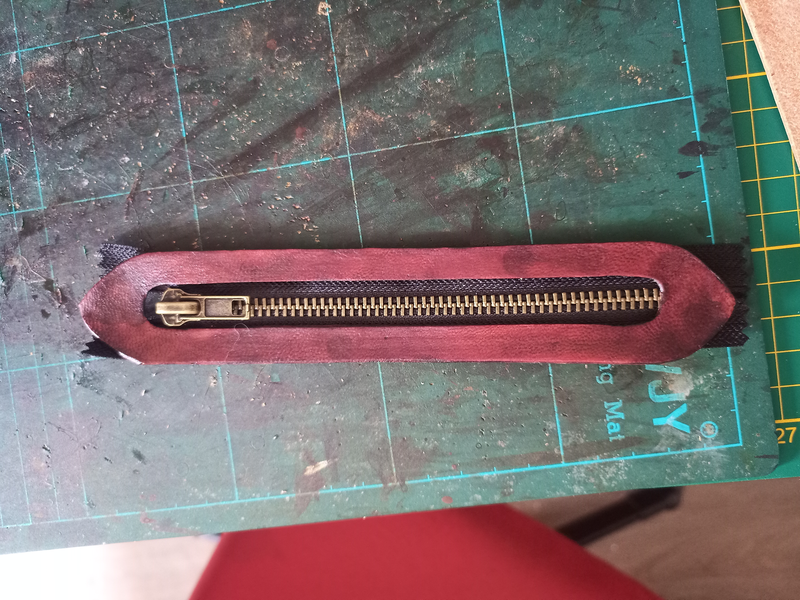
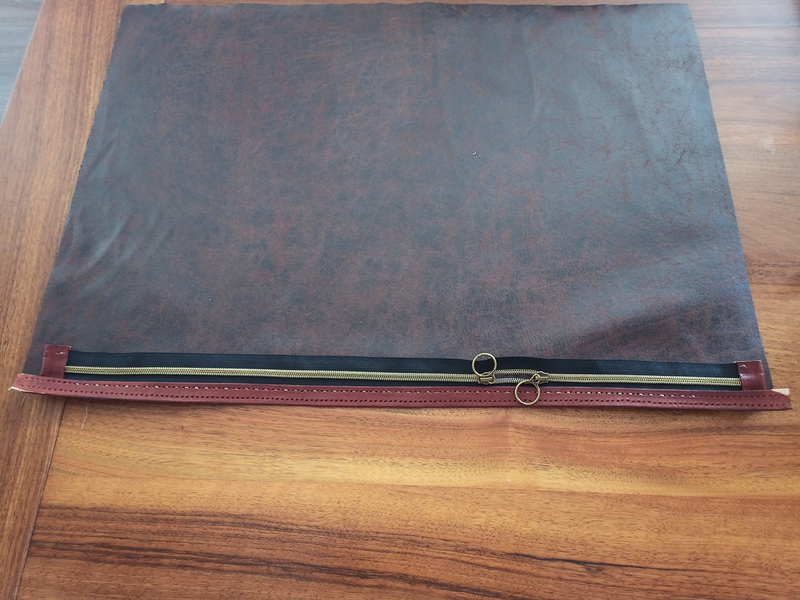
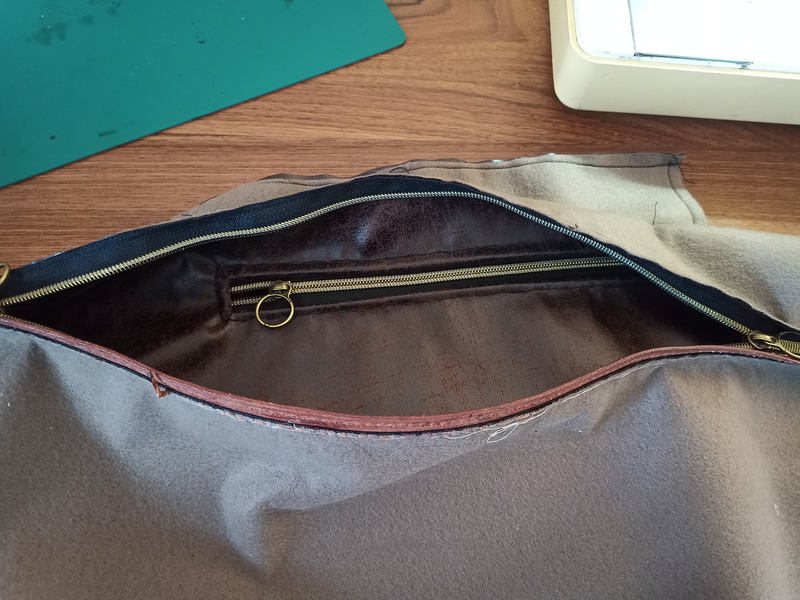
Adding the zipper
From the inside of the pocket
Rolling back the pocket over itself (stitch left and right)
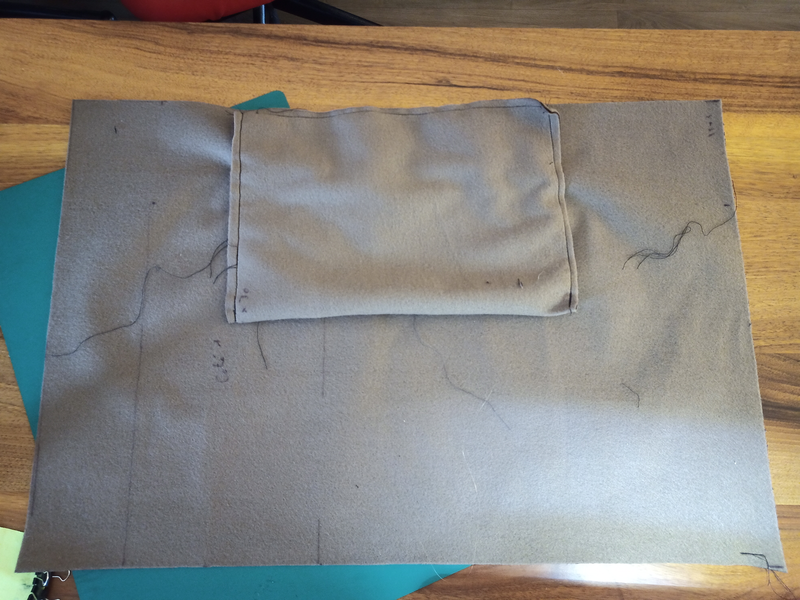
The pocket inside the lining
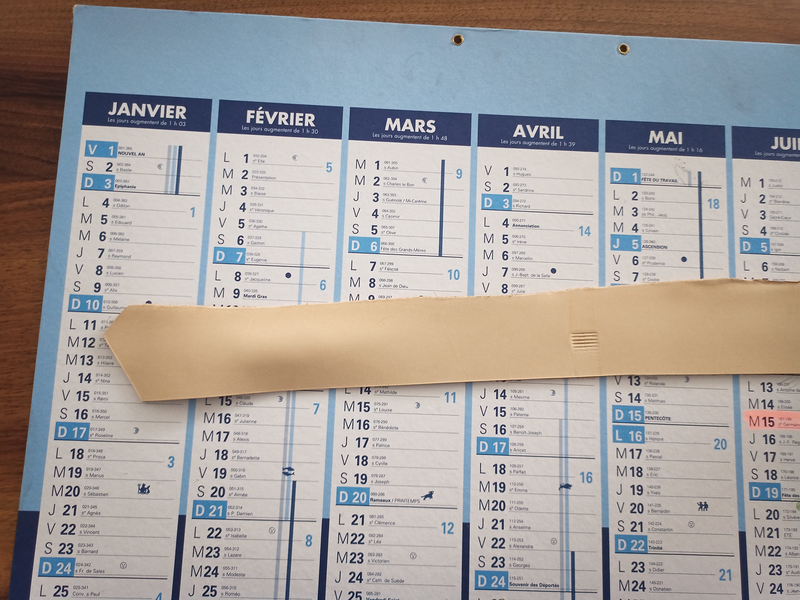
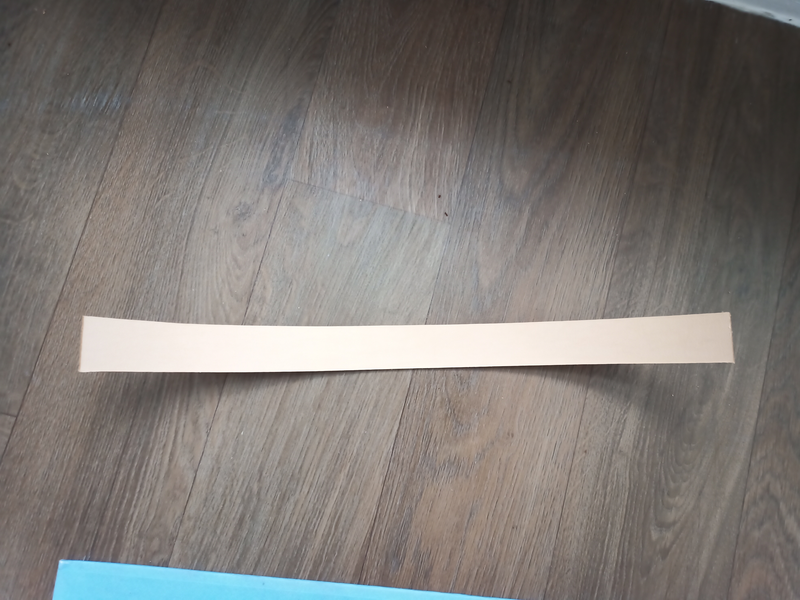
Band preparation
Dying
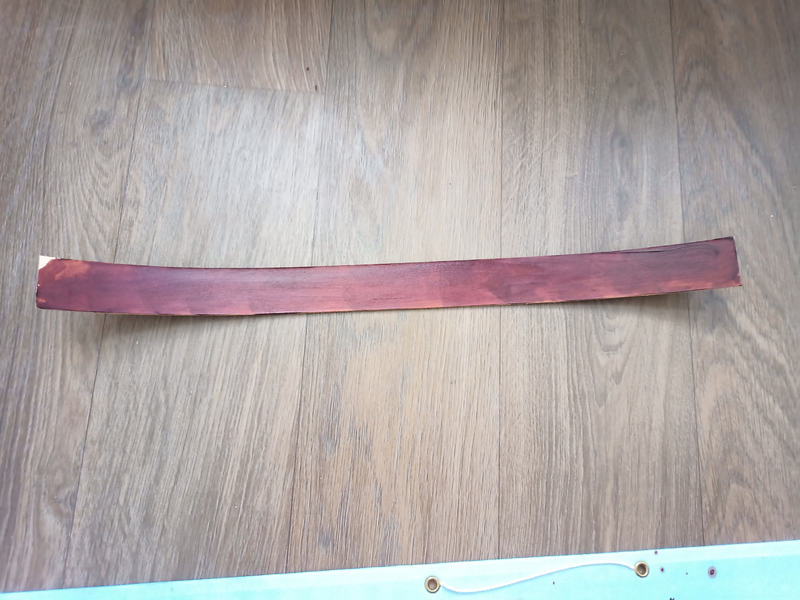
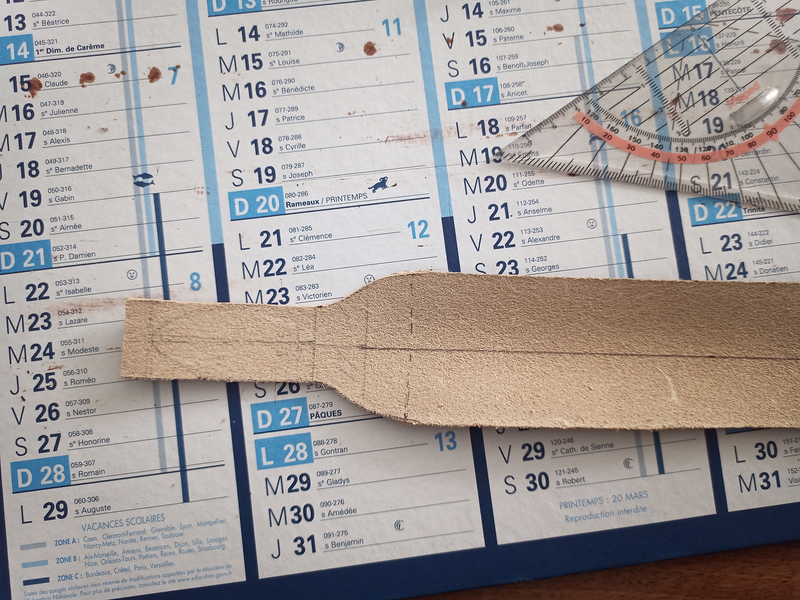
Draw parallel lines at 0.5 cm from the edge
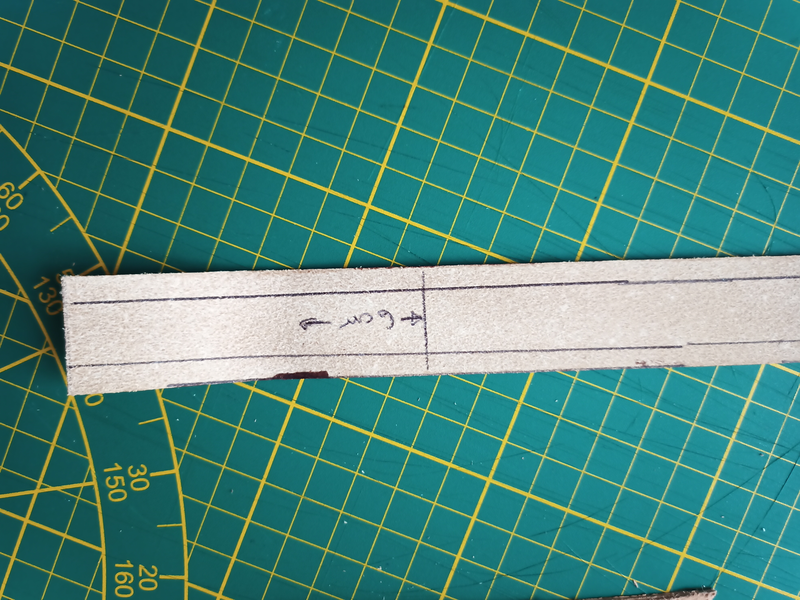
Shrink at 4 cm
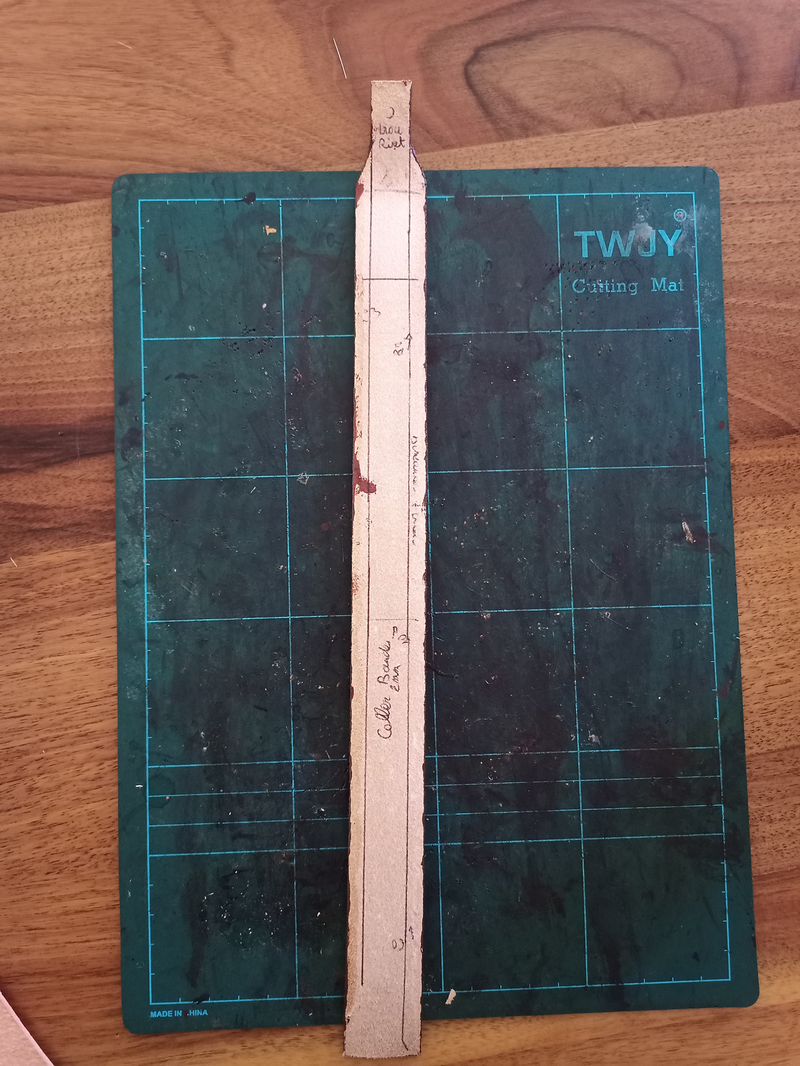
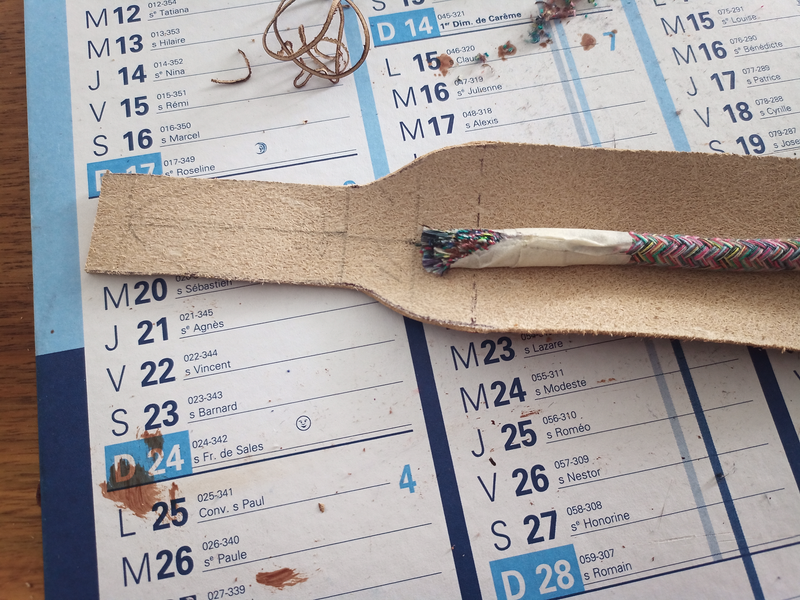
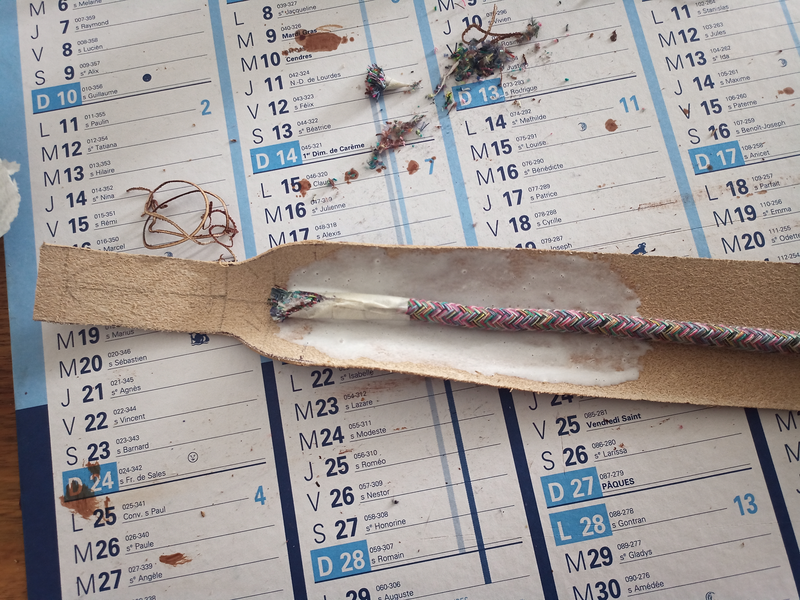
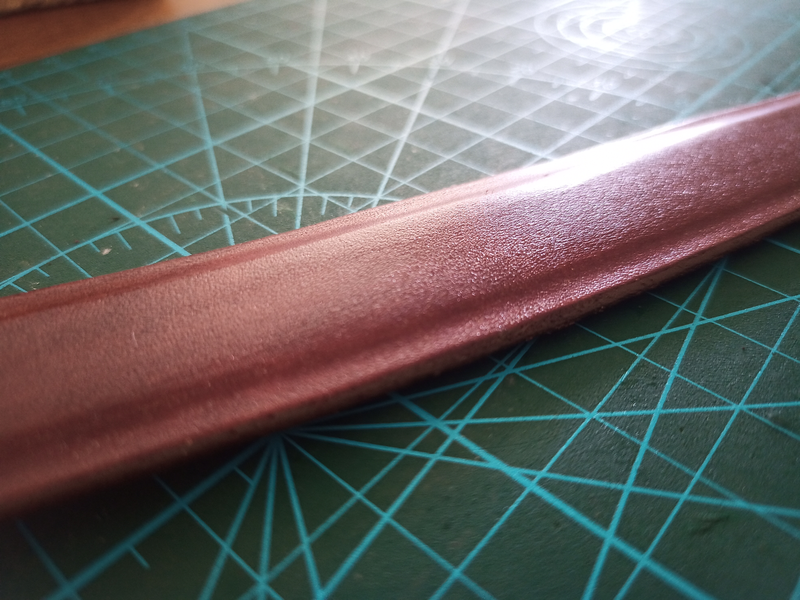
Gluing a band (use goat hide, cheaper)
Emboss.
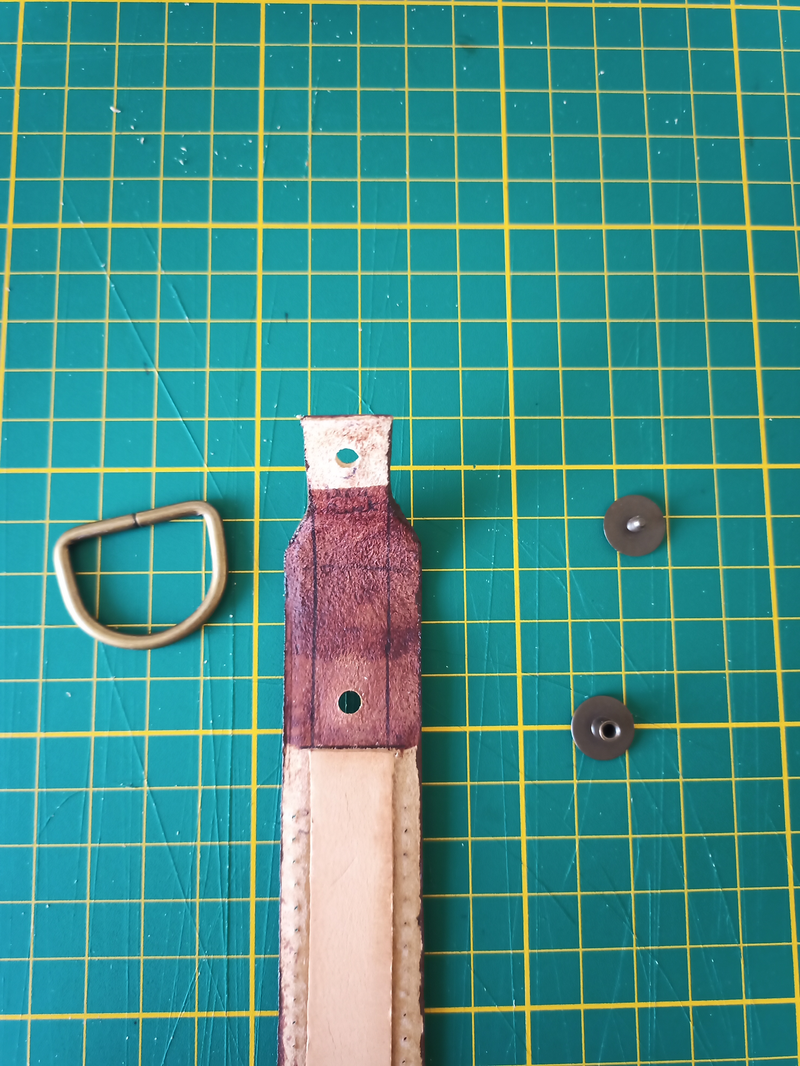
Create a hole to fix first the top of the strip
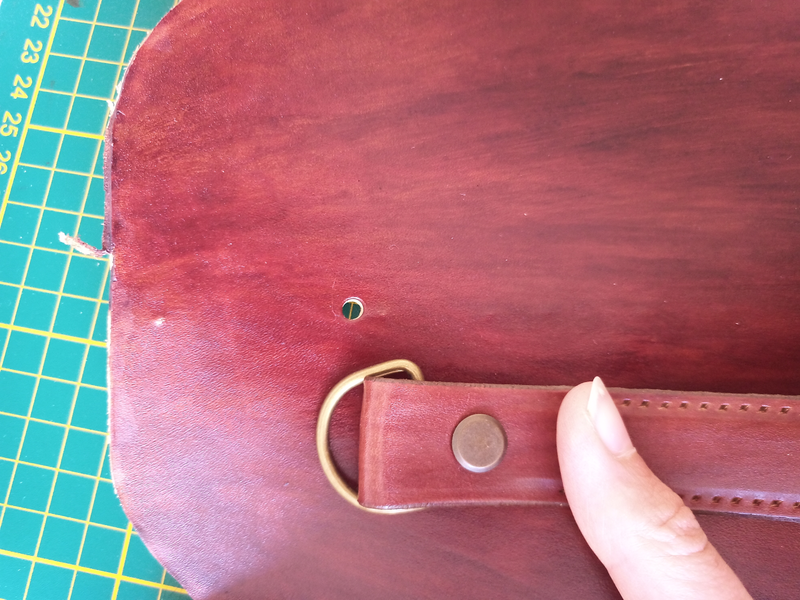
Position correctly the bottom
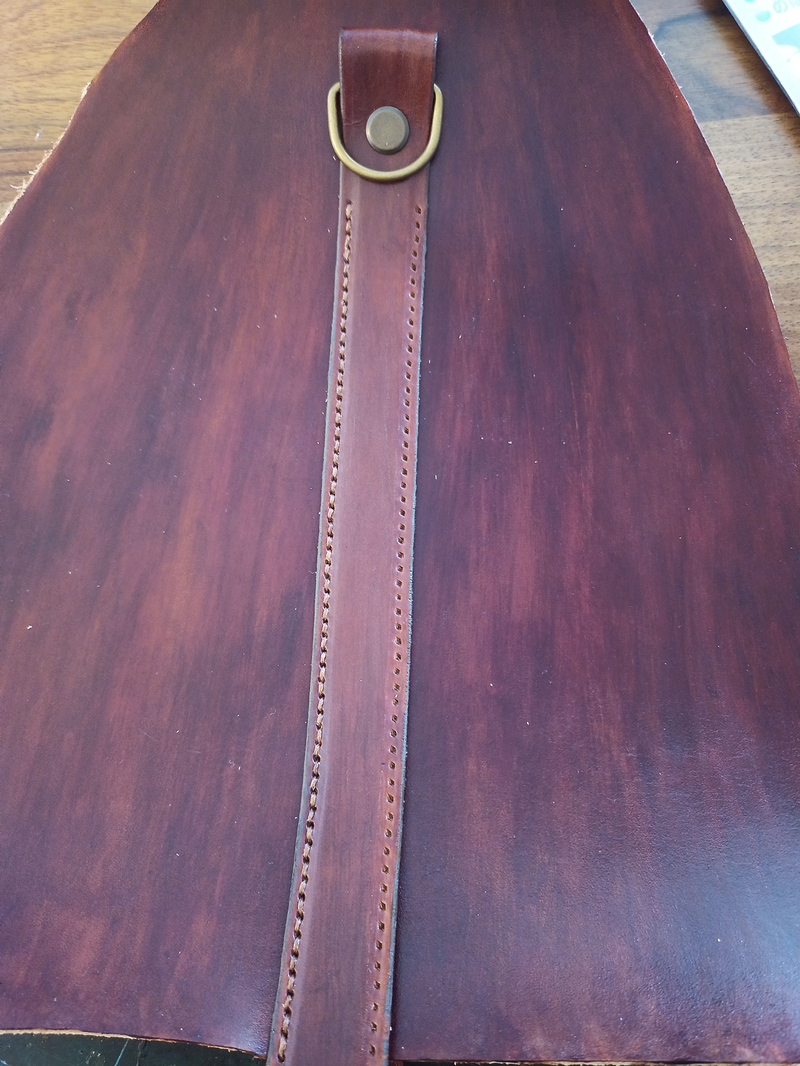
Stitch from the top to the bottom
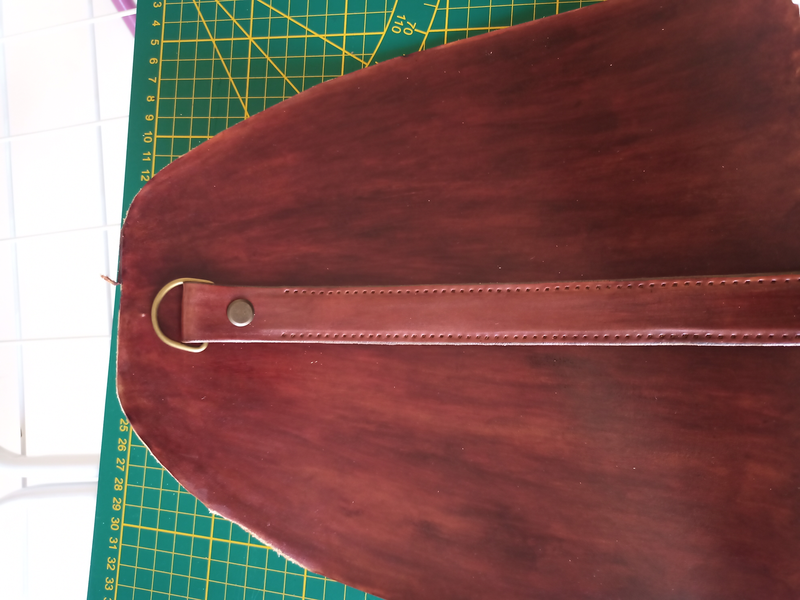
First Part OK
Second part OK
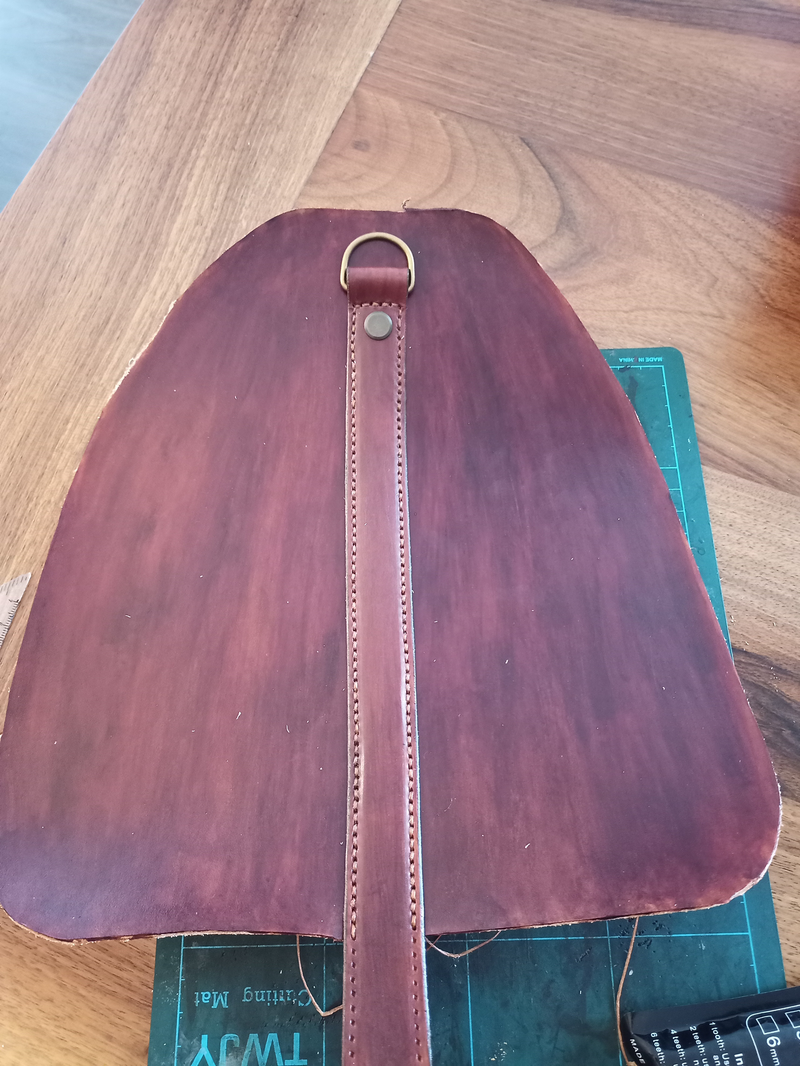
Result
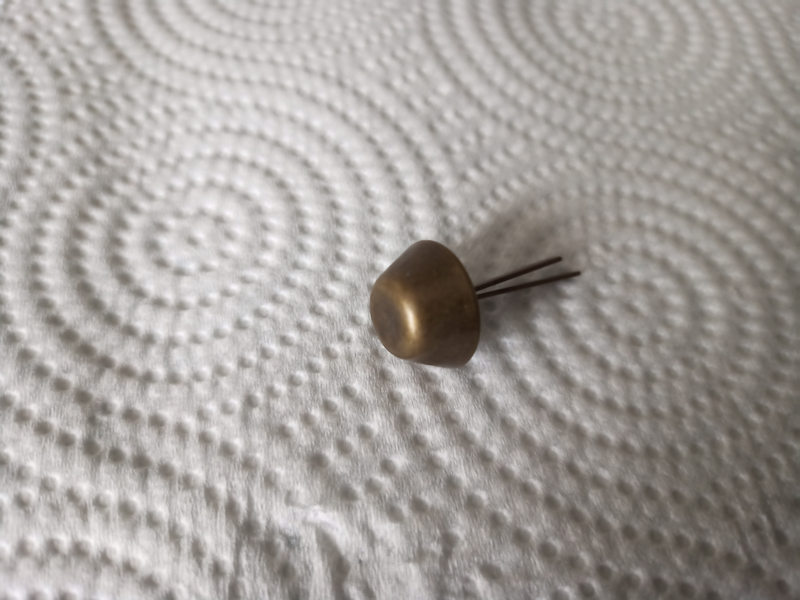
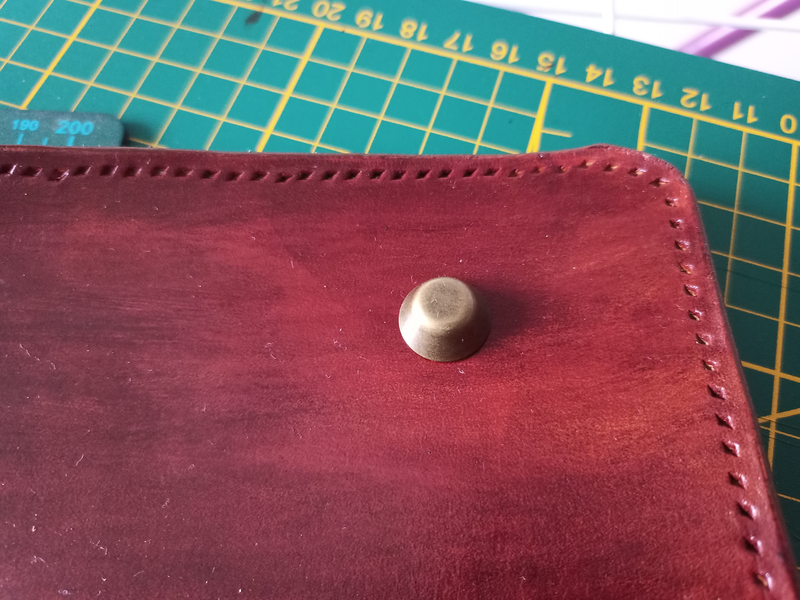
Adding feets

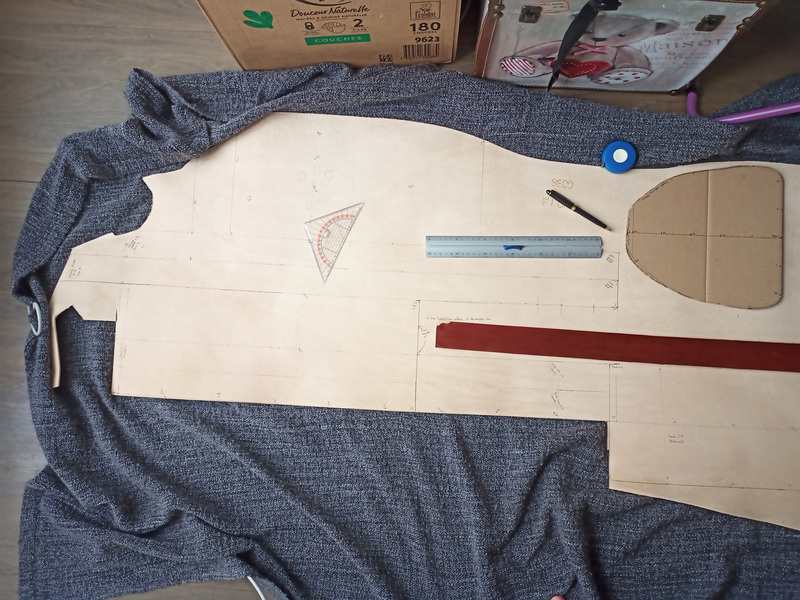
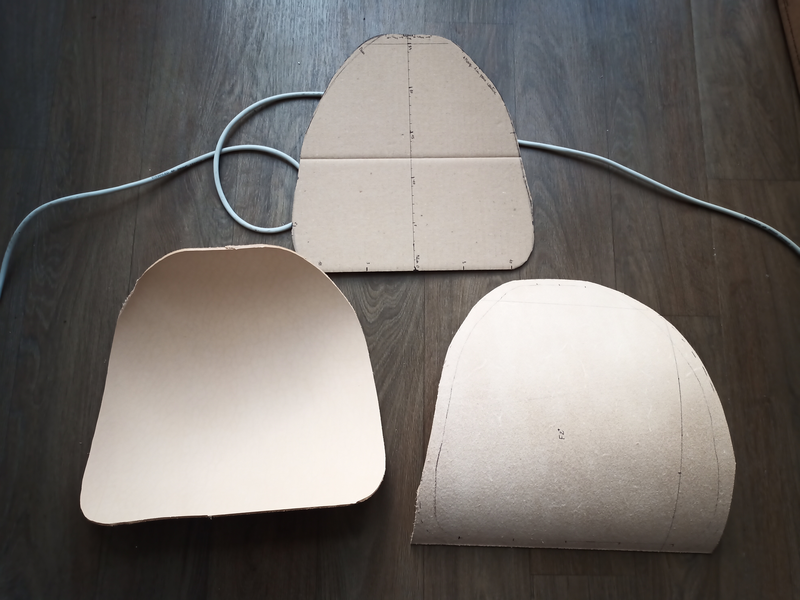
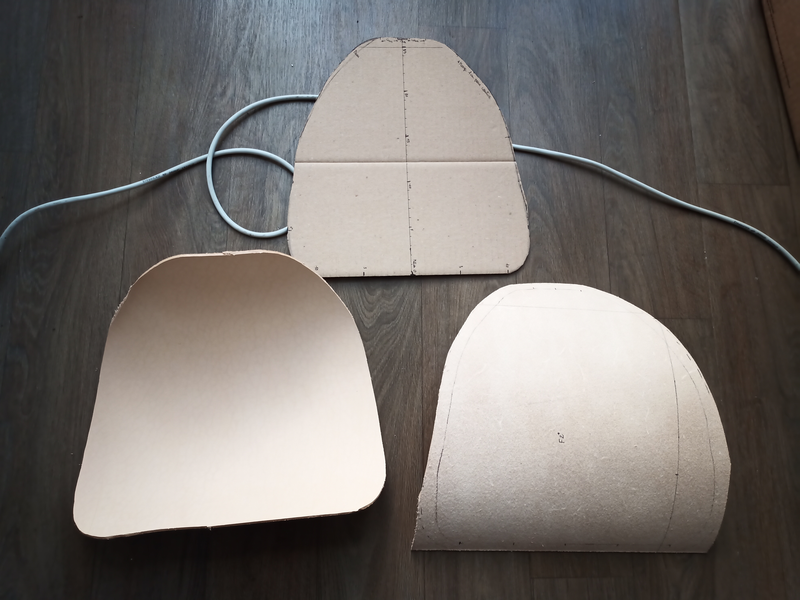
Cutting in the 2 m² cow hide
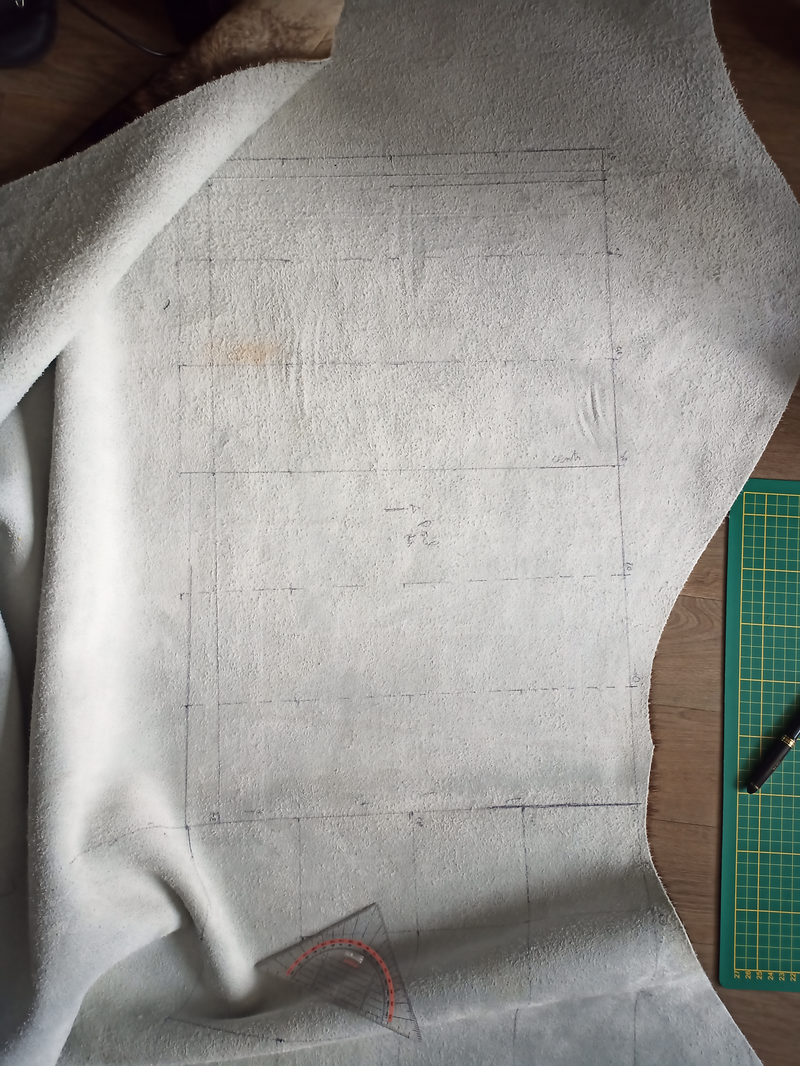
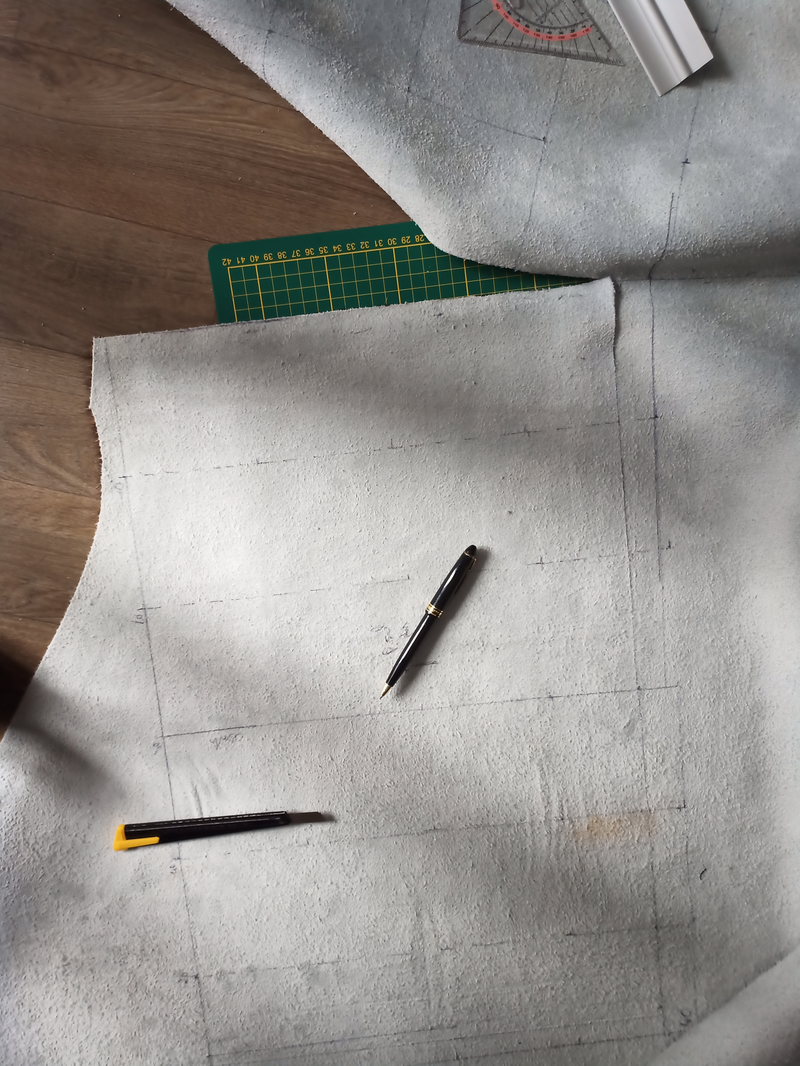

Pieces (parallel)
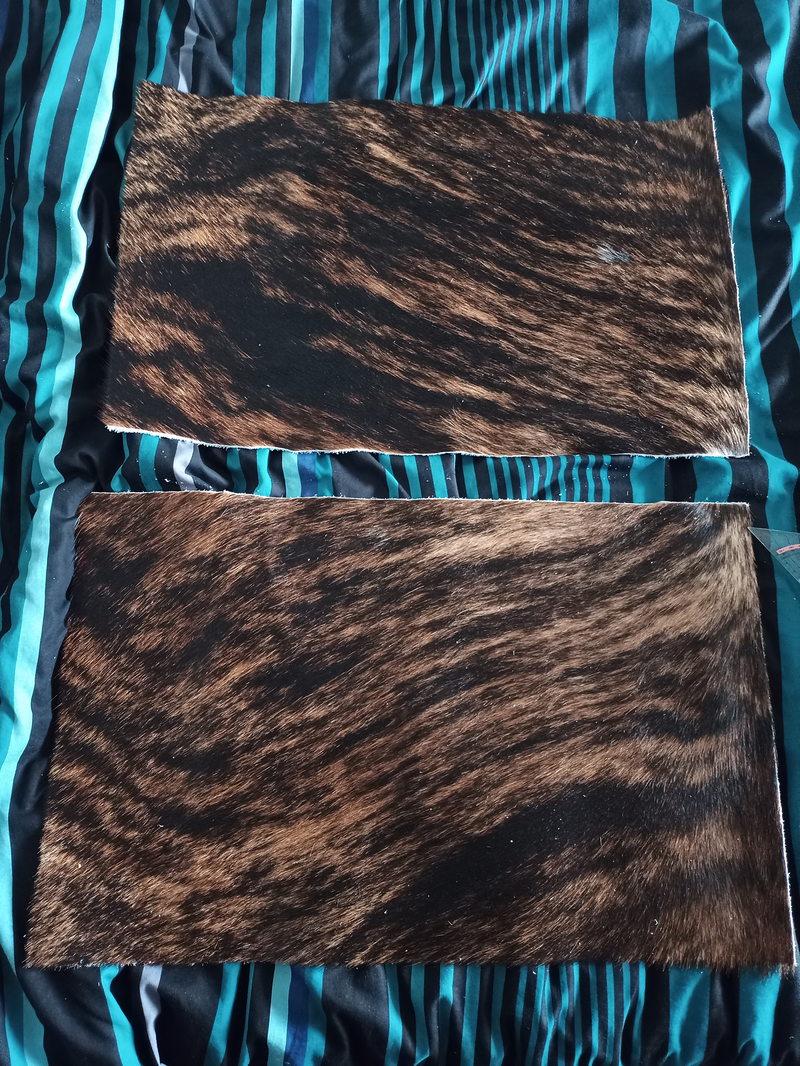
What it may looks like after stitching

Adding a “liseret”
Flat parts
Uncomplete /// Large break