Here’s the translation:
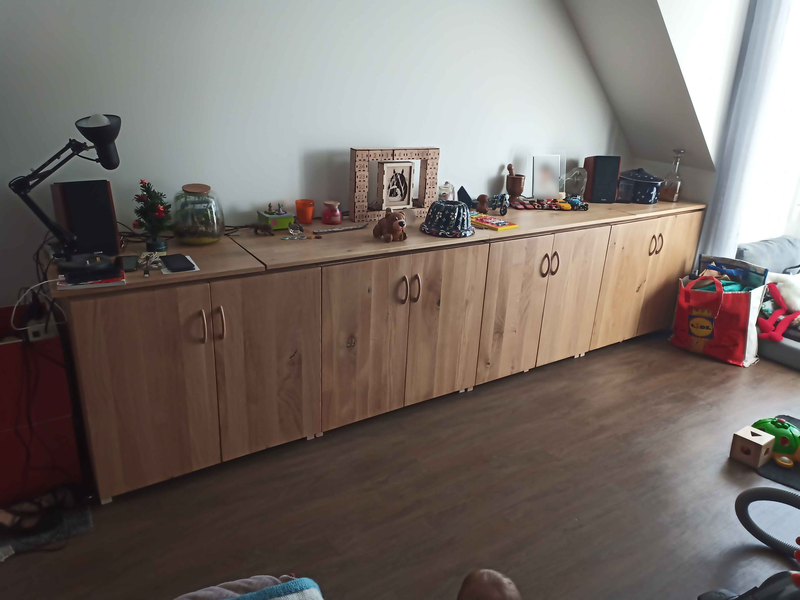
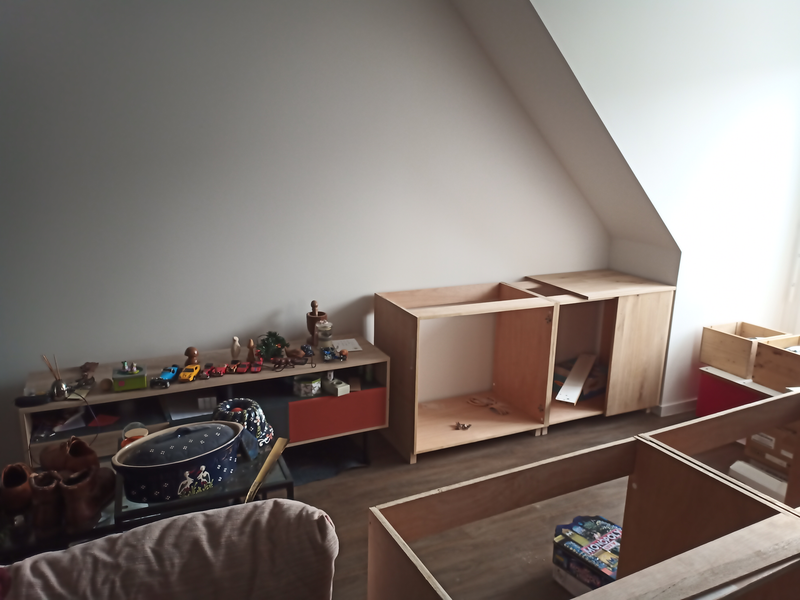
I wanted to place furniture along a wall. I wanted the furniture to be perfectly aligned with the alcove — not sticking out, to keep it looking neat.
The problem: the recess was 54cm deep. Standard kitchen cabinets come in either 60cm depth, or 40cm for wall-mounted units…
So I decided to build my own cabinets.
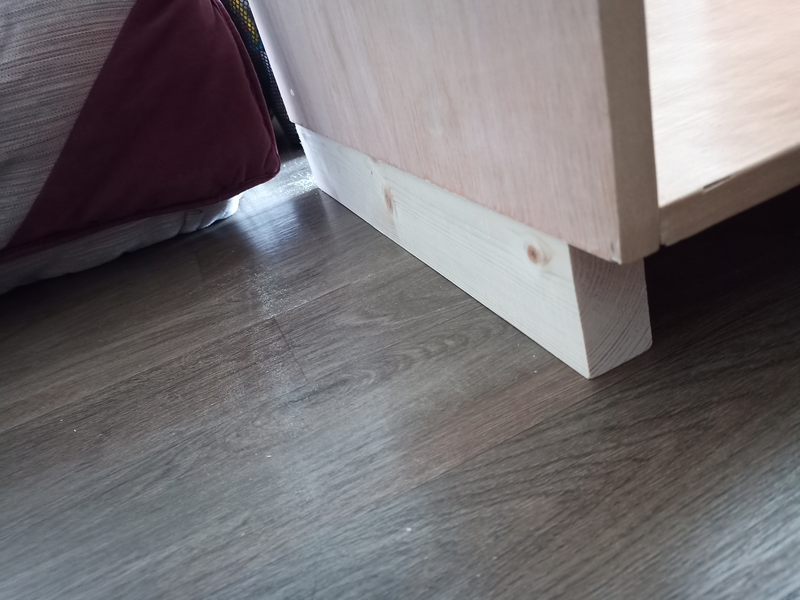
80cm wide, 54cm deep, and 70cm tall (+7cm of batten/skirting to raise them off the floor). Also, in terms of value for money: melamine board is just okay. Plywood with oak doors is better.
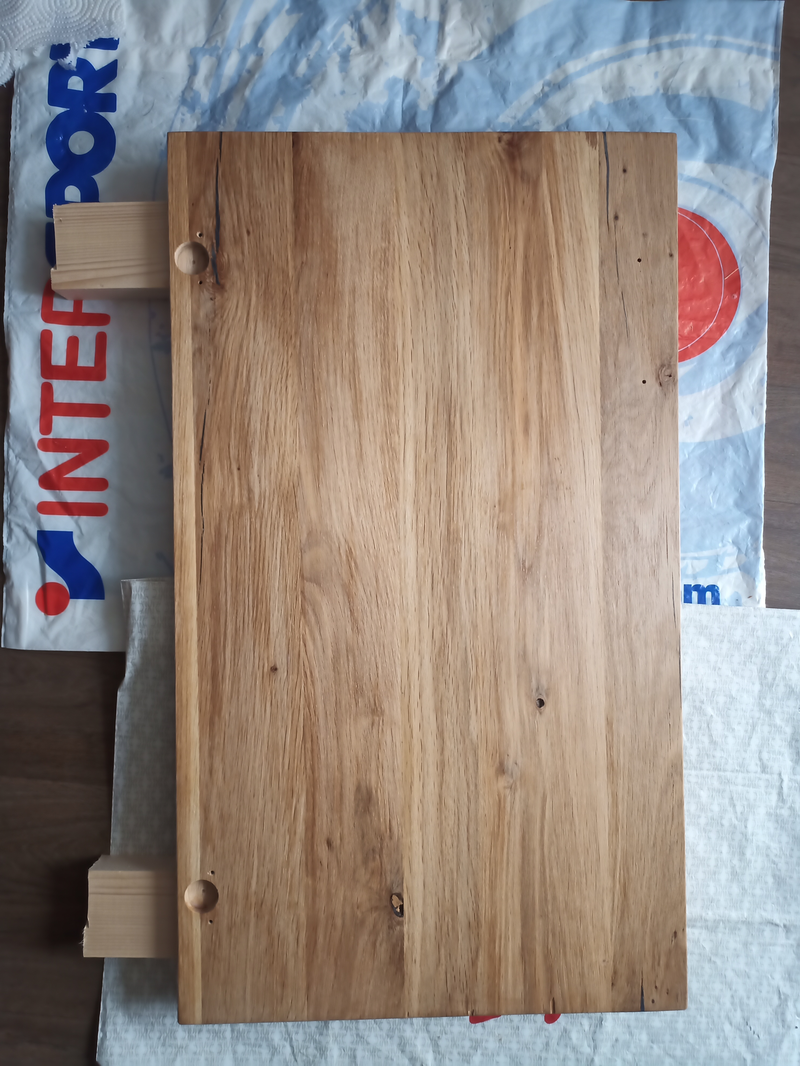
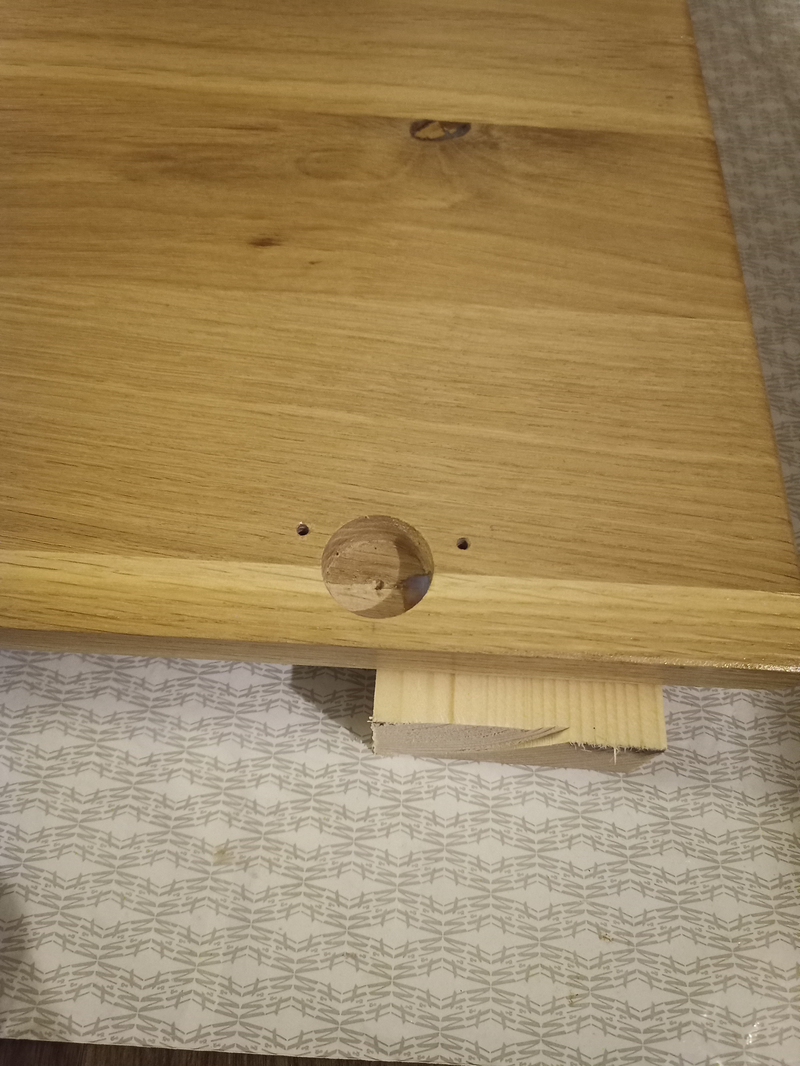
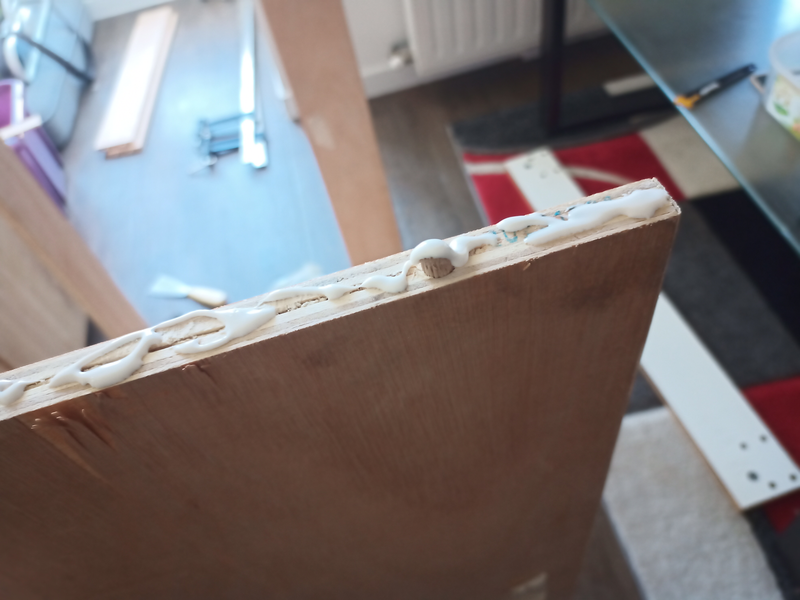
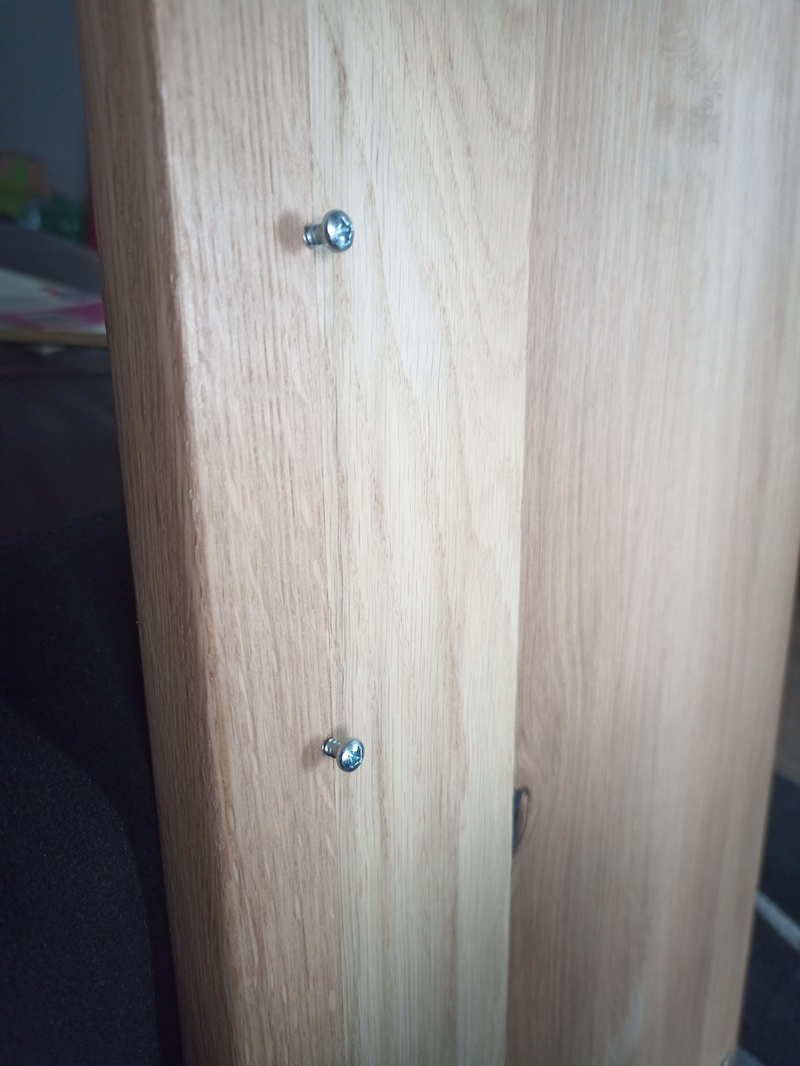
Fixing technique: dowels (a nightmare to start with, but a clean result in the end).
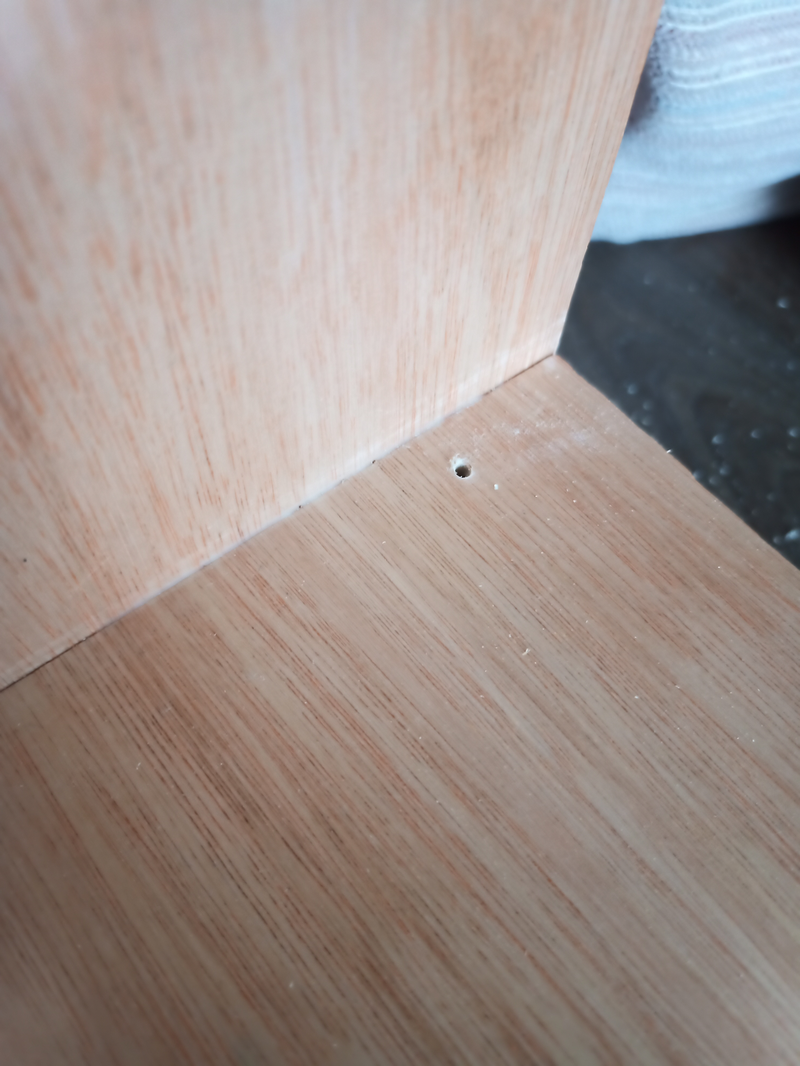
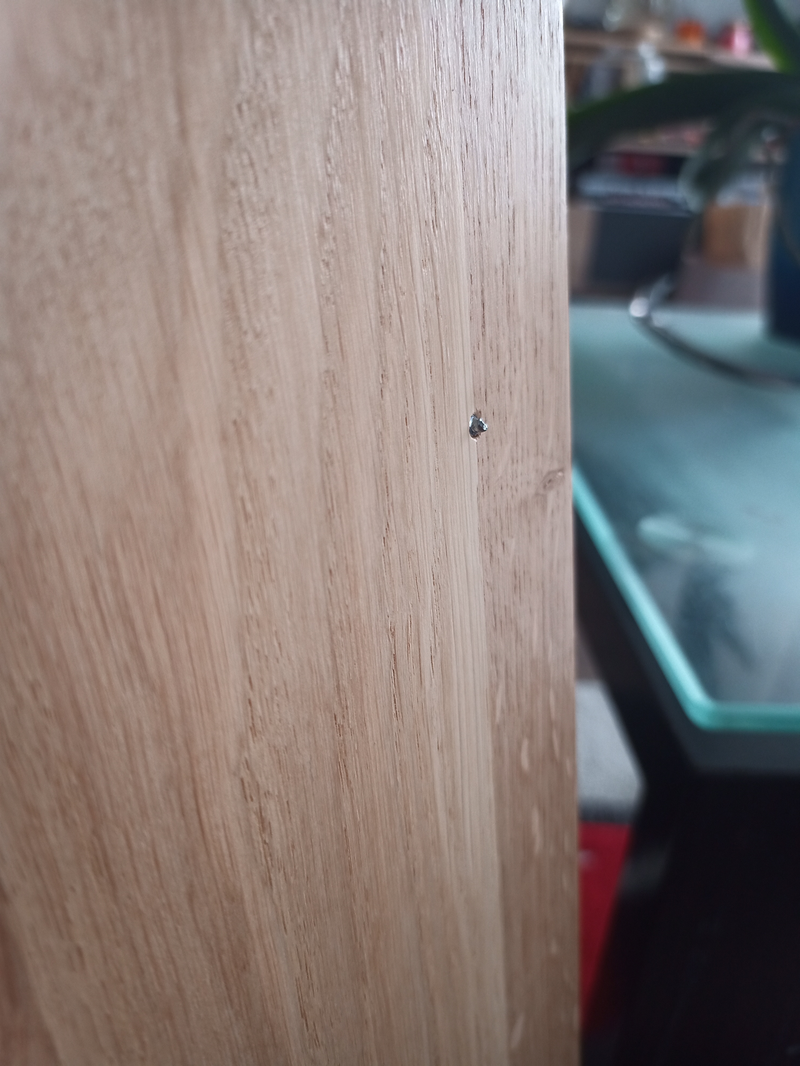
The cabinets are fastened to each other with special connectors (the holes are drilled on the inside).
The worktop is just resting in place (I wanted to fix it down, but so many things have piled up on top of it that I no longer have the motivation…).
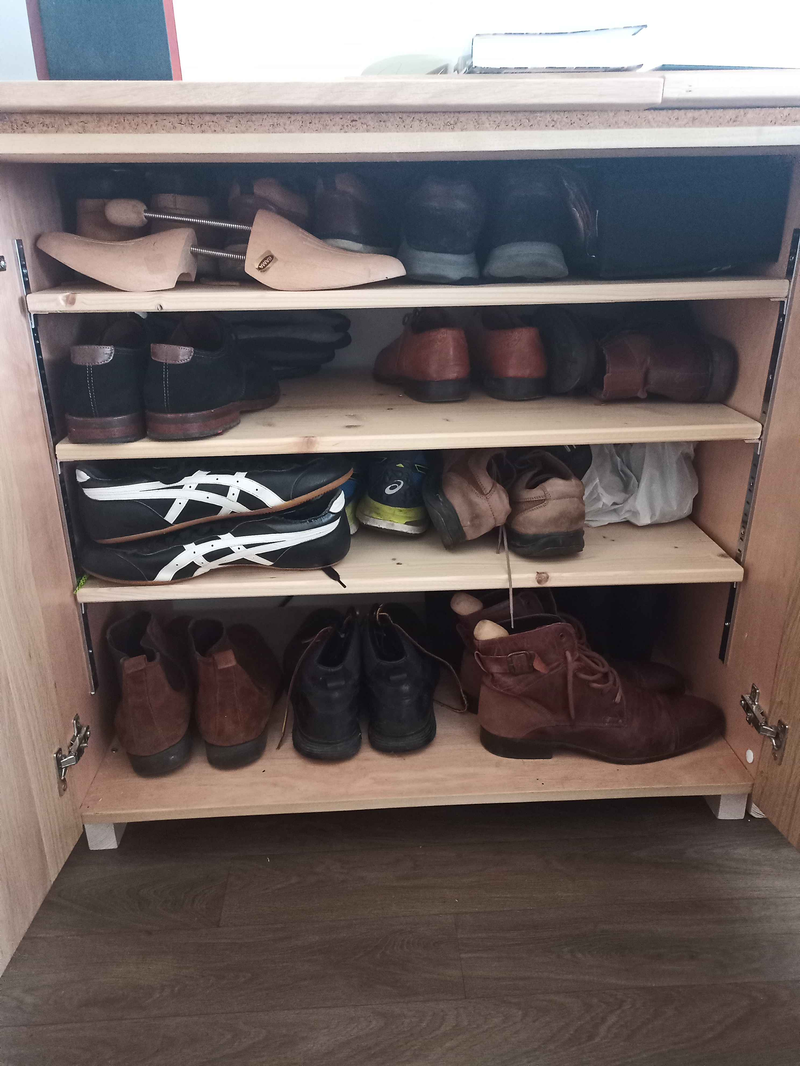
The shelves inside the cabinets sit on shelf pin rails: 4 strips on the inside, removable pegs, and the shelves rest on the pegs. It’s not necessarily the best system, but it’s easy to implement.
Varnish/oil for the doors.
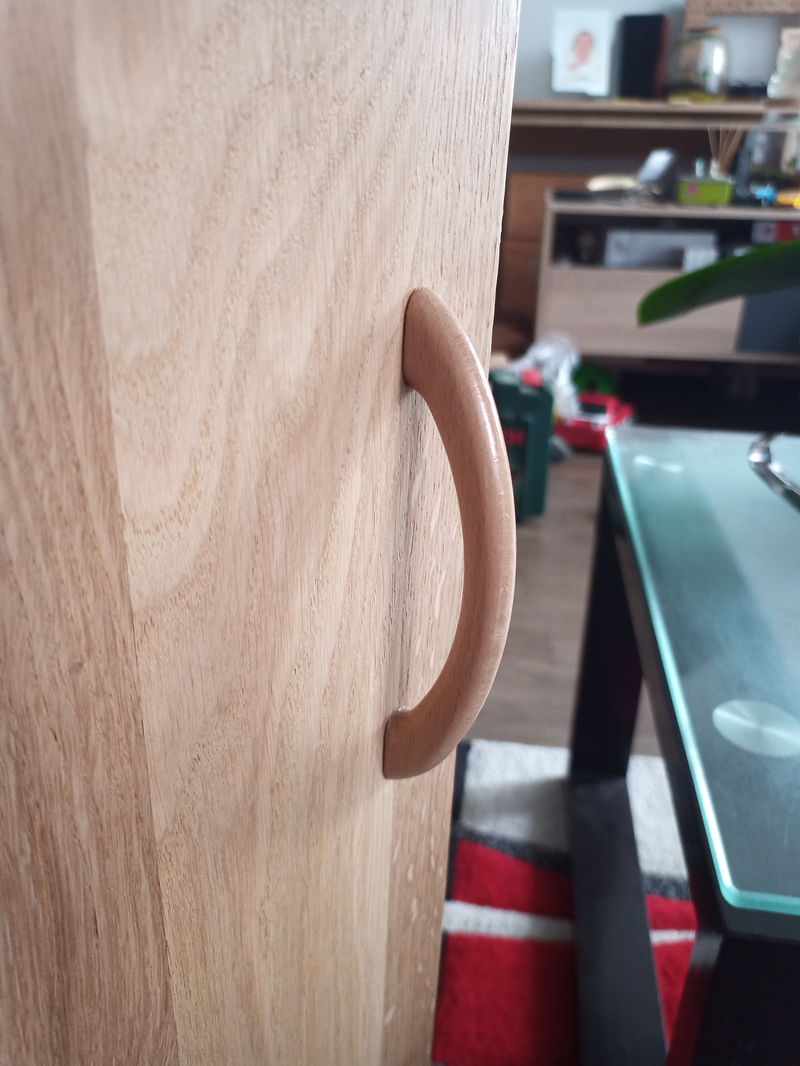
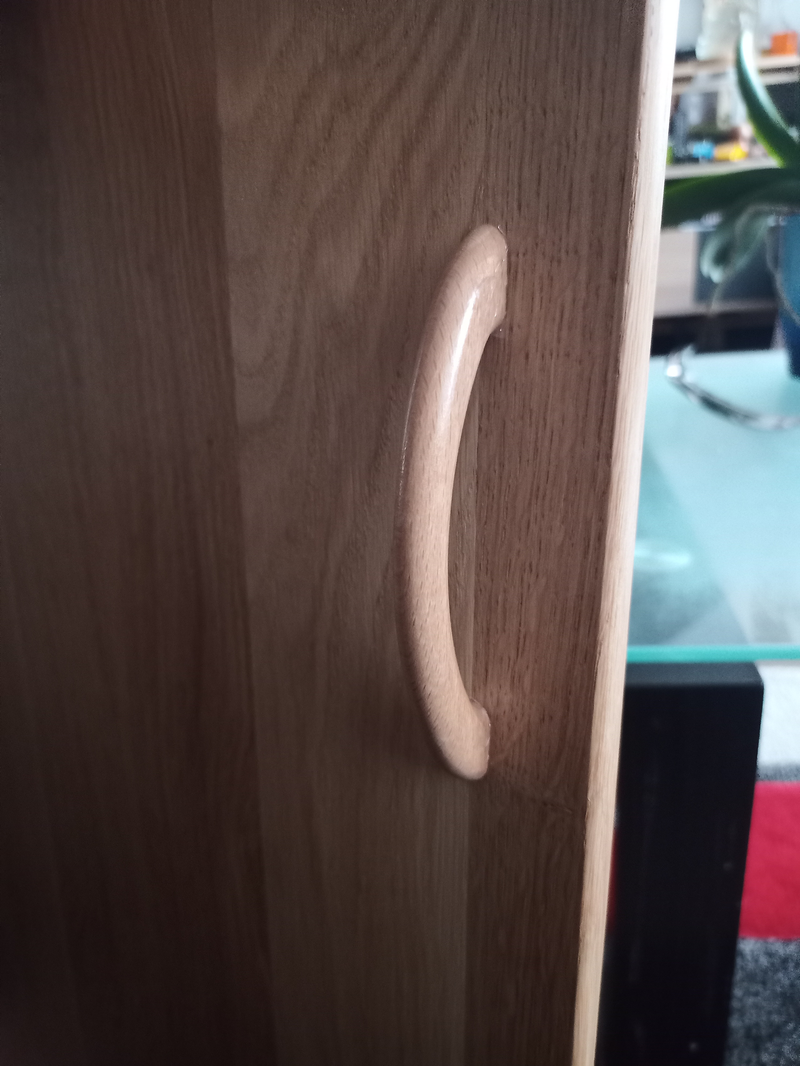
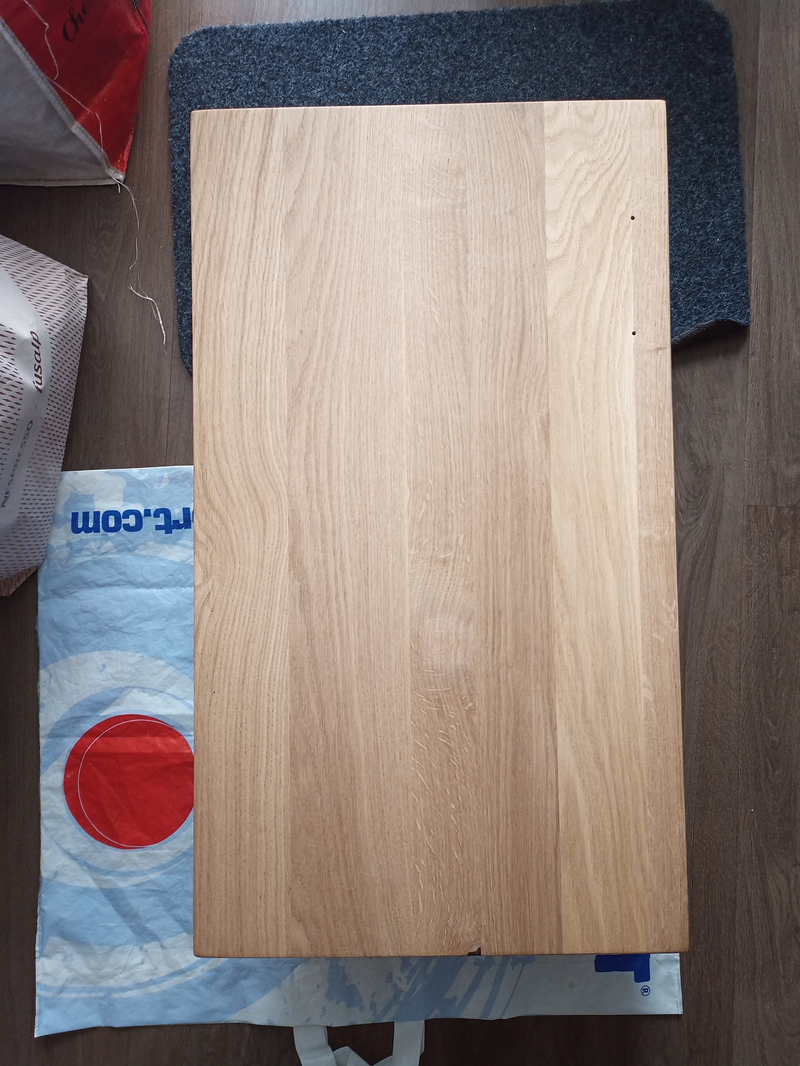
For the door handles: beech wood, the cheapest option, needed varnishing, but did the job perfectly well. Solid oak doors (the worktop too).
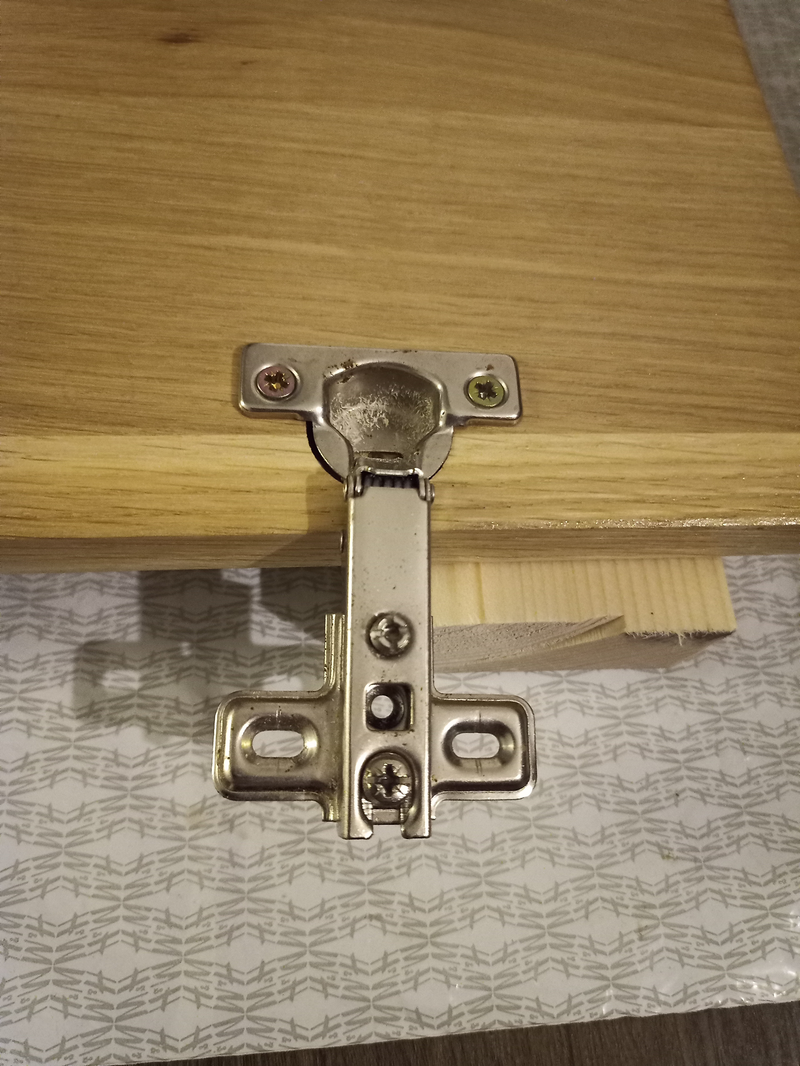
The hinges weren’t easy to fit or to adjust. Not much wiggle room.
The mistake I made was with the plywood thickness: I used 15mm, while the doors are 18mm. As a result, I had to space my cabinets out with shims to be able to open the doors… A bit of a pain to sort out.
No back panel on the cabinets (cost savings + support crossbar).
After 2 years, it’s still standing, despite the heavy load in one of the cabinets.
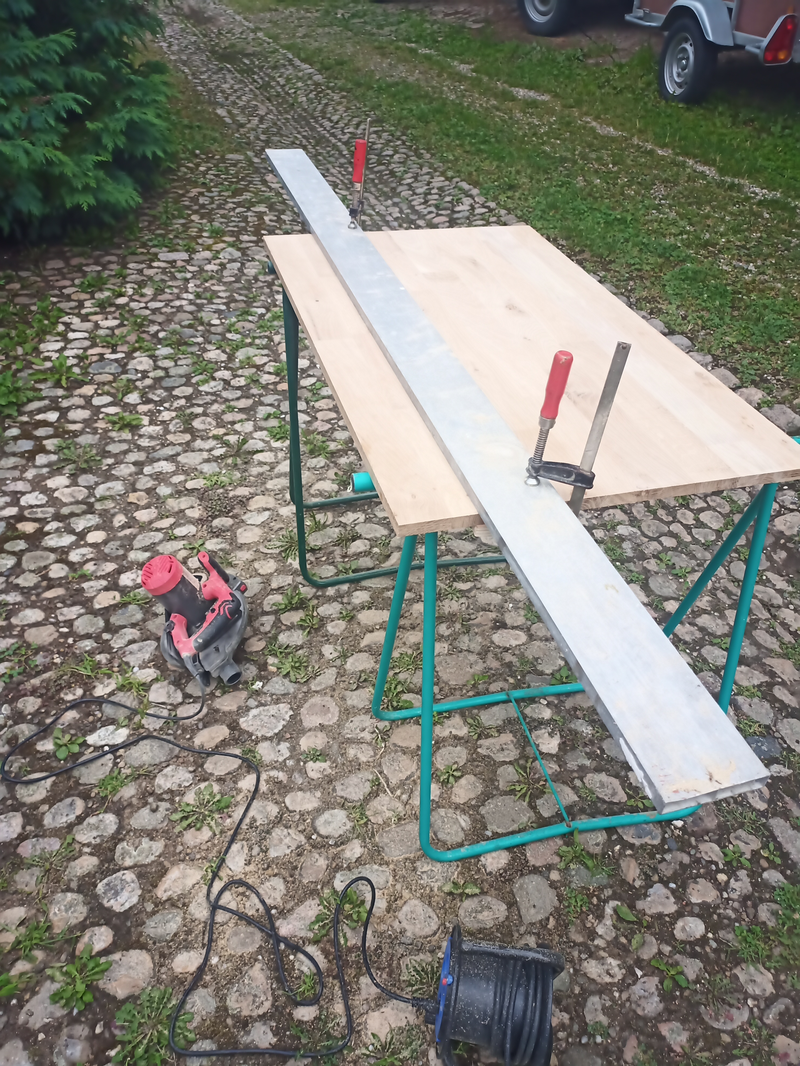
Cutting the boxes
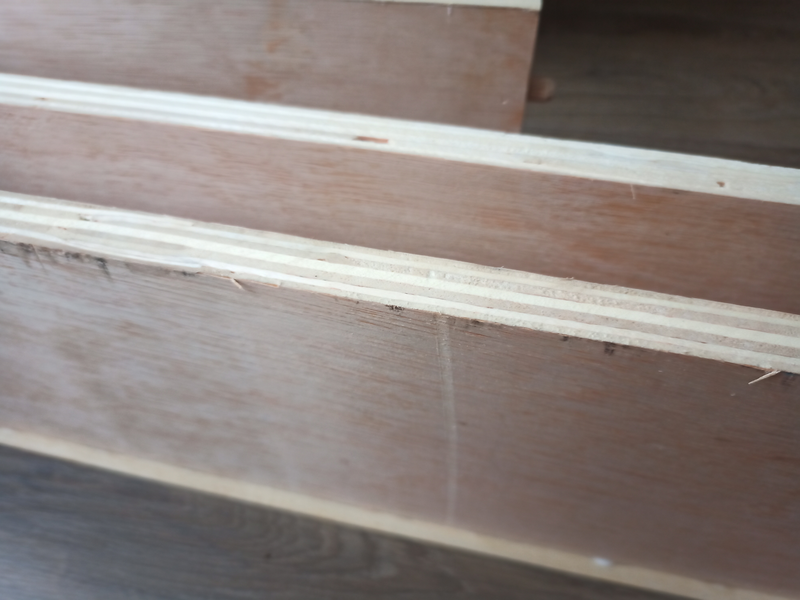
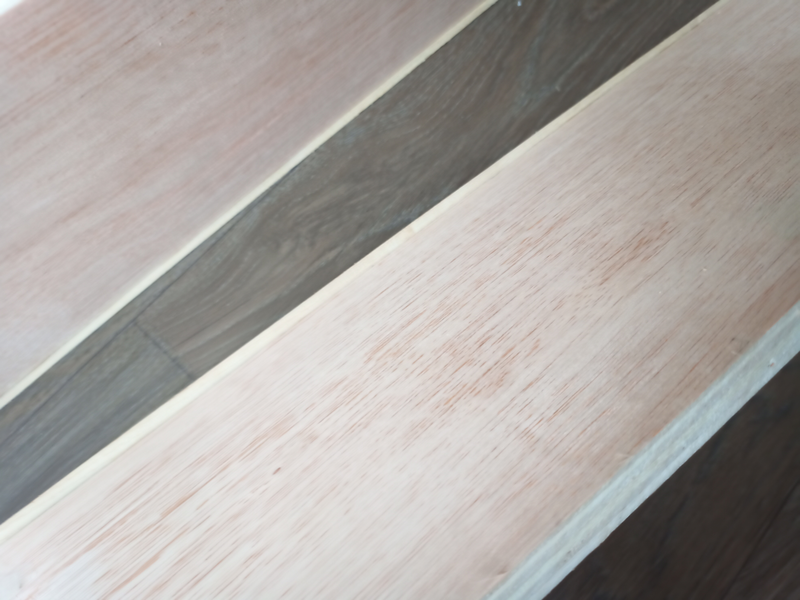
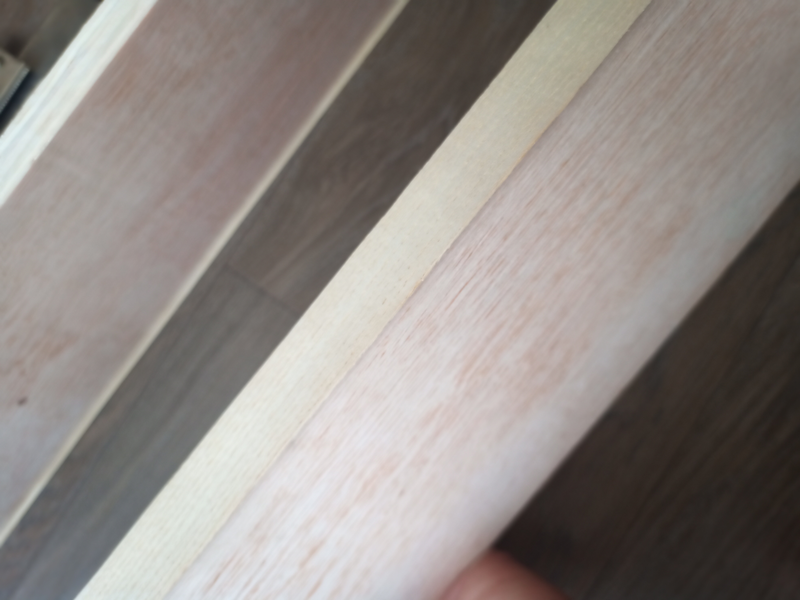
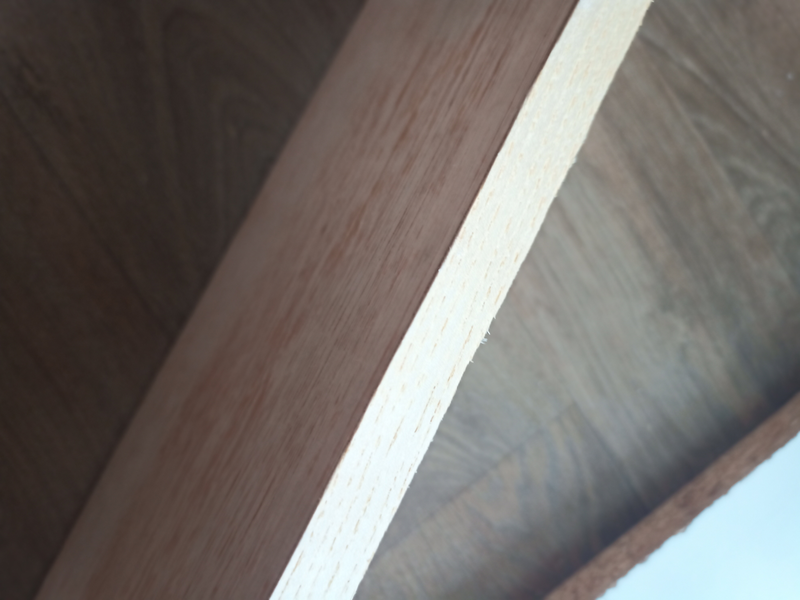
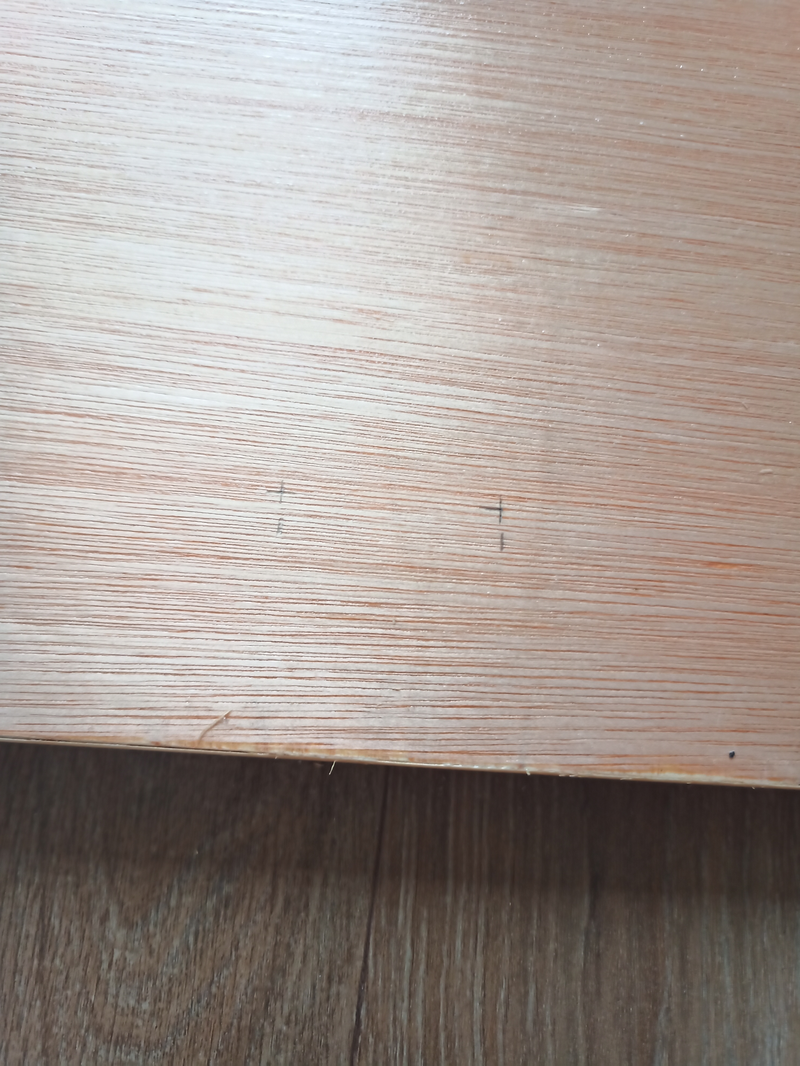
Masking the boder of the plywood
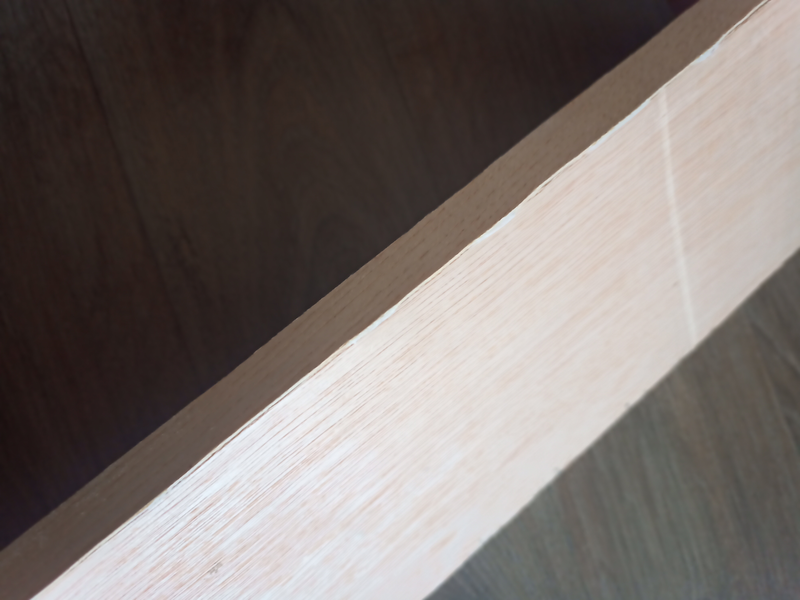
Oak Door Varnish
Drilling to fix the mettalic part
Fixing the metallic part
Checking the future connection with the inner part.
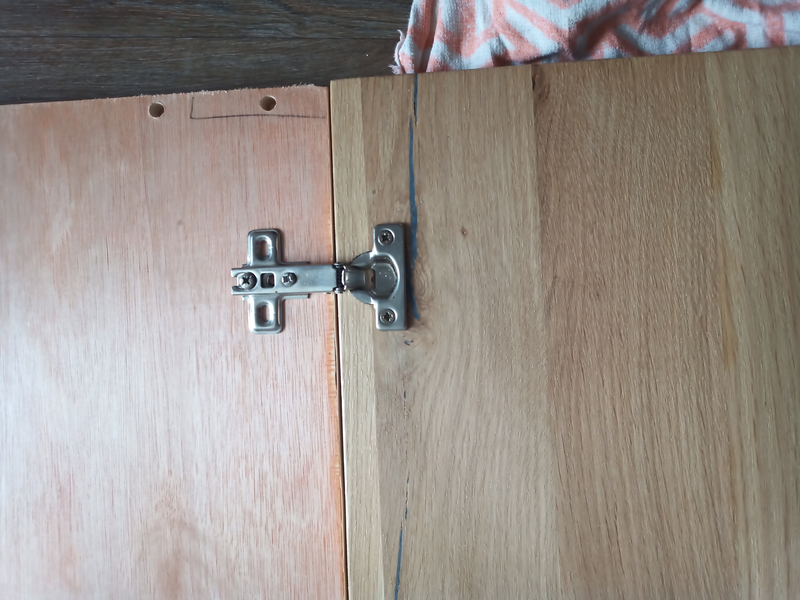
First one alive ! (I was afraid it would fall because of the weight of the door, but it is OK)

Gluing to fix parts

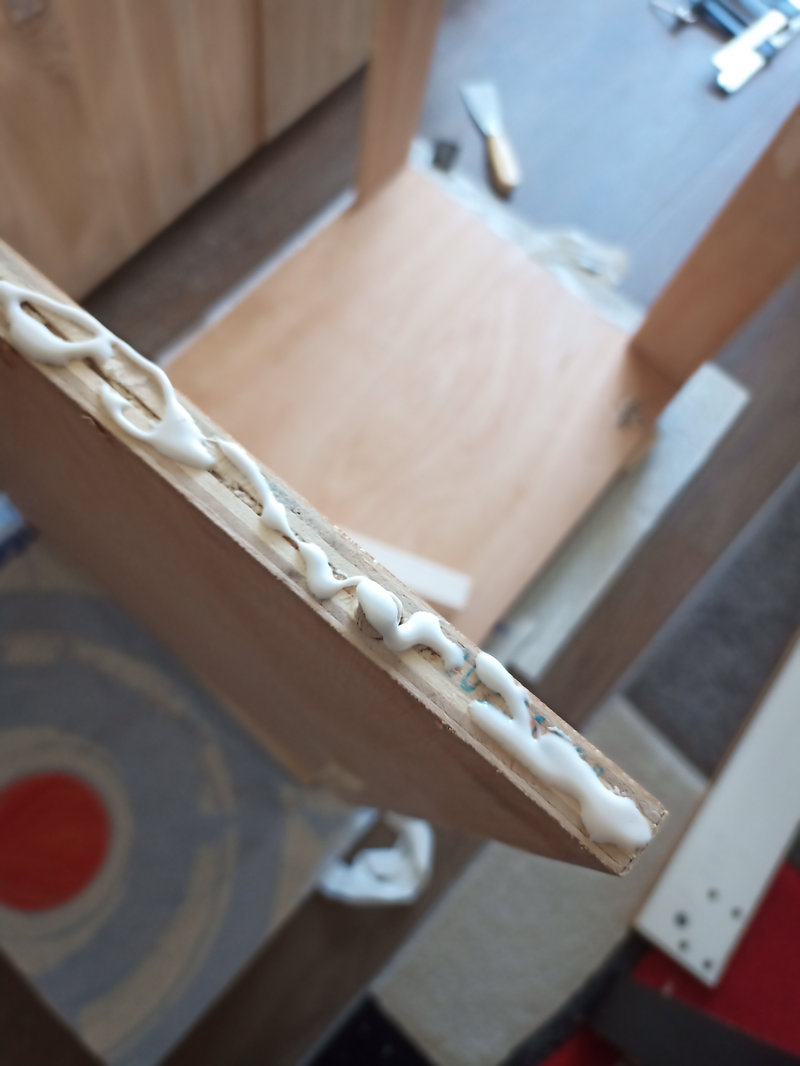
Adding pressure

Verifying the angles (at least trying)

Gluing while not standing on the ground to avoid getting stick to the ground
Two alive
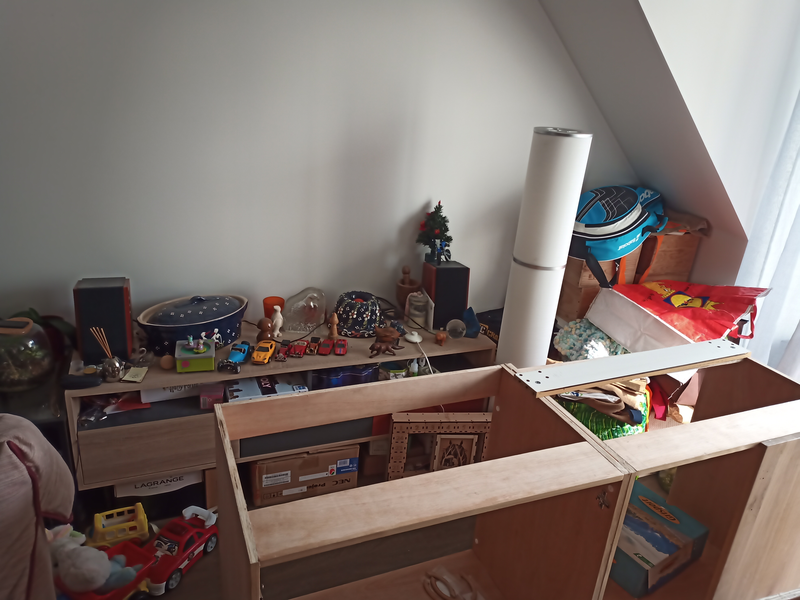
Putting them in place
Preparing the holes
Fixing