
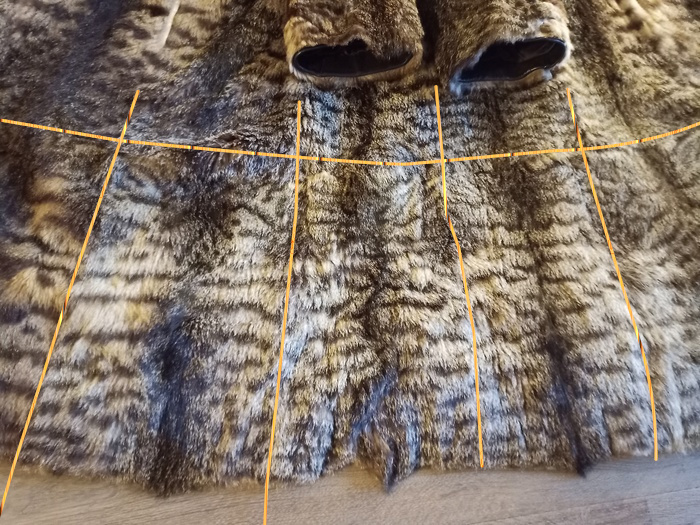
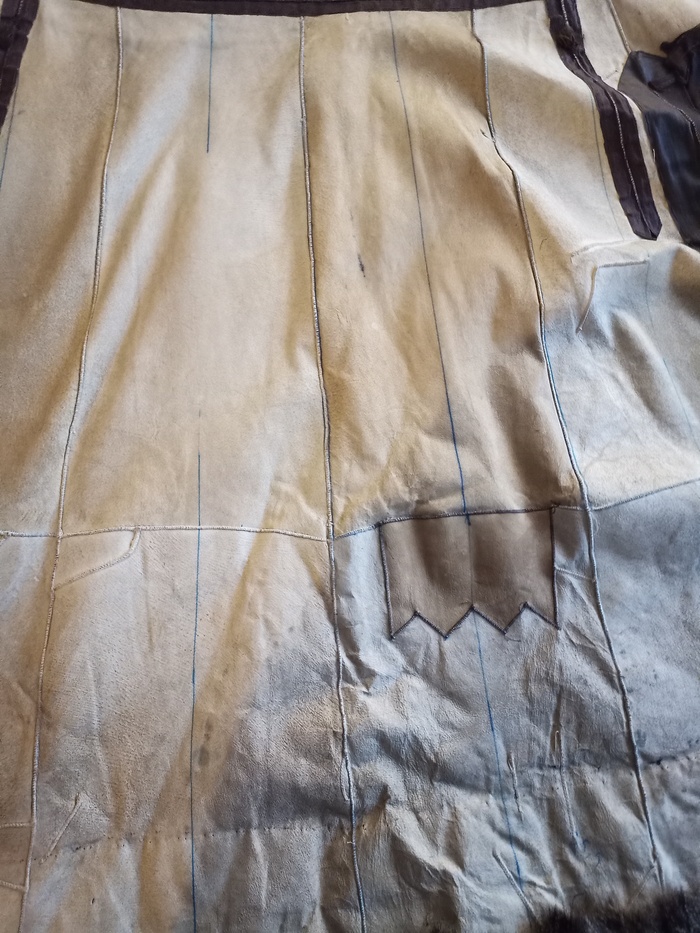
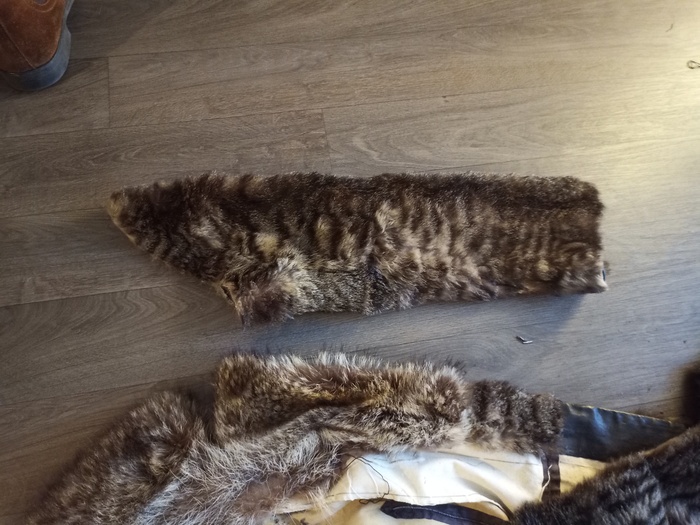
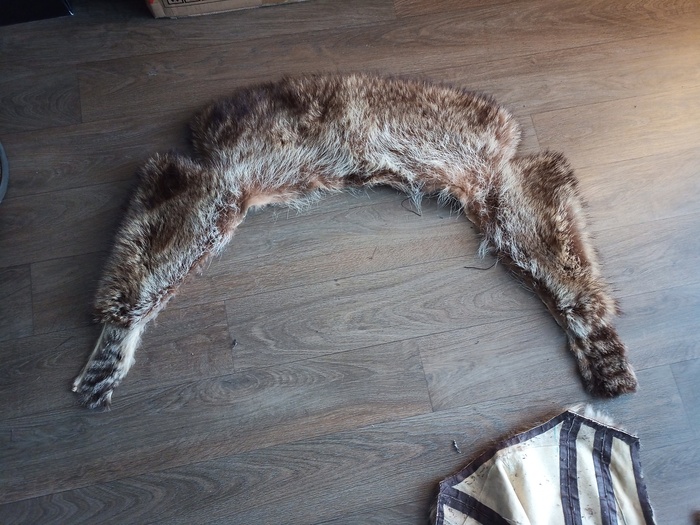
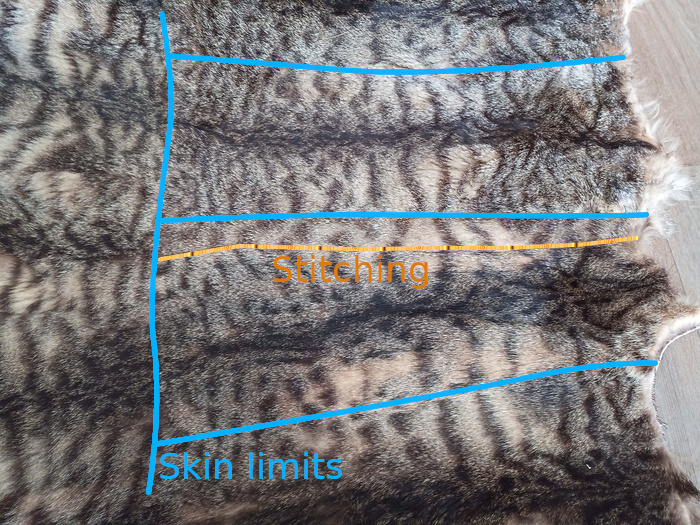
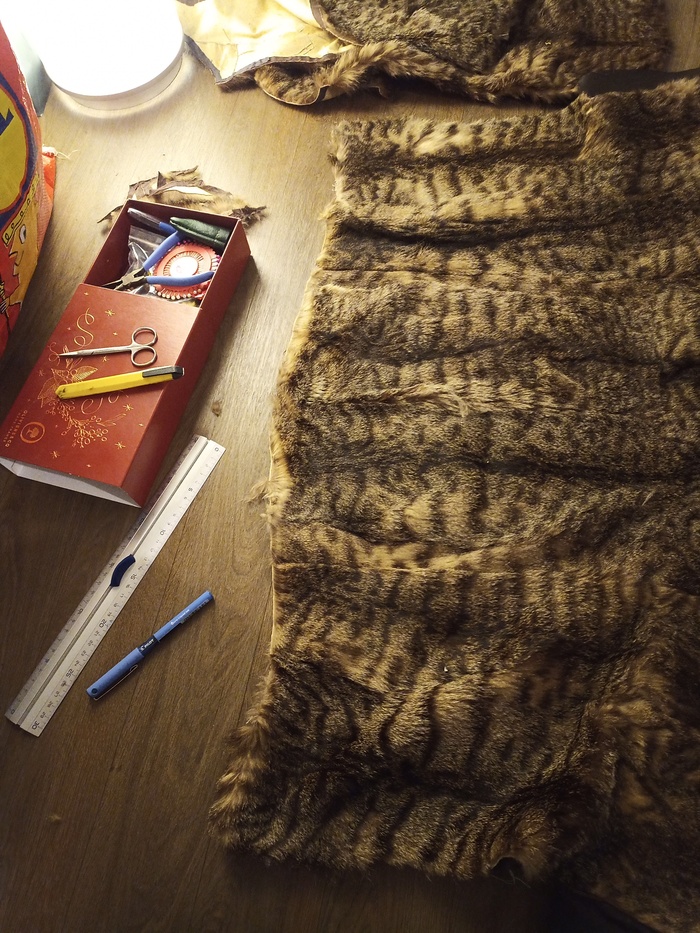
You can see the skin limits

This splits allow us to affirm this is fur rabbit: a rabbit (skin) is relatively small, and the fur is not processed as it is done with mink.
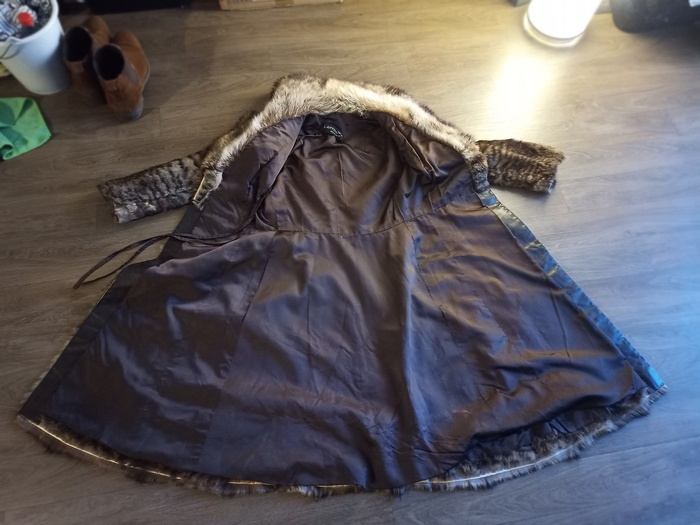
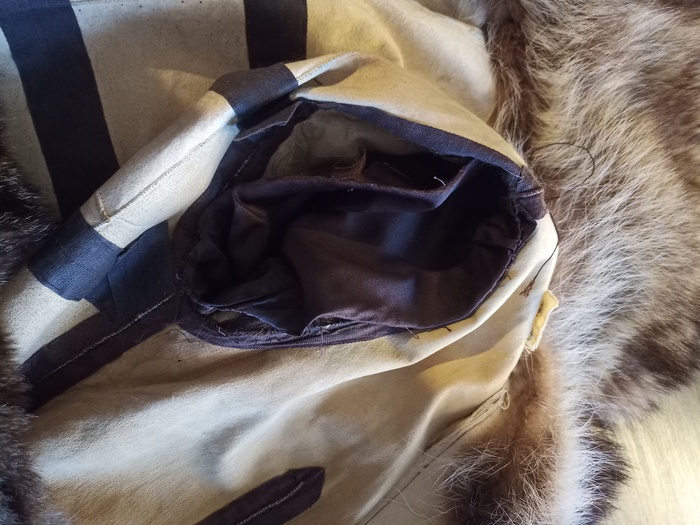
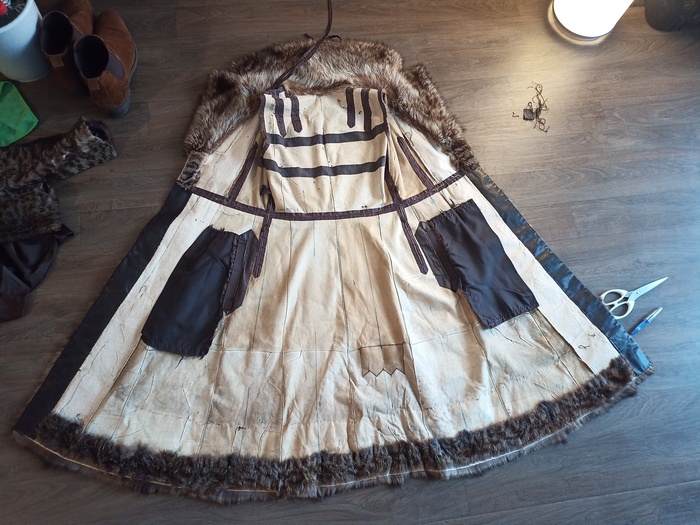
The liner is very basic.
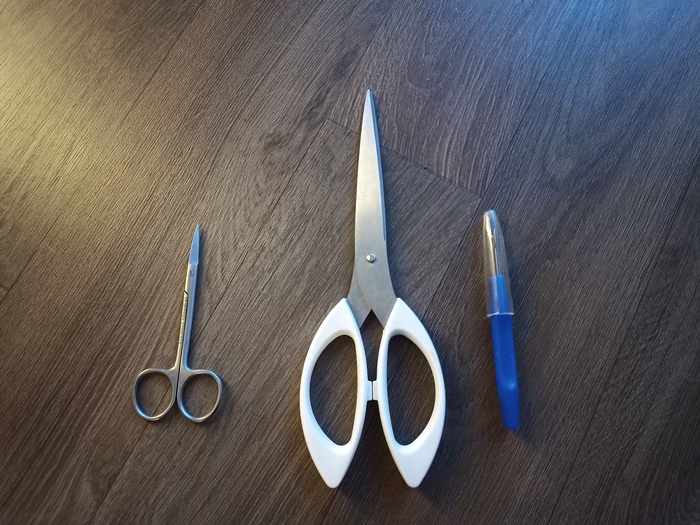
Tools necessary to remove the liner (The small scissors is the most useful).
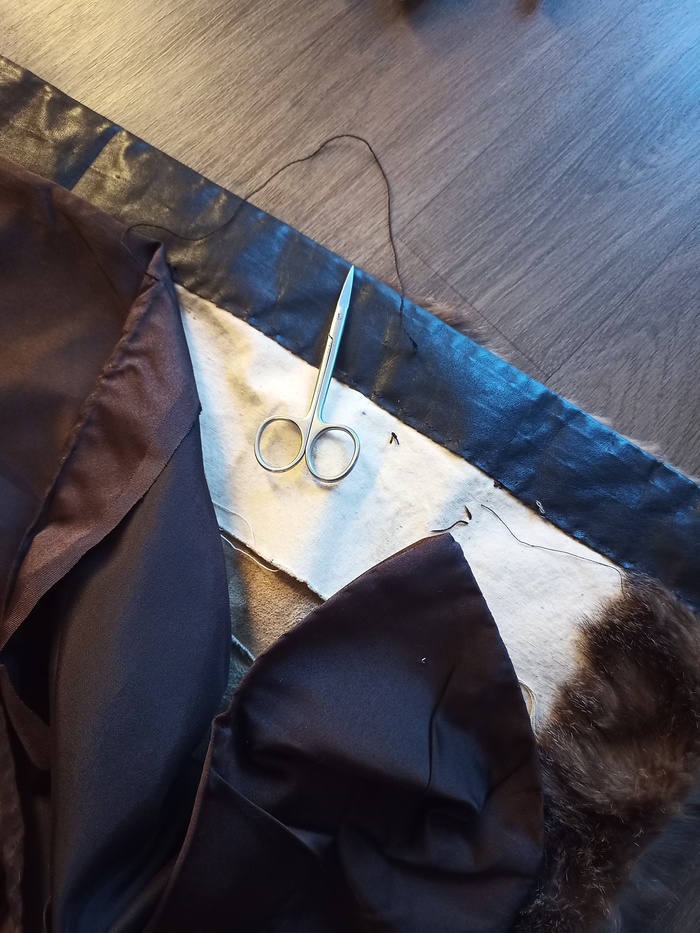
Cut the threads, not the liner.
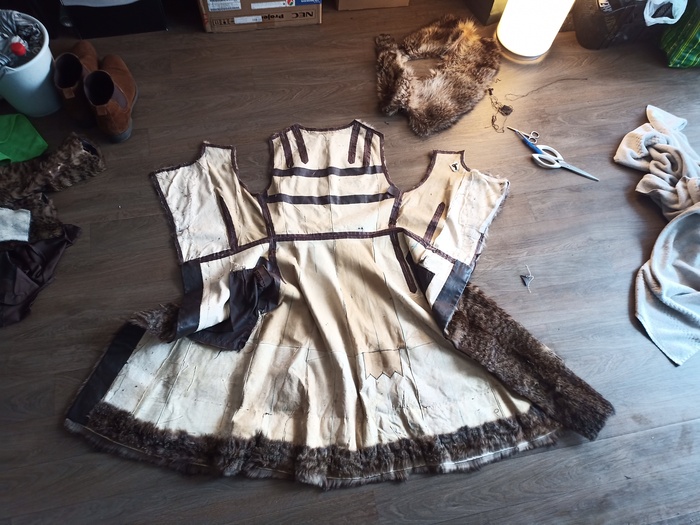
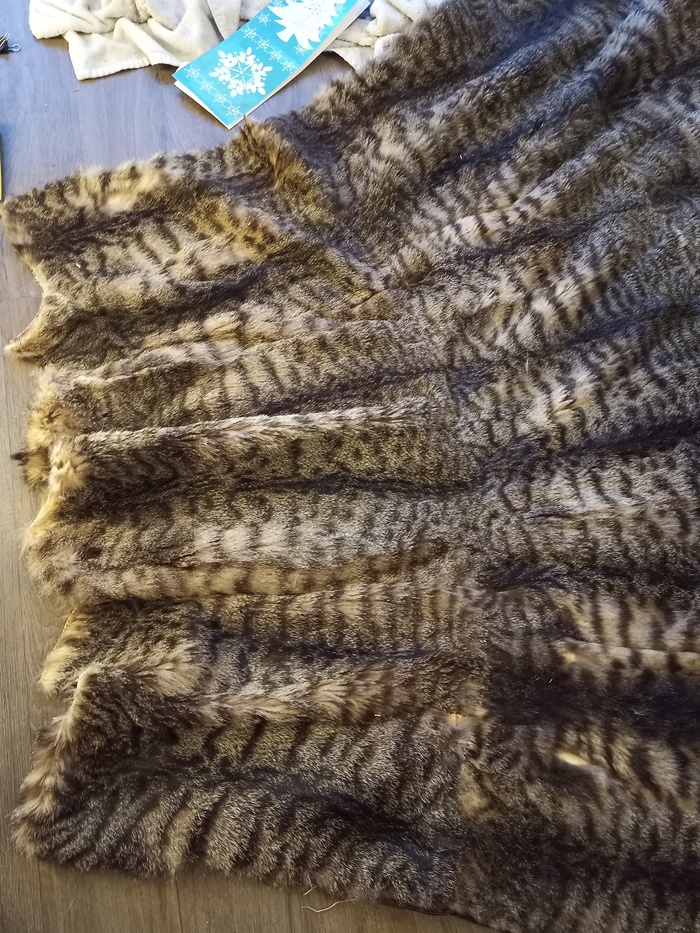
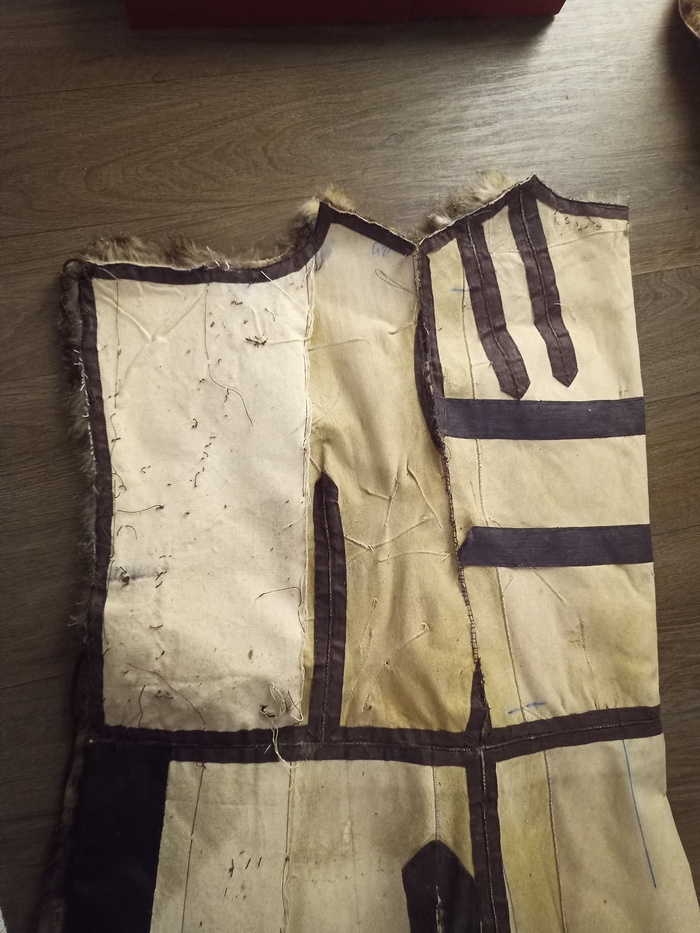
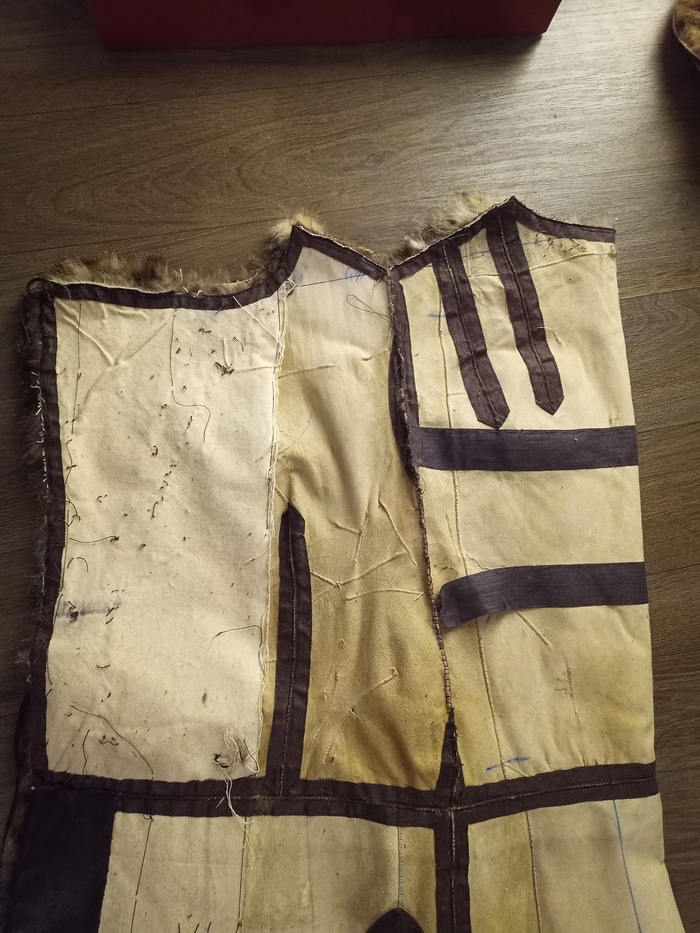
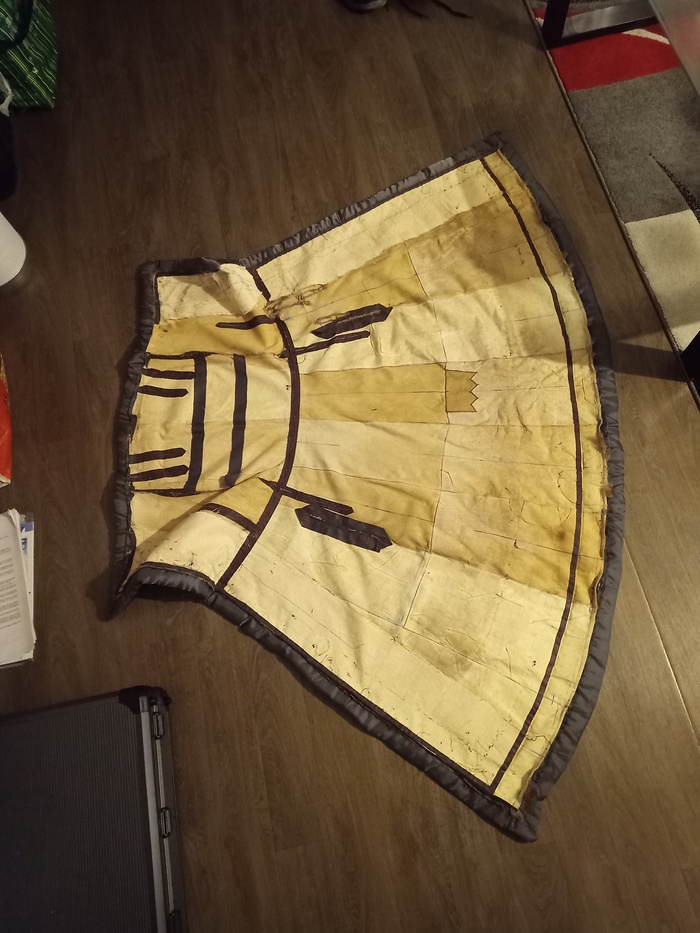
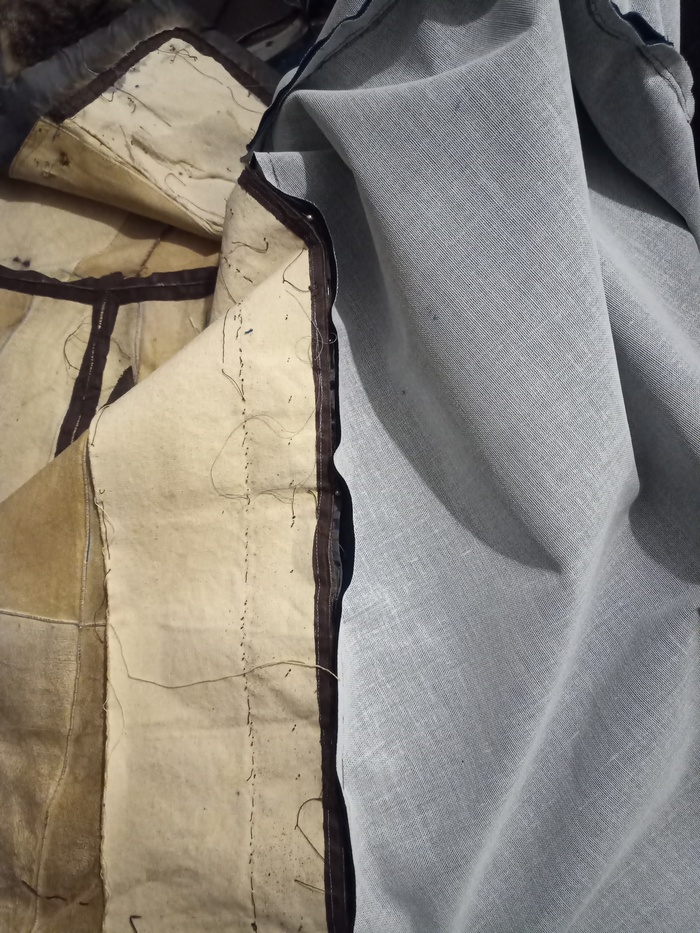
After removing the main part, you get that. I did not remove the cotton pieces on the left and right part. This will protect the skins when we will do the stitching.
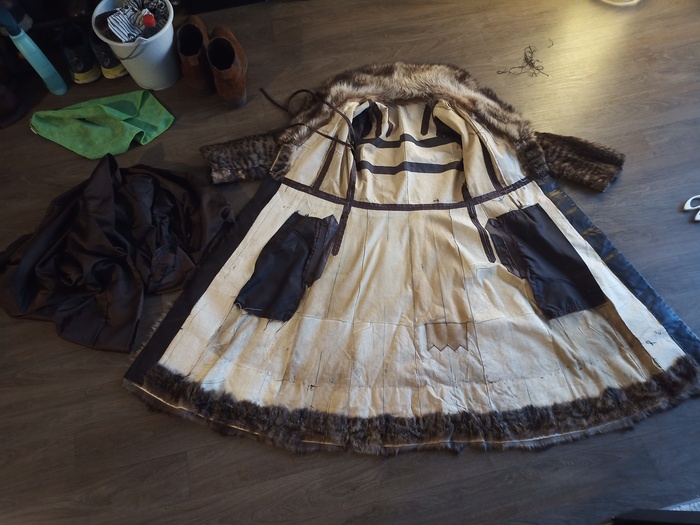
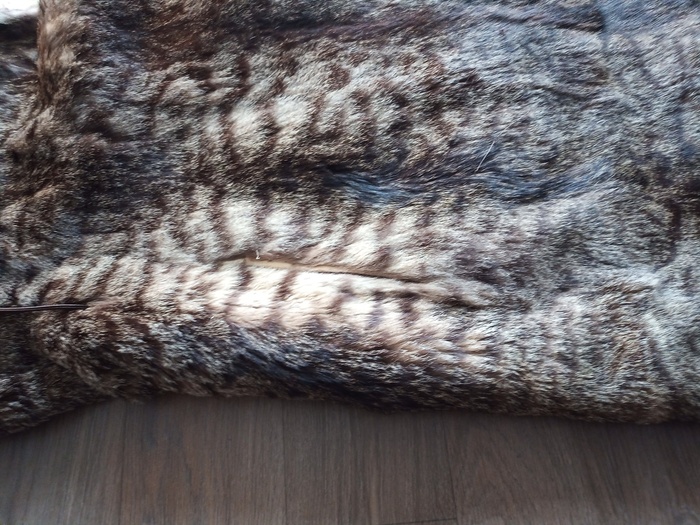
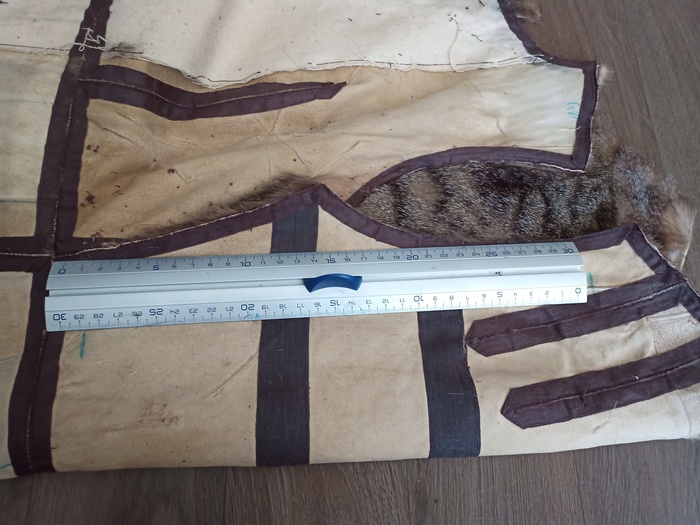
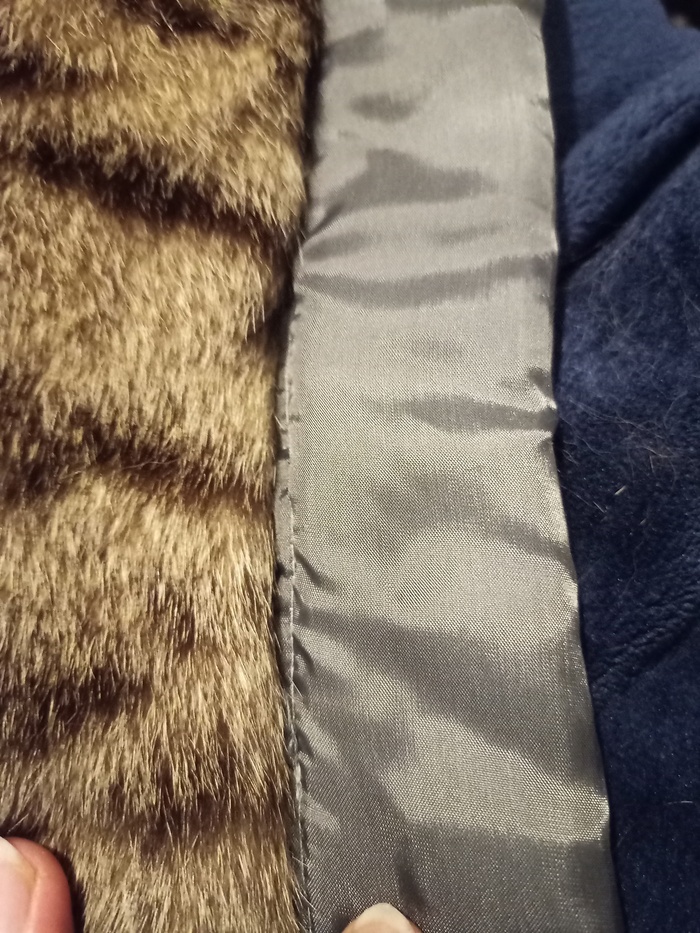
When looking at the skins, there is no apparent holes, skins are thick, so this plaid will be resistant over the long term.
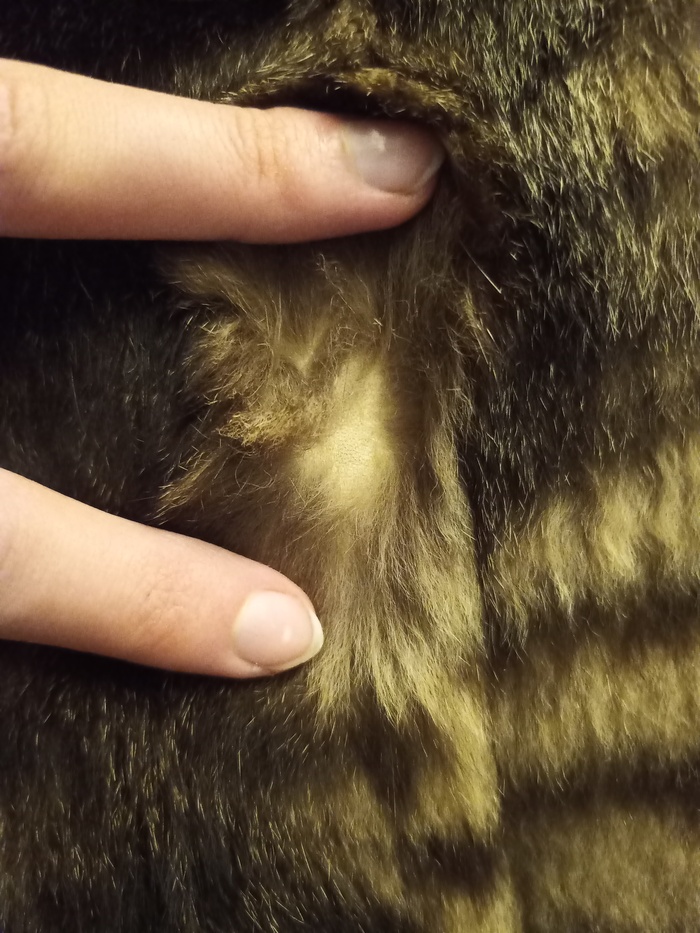
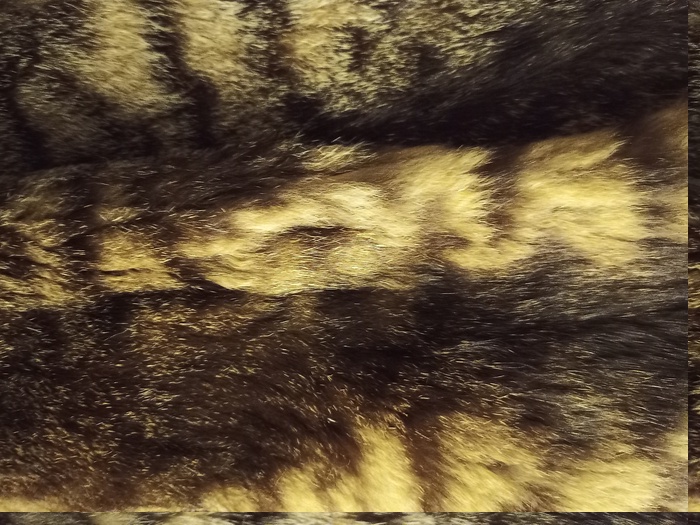
Still, there are locations where hairs are missing.
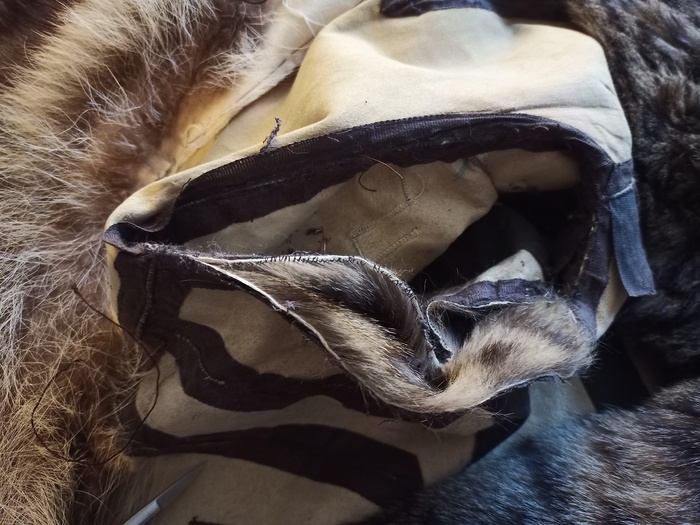
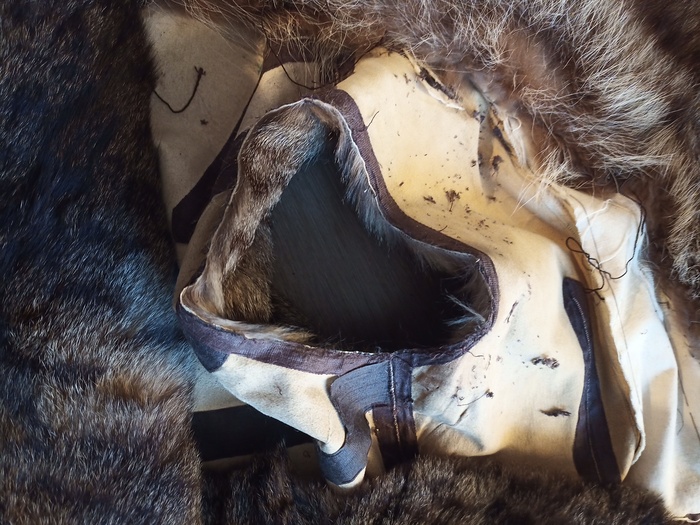
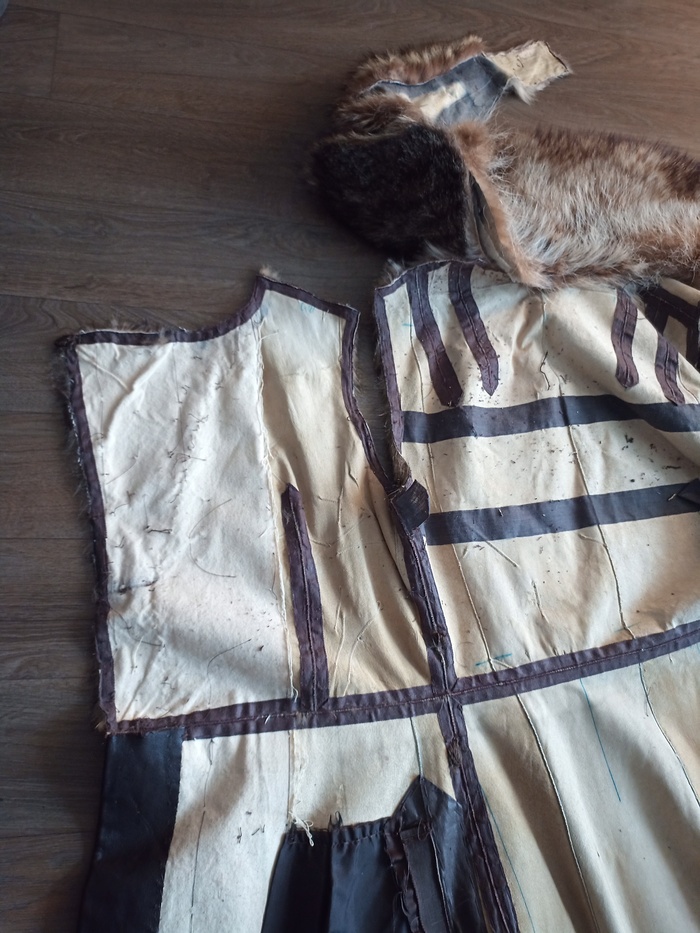
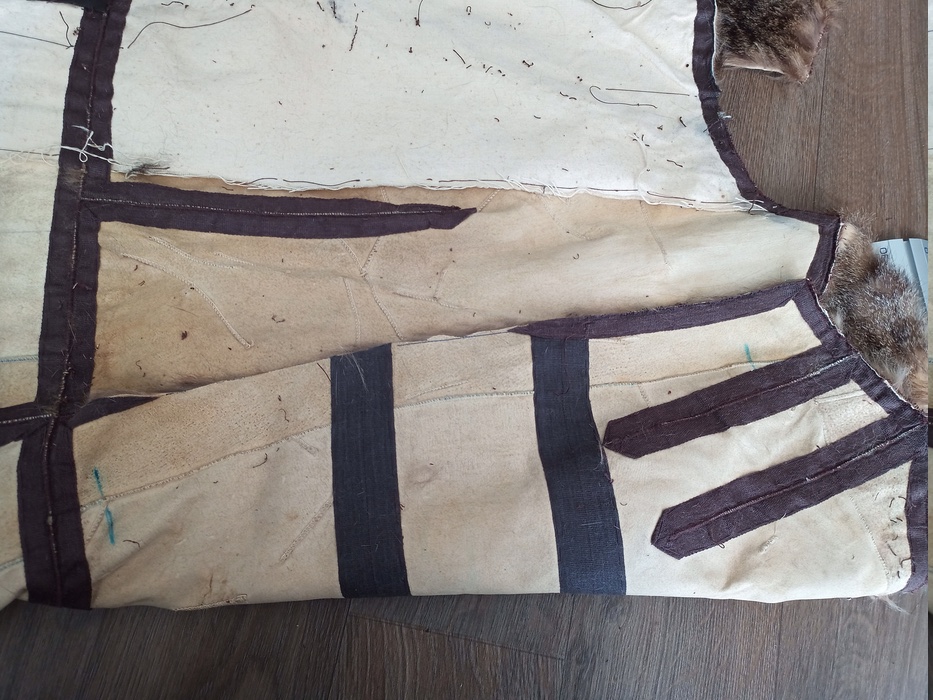
On the inside, you can clearly the the joint between the skins.
I need to detach the sleeves by cutting the stitching between the body and the sleeves.
Before
During:
After:
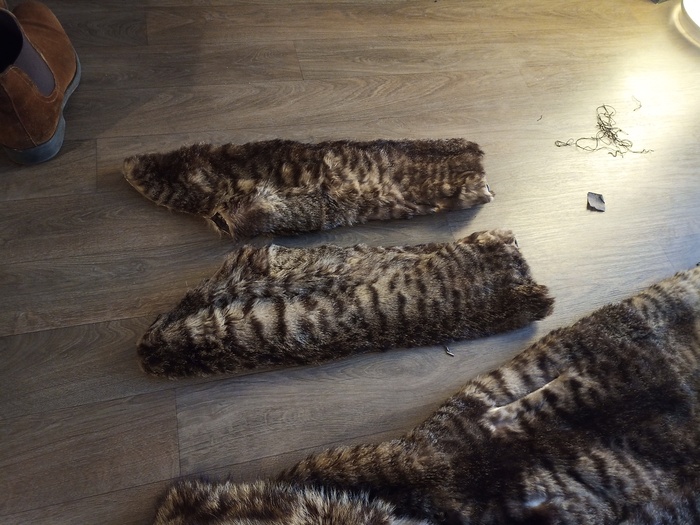
One sleeve
Two sleeves:
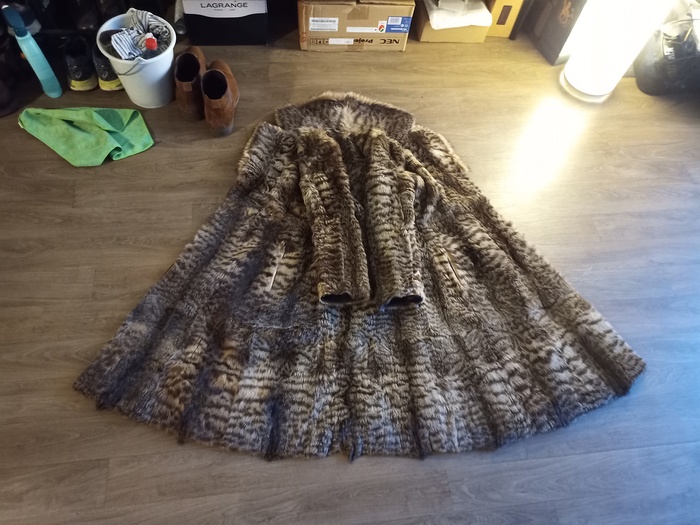
Now that sleeves are removed, we need to unroll the coat.
We cut from the top of the sleeve to the top of the coat.
And remove the collar from the coat
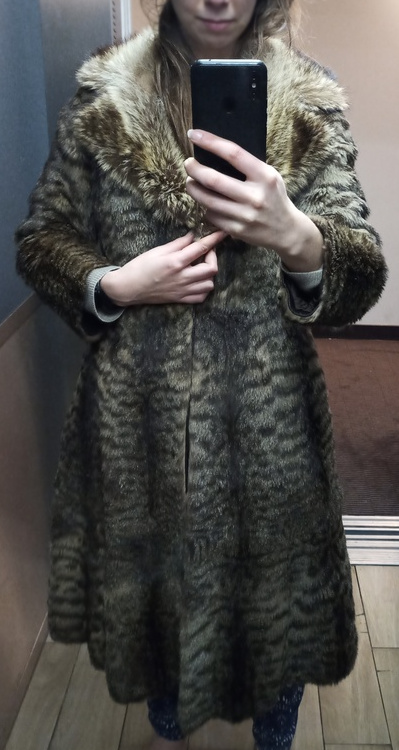
The problem with this coat is that it is adjusted to the chest. Therefore, you cannot have it flat.
Here, when we put the top flat, we need to bend the bottom part
Unless you want magic pockets in your plaid, we need to remove them. Plus, from the outside, hairs are missing there.
Before
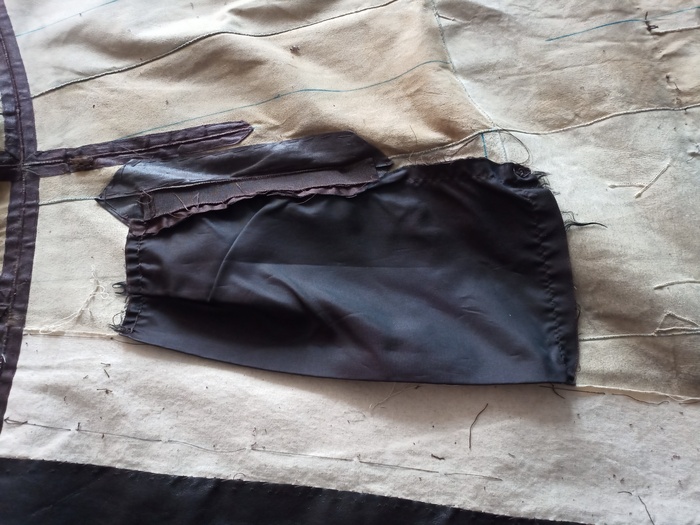
After

After the cut:
Maintening both parts together for stitching.
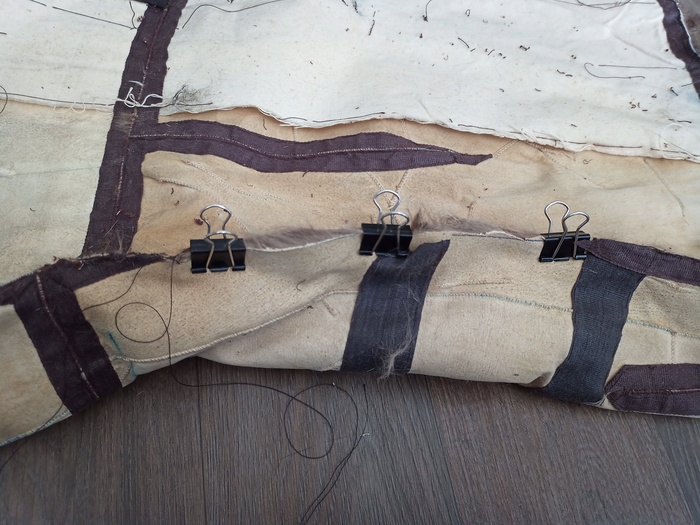
Two pieces stitched together
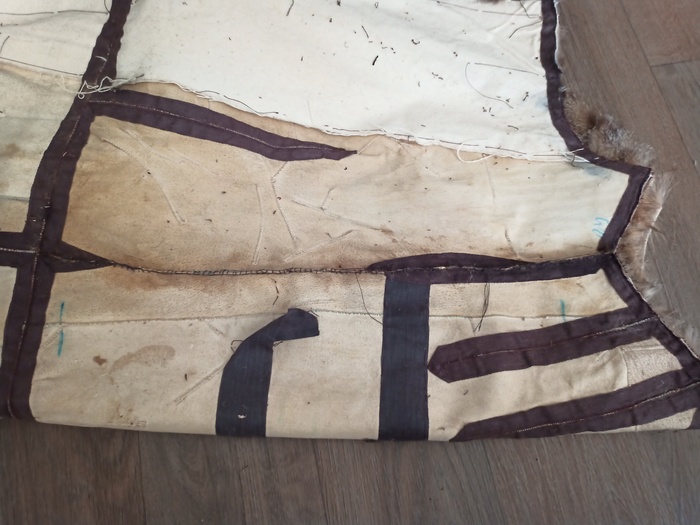
We see it from the outside because the skin pattern does not correspond. Nevertheless, this is not shocking.

Nevertheless, it does not solve the problem of flatness.
There are a few locations where hairs are missing.
To identify where I should open the coat on the inside, I used a needle to mark the skin.
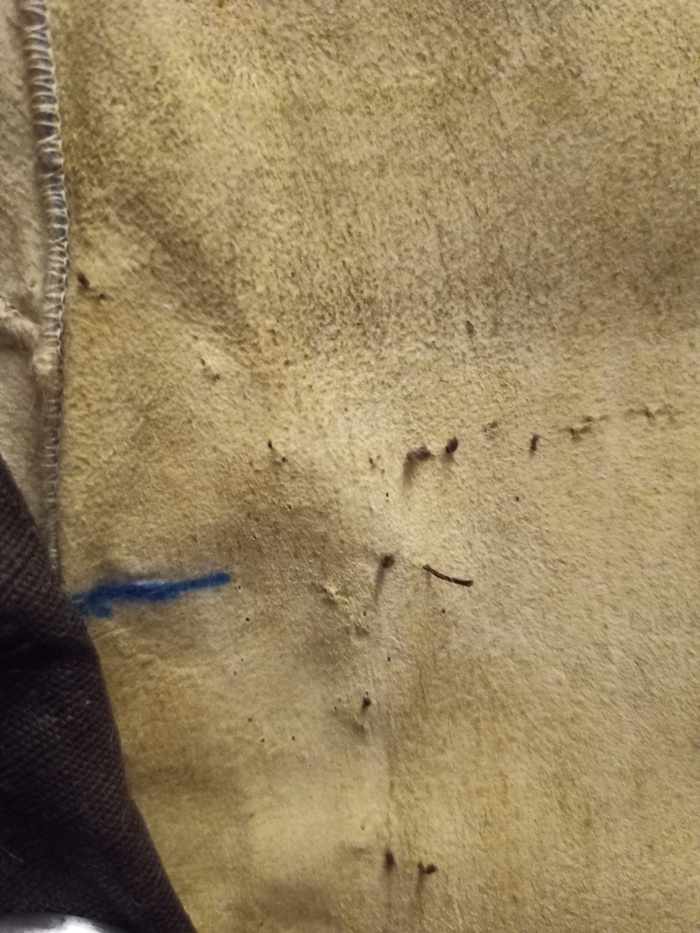
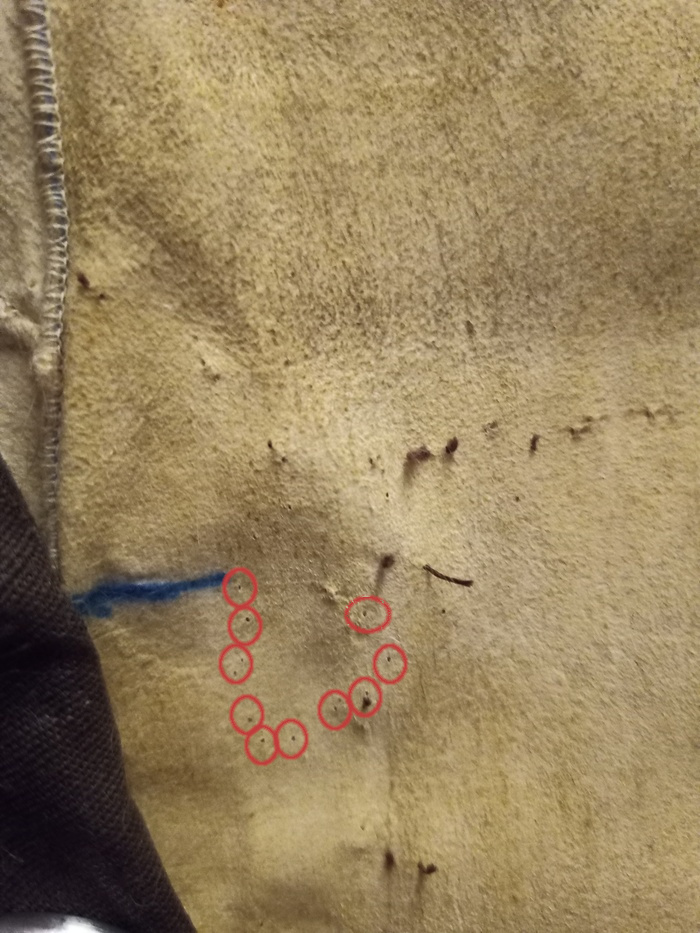
And draw with a pen:
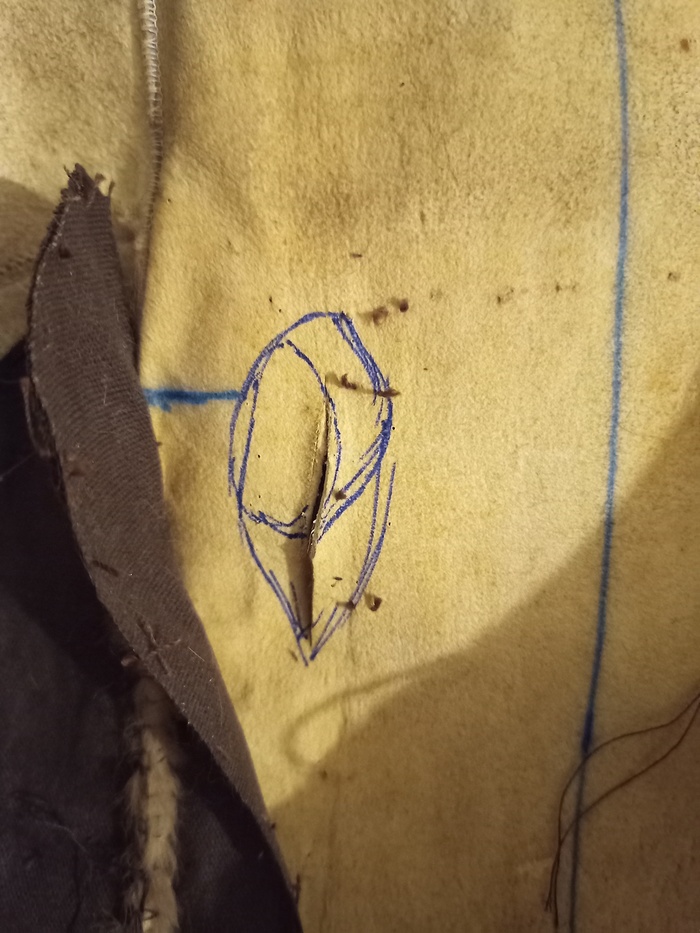
After cutting it, we now have a hole.
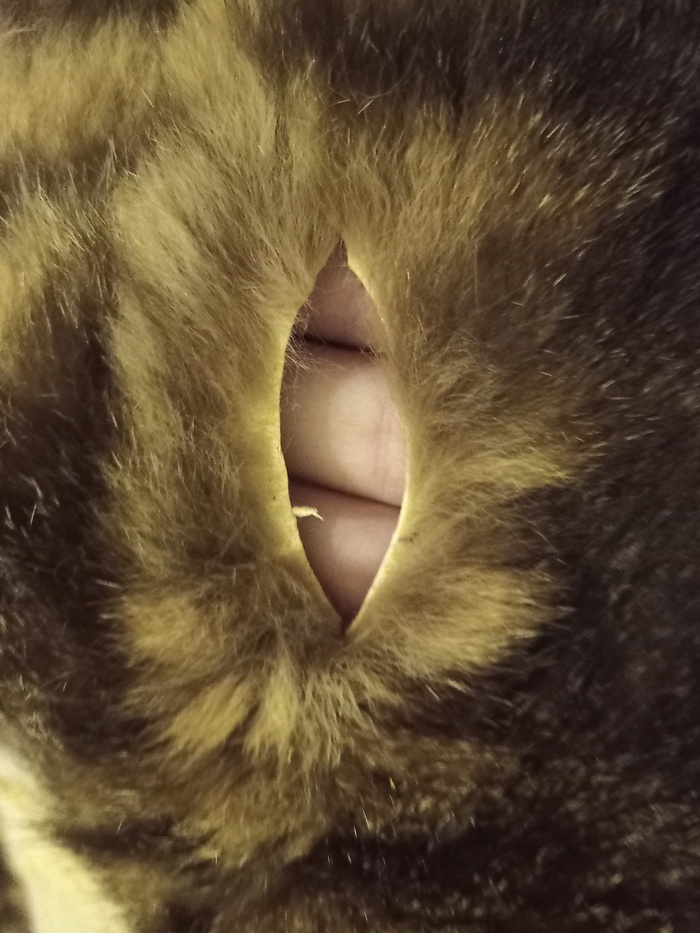
I used another piece of fur (from the part that we removed near the sleeves) We stitch them together
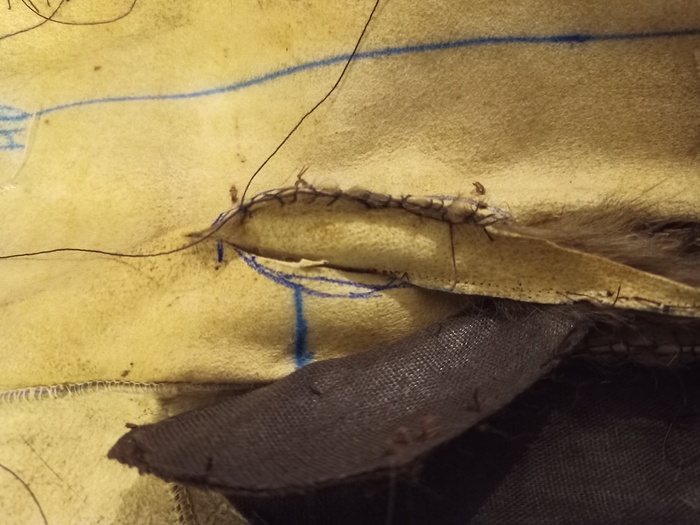
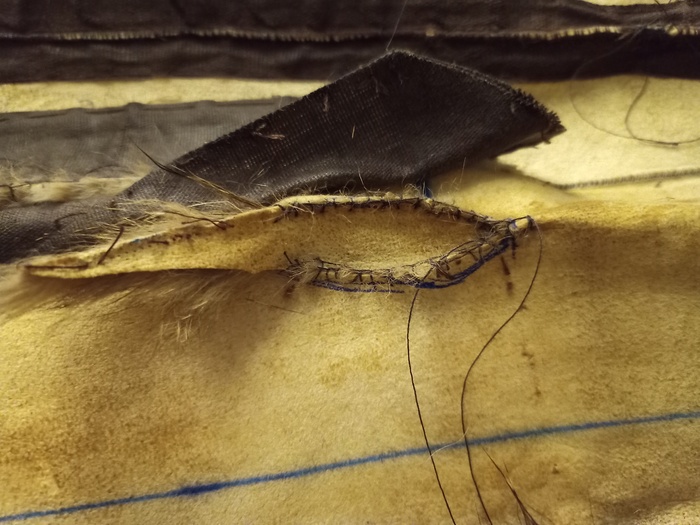
When one edge is stitched
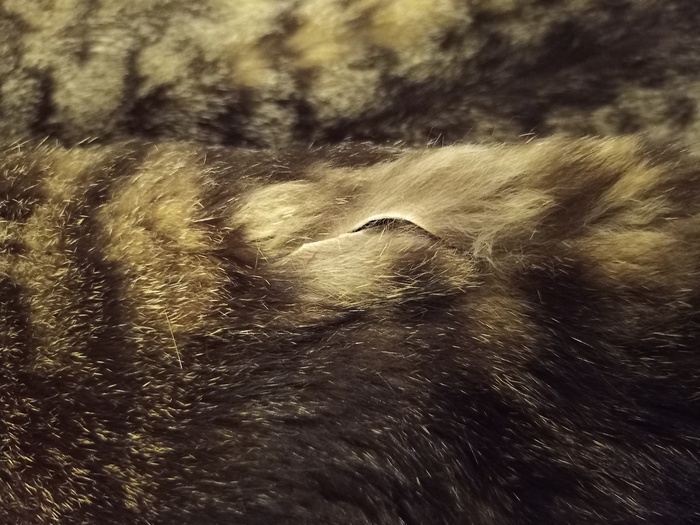
Now, we do not see anything:
(from far away. If you get closer, you can identify where holes have been repaired because fur color pattern does not match).
Because of the coat, the top border is irregular.
We need to cut it to ease the stitching with the new liner.
We first draw an approximative line:
And next cut and get something “flat”.
We do not need a full right line, unless you want something perflectly straight.
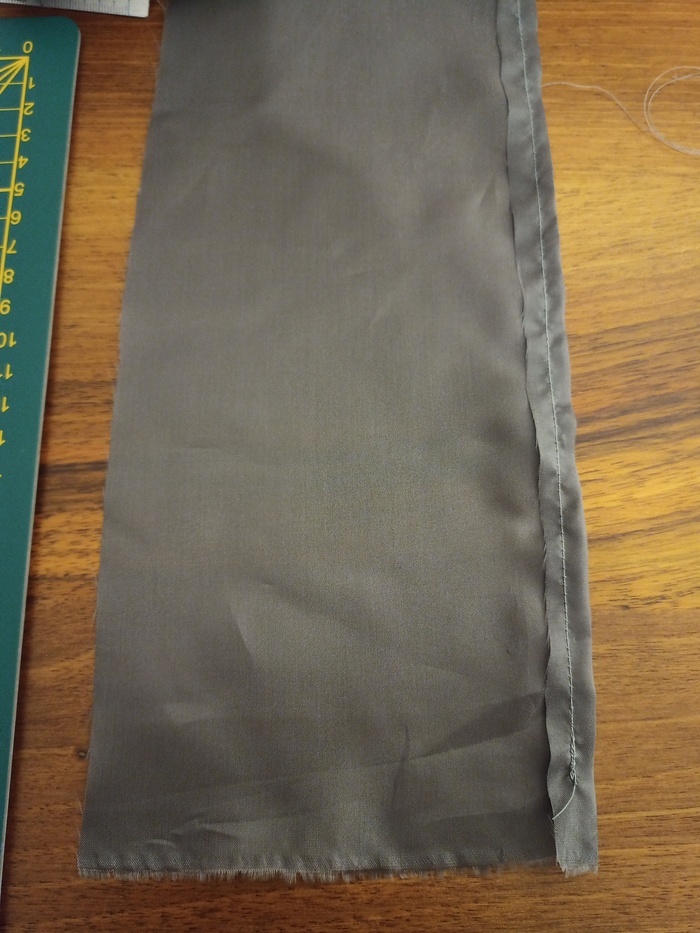
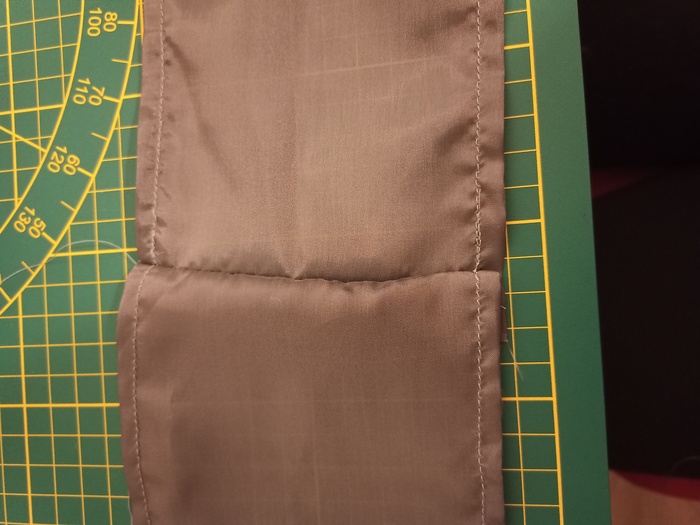
We want to make a border the following way:
A band 14 cm wide. 2 cm for the border, 5 cm for the hem.
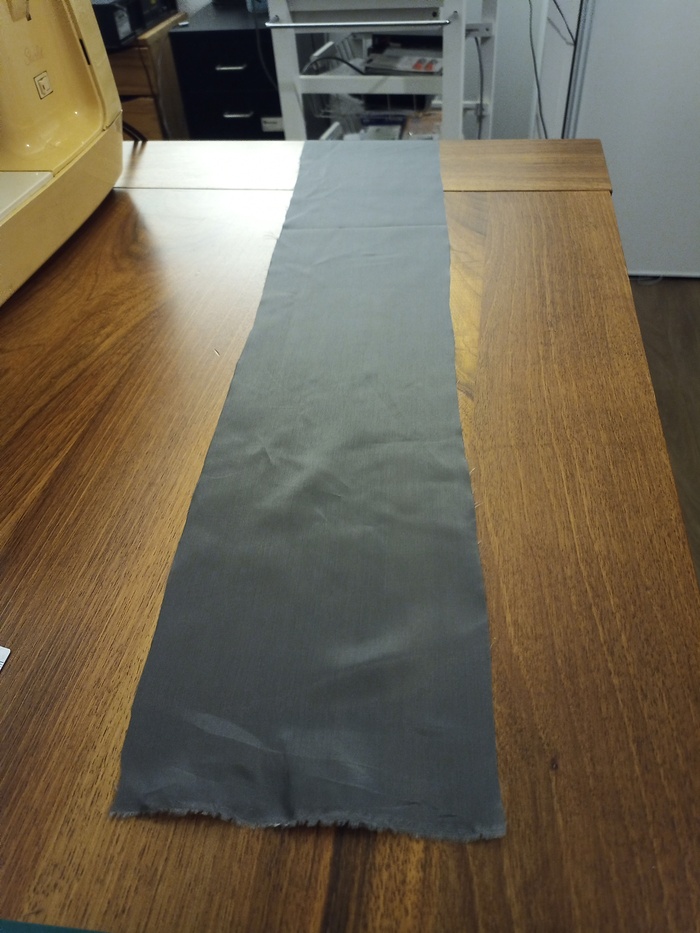
Raw piece:
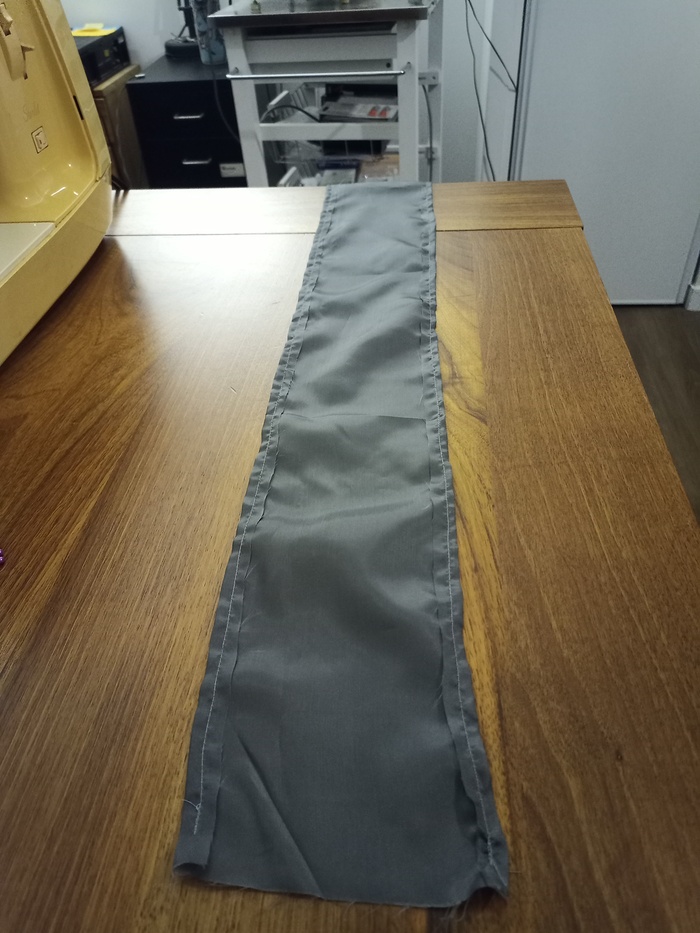
Putting the needles
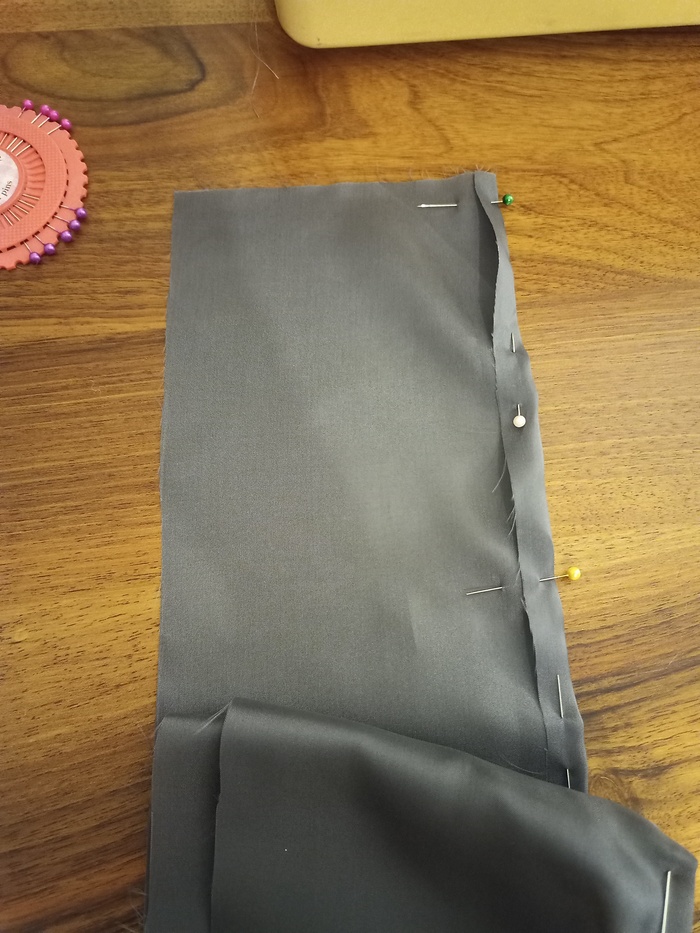
Stitching:
Both edges:
I bought a 1m x 1.40m liner.
Therefore, I can make 6 bands of 1.40m long.
However, my plaid perimeter is around 5m.
It is much easier to stich now the bands together.
I make the hem by stitching the band with duffle inside.
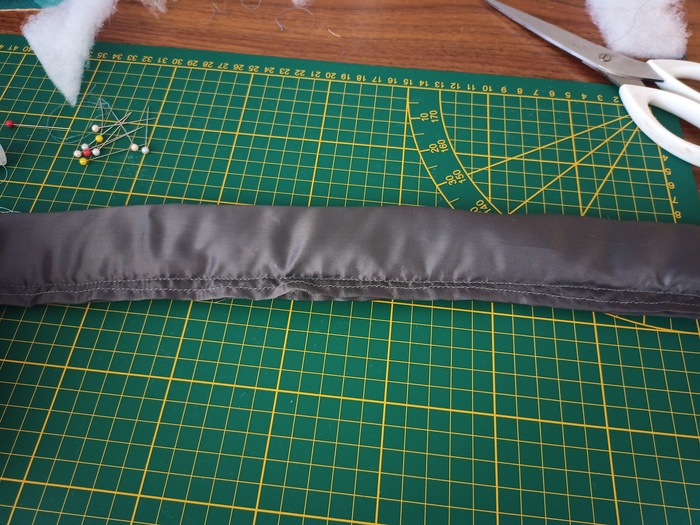
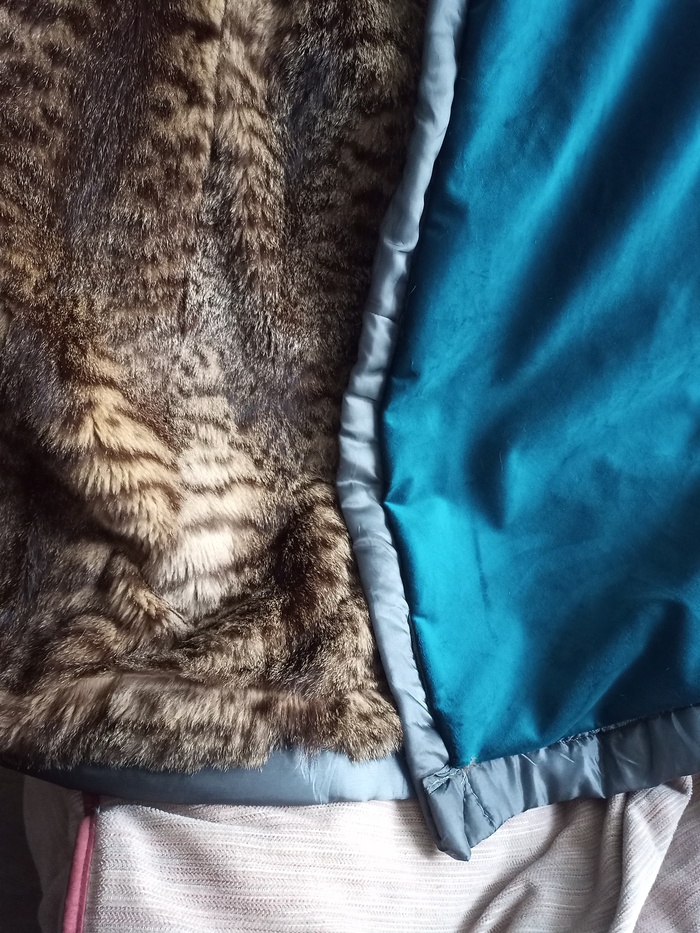
I can stitch is with the sewing machine to the fur.
We can see the stitching, but this is not problematic.
With the border all around:
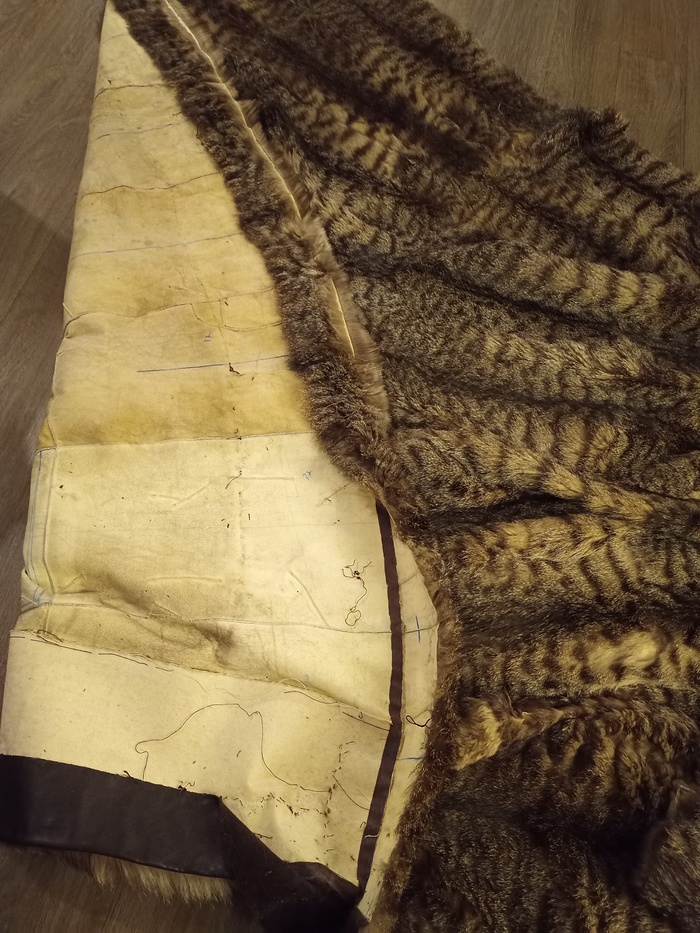
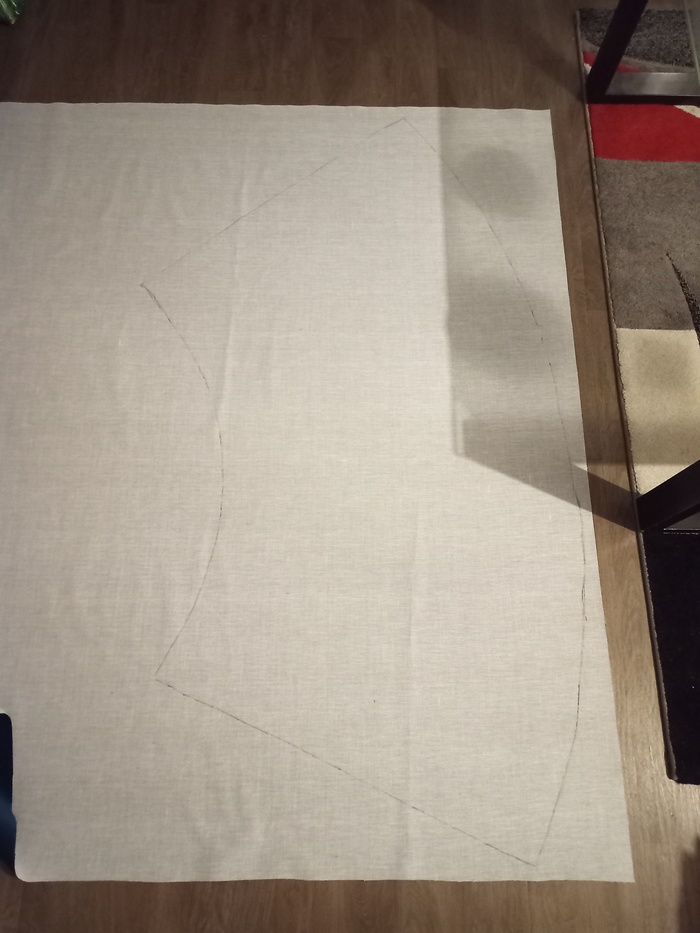
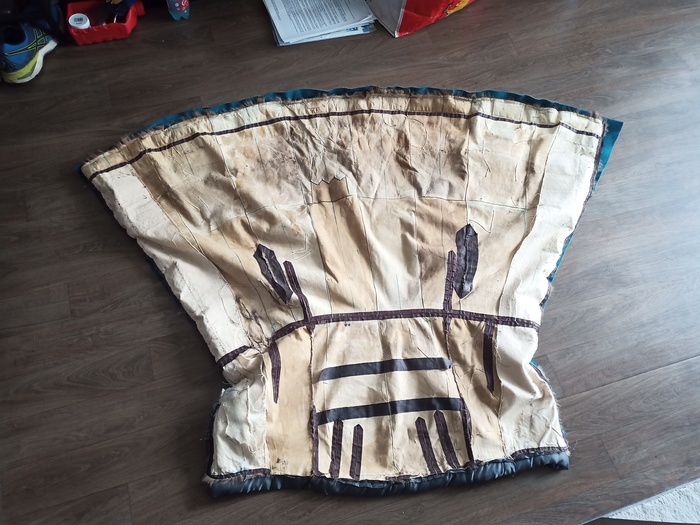
Because the coat is not flat, I will make the liner in two pieces. To get the bottom one, which is too big for a paper pattern I putted the fur directly on the liner.
I used a pen to draw the contour.

To cut the appropriate fabric size, I putted the
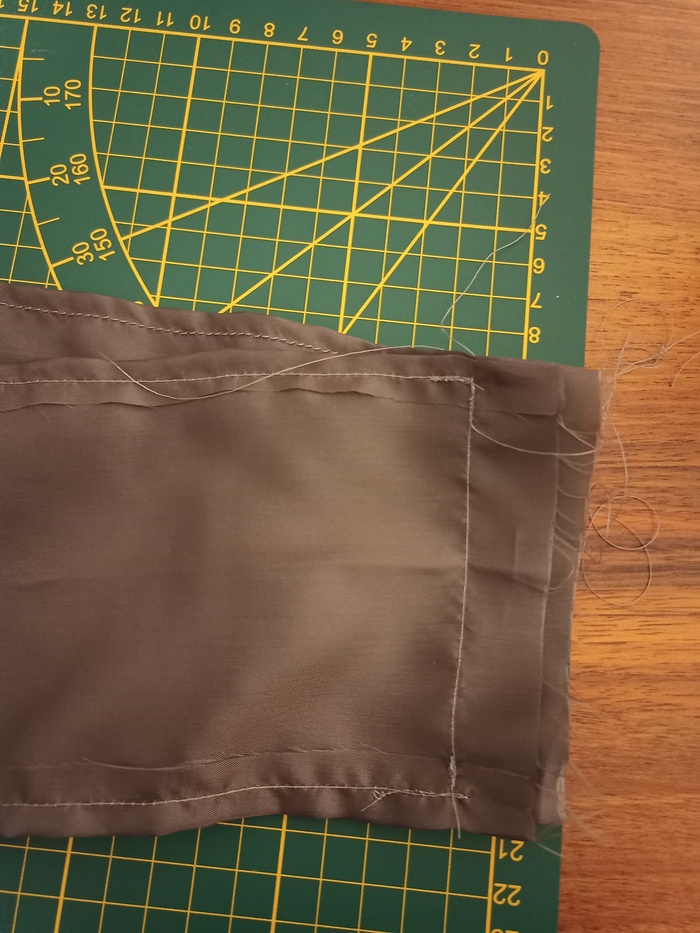
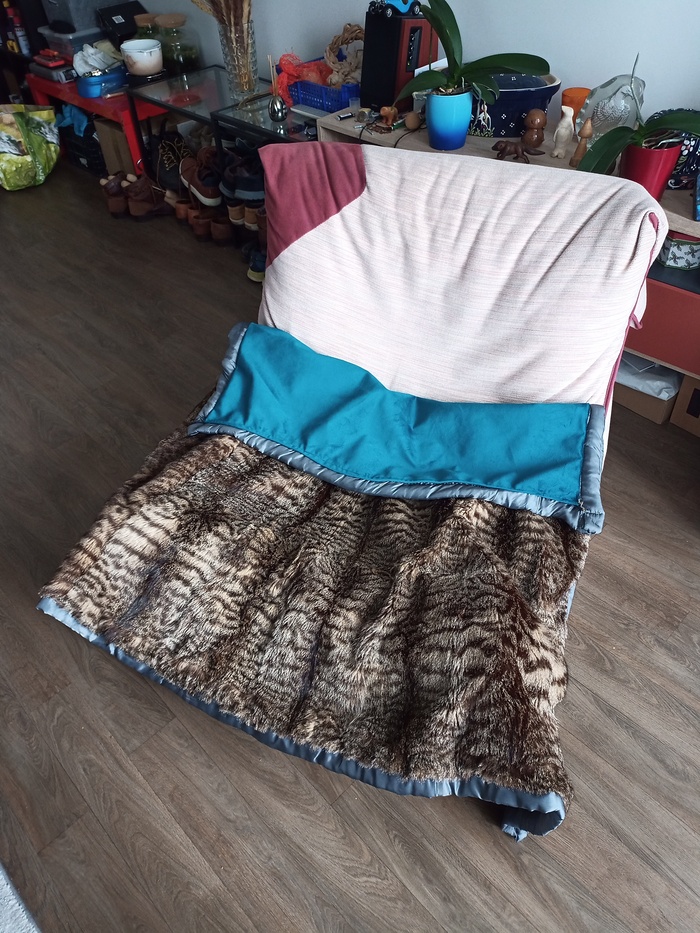
Pieces for the top:

After stitching the two pieces together:
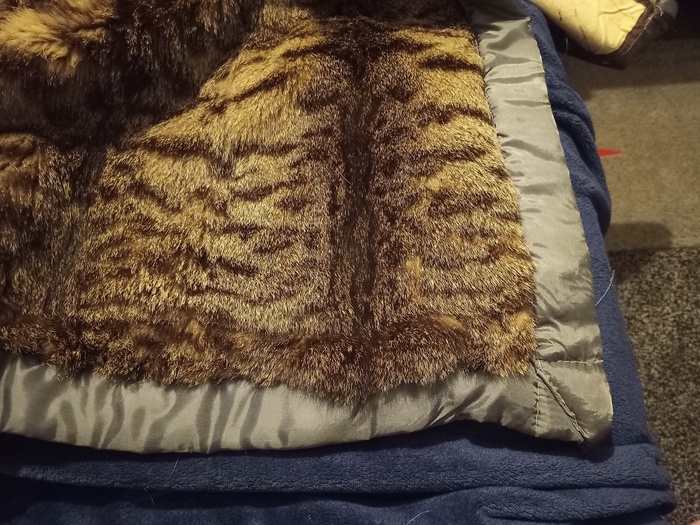
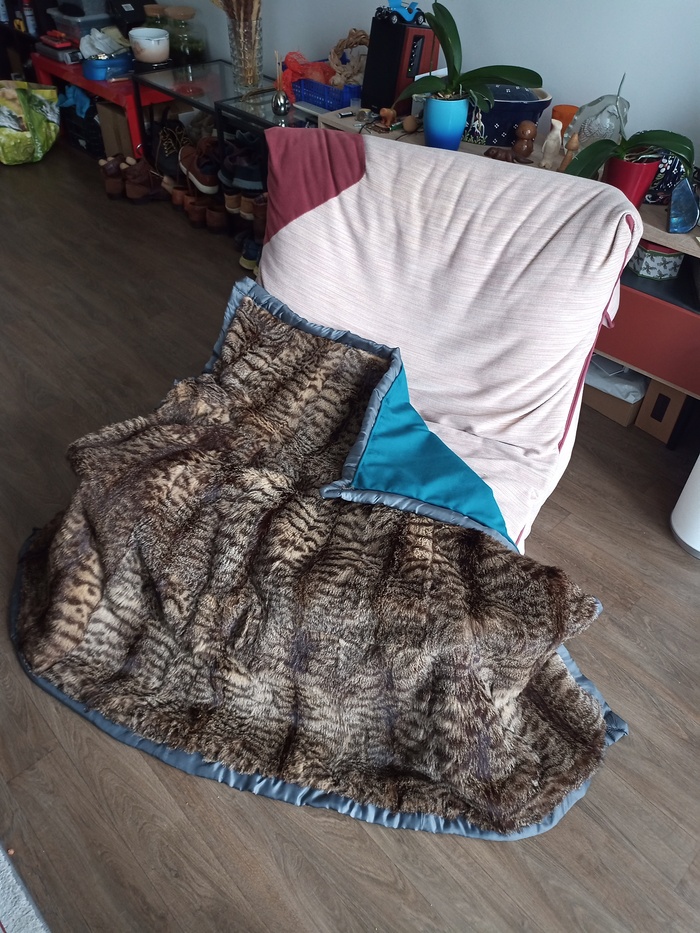
I sewed three edges together with fur facing the outside liner. I did the stitching between the border and the liner (not between fur skin and liner).
I start placing needles to fix the liner to the border.
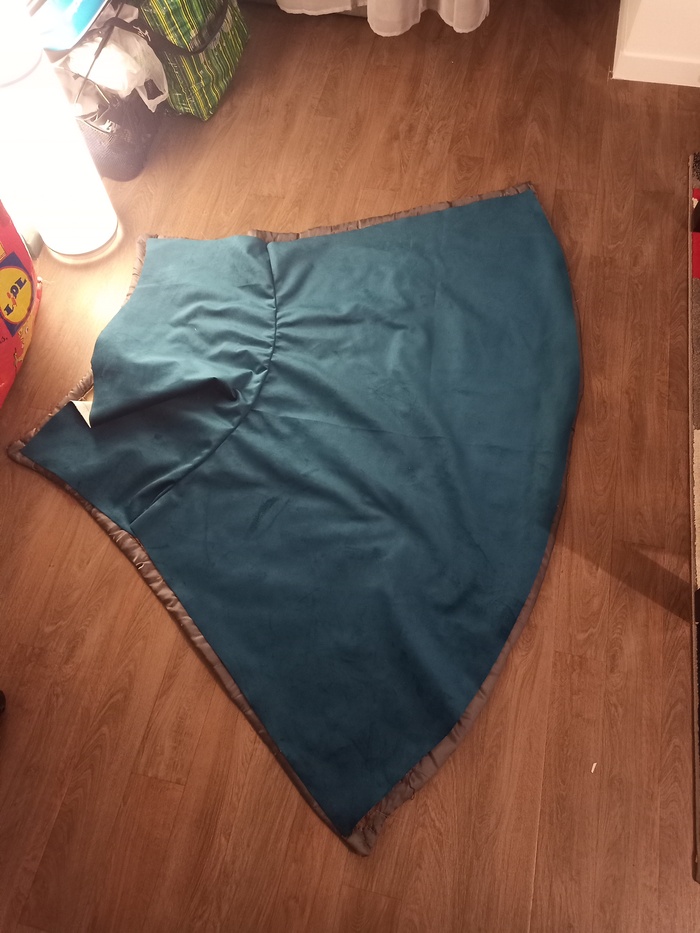
We obtain
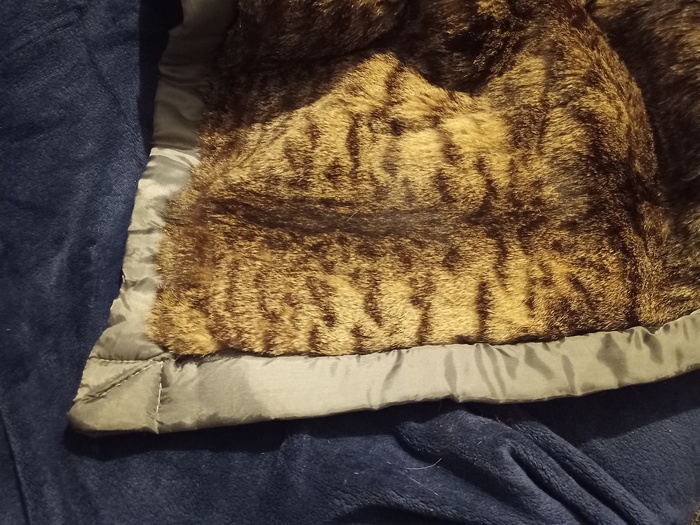
Now we have three edges stitched together, we put the fur facing out to stitch the last edge.
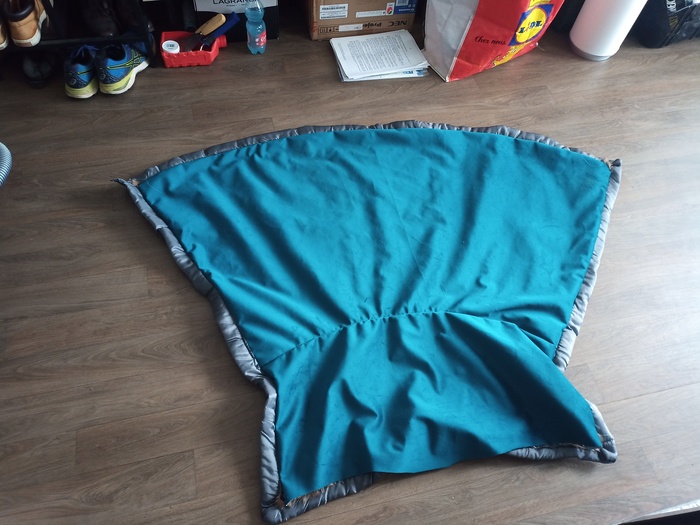
We sew the last edge using the sewing machine.
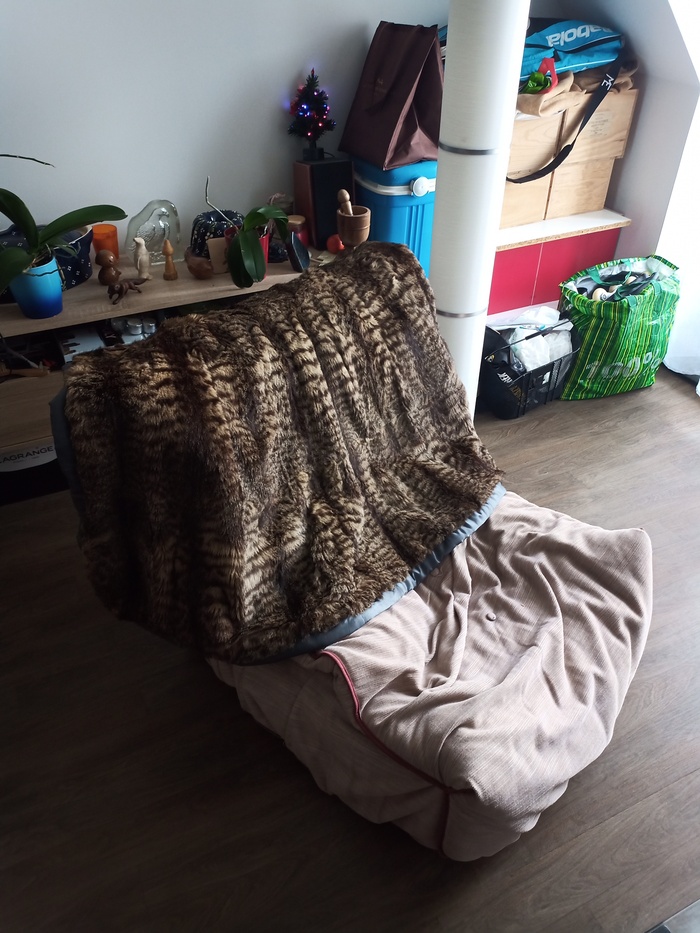
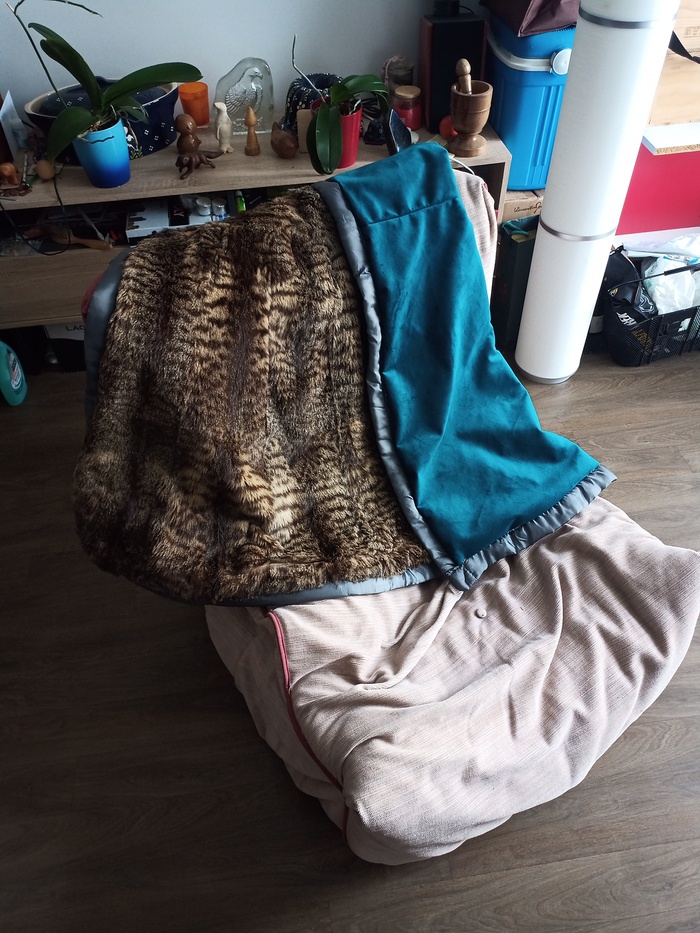
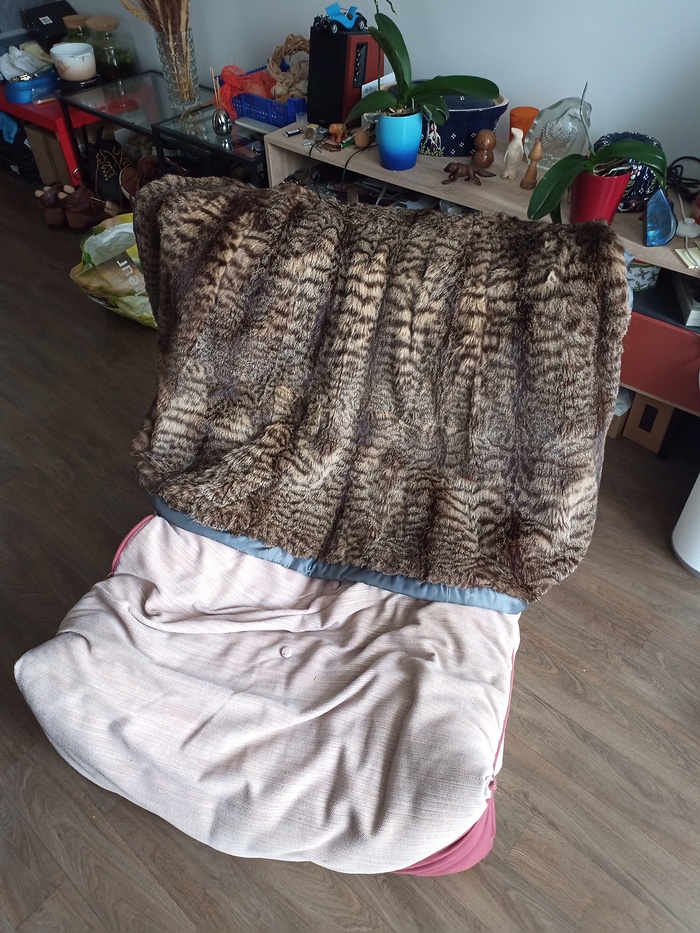
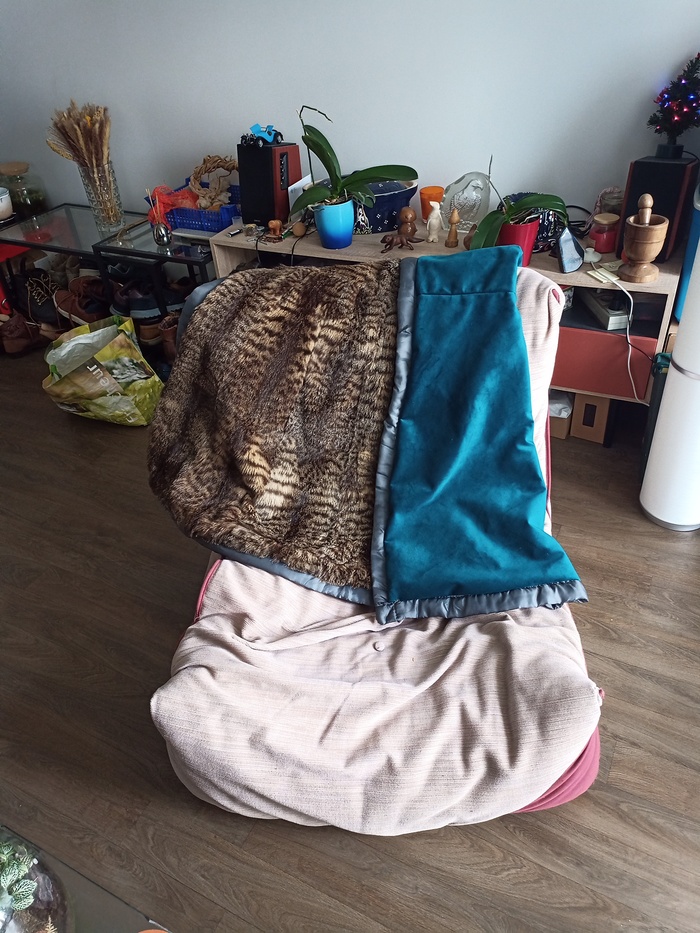
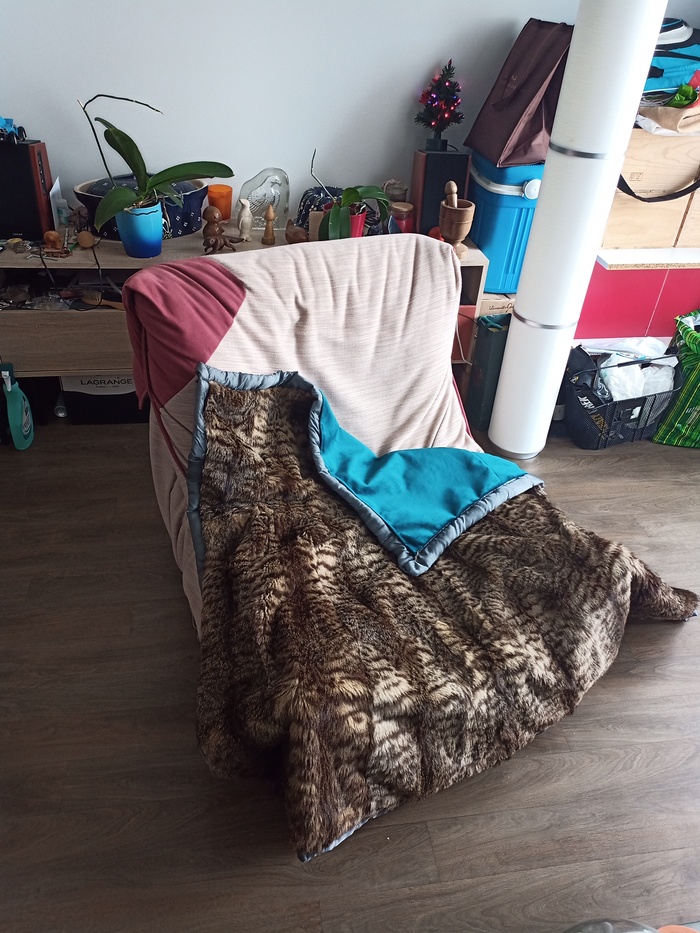
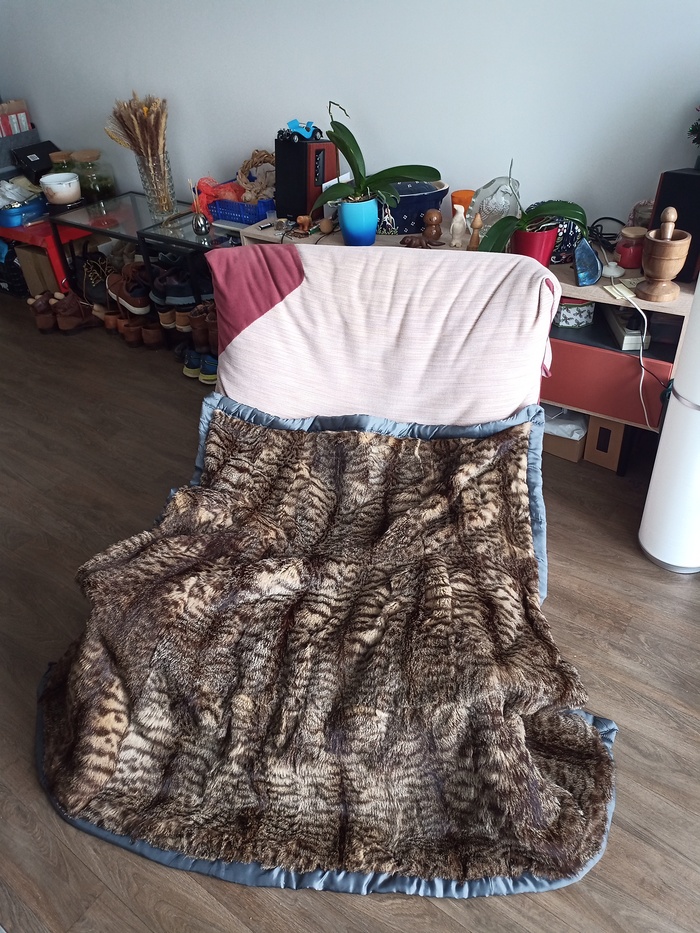
This would be a perfect cover when reading book in my sofa.
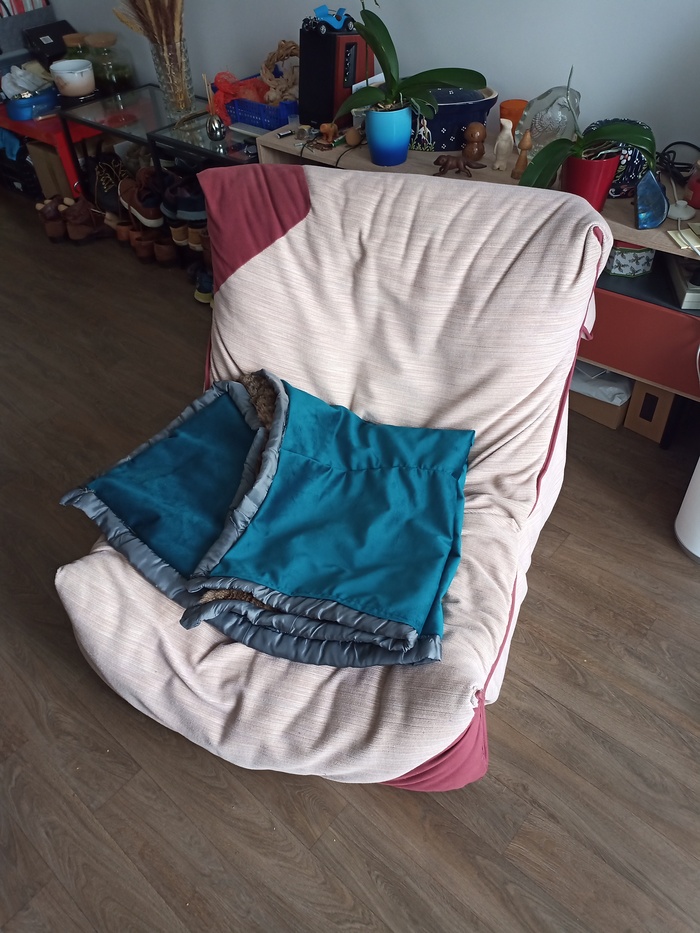
Does not take that much space for “rangement”
>> You can subscribe to my mailing list here for a monthly update. <<