
I wanted to carve or a fox or a wolf in walnut. After searching a lot of drawing and images, I wanted to do a running wolf.
This project took me a lot of time. I started in February 2023, and finish in November 2023. Of course, I was not working on it everyday.
Because it took so much time to get the main shape ready, I felt a little bit discouraged and stopped for a while.
I started drawing the wolf on each face of the wood:

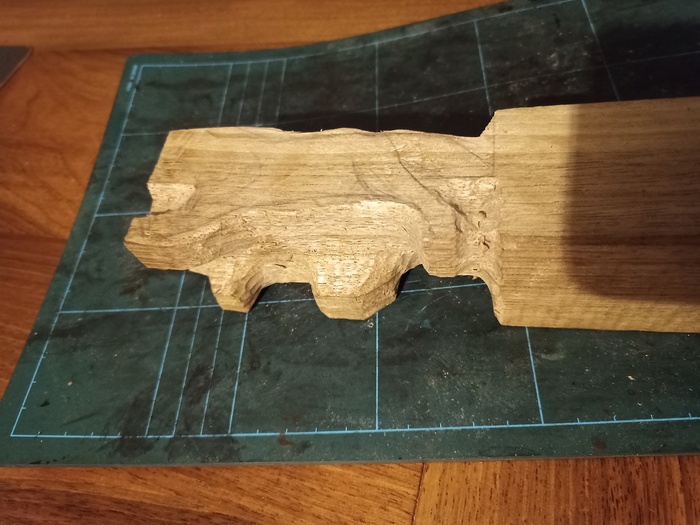
And tried to remove wood where the paw where not.

Also, I removed the material bellow the tail.
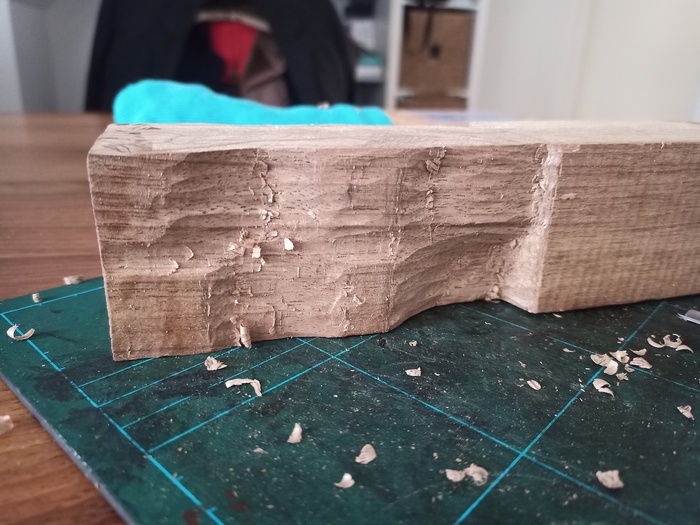
After some time, I start dividing the space in two: the left part and the right part.
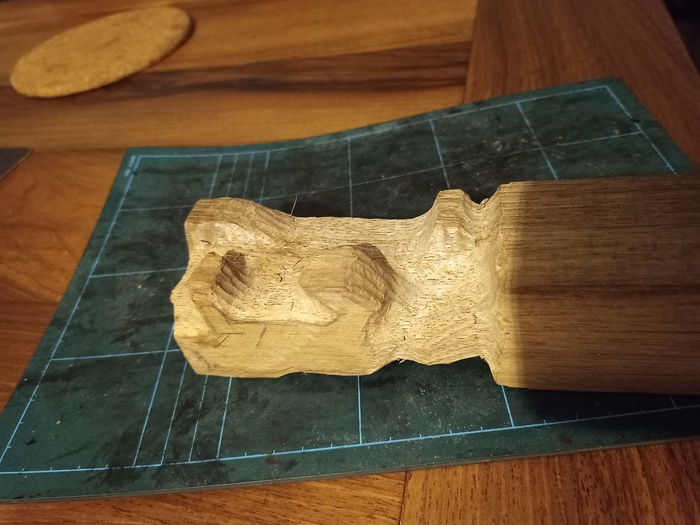
I started moving to the rough shape, where my drawing lines would disapear of the block.
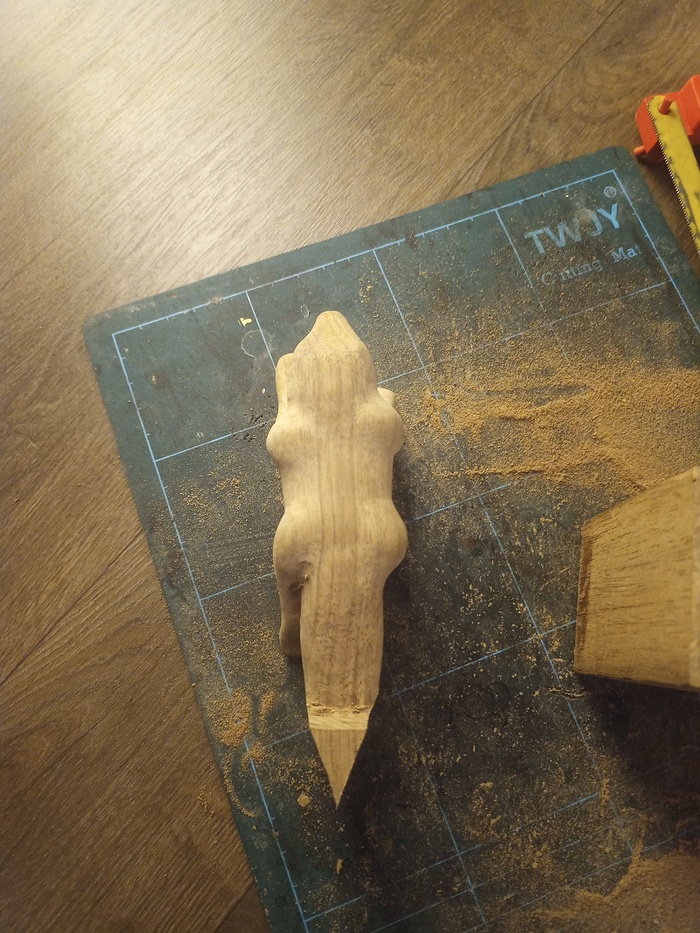
And draw the silhouette from the top.
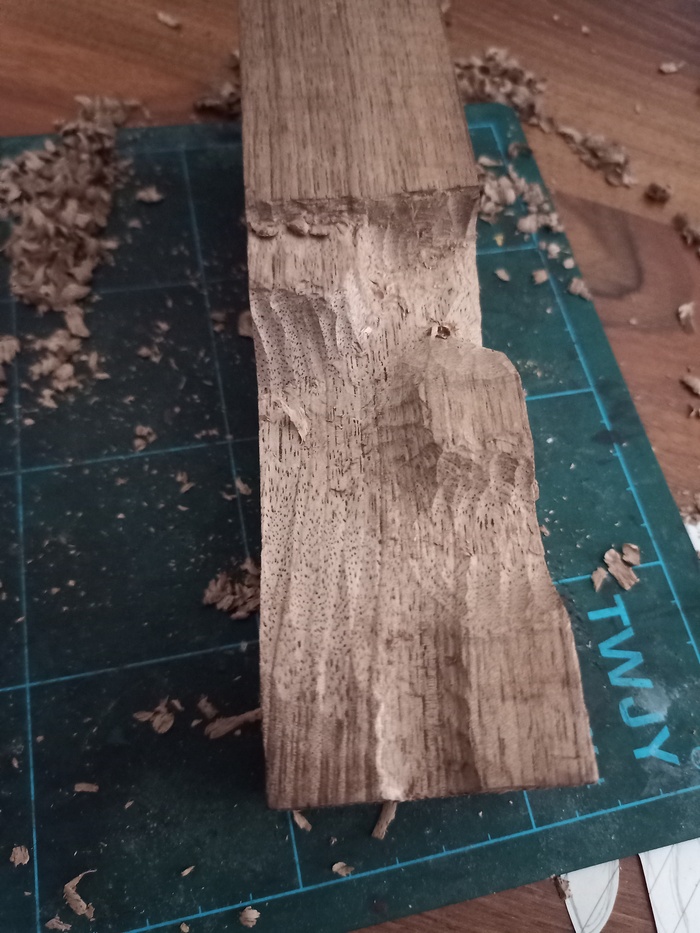
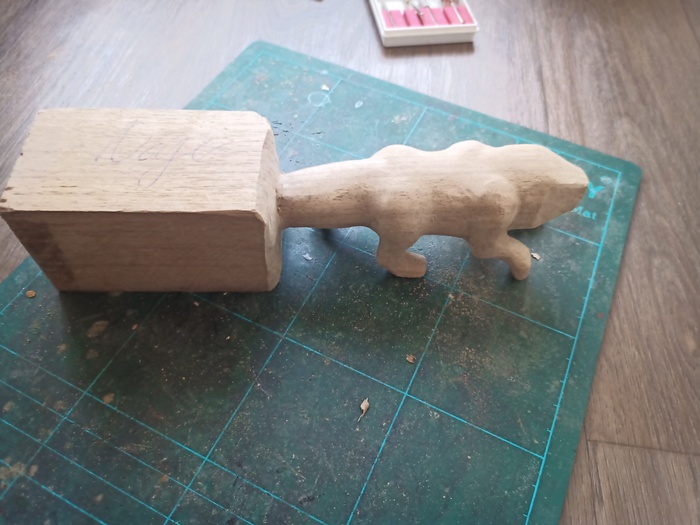
I kept the big block on the left because I did not have a jiggsaw at hand.
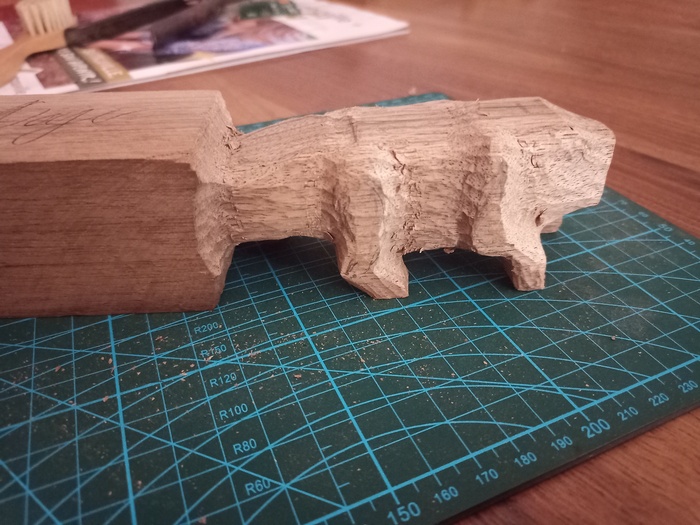
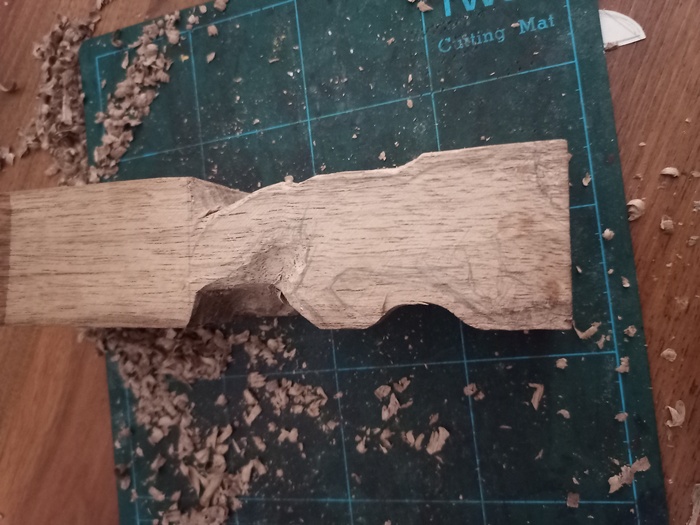
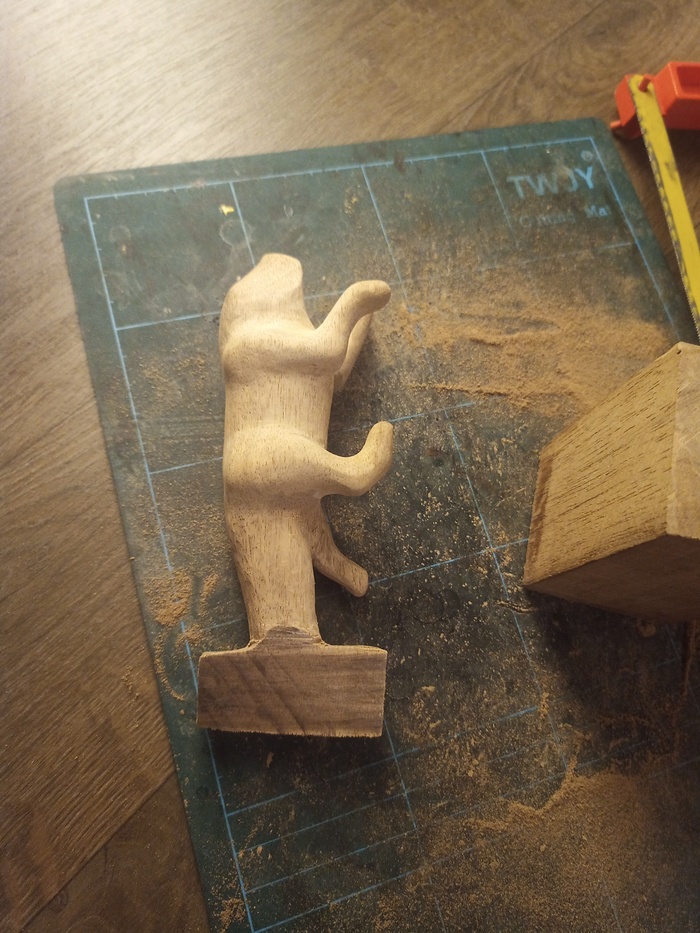
After some refinement, the members start becoming independent from each others
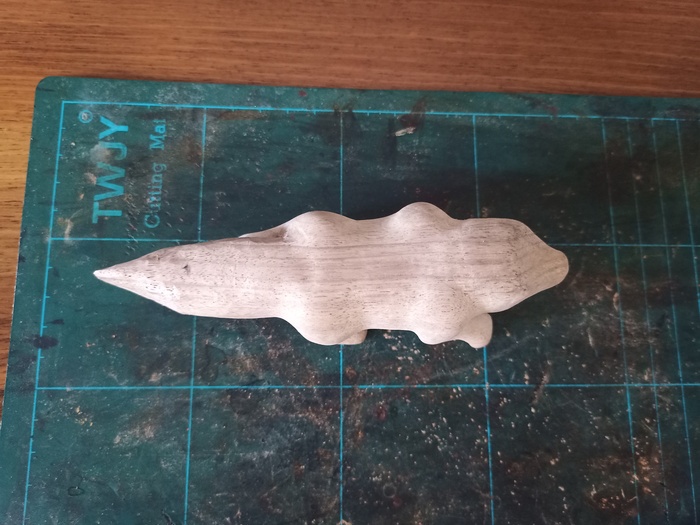
It looks more like a pig rather like a wolf.

(Break between February and may)
I stop taking photograph for a while.
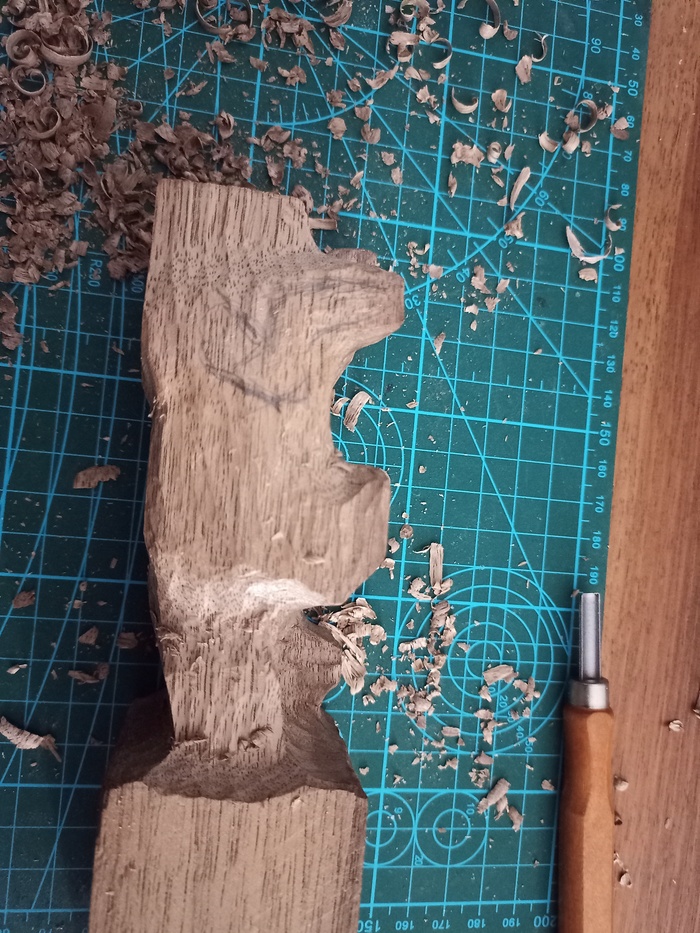
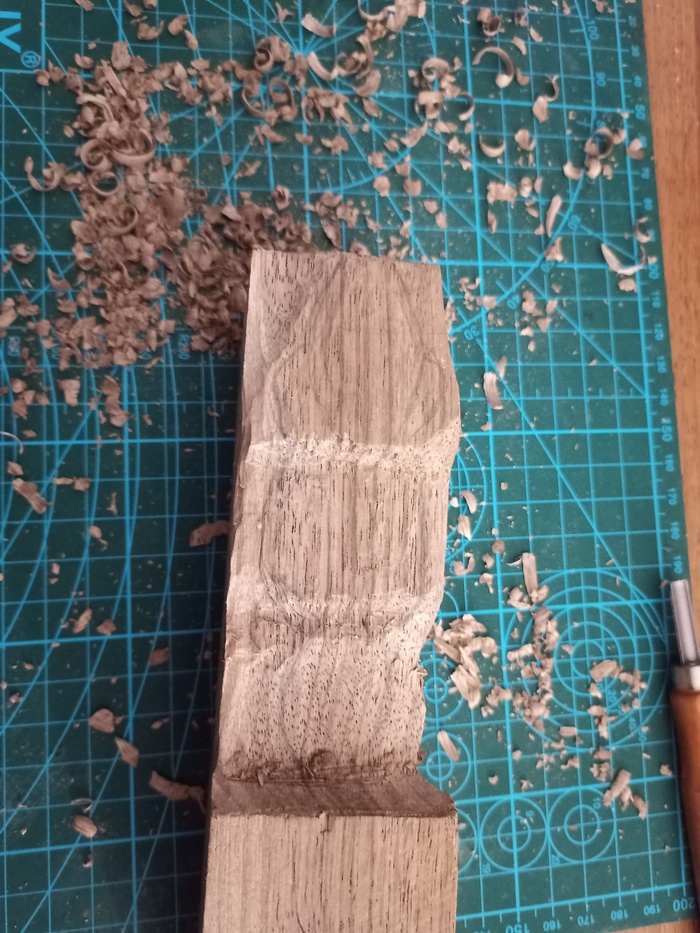
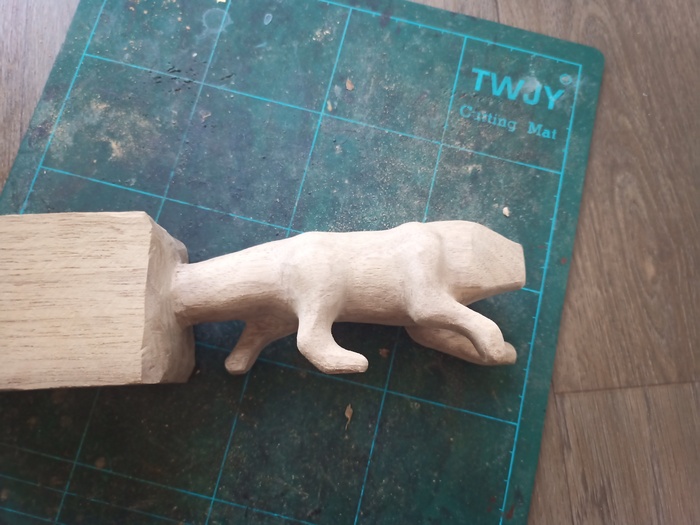
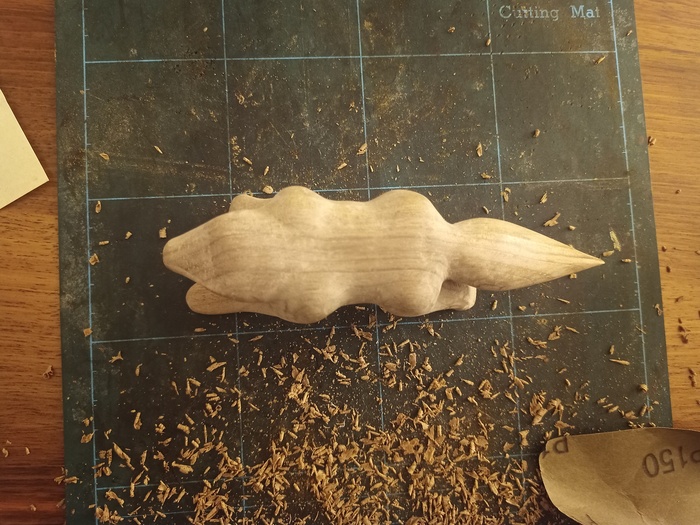
Nevertheless, the shape progressed a lot.
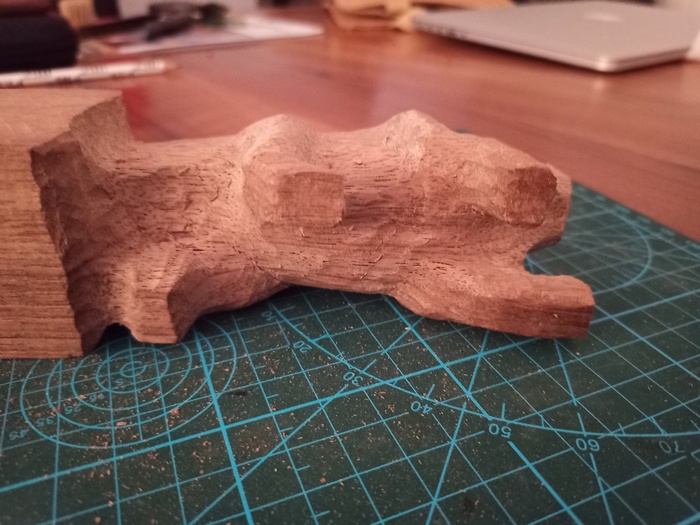
Here, I stopped using Chisels and moved to knife. Knifes leads to smoother shapes while being slower.
From the top:
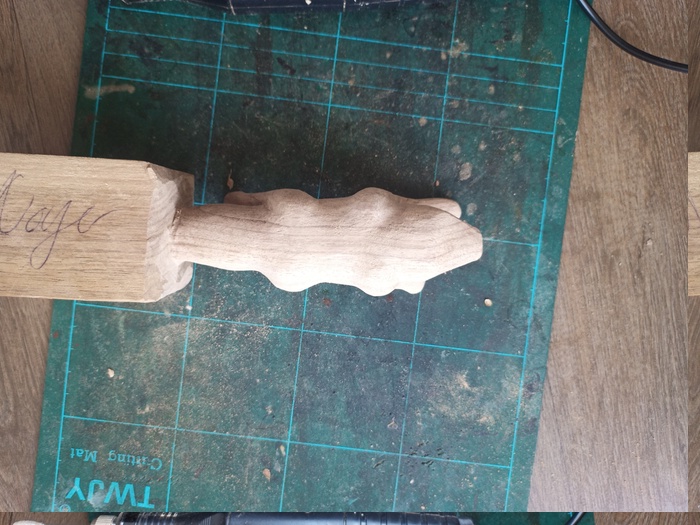
If we wet the wood to see how it would looks like later, we get

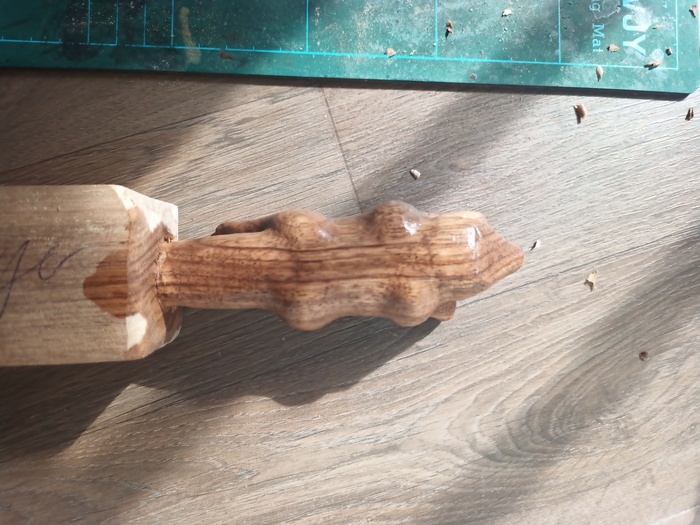
Wetting the wood reharse the wood fibers. This is useful when sanding, to wash the wood and sand the fibers that go out:
(after a few month, did nothing between June and October)
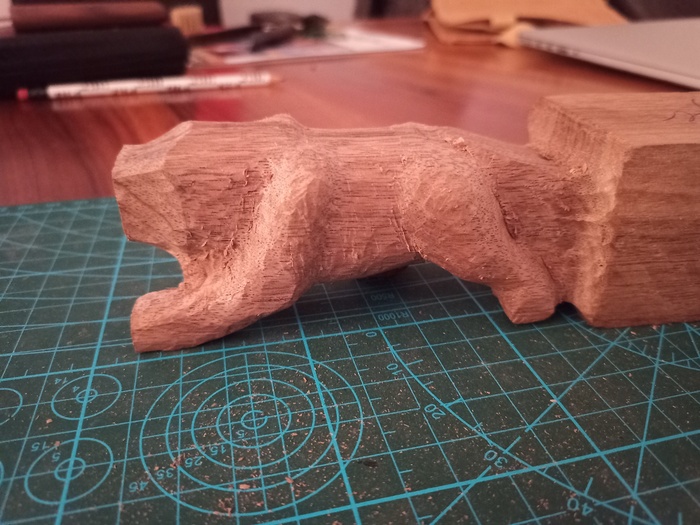
I finally got my jigsaw !!
I started cutting a V shape to extract the tail.
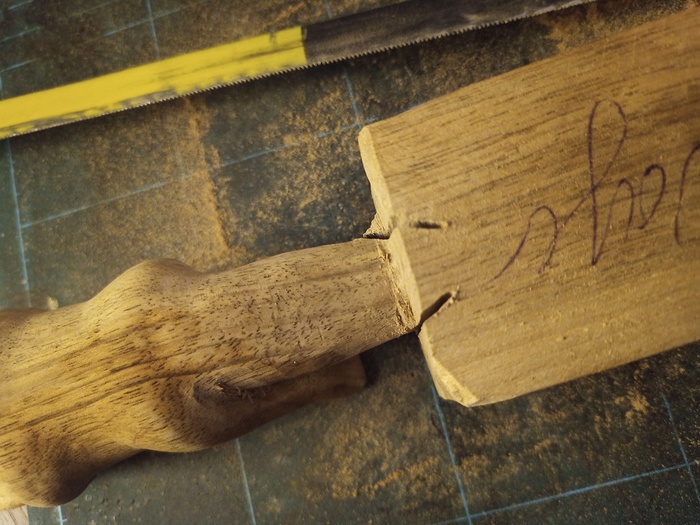
After a few minutes, I finally released the wolf.
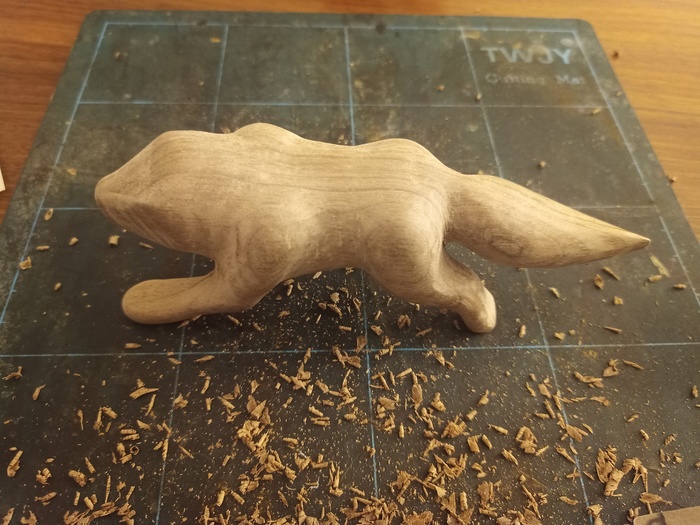
Now, I have a wolf-hammertailed:
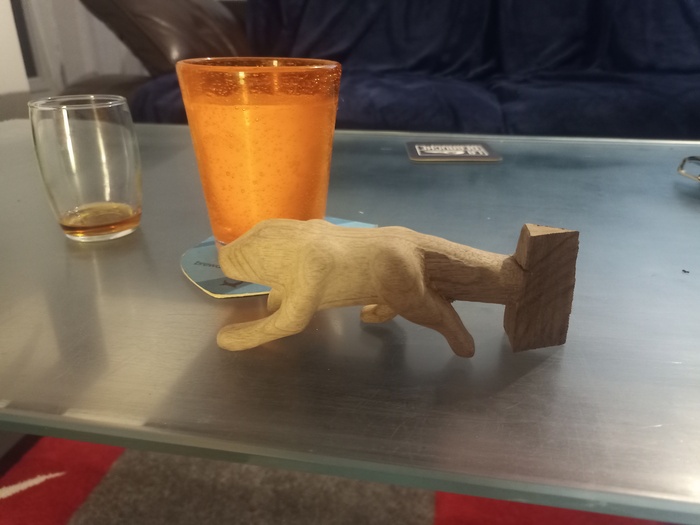
Now, this is much easier to manipulate the wolf: the square shape hurted the hand when manipulating it.
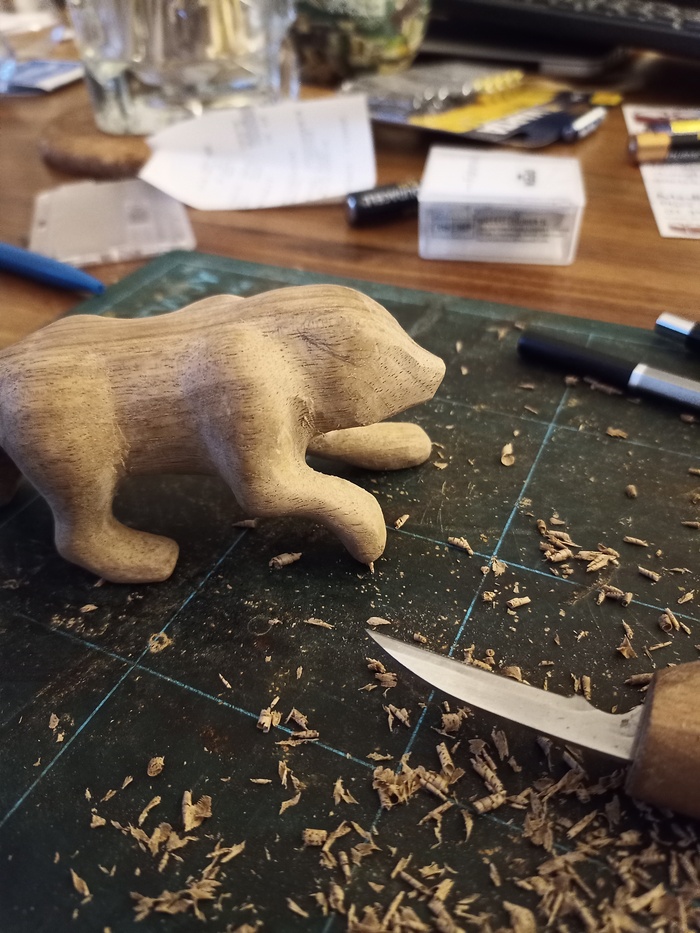
It removed the extra wood with a knife.
And start modeling the tail.
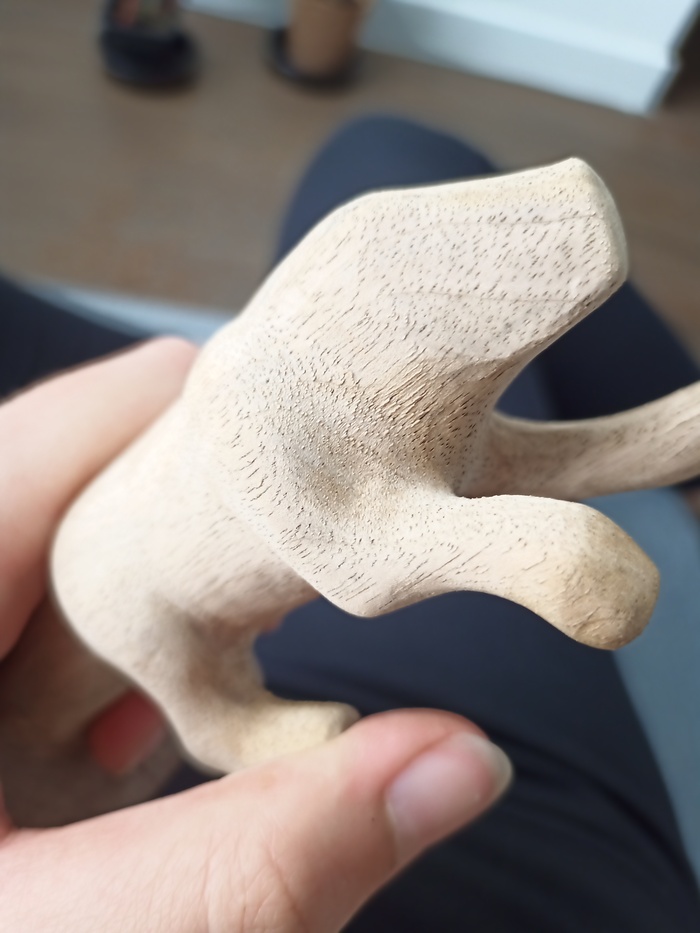
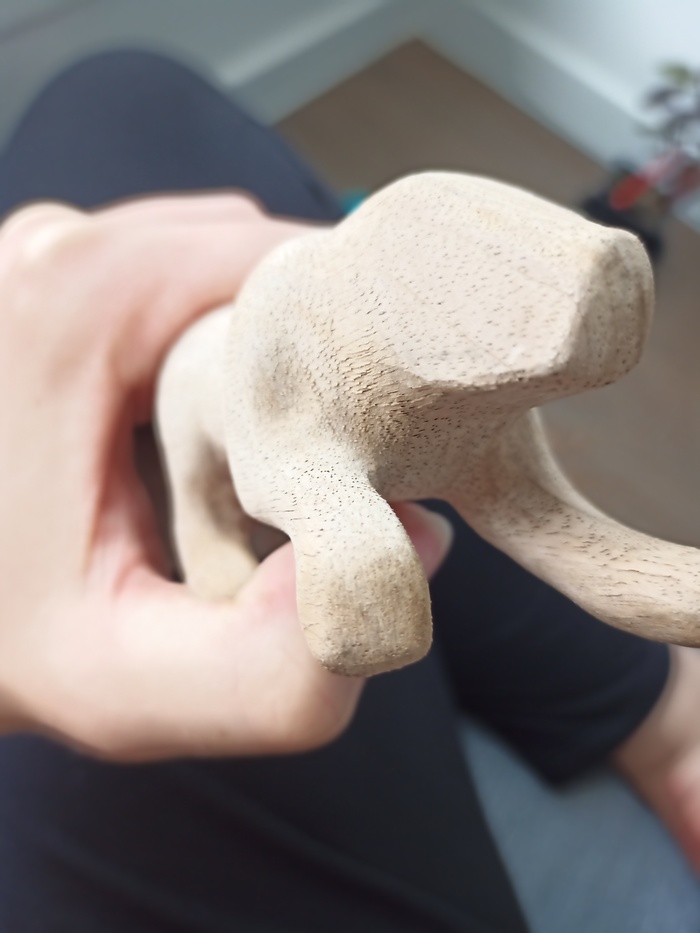
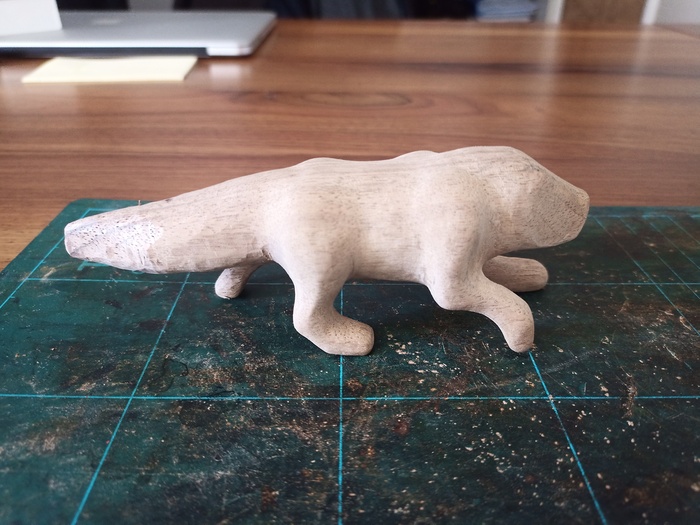
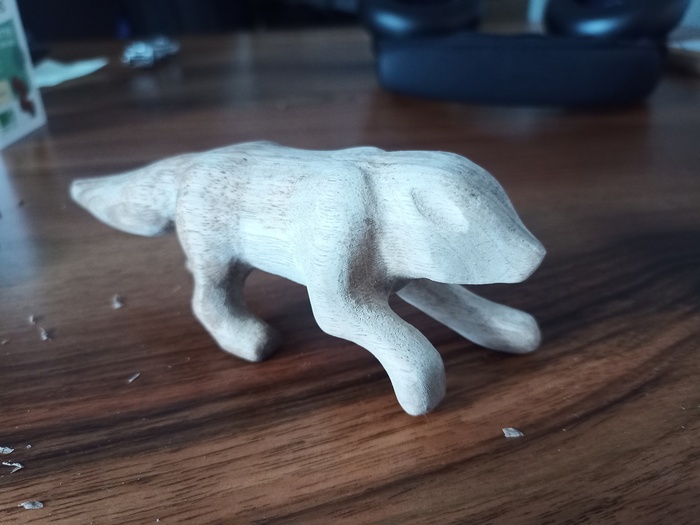
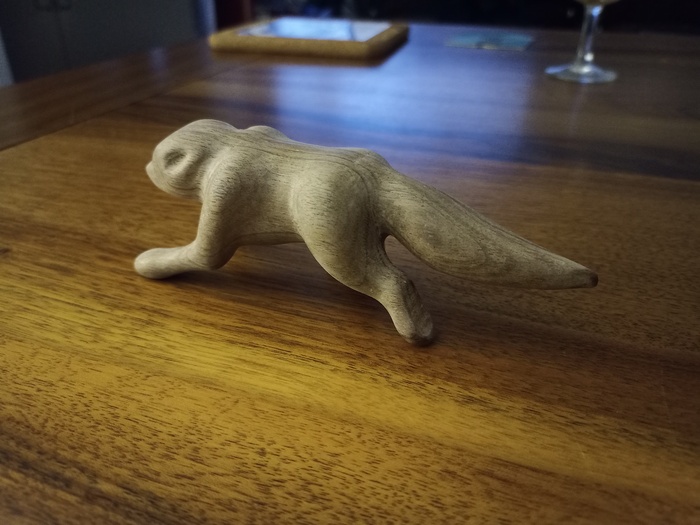
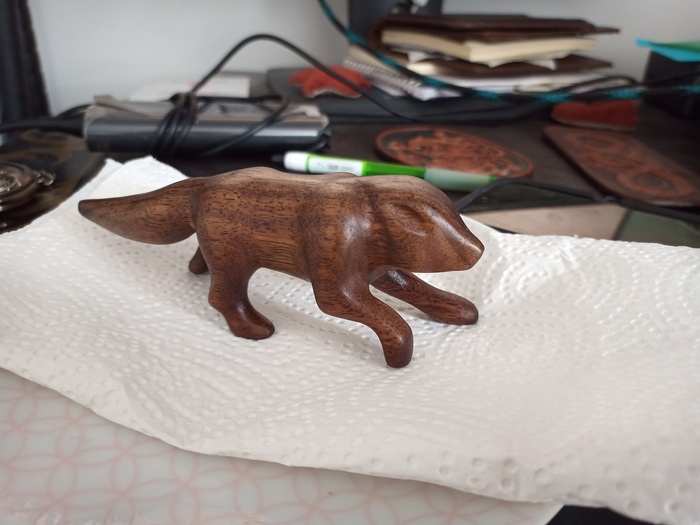
Now, the wolf looks svelt:

However, there is still the head to do.
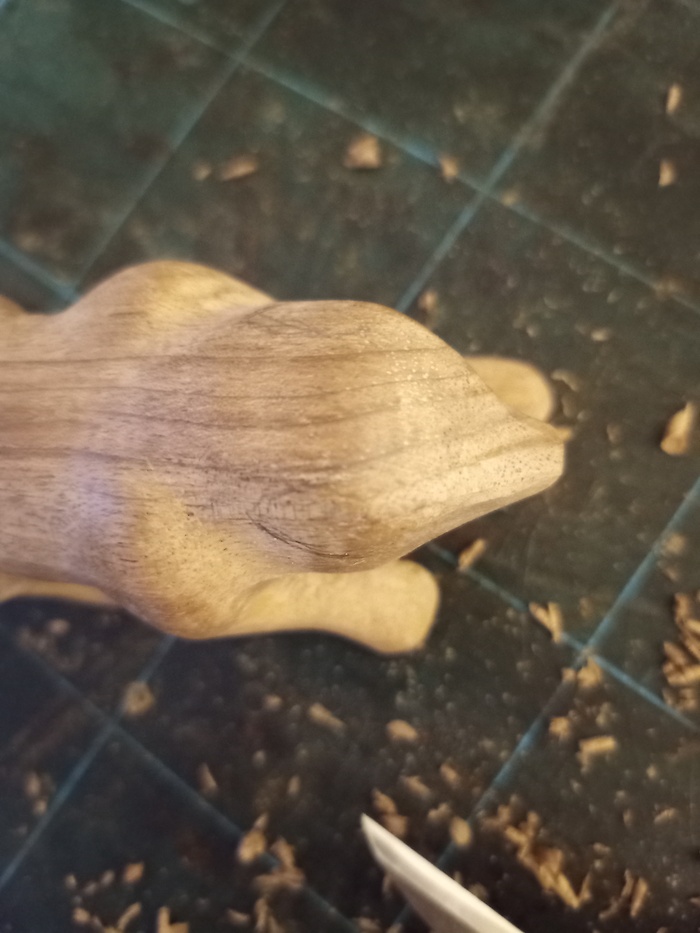
Because I want to carve in the round (and making realistic details is hard), the ears are just holes in the head.
Wetting test (again):
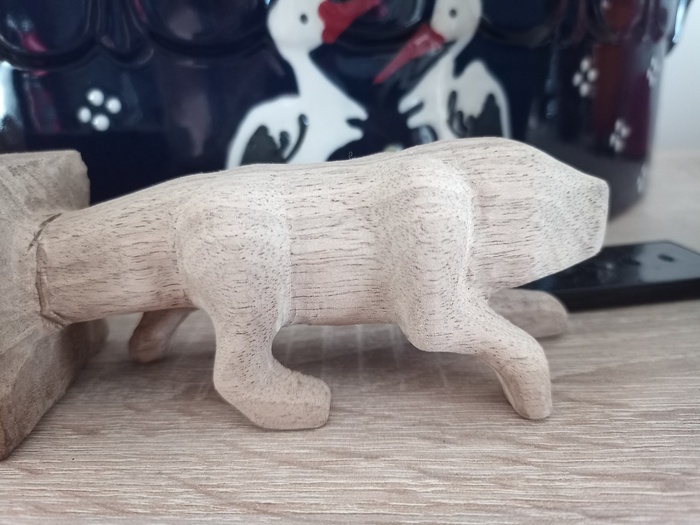
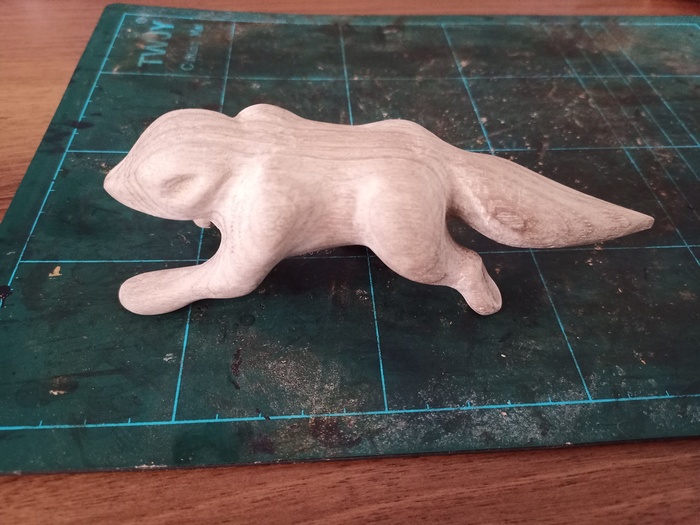
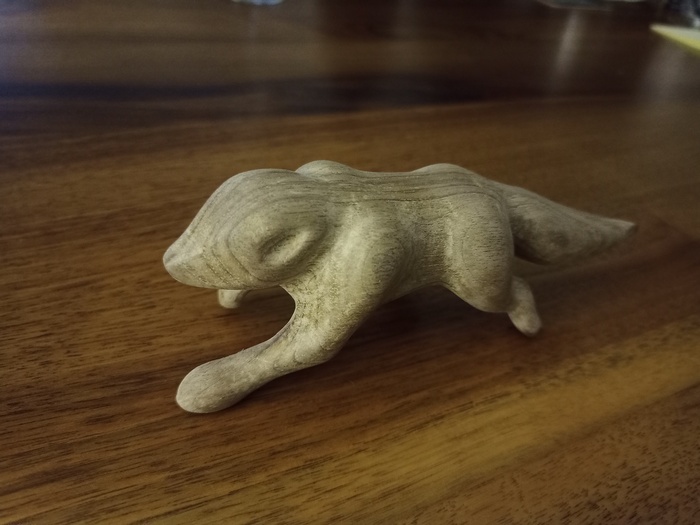
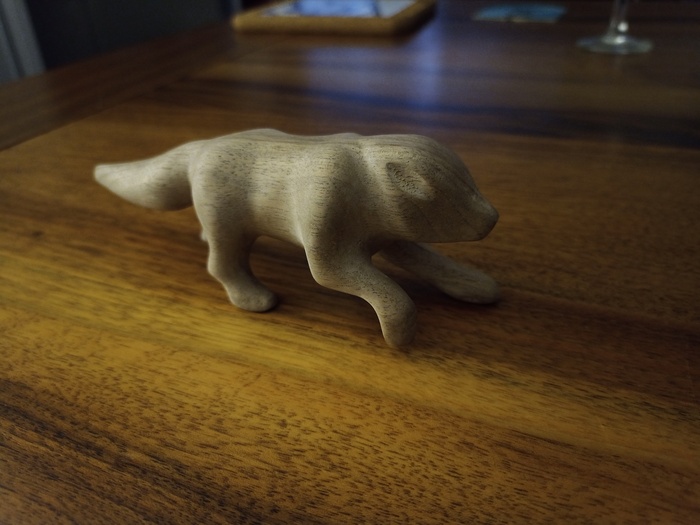
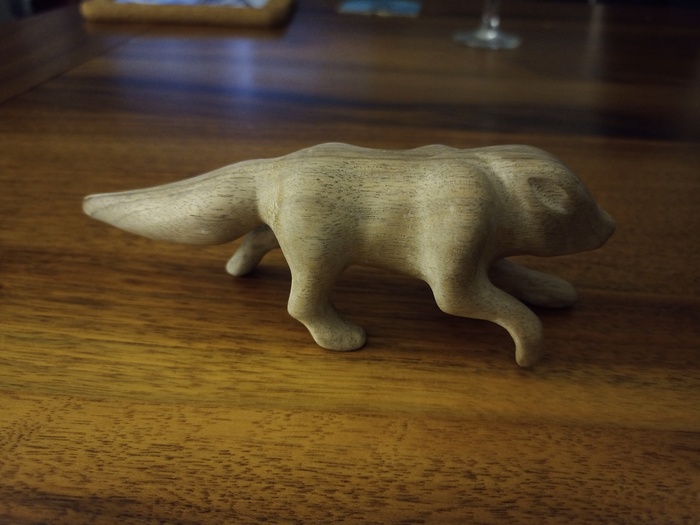
I updated the shape again a bit, did the paws, and sanded everything.
Front
From top
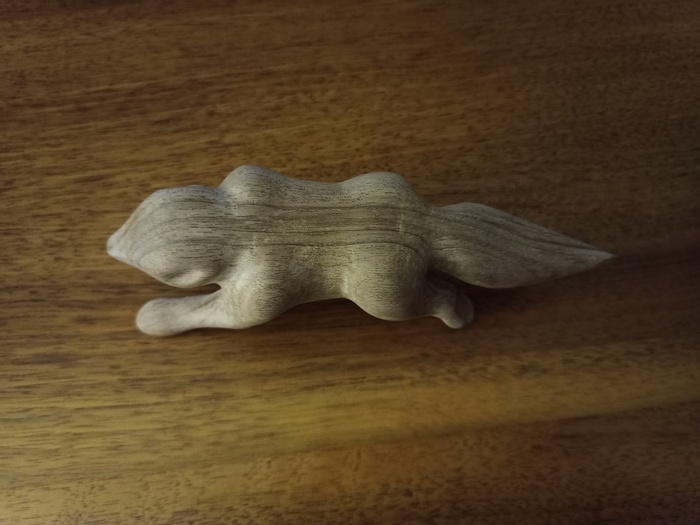
Back
Side
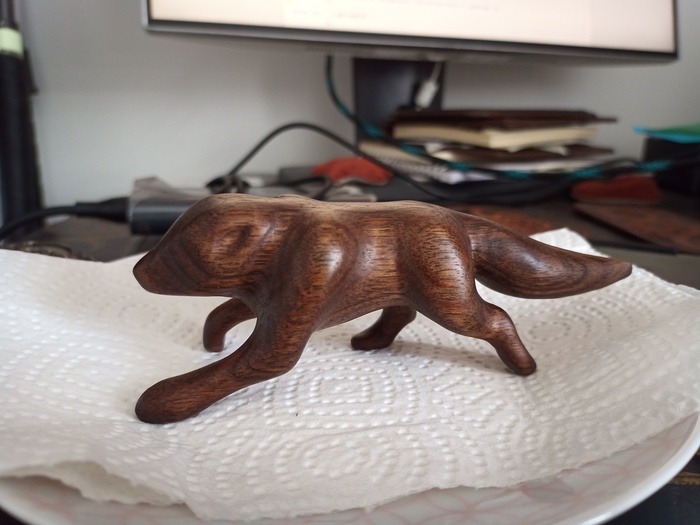
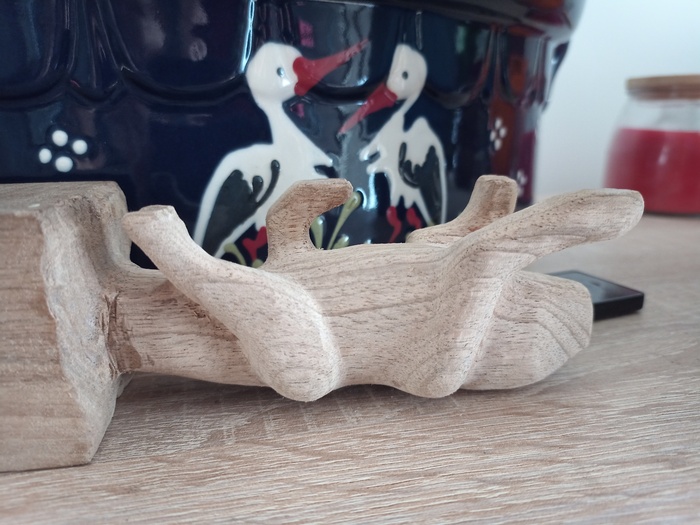
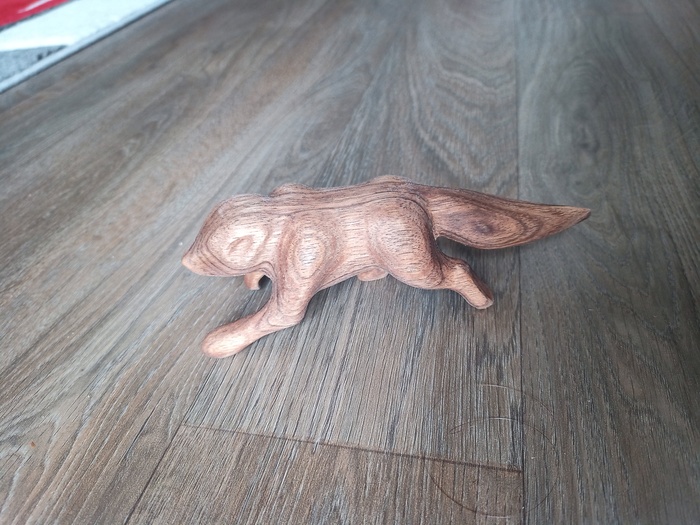
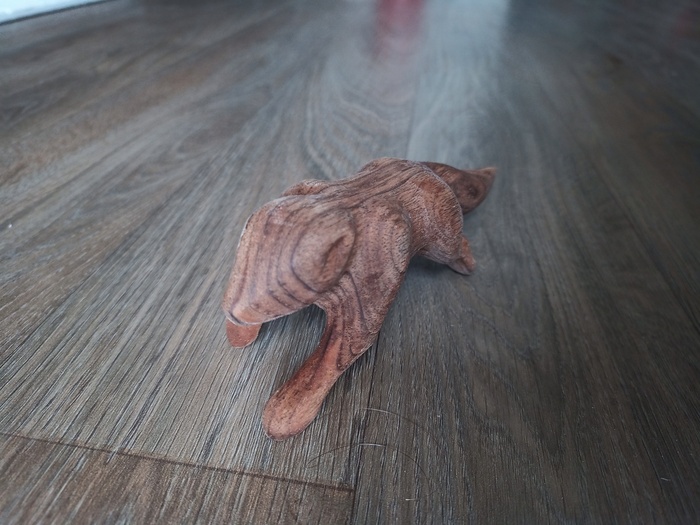
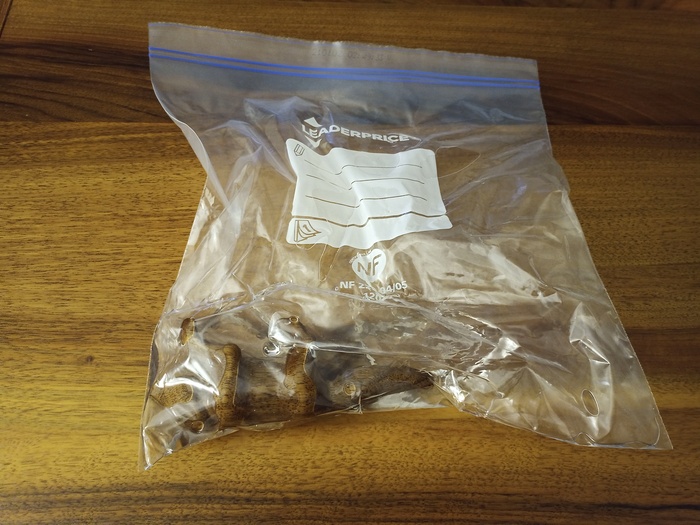
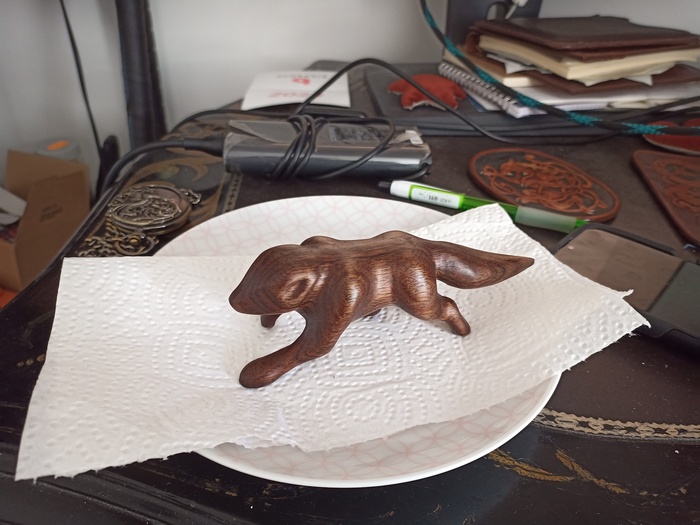
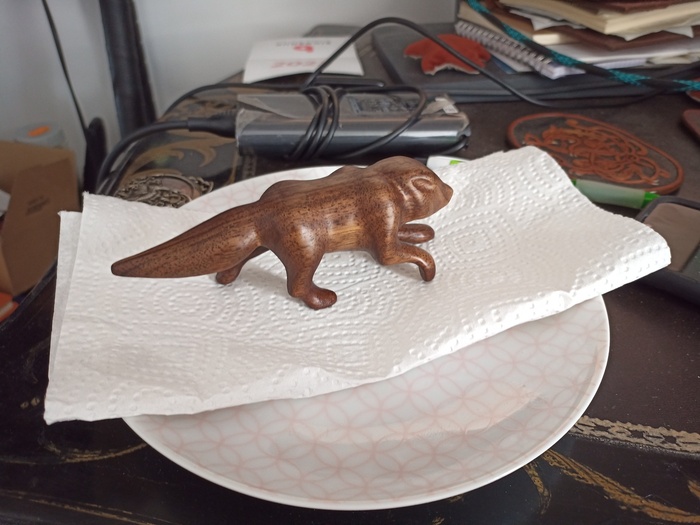
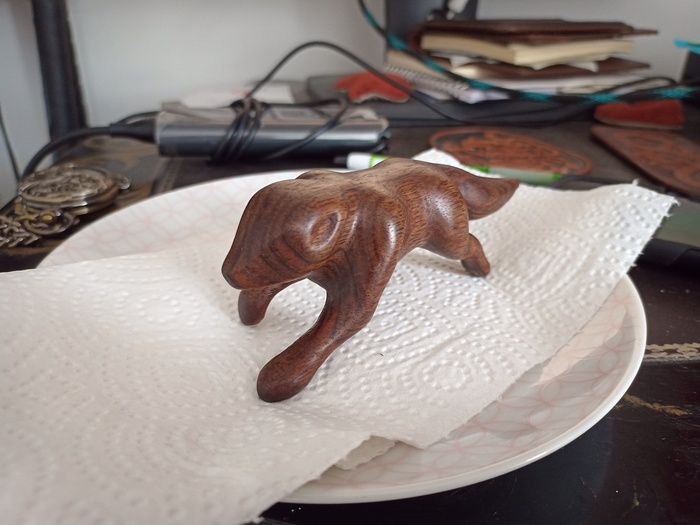
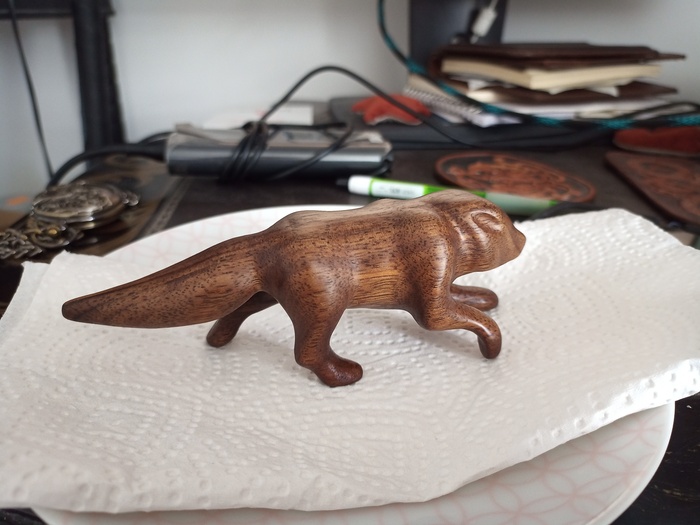
Now, it is time for the oil bath.
I use neat foot oil, as it is cheap and I do not plan using the wolf other than for embellishment. I let it one night in the bag with oil, but this is not an official recipe. Some advice just a few minutes or using a paintbrush to apply the oil.
After, I let it dry during the day (the wood will absorb the oil).
Later in the day with natural light.
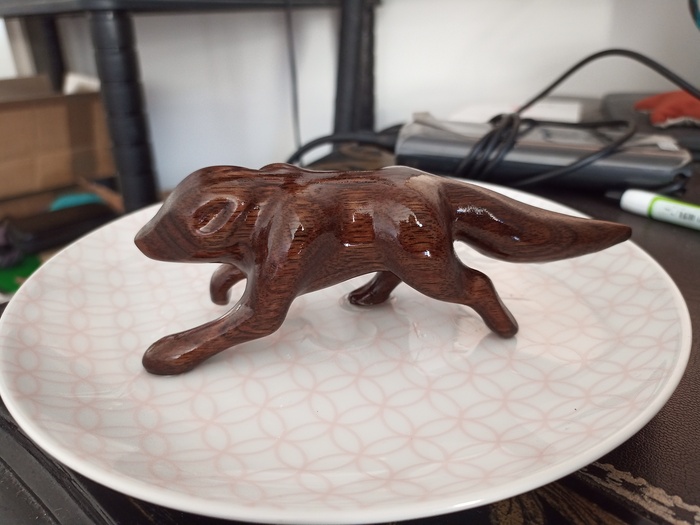
And then, I clean it with absorbing paper.
>> You can subscribe to my mailing list here for a monthly update. <<