
This is a simple keychain that I am going to offer as a birthday present.
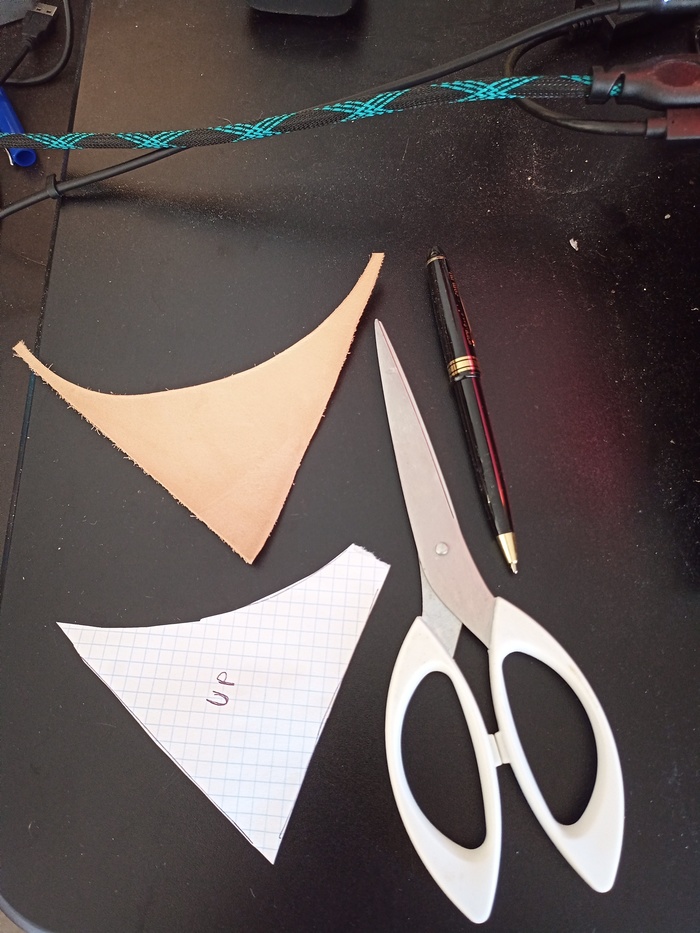
I used a 2.5mm thickness leather and a ring of 22mm diameter.
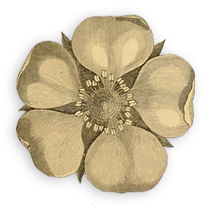
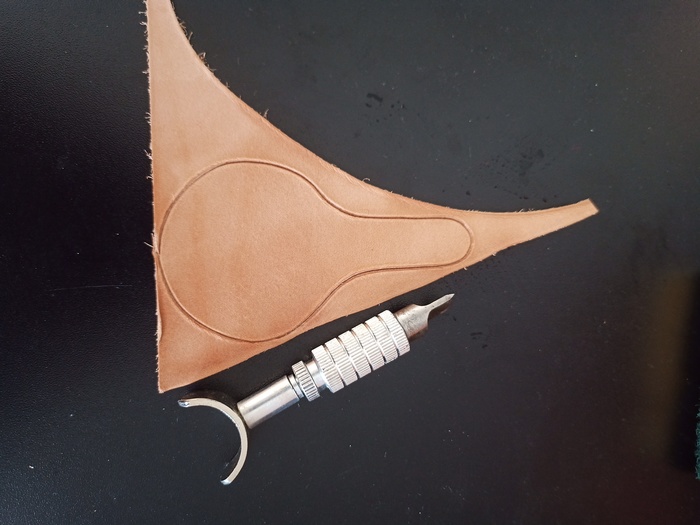
This is the template I will use (CC Sivienn):
For that, a keychain with a rounded shape will suit.
I wanted to reuse a small piece of leather:
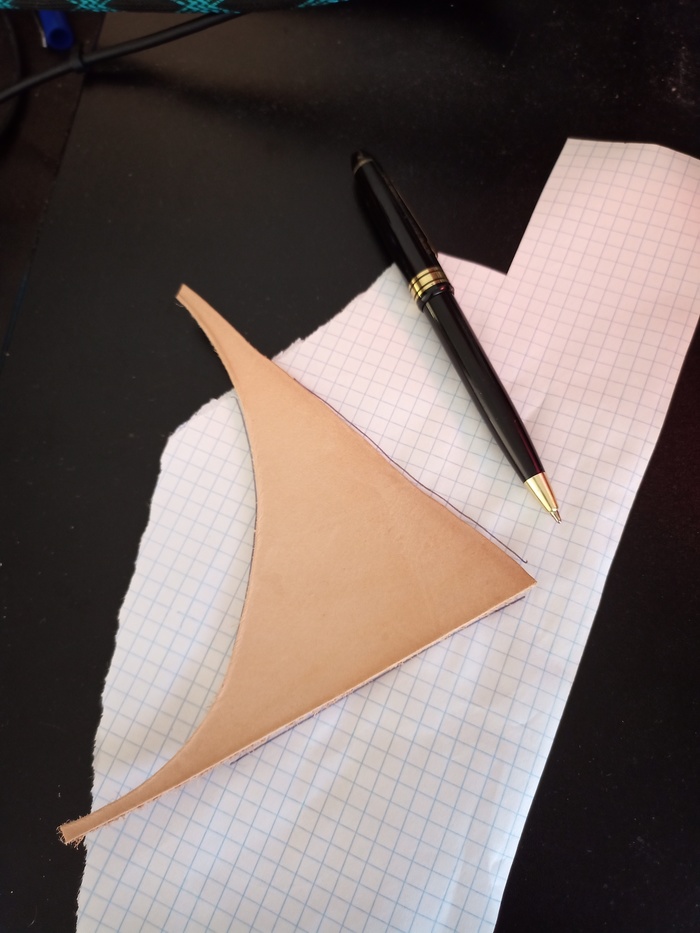
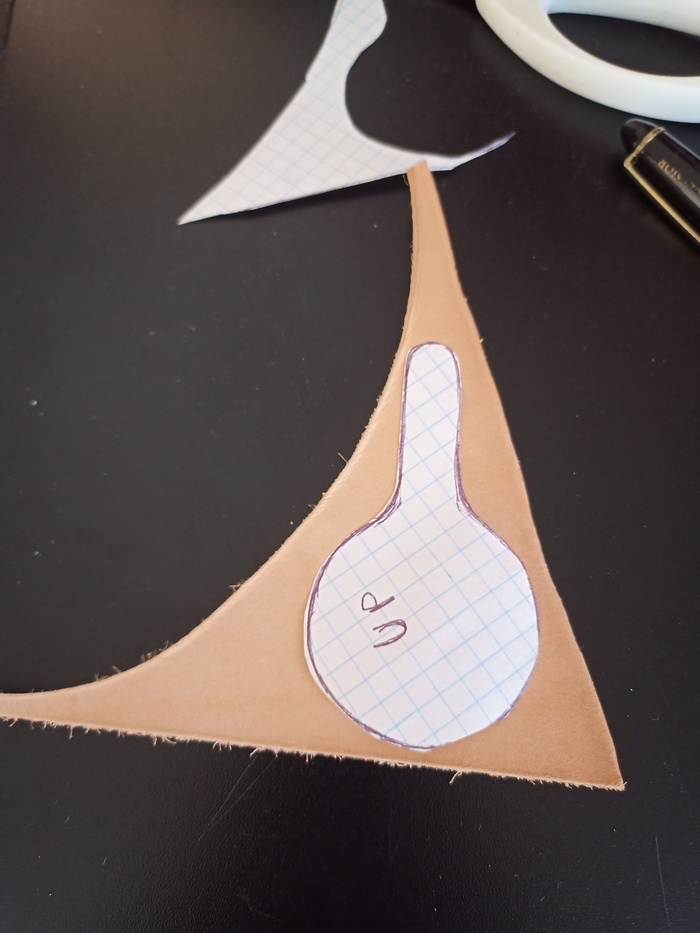
To get a perfect match, I used a piece of paper to draw its dimensions.
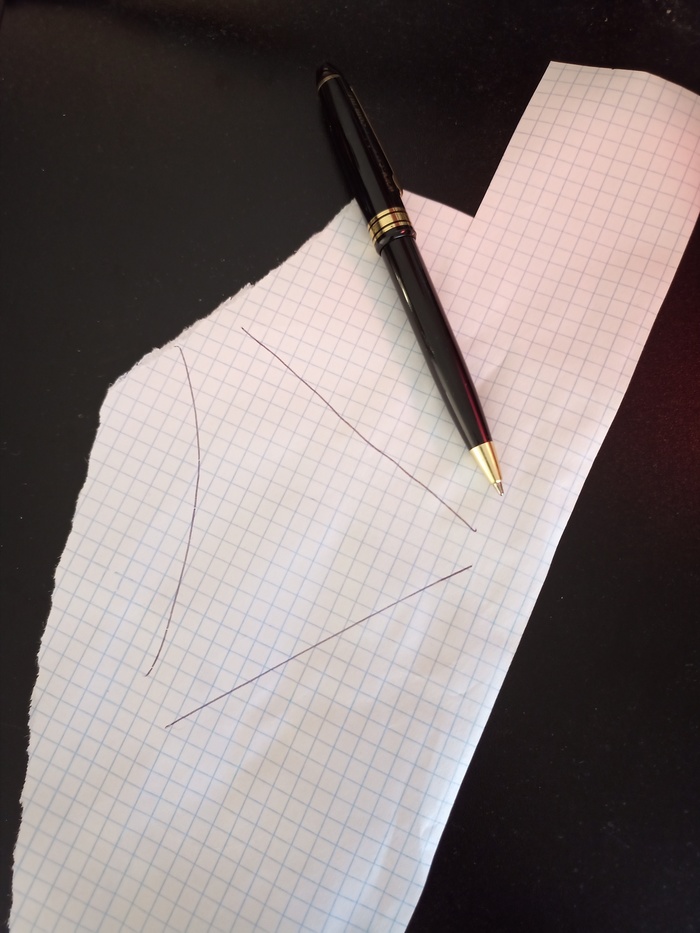
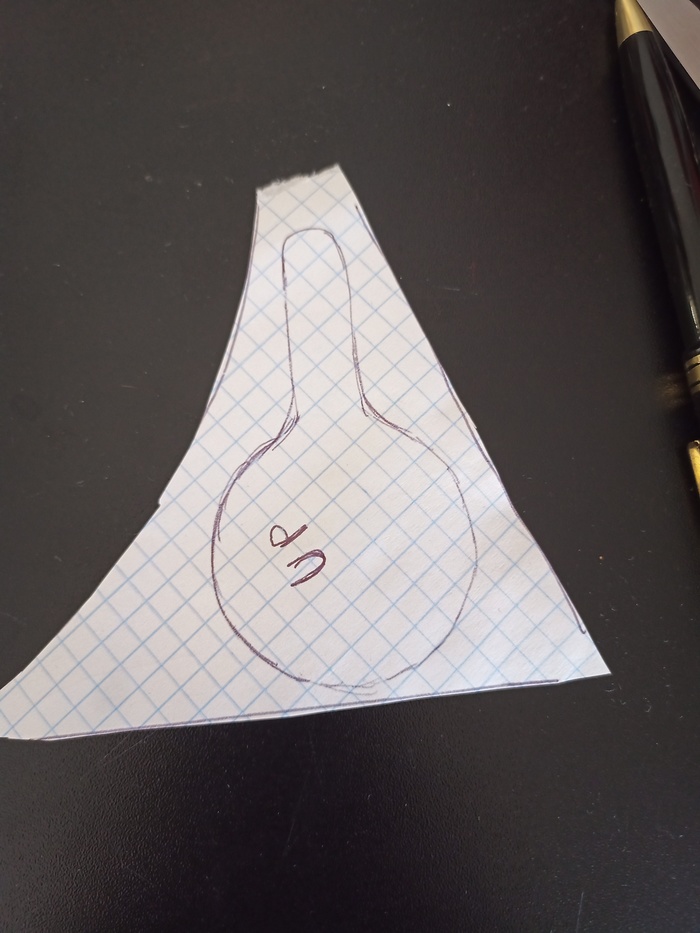
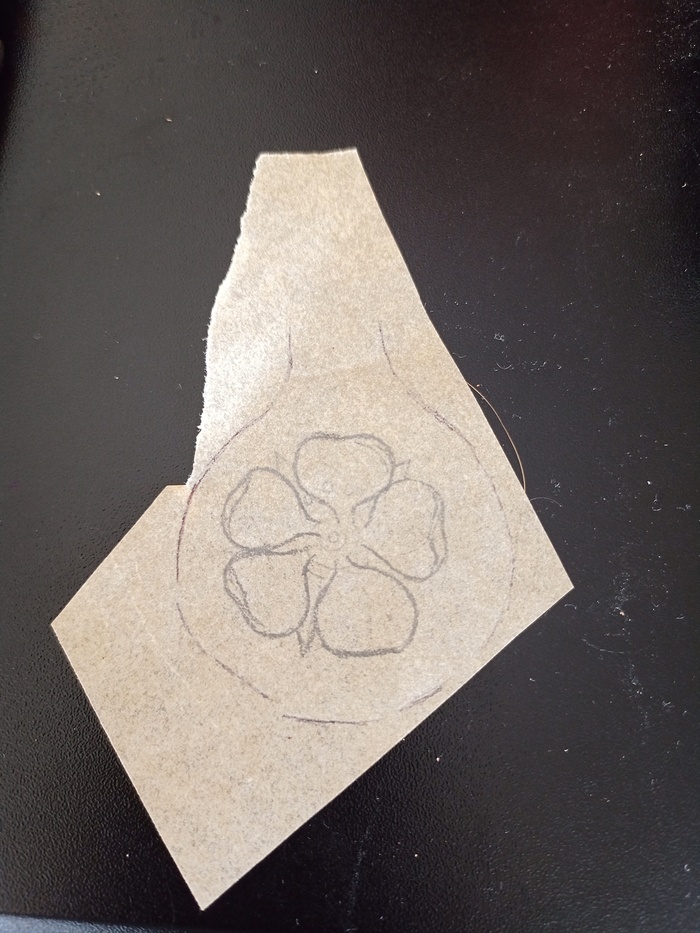
Now that I have my piece of paper, I can freely draw the pattern.
Which fit perfectly, with some extra margins.
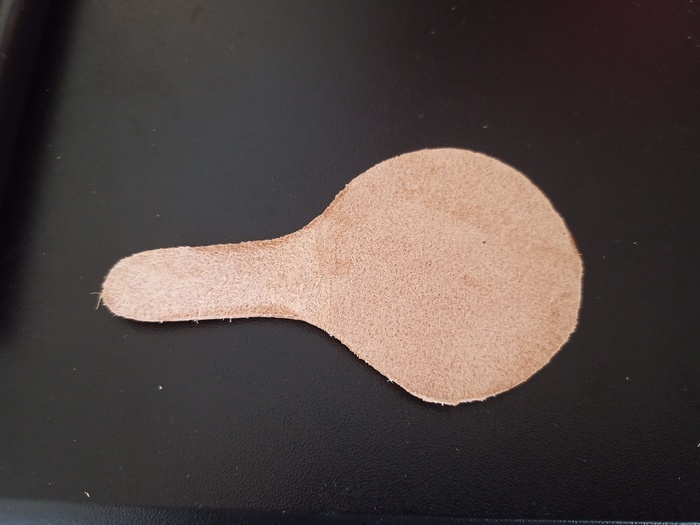
Using a sponge, I wet the leather and next draw the outline of the pattern.
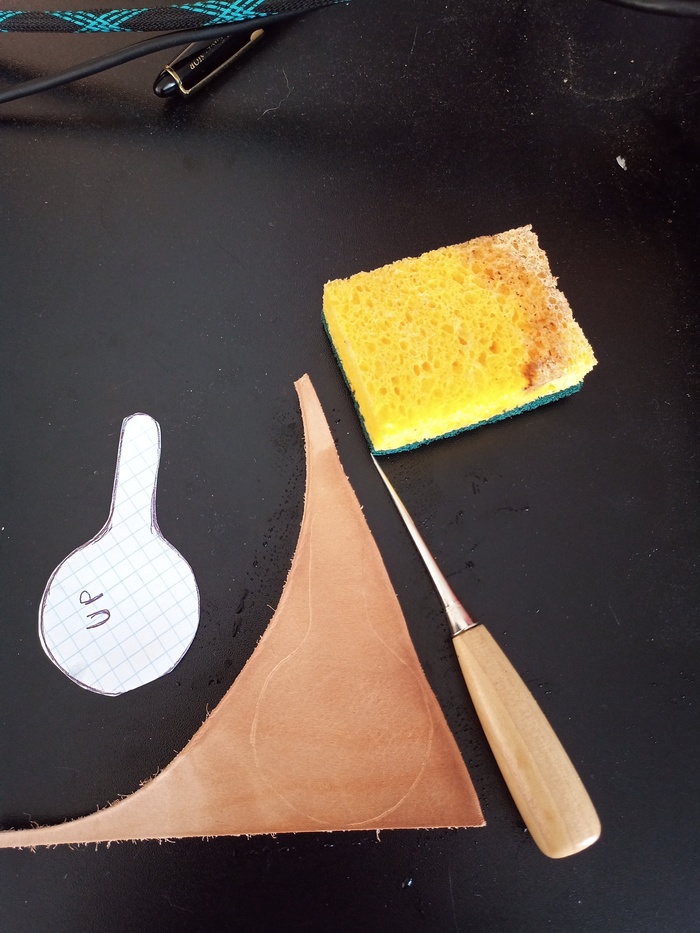
Which I cut progressively with the knife opener.
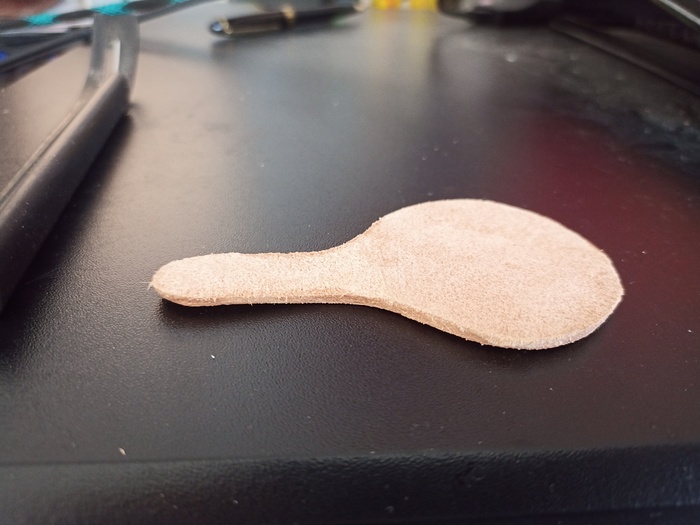
Giving the shape free.
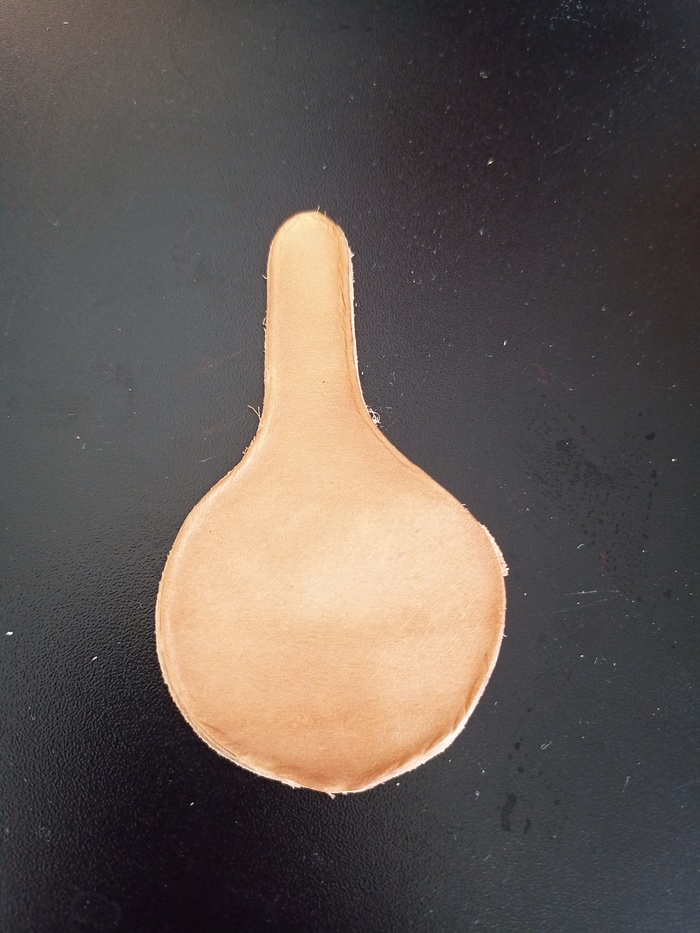
I gently sand the edges and cut the corners.
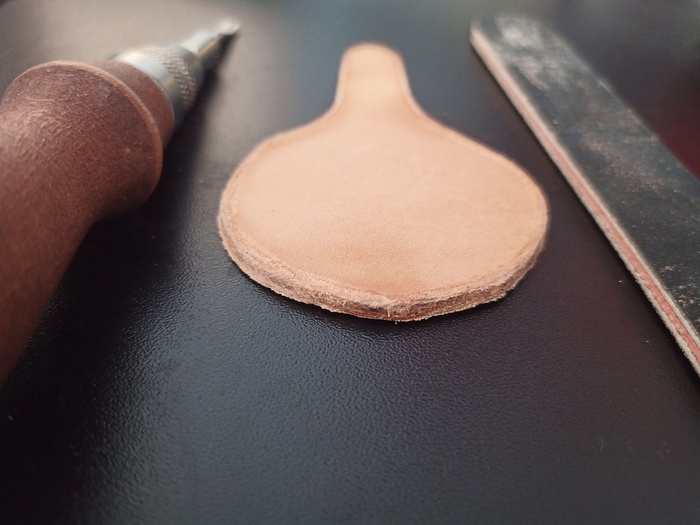
Zoom on the edges, which doesn’t look that nice yet.
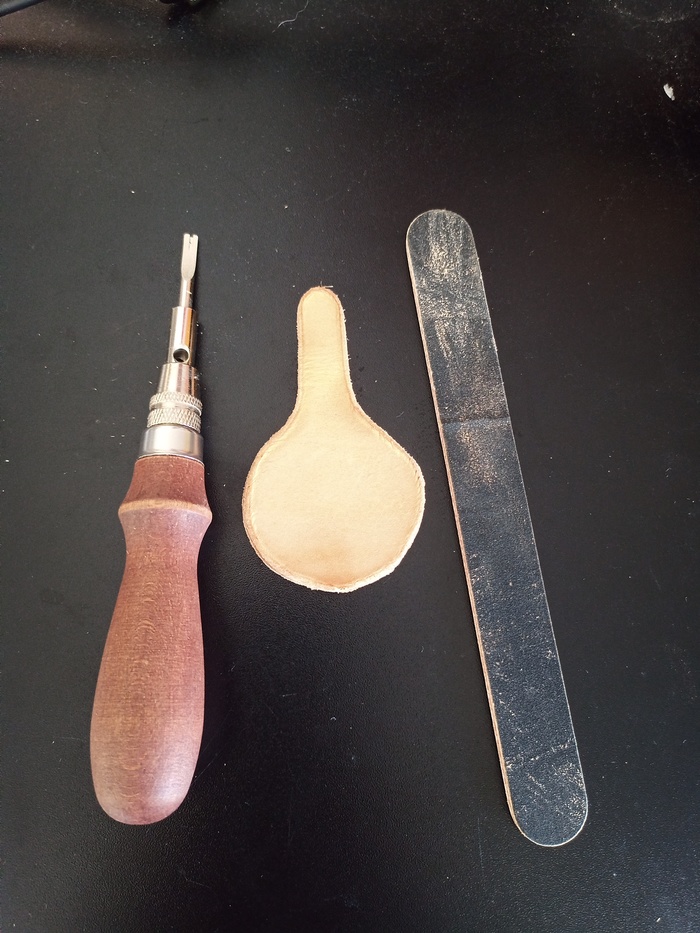
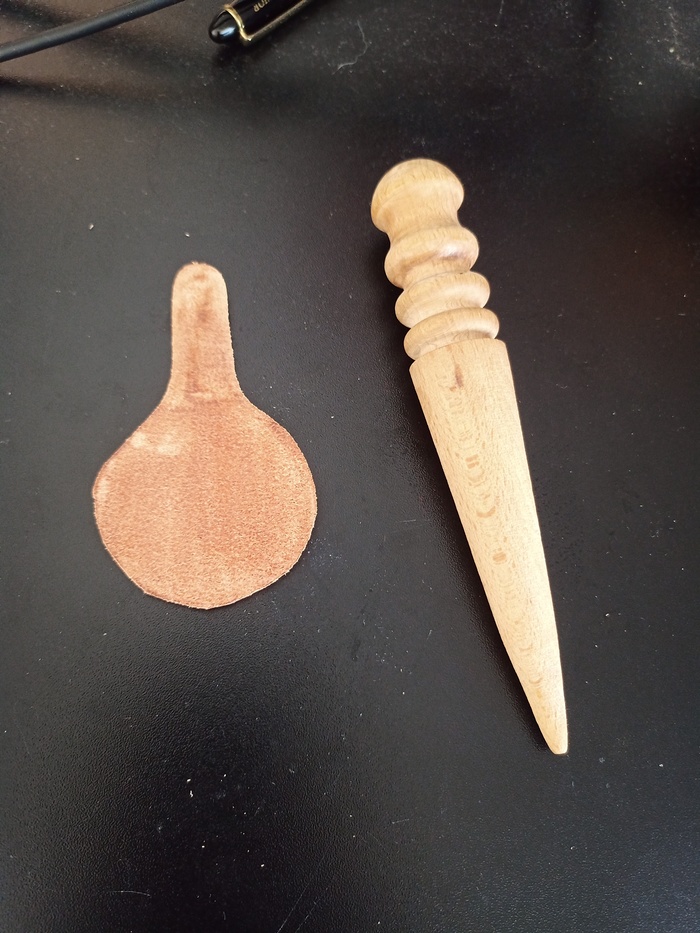
Where the leather need to be bent, I removed some surplus with a dedicated razor, until bending is easy.
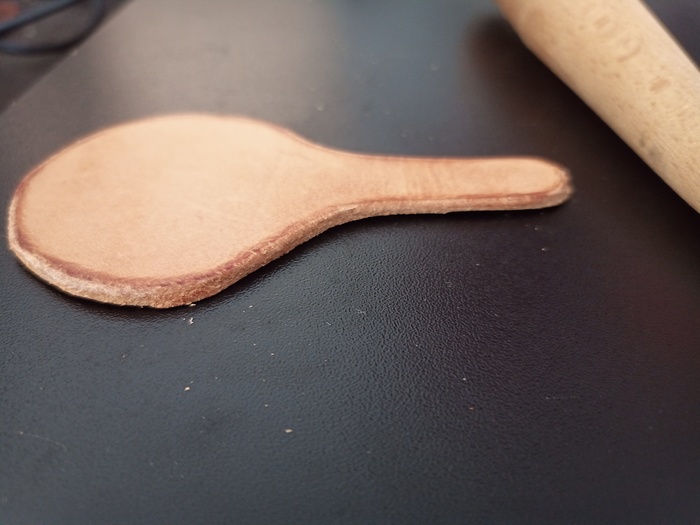
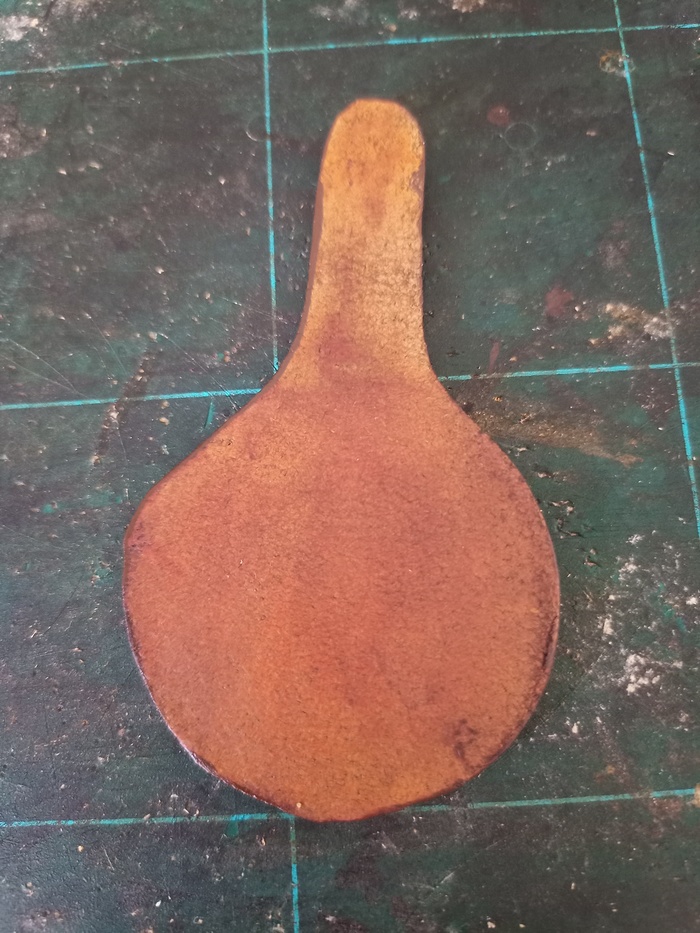
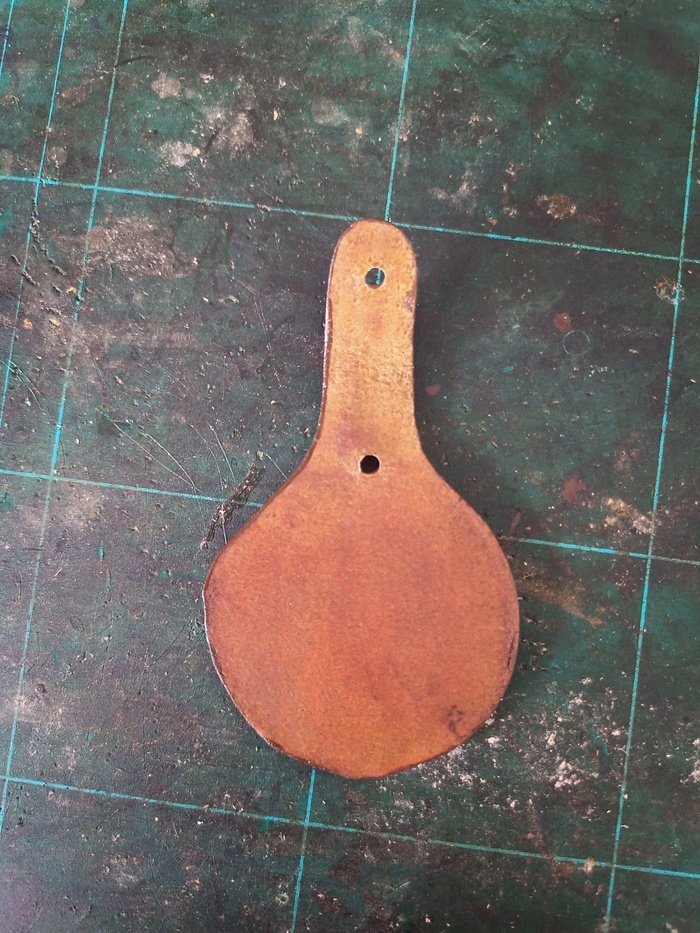
Now, I burnish edges and back. Burnishing the back when you apply no finish on it gives it a smooth texture.
To get the pattern at the perfect size, I use Gimp to adjust the size of the image to the pattern. This is old school, but it works well, and prevent from printing 10 pages.
I have a privacy filter, which let we use a pen without scratching my screen.
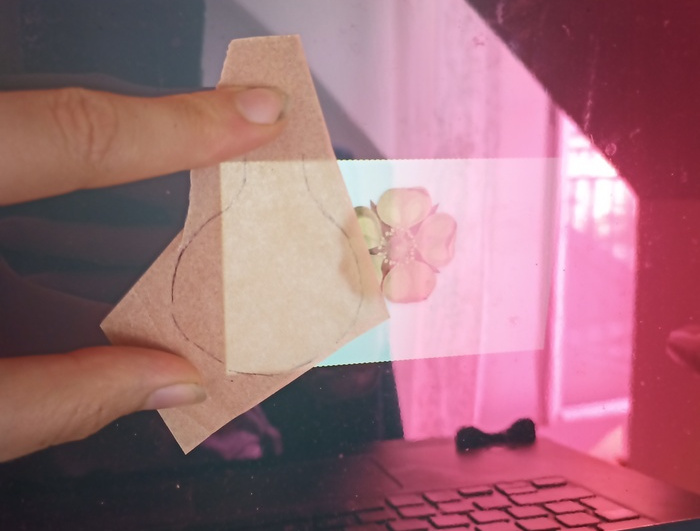
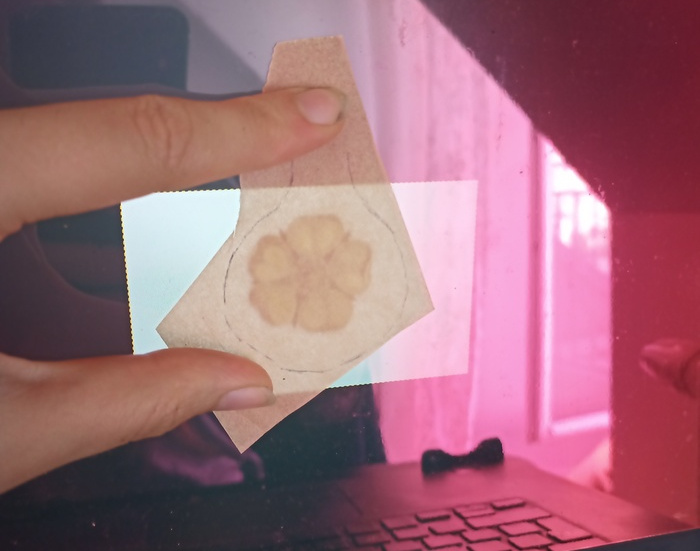
Now I have my flower pattern. It doesn’t need to be perfectly clean: the knife draw will correct all the imperfection.
Now, I can reproduce it on the leather.
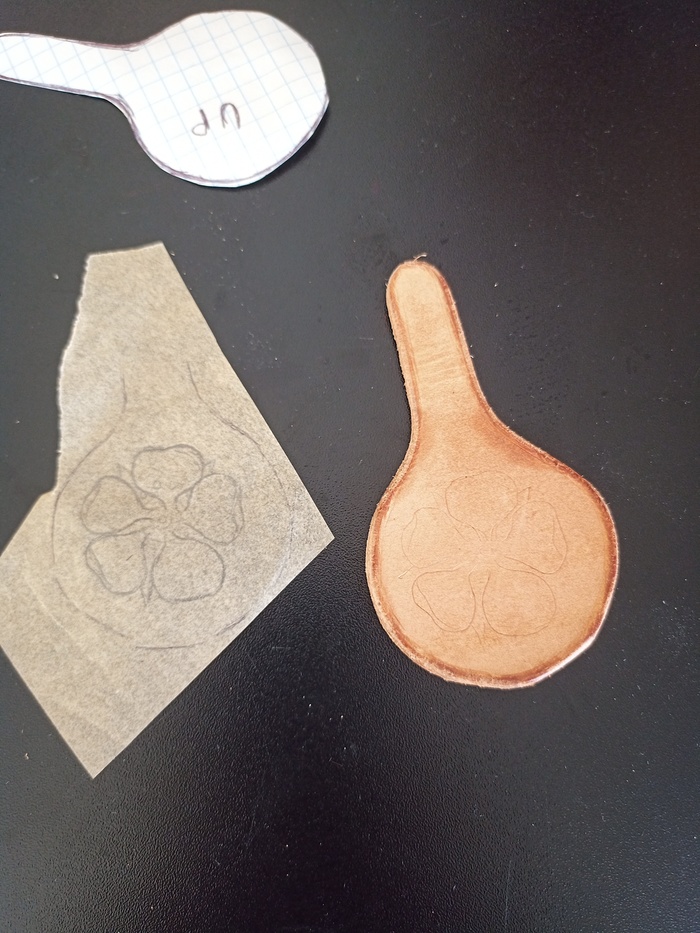
And cut the main lines + the border.

With a stamp, I draw the middle.
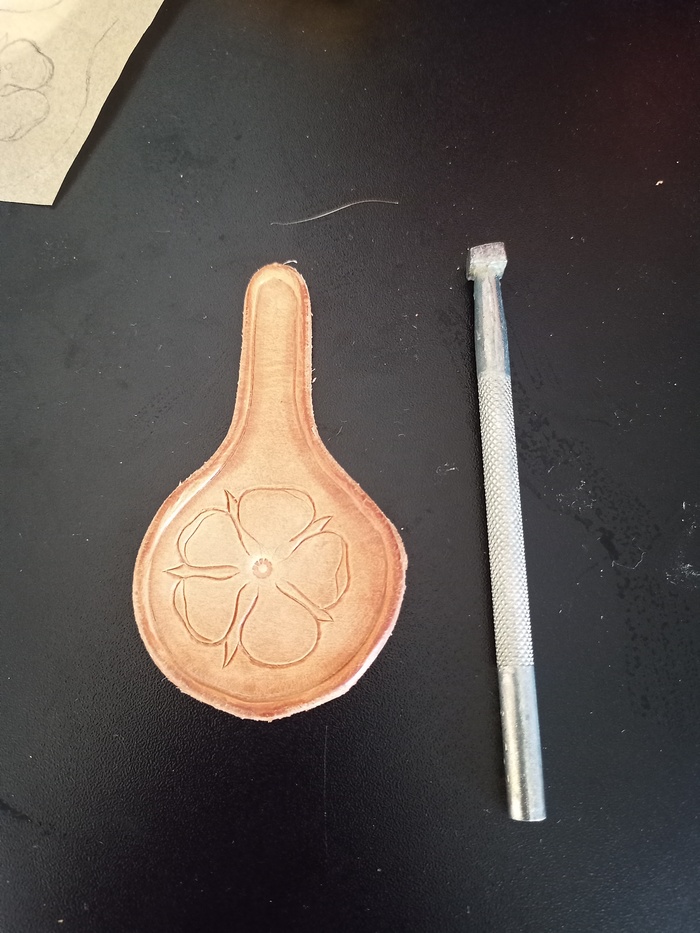
Next, I add relief by carving all edges.
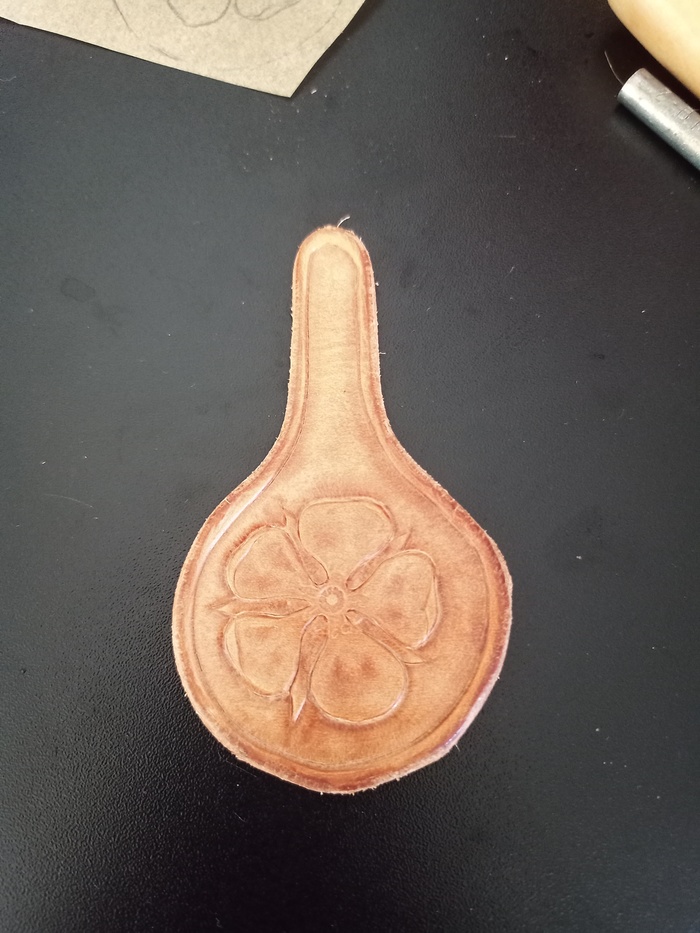
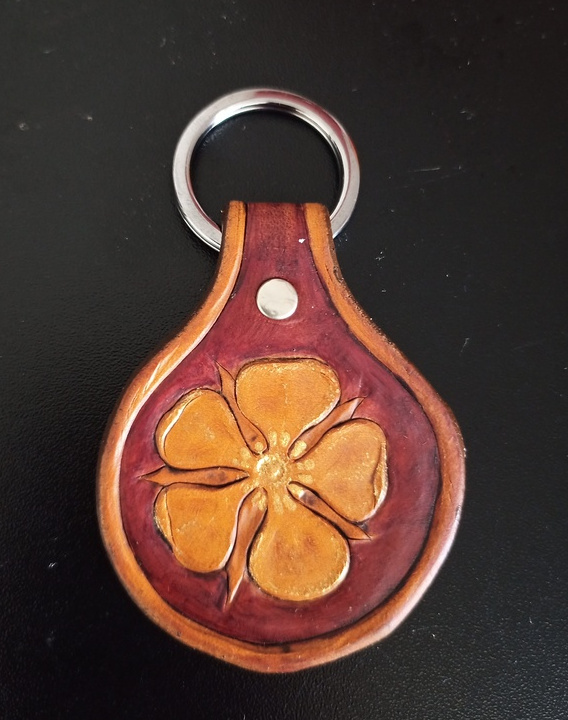
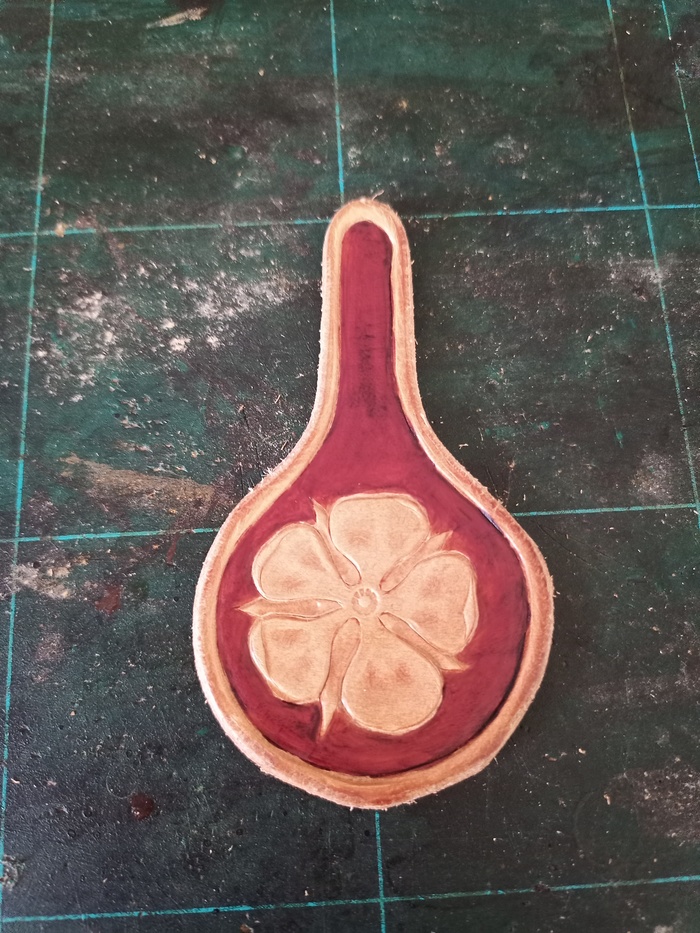
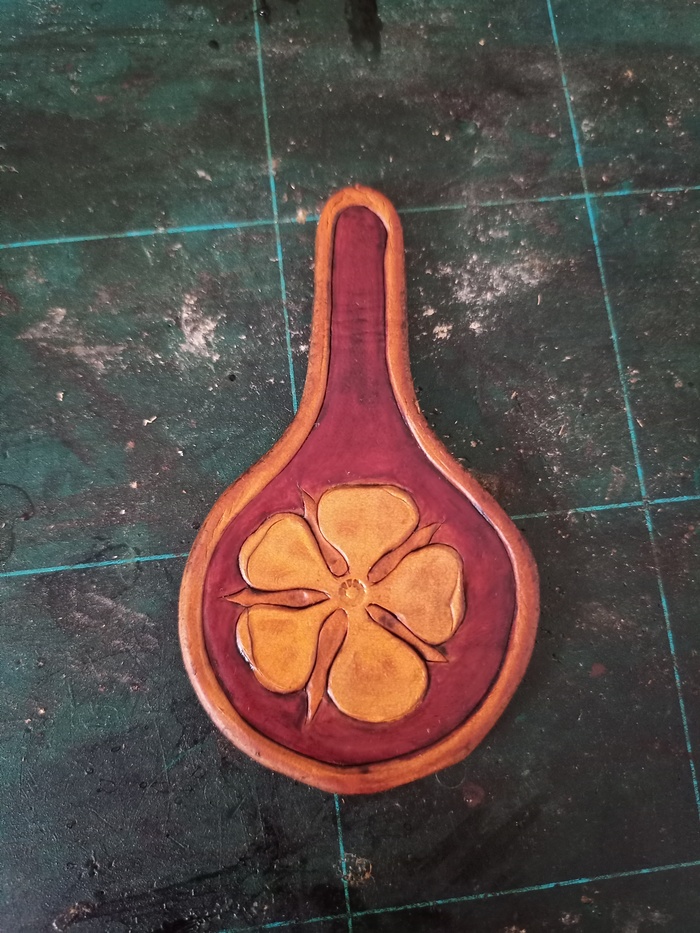
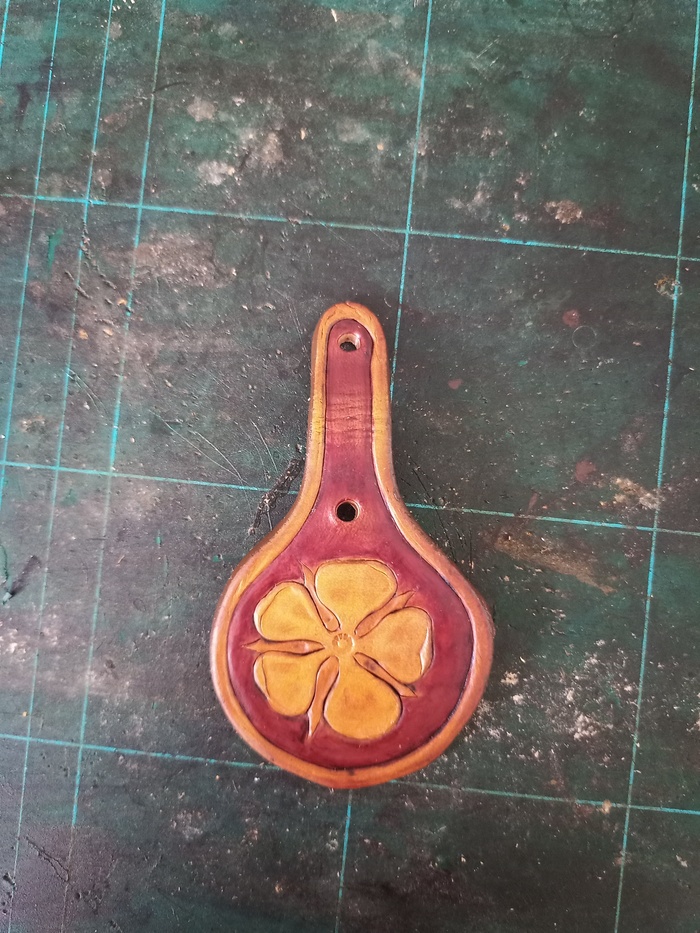
Now, when everything is completely dried, I can put the color in:
Coloring the background (on the photograph, it is very red. However, the true color is brown. Check the final images)
Applying Supershene:
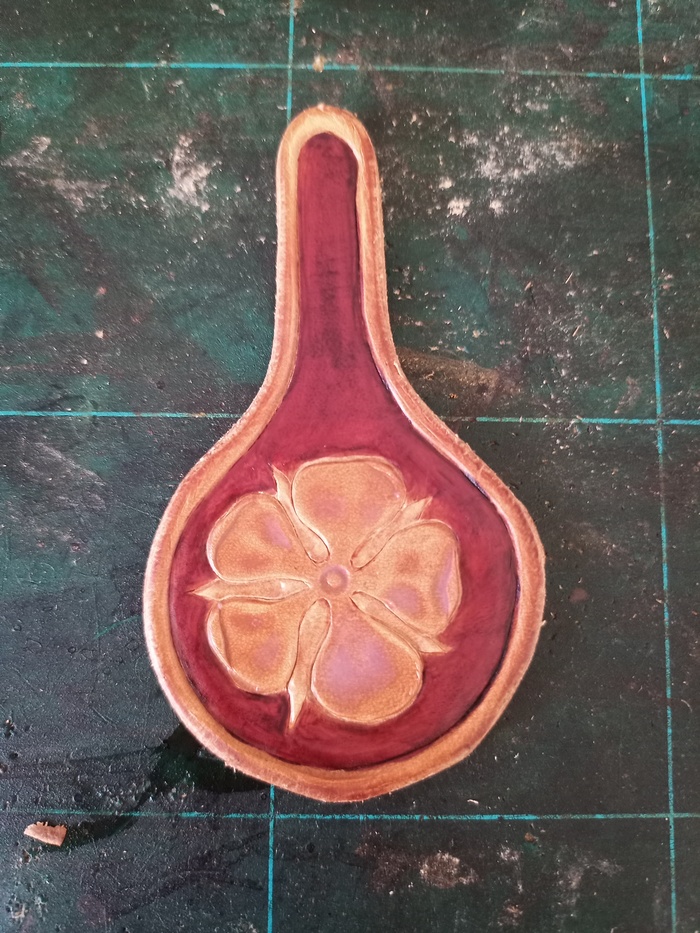
Applying the antic finish:
Don’t forget the back. You can see that the top that has been raised is lighter than the rest.
Apply the edge coating.
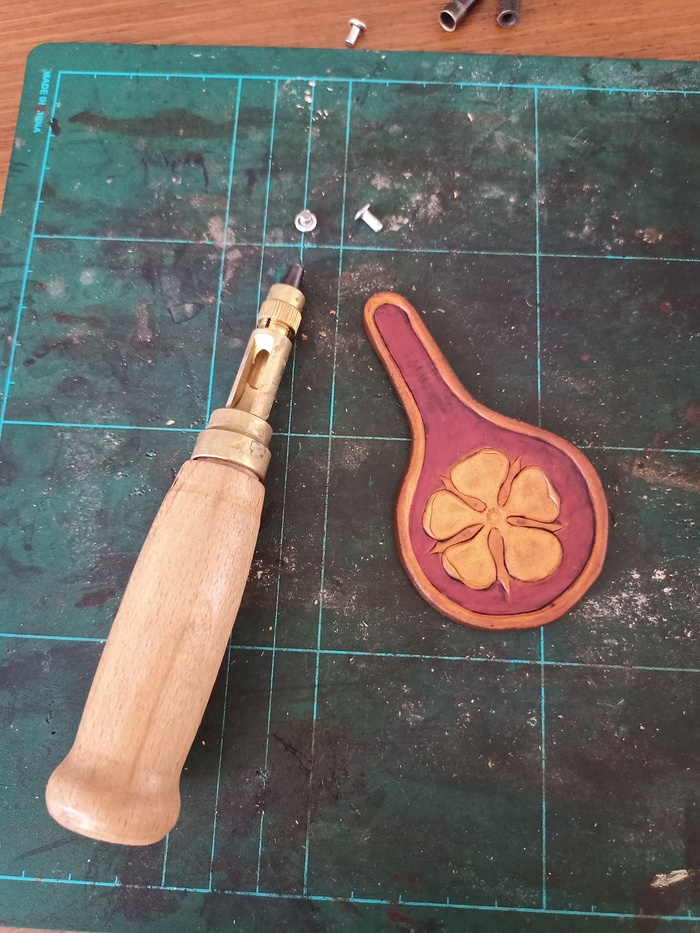
We need first to add the holes. Make two holes slightly larger than the rivet.
After
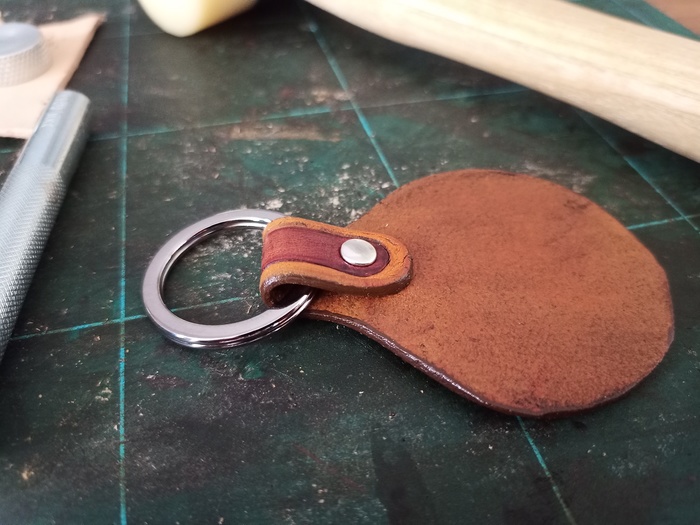
Place the ring (this is a stupid reminder, but it helps … I sometimes forgot it):
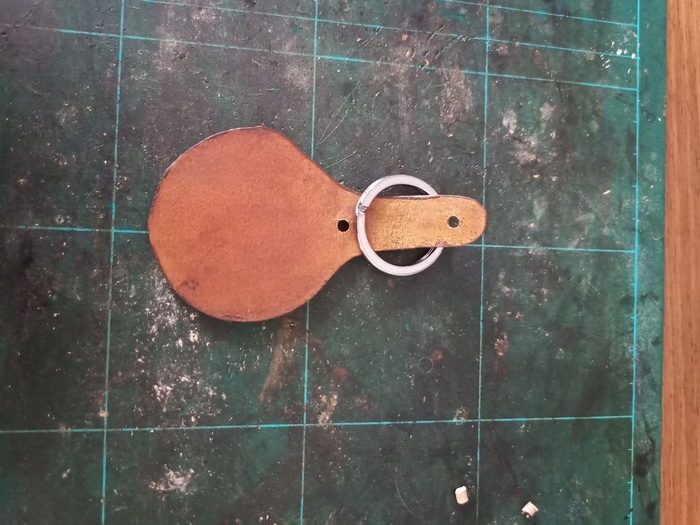
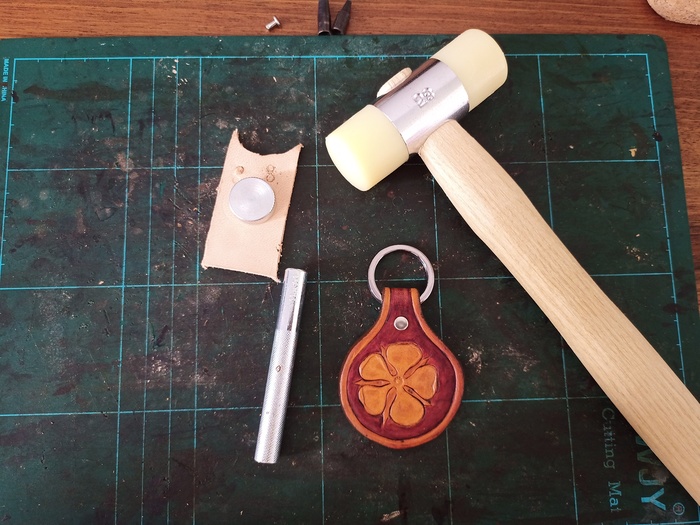
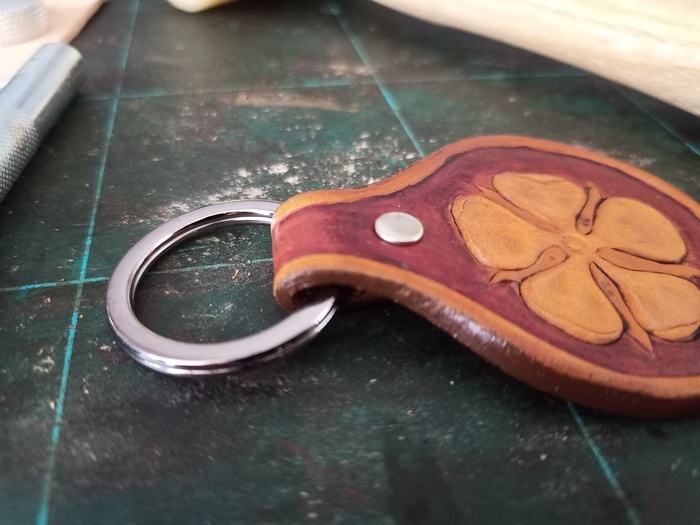
And close the rivet.
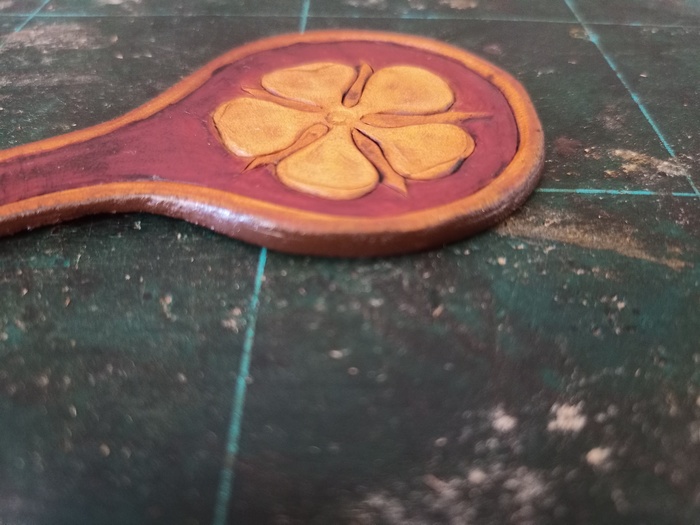
Side views:
And a final touch of gold acrylic color for the stamens.
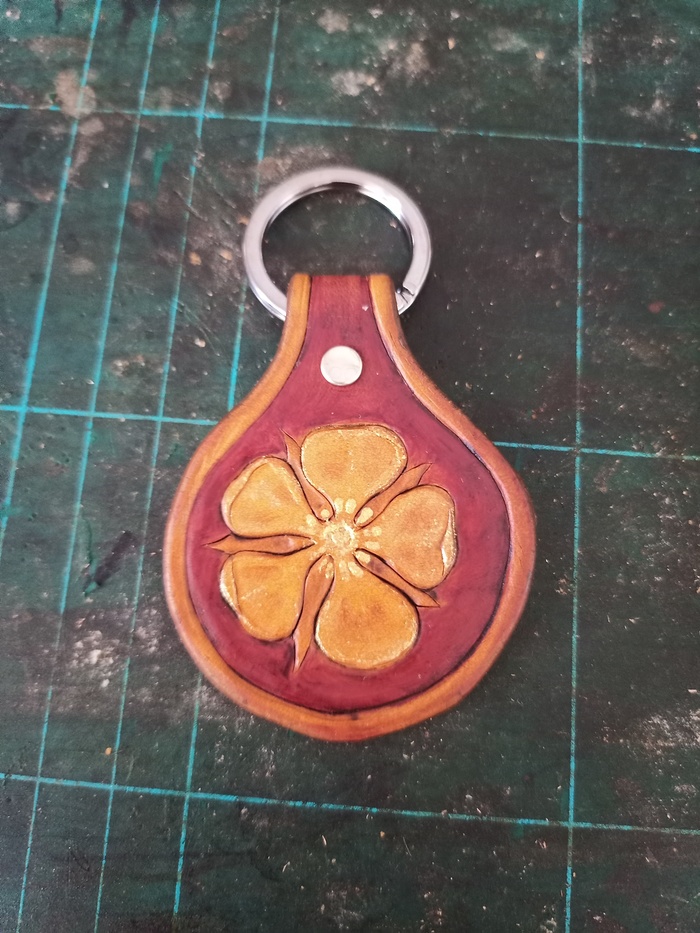
and you are done !
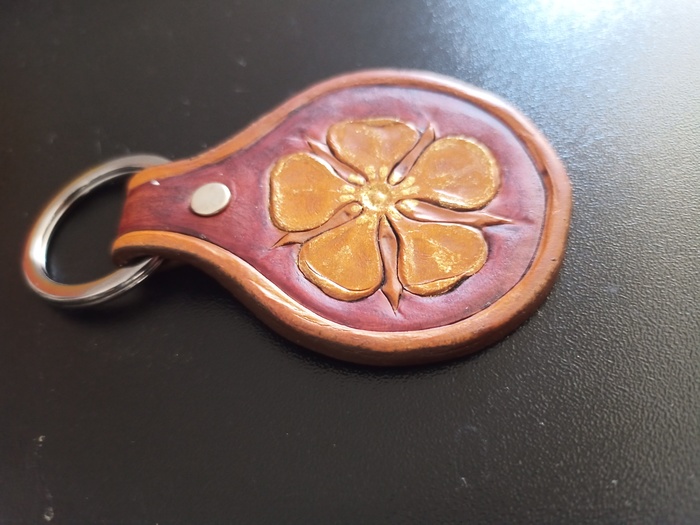
This color is the closest to the reality.
Side view.
>> You can subscribe to my mailing list here for a monthly update. <<