
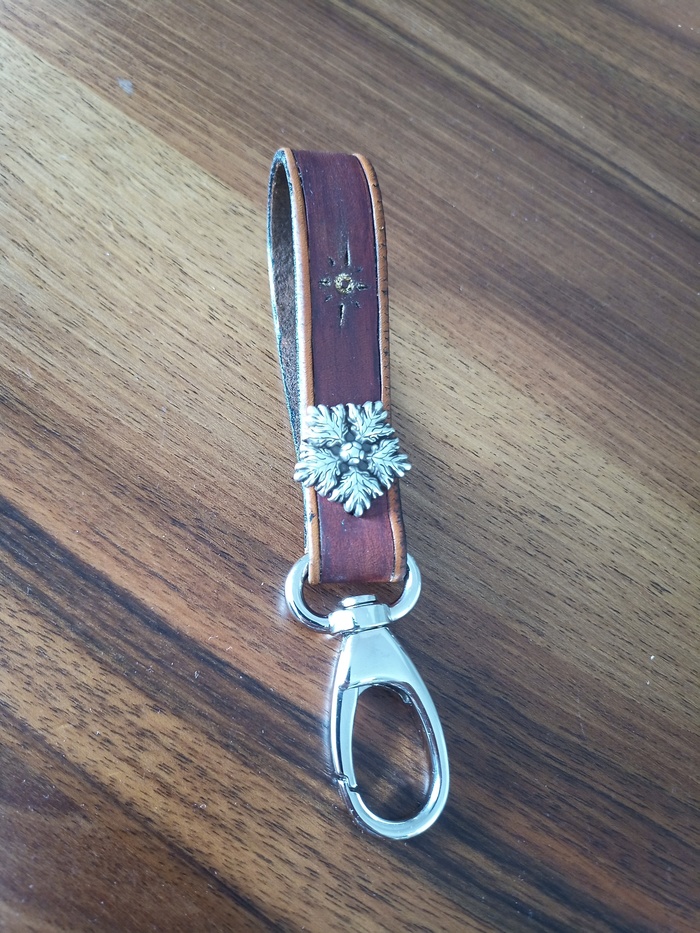
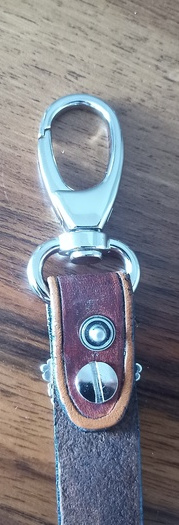
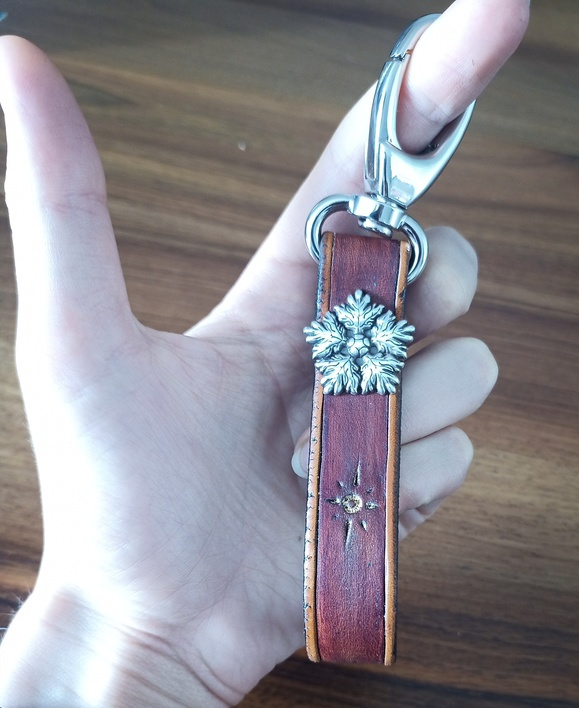
Most of my pants have small pockets. When doing gardening, standing up and down, this is not very confortable when you have your keys in. With some leather leftover, I made a simple keychain handler. You can attach keys to the belt or put it on your wrist.
Tips: Select the same color for all metallic parts
For carved leather:
For coloring:
Necessary:
(without counting the painting, irrelevant for the project)
Total: 10.9€ without labor ! (Think about this before buying on Etsy)
Note: I am not paid for this article, these are just links if you want the full detail.

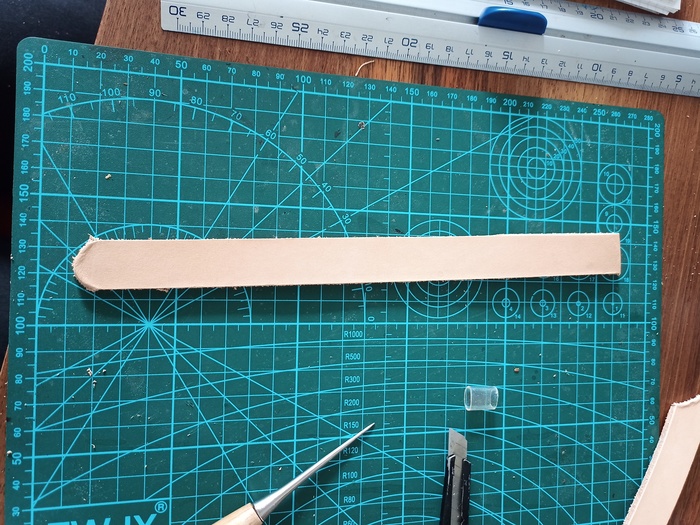
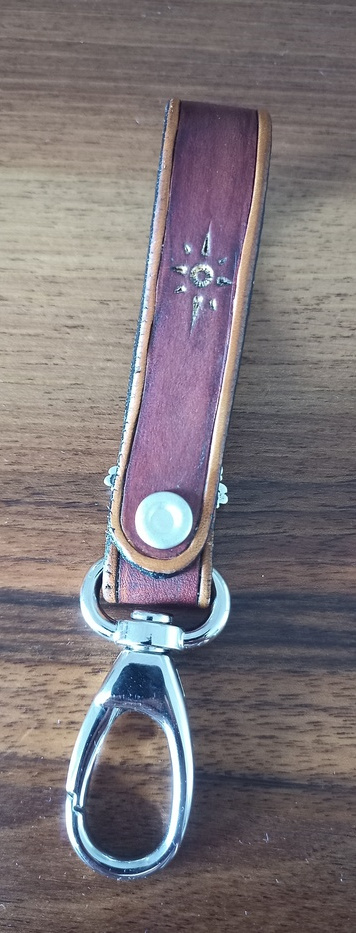
Cut the end of the strip to get rounded edges (or any suitable shape)
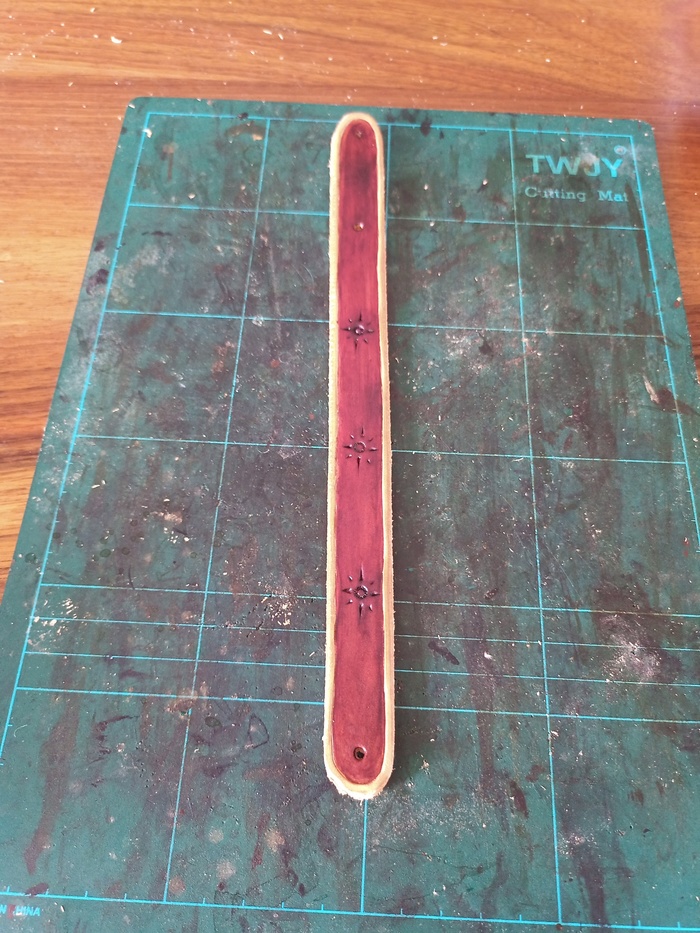
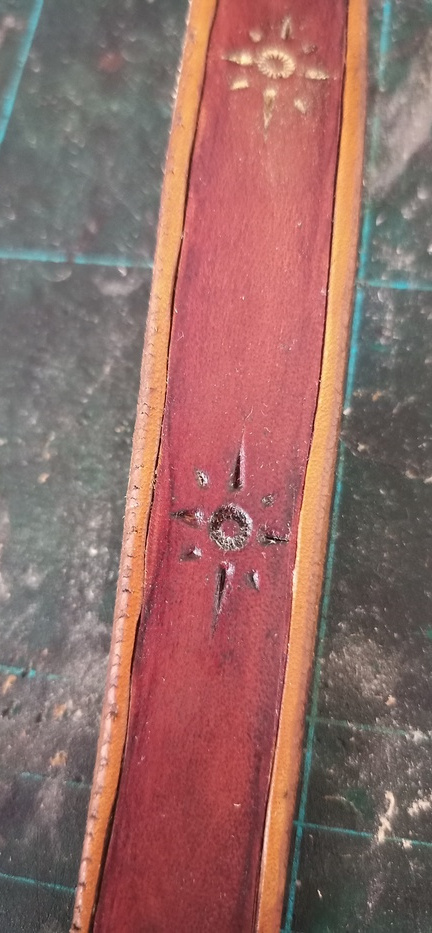
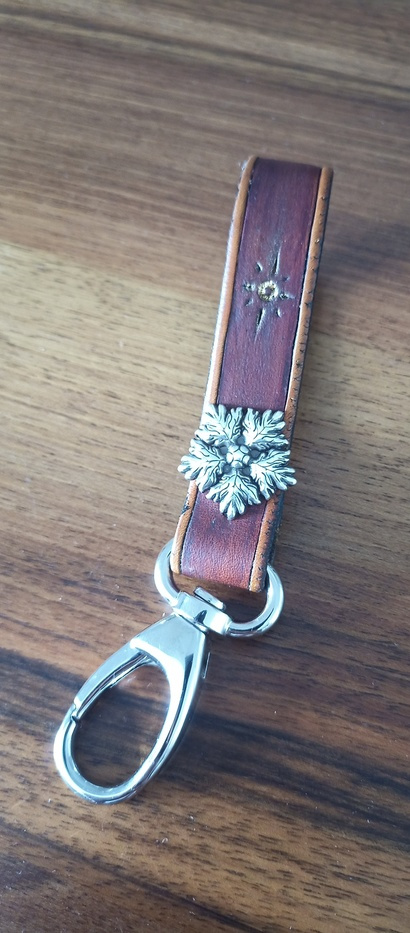
Carve the leather at wish. Here, this is a simple pattern:
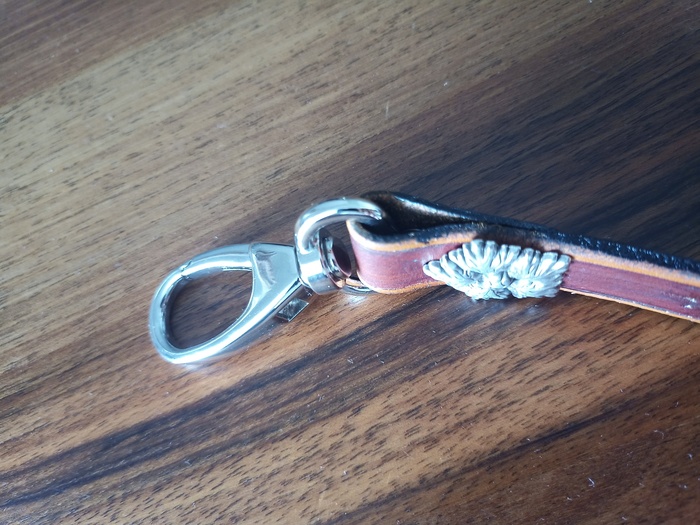
At the start, make the two most distant holes: one for the pressing button, one for the rivet (at 1cm from the ends). This are the simplest ones.
Next, make a hole for the pressing button 1cm near by the rivet hole.
Note: There are some template where the pressing button serve as a rivet. While this is more elegant, this is not recommended. First, it is hard to get a button with a large traversing pin. Next, button are not designed for that.
For the last hole, (the second rivet hole), you may need to adapt the template based on the leather thickness: if your leather is too thick, it will be difficult to get it bent within a small radius. To reduce thickness, use a dedicated razor, near the dashed line, until you get something correct.
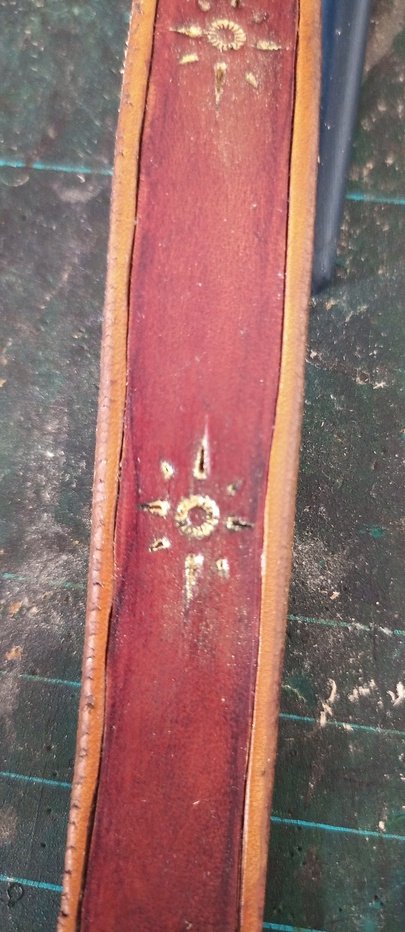
With natural color:
Here, dedicated clamp are more than welcome, especially for the pressing button.
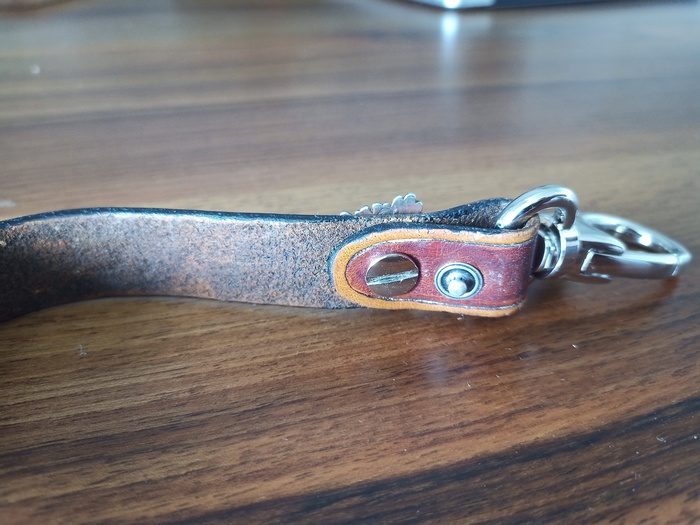
Here, I used a Chicago screw, which is easy to put when you don’t have many tools at home (However, be careful, it can unscrew itself).
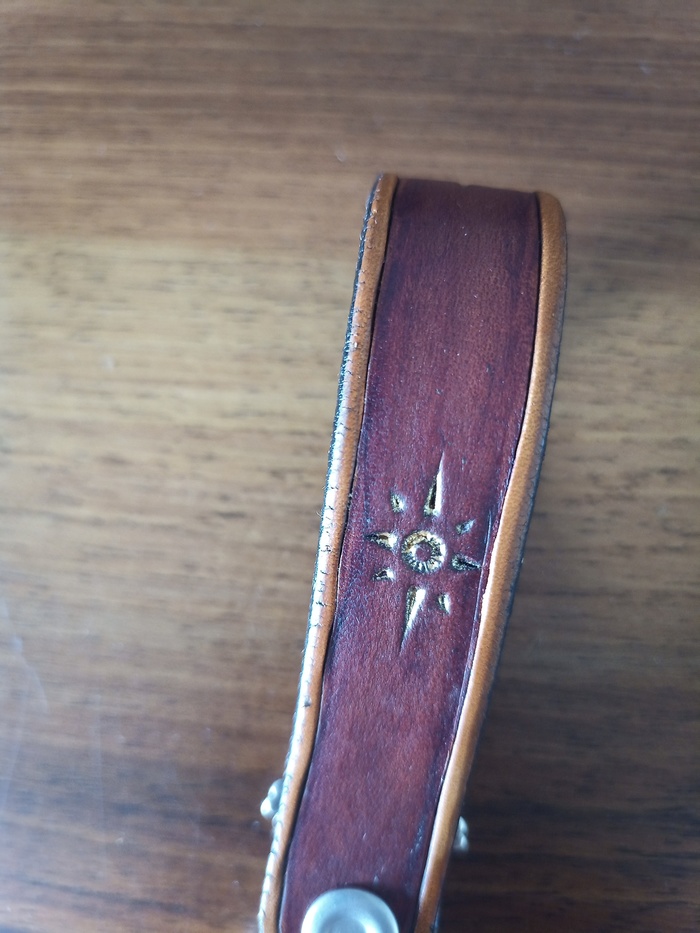
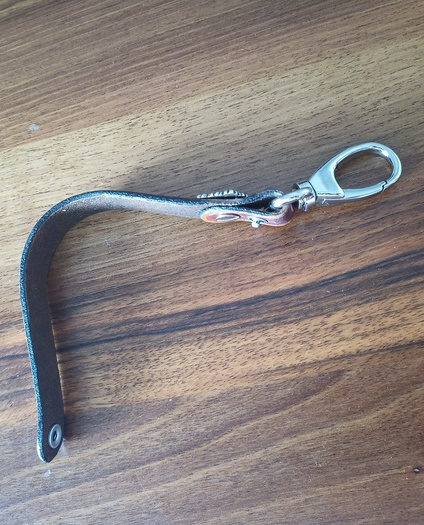
Full strip:


Bent:
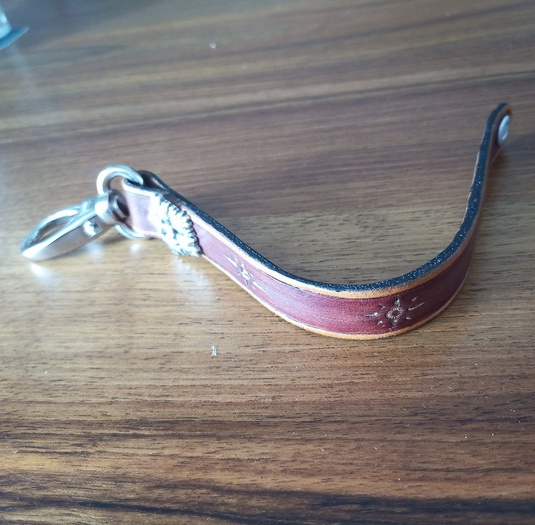
Final result:
>> You can subscribe to my mailing list here for a monthly update. <<