
Today, it is difficult to wear real fur coat:
The additional problem is the weight of these coat, and the extreme need for care:
Transforming a coat into a plaid gives a second life to the fur, where compared to a coat, you may use it more frequently.
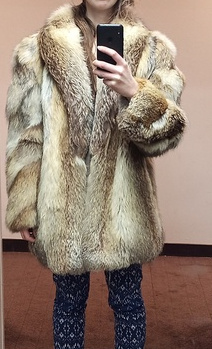
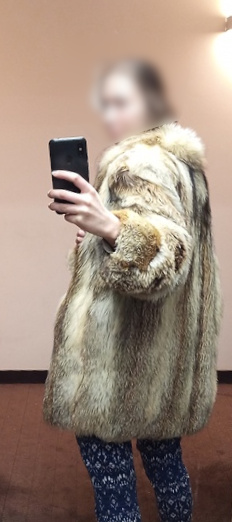
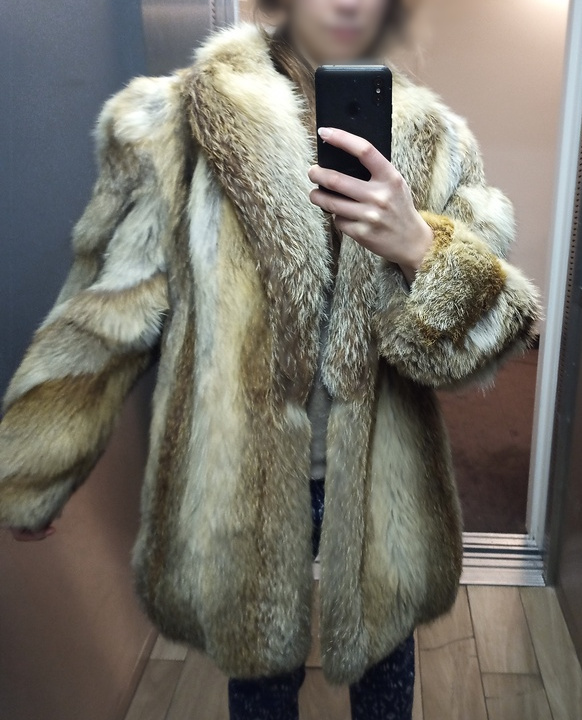
I found this fox fur coat for 30€ in a second-hand clothes store.
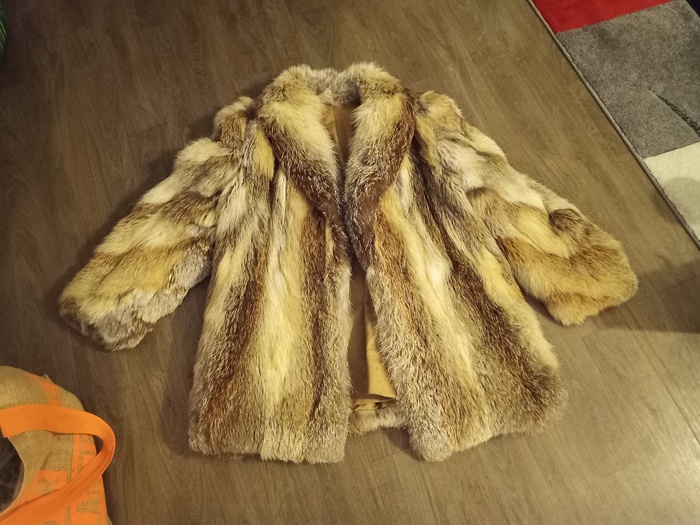

As it is a second-hand shop, there is no “certificate” or guarantees about its origin. Nevertheless, based on the fur colors, we can easily say this is a fox fur.
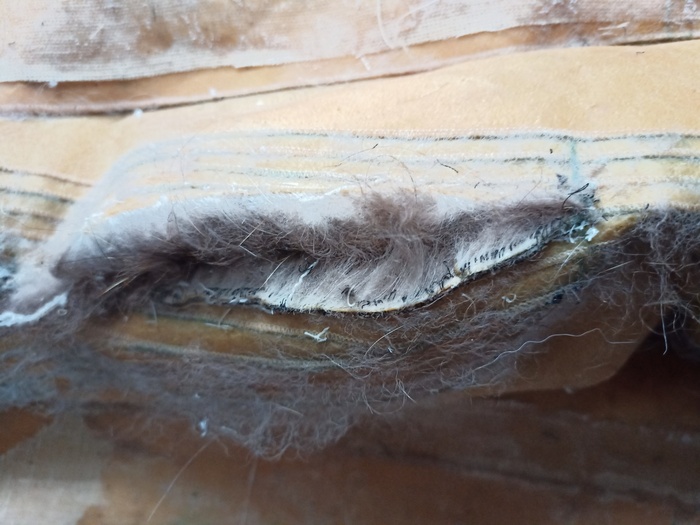
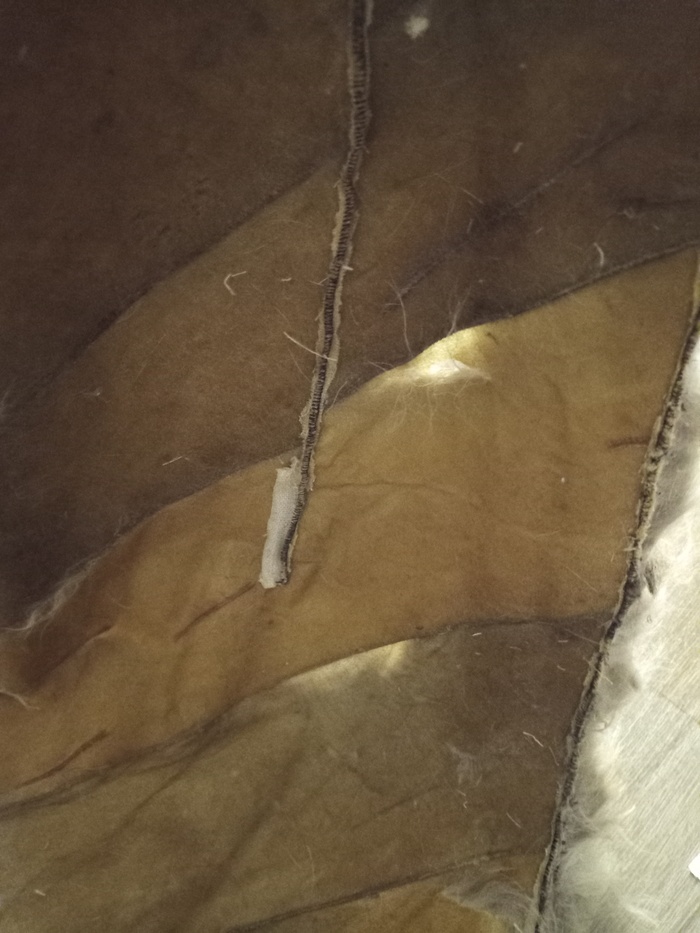
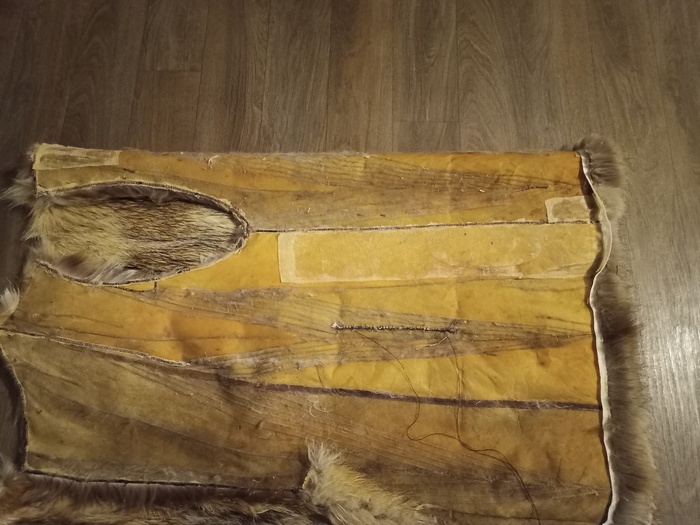
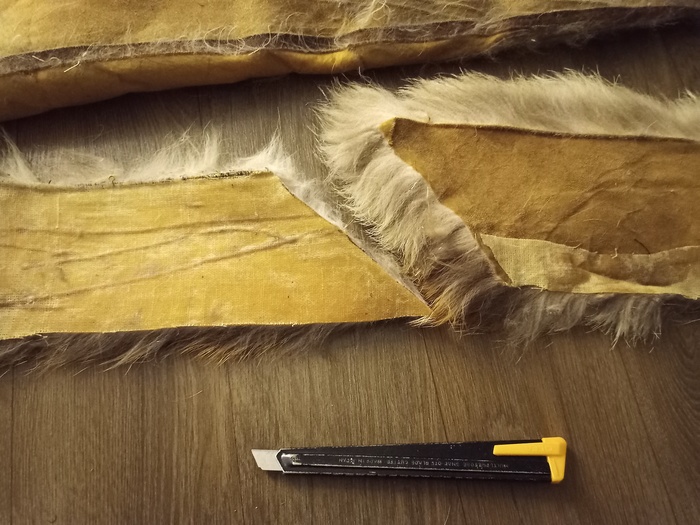
Hair details, where we can see the hole in the sleeve
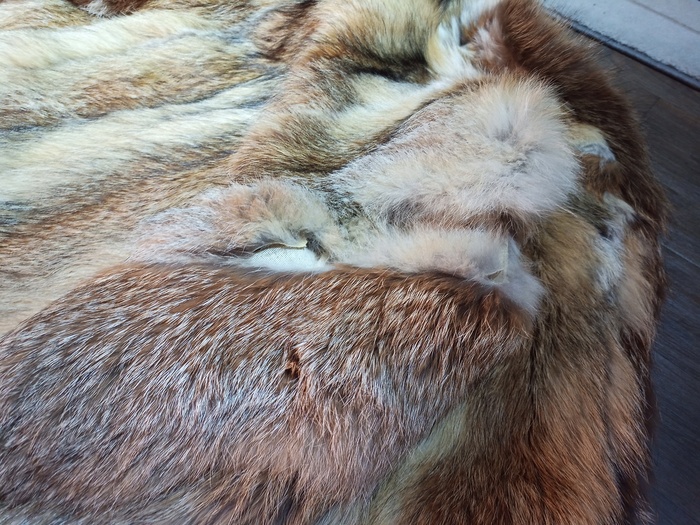
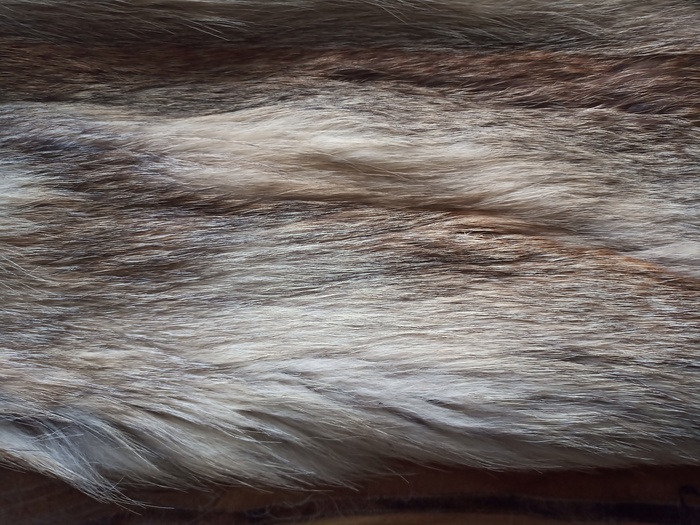
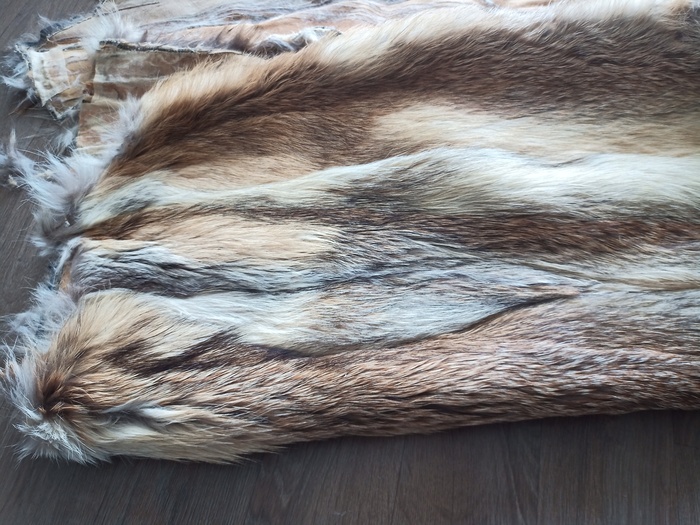
Based on Saga Fur description, it has the smokey color. We can easily identify each skin, with a dark line in the middle of the back, and light colors on the sides.

Image From Saga fur
Before dismantling the coat, we can zoom on its elements.
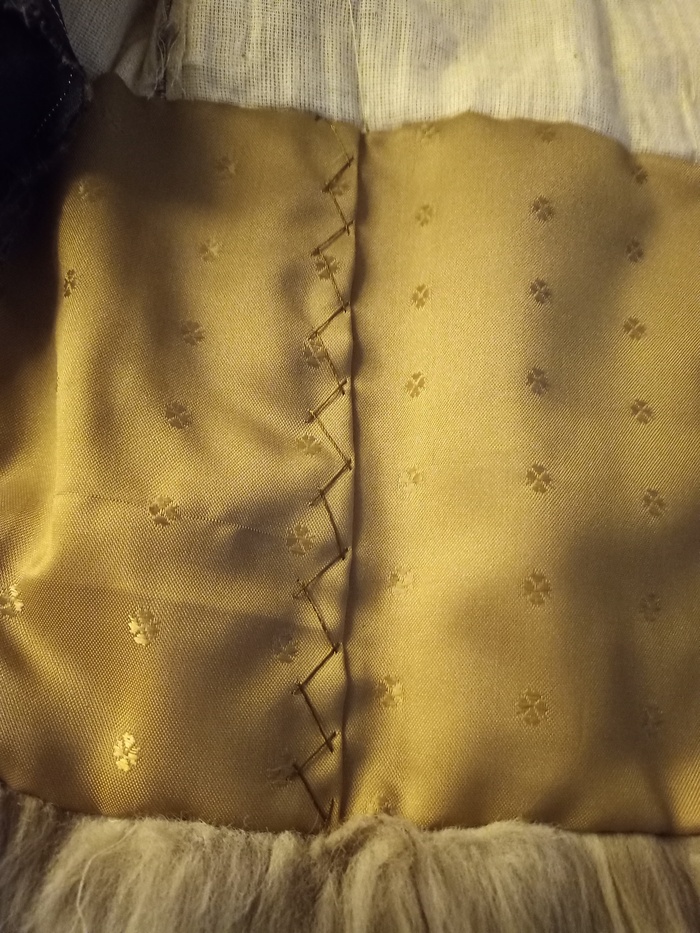
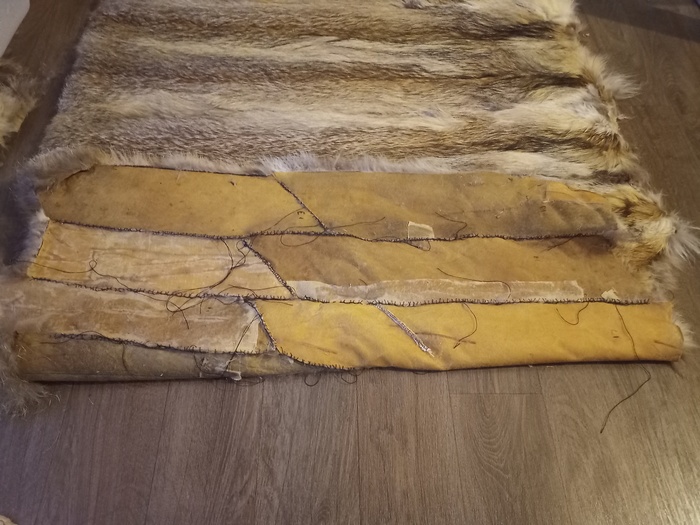
We have an orange/brown inner liner.
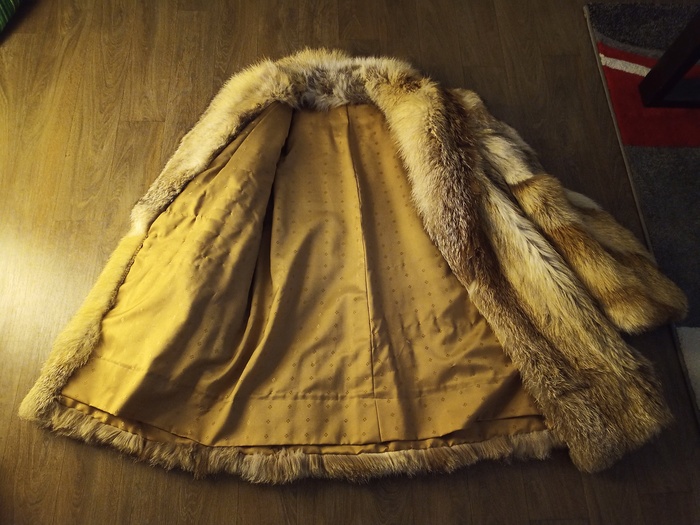
We have access to the coat inside just by moving up the liner.
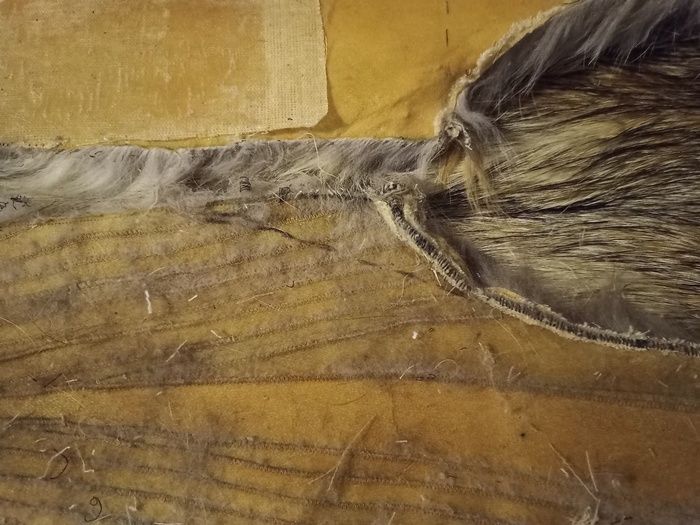
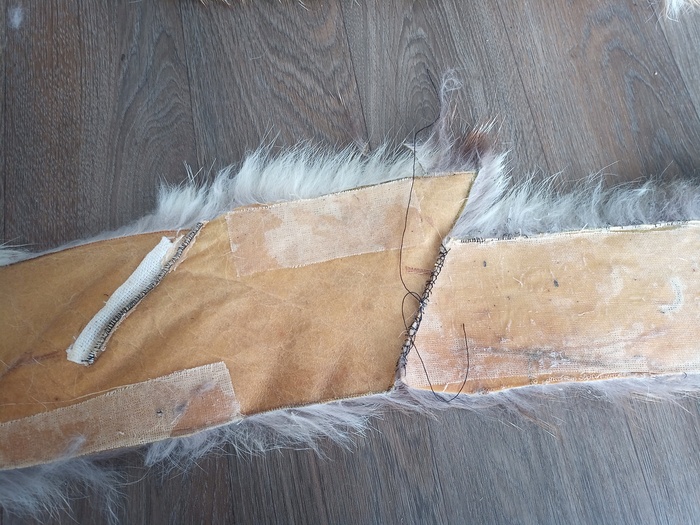
Zoom on the stitching between the liner parts.
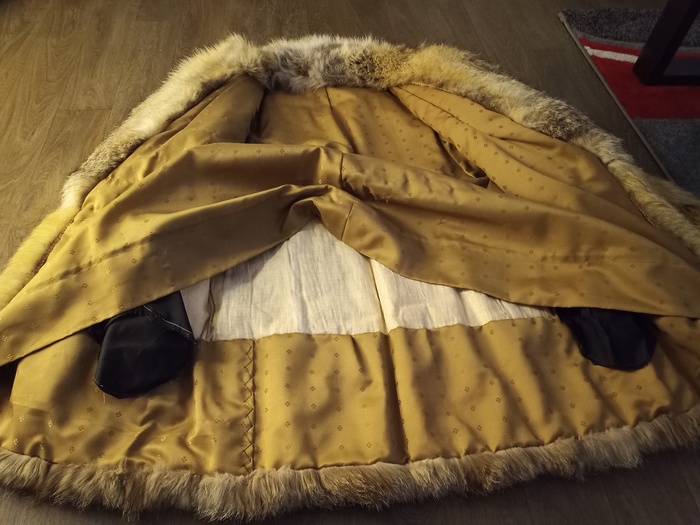
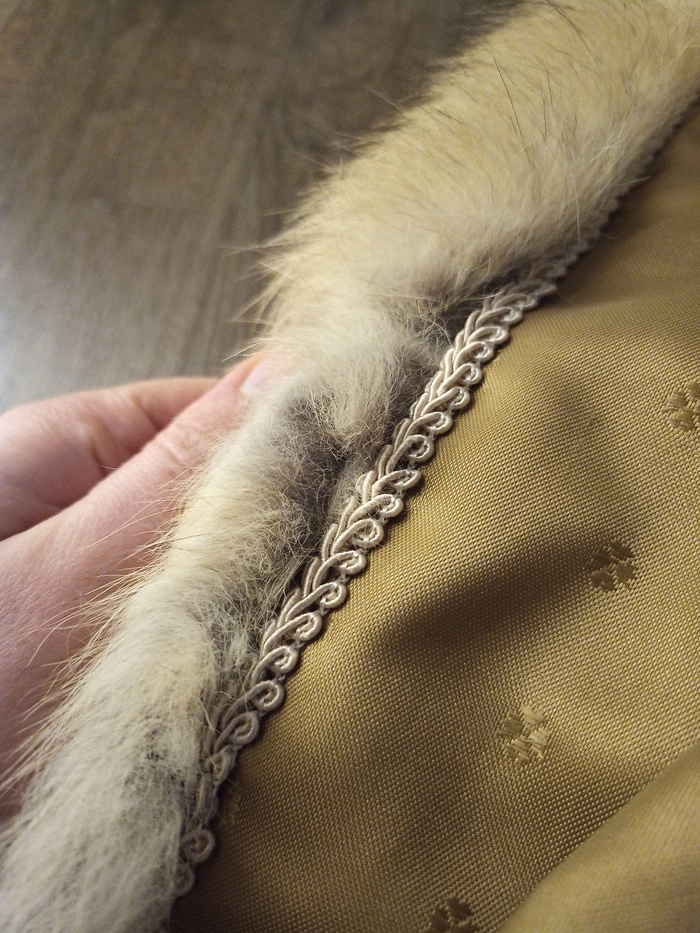
The border was very nice.
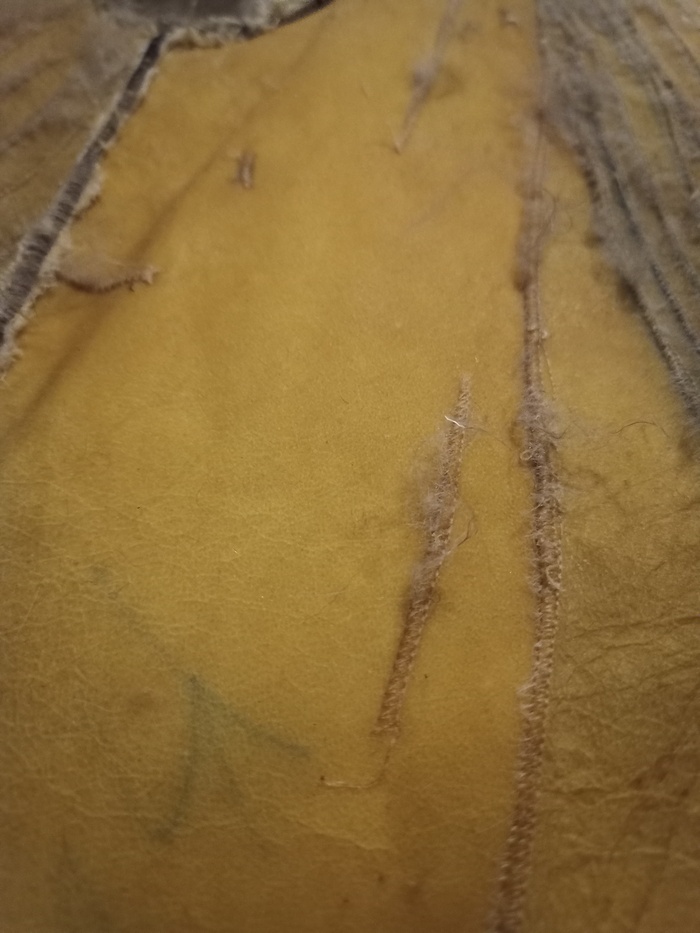
There was some marks on the cotton part “Kastorya Kalibi”. By googling, I found nothing related this name.
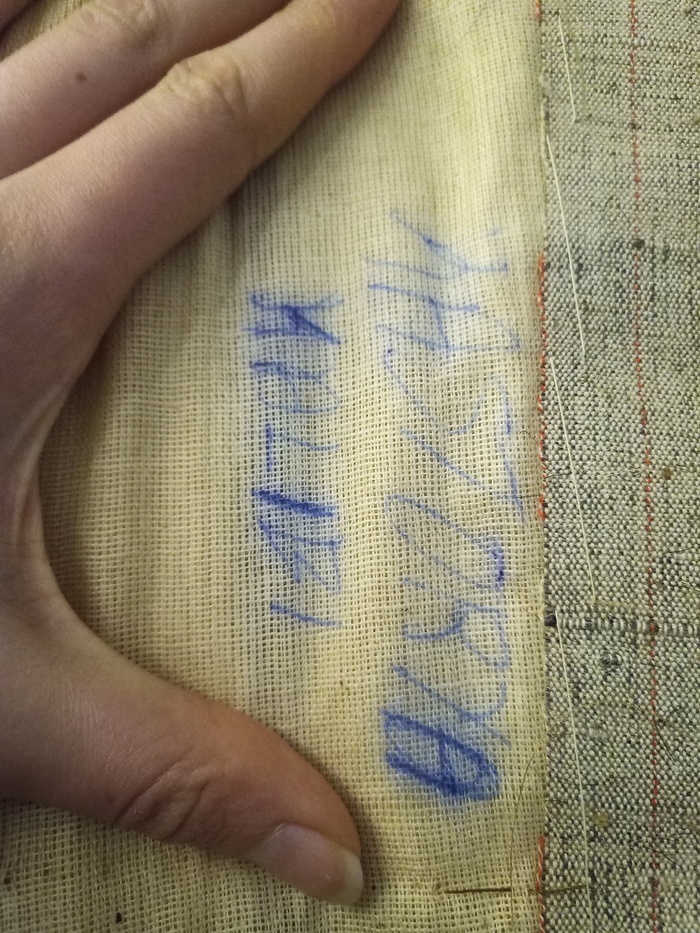
Kastoria is a fur brand, but there is nothing about “kalibi”.
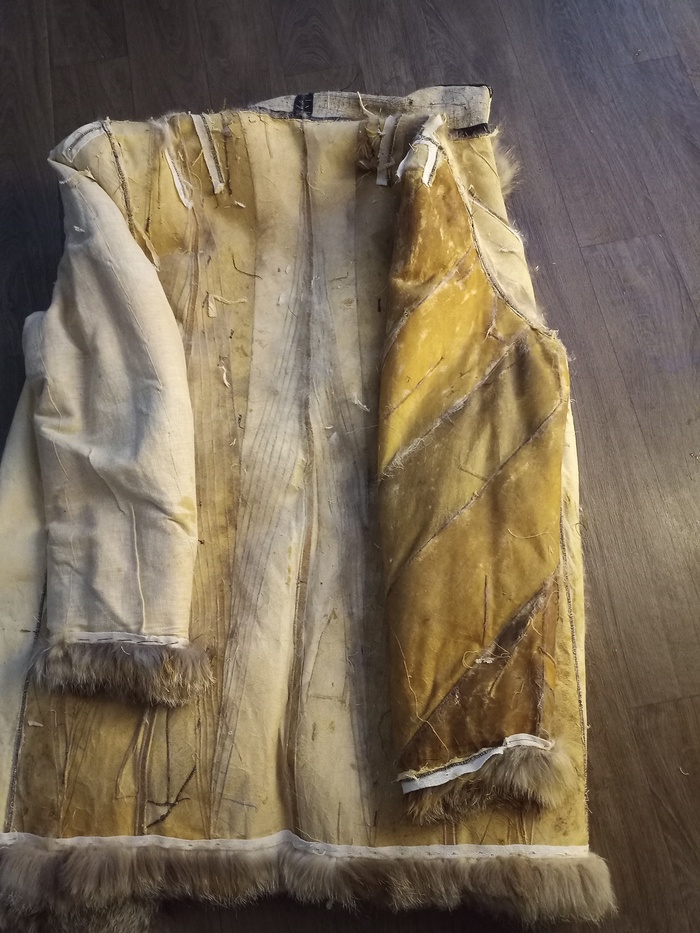
I first removed the liner. We can see the orange pads under the shoulders to protect the skins.


In the image above, there is a cotton liner attached to the skin. I needed to remove it to get access to the skins.
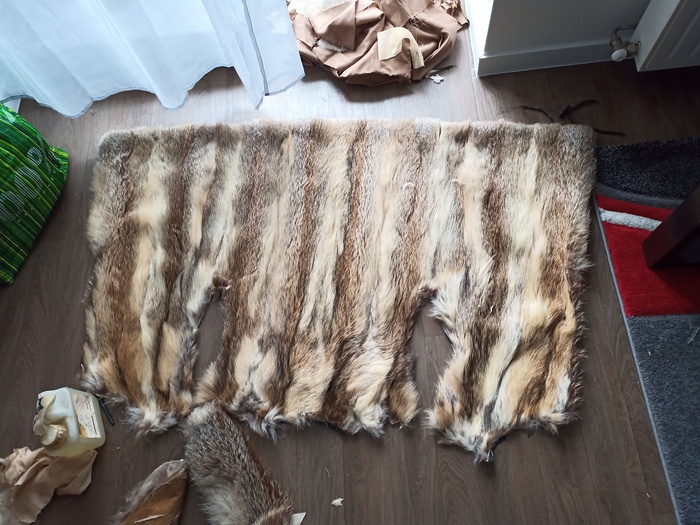
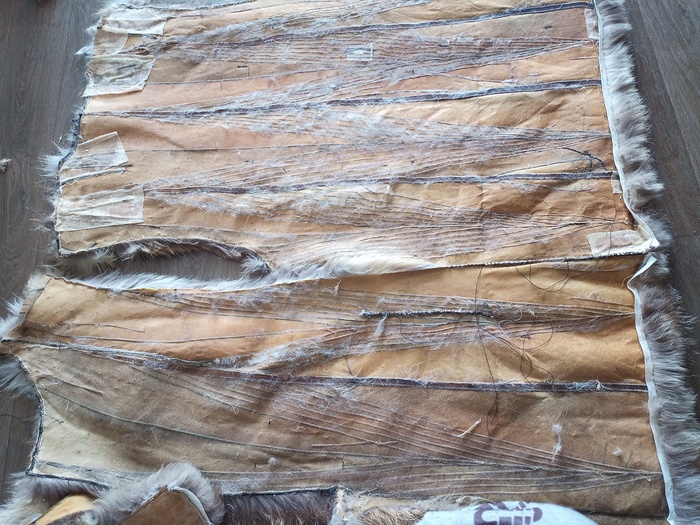
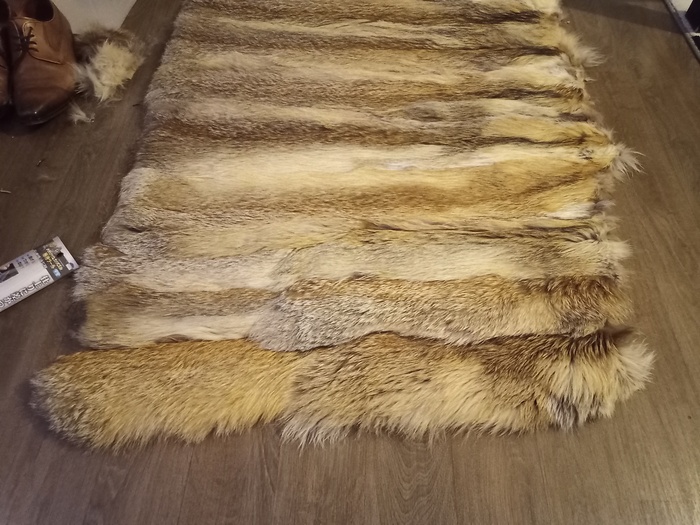
After removing it, we can see that the skins are in a bad shape:
Small holes;

To soften the skin, I put neat-foot oil on it. A lot of oil was needed (I have a 1L bottle, 250ml might be left in this coat). This oil smells a little bit, but the odor disappear with time.
Before / After oiling: Oil on the sleeve, no oil on the body. You can see that the skin change of color (different colors in the sleeve correspond to different fox !)
Zoom on the oily part.
After one night, the oil would be completely absorbed by the skin.
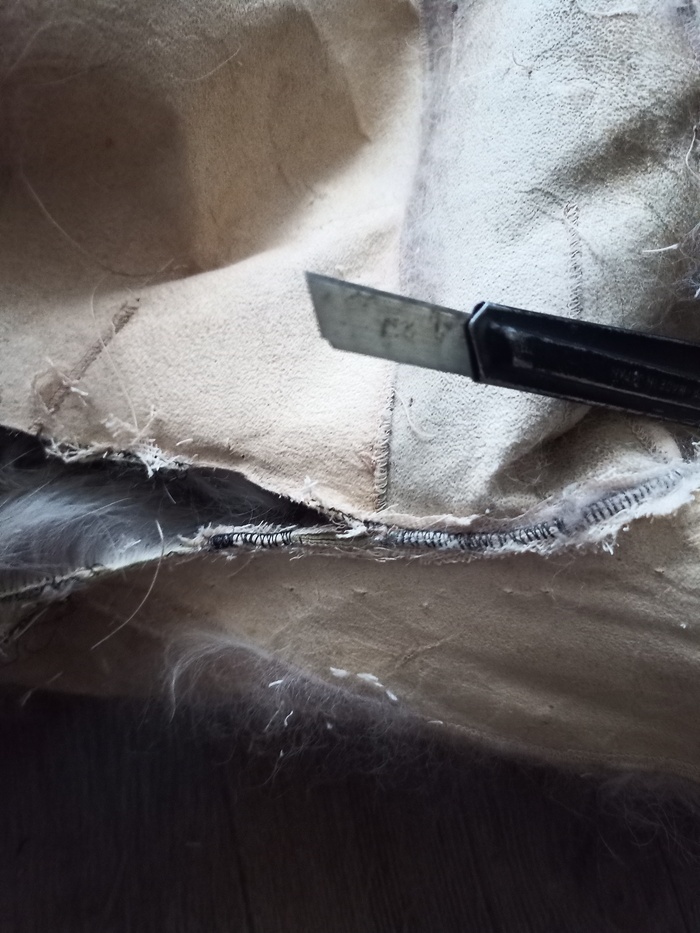
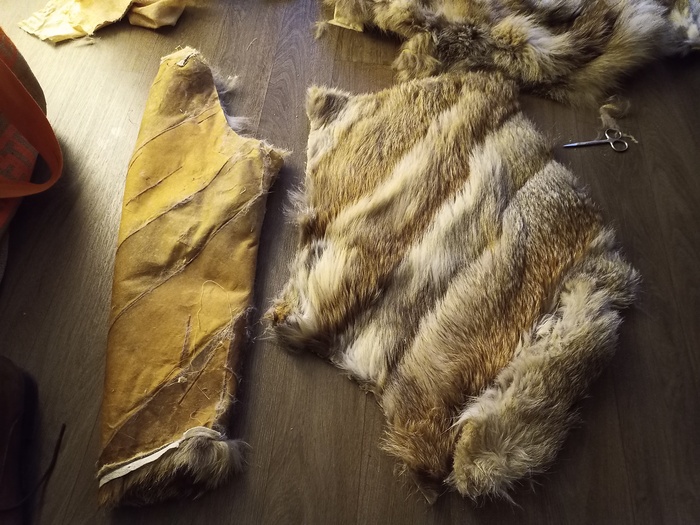
We need to remove the sleeve from the body. For that, we can use a pair of scissors or a cutter. A cutter is recommended, as is prevents from cutting hairs on the other side.
We need to cut along the stitching lines.
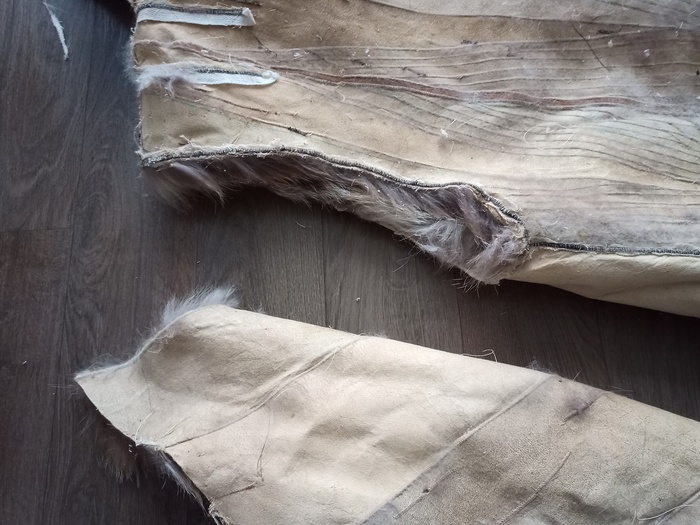
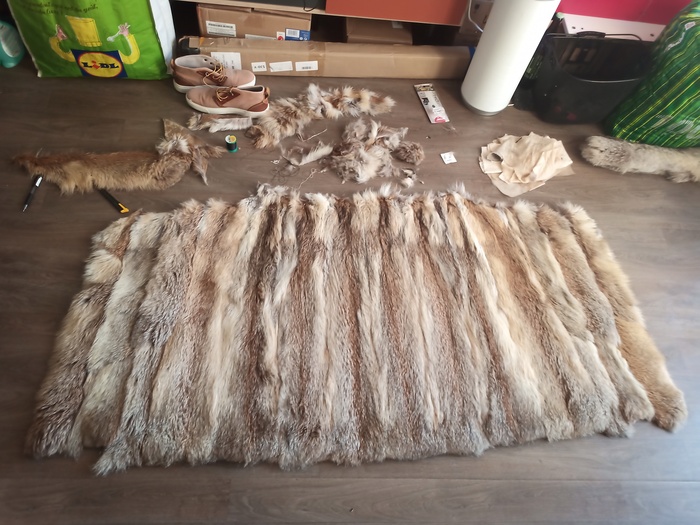
Now we have both part separated.
Next, we need to cut from the top of the sleeve to the top of the coat, detatch the collar, to unroll and flatten the coat.
(This is the true color of the skin. Most of the work has been done on the evening when light was artificially yellow. Here, this is natural sun)
Following the longest stitching line, I opened up the sleeves.
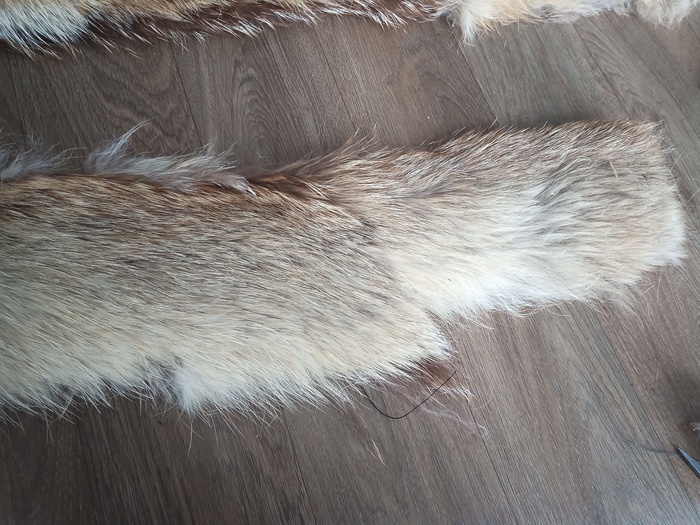
Left: not open yet, right: flat sleeve.
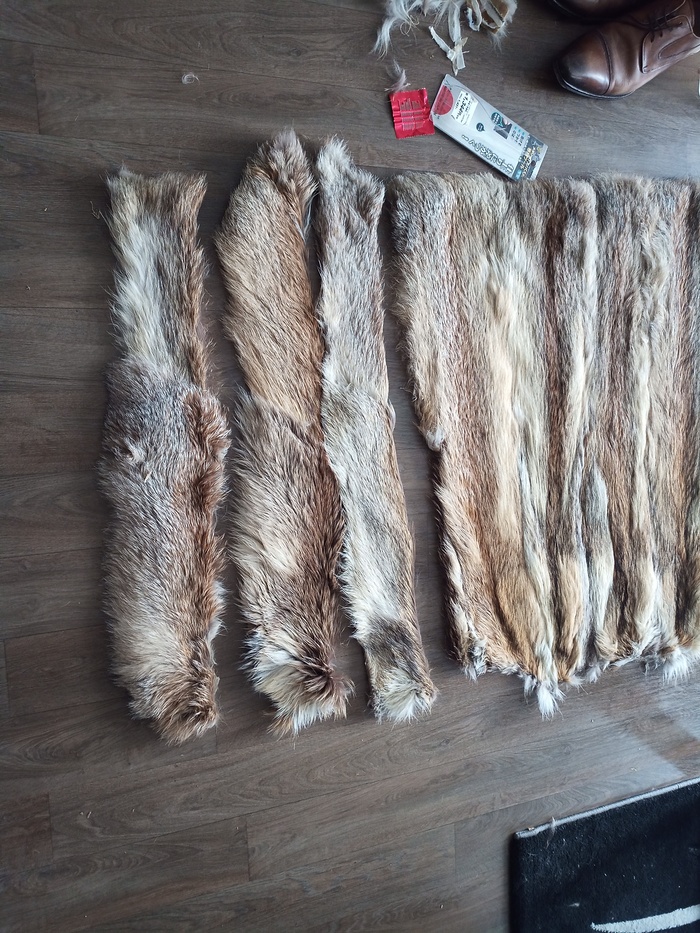
By putting sleeves side by side, we can understand how they were made:
A, right part goes with sleeve B, such as the hairs go into the same direction.
We do not want magic pockets in the plaid. So I closed them.
I started cutting along the leather / fur jonction.
Now, we can see the fur’s hairs.
I used a clamp to maintain both side together and start stitching.
From the fur side, we can barely see the old pocket.
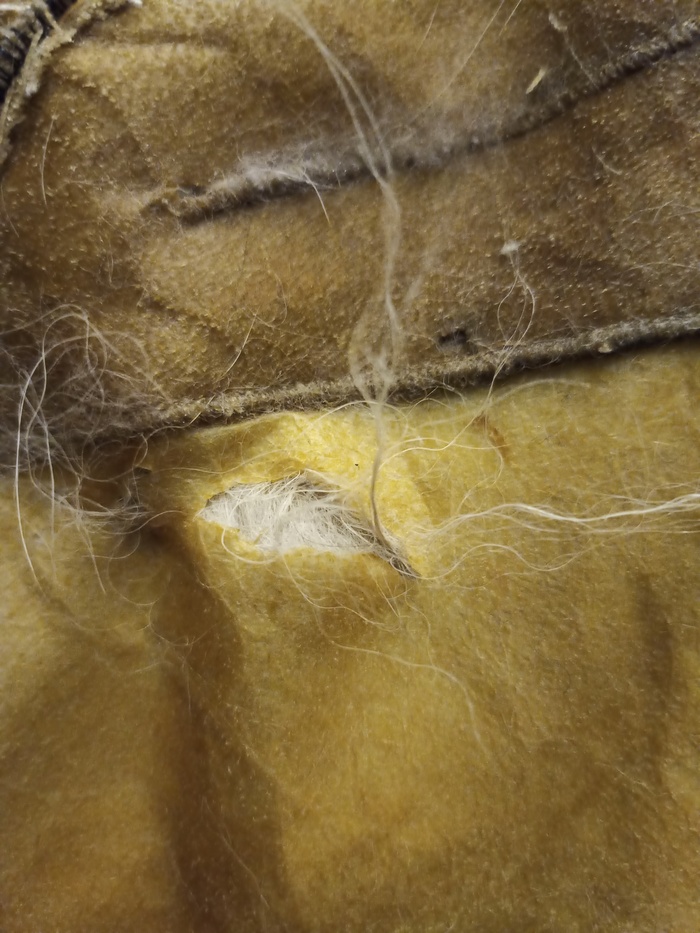
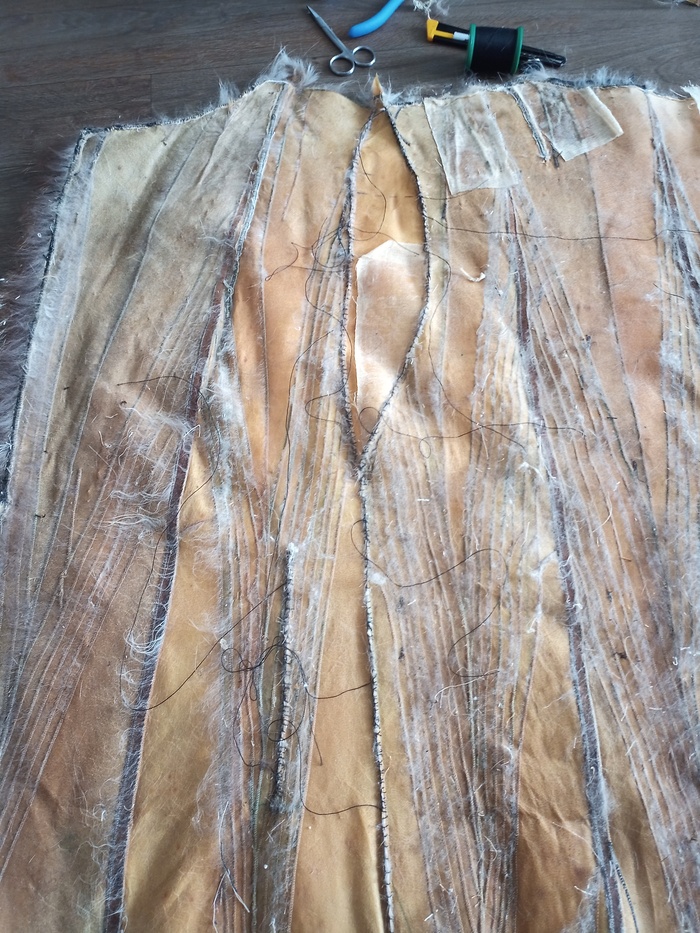
After opening the coat, I found many holes or cracks.
Also, when you put the fur near a light source, you can see how thin are some parts of the coat. When touching it, you can imagine how easy it is to break them.
In the fur industry, there are different fur grades, based on the animal quality of life and overall skin quality. Before starting this project, I though it was like for dog breed, where you need to have this specific color or this particular fur softness. When looking at this coat, quality is not about color.
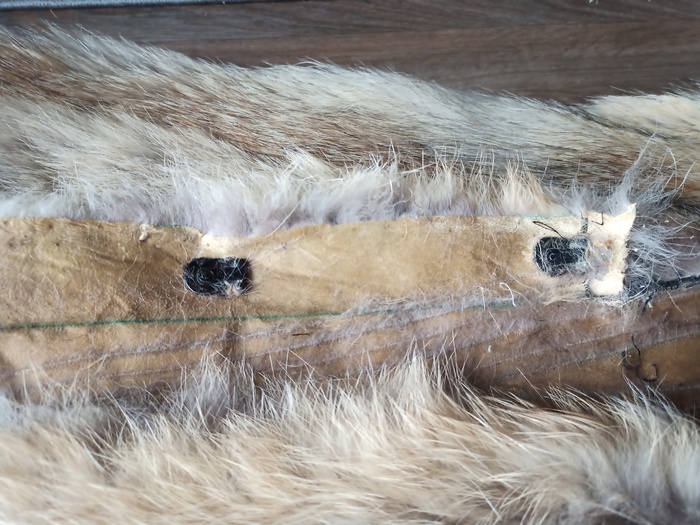
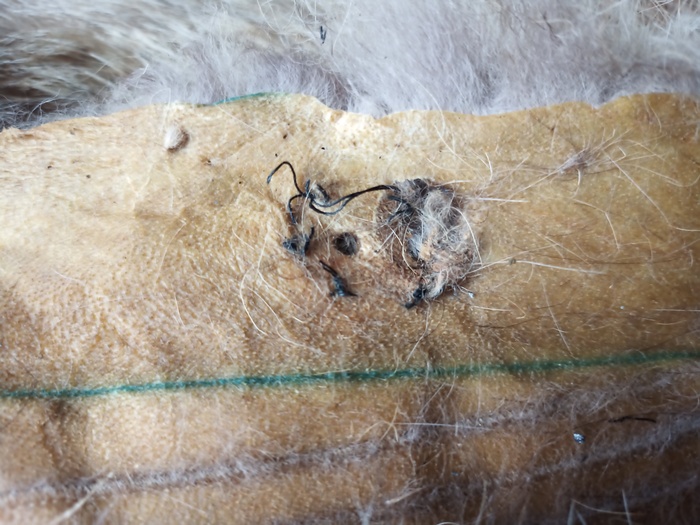
In black, we can see in the following photograph that there are holes that was repaired BEFORE the coat was made (after skin assembly).

Here, we can also see stitching lines in the middle of nowhere.
It was not possible to stitch around the hole to repair the coat (as the skin is not strong enough).
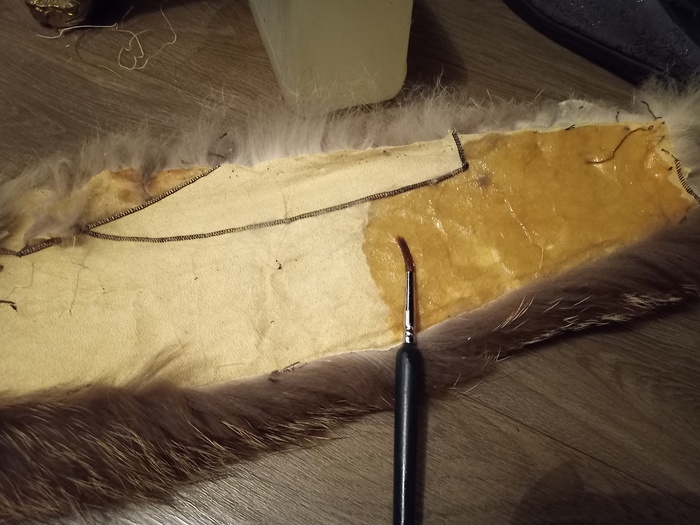
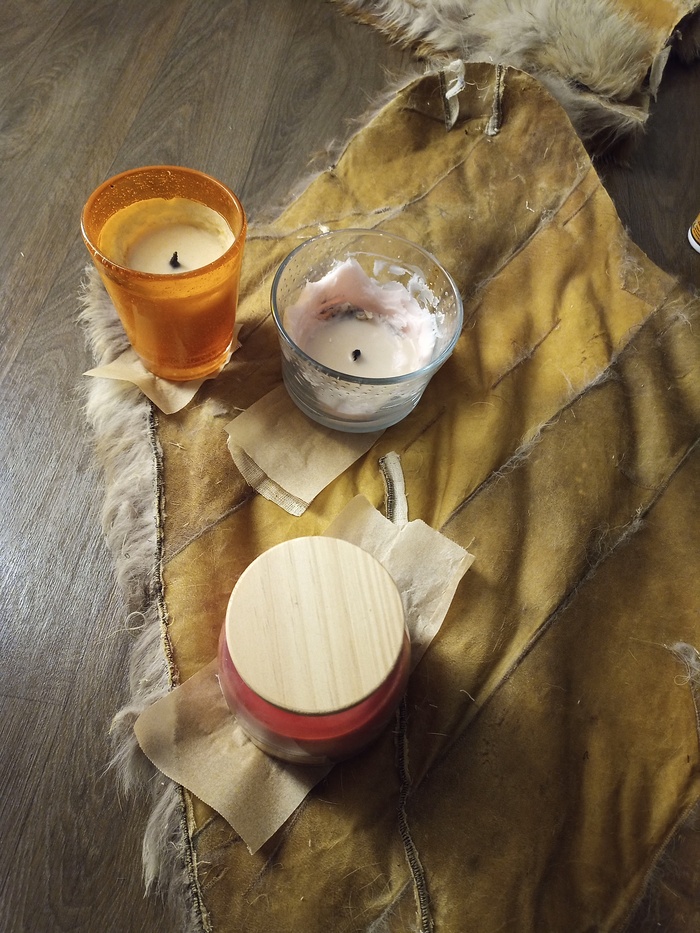
Instead, I decided to glue cotton fabric pieces to the skin, using some water-based glue adapted to leather.
To press the fabric against the skin, I used candles and put some cooking paper in between to avoid gluing the candle to the patch. Their weight is more localised compared to books.
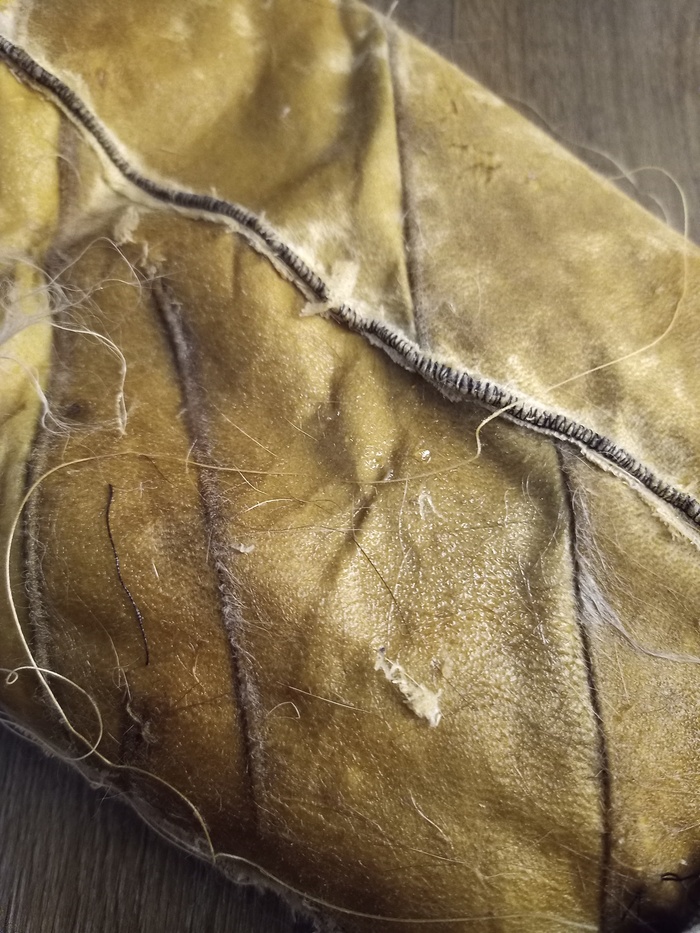
After drying, we get that. From the fur side, this is not visible. As we will put a duffled liner, we would not be able to feel these patches on the skin.
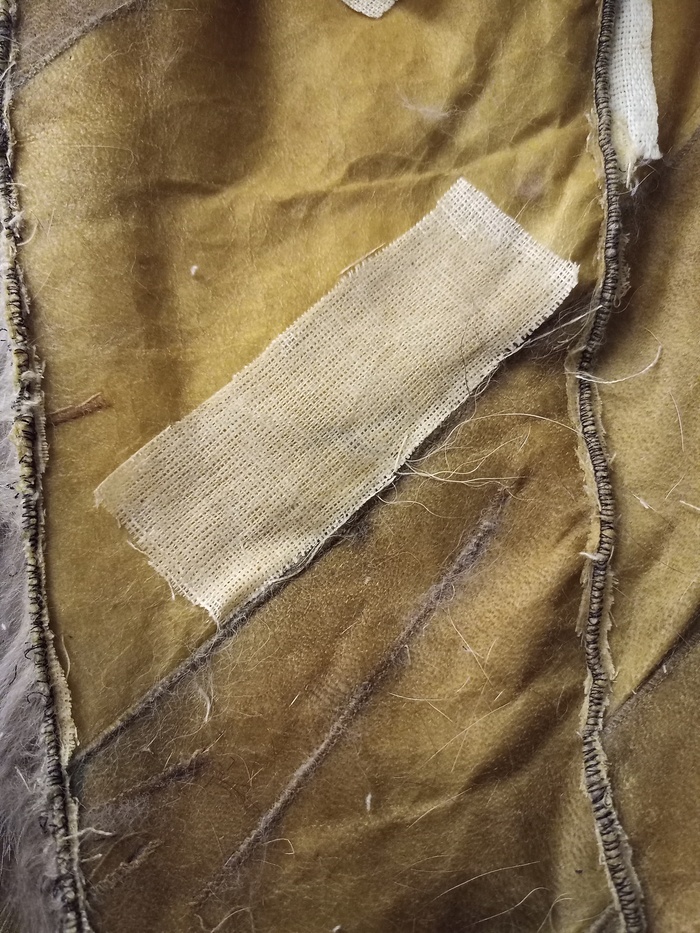
When necessary, I glued very large bands of fabric. After drying, the bands become transparent.
We need to do something to these holes.
We have three options:
What I decided is to switch skins location to make the filling more natural.
I started unstitching the pieces.
Detached parts:

I exchanged skin location, so instead of filling a circle (which is difficult in terms of sewing), I stitched a triangle, which is much easier.
Basically, the pattern could be described as A_1 | B_1 B_2 | A_2, where:
B_1 B_2 is the middleA and B is the sleeve insertion.| is a cut line,After moving the parts, I assembled it into A_2 B_1 B_2 A_2.
Just exanging A_1 with A_2 changes the shape of the holes.
New skin location:
During Triangle Stitching

After
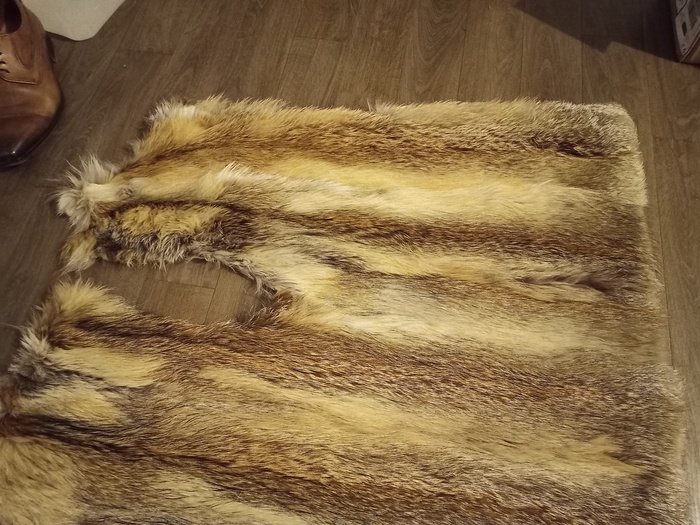
Result from the fur side
Compared to my previous plaid, the filling is much less visible. Also, the long fox hairs helps a lot, as the pattern is not as regular as for mink.
To increase the plaid size, I decided to add the sleeves on the left and right sides. Because of the sleeves’ shape, they cannot be used like that. I detached all the skin bands from each other before stitching them to the body.
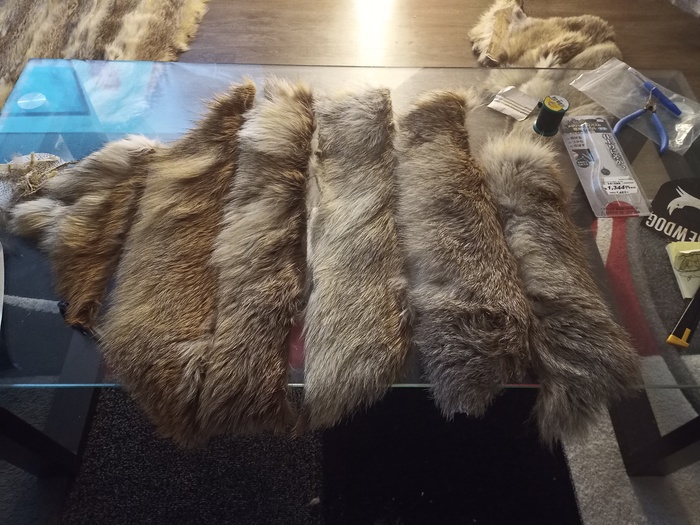
I putted them near the main part to see how they should be placed.
Then, I stitched them back to get longer lines.
Because they do not have the same width, I needed to cut them a little bit.
Then, I stitched the lines to the body.
We can see the junction between the skin bands, which are more visible than for the main body. However, this is not shocking.
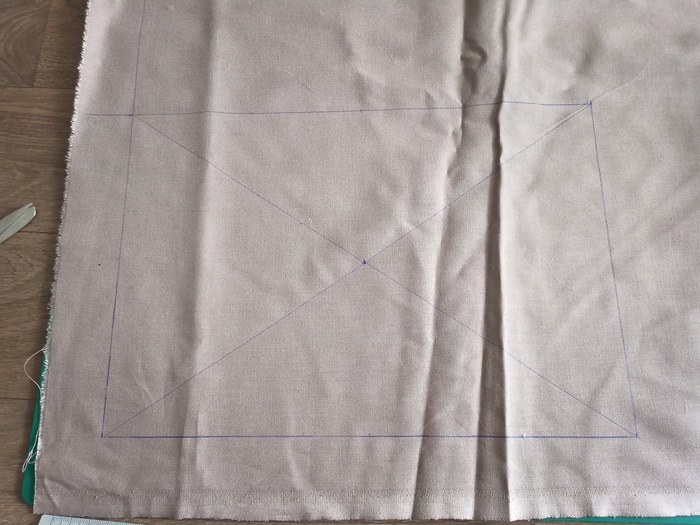
I just wanted to test my pattern first on a small sample without fur skin.
I draw the lines on a flat cotton fabric (using an iron to flatten the fabric would have been better).
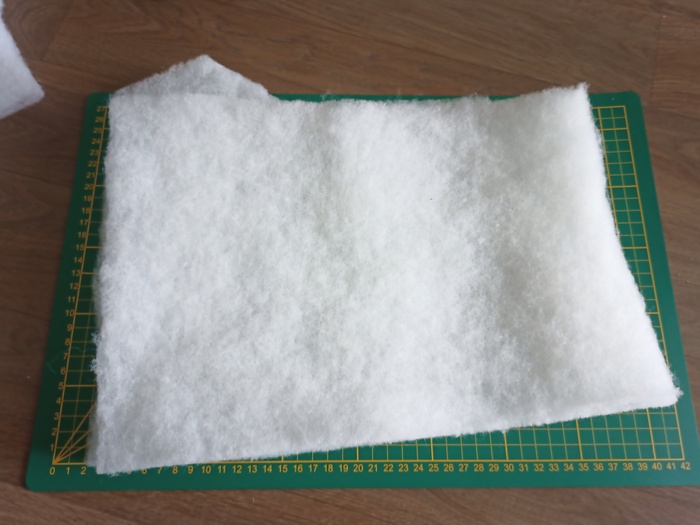
Duffle part (I used two layers):
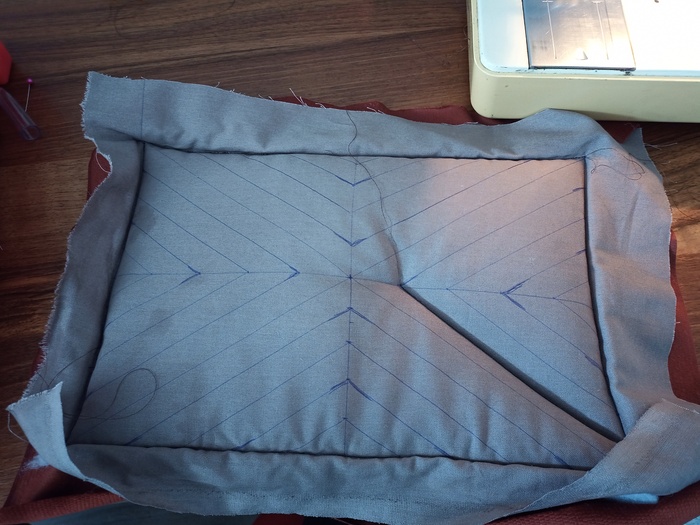


This prototype was okay.
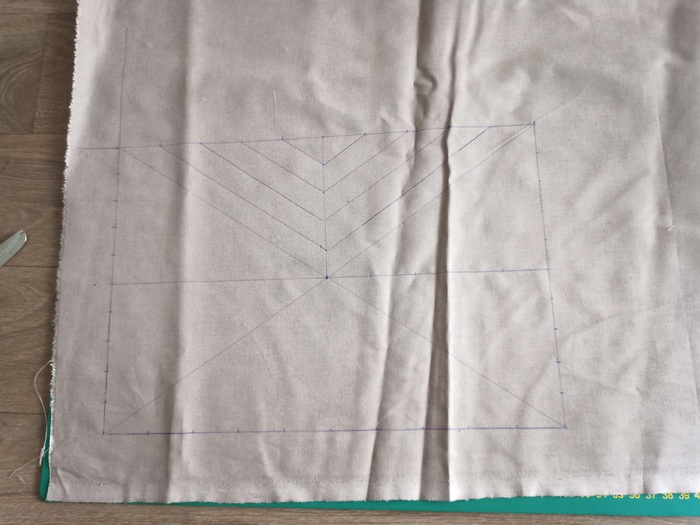
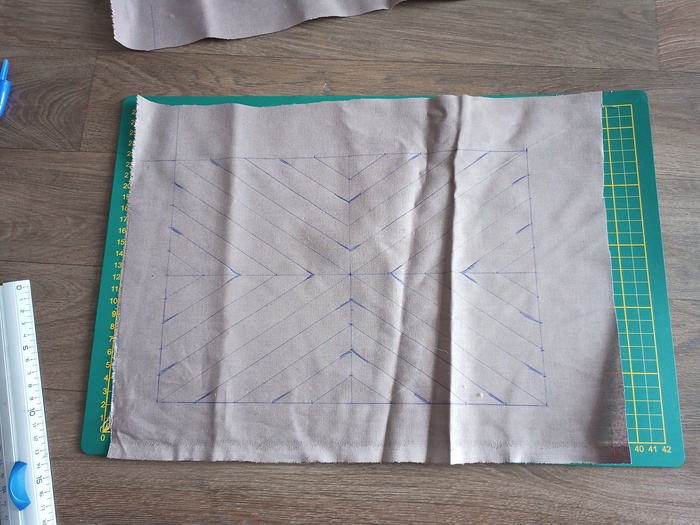
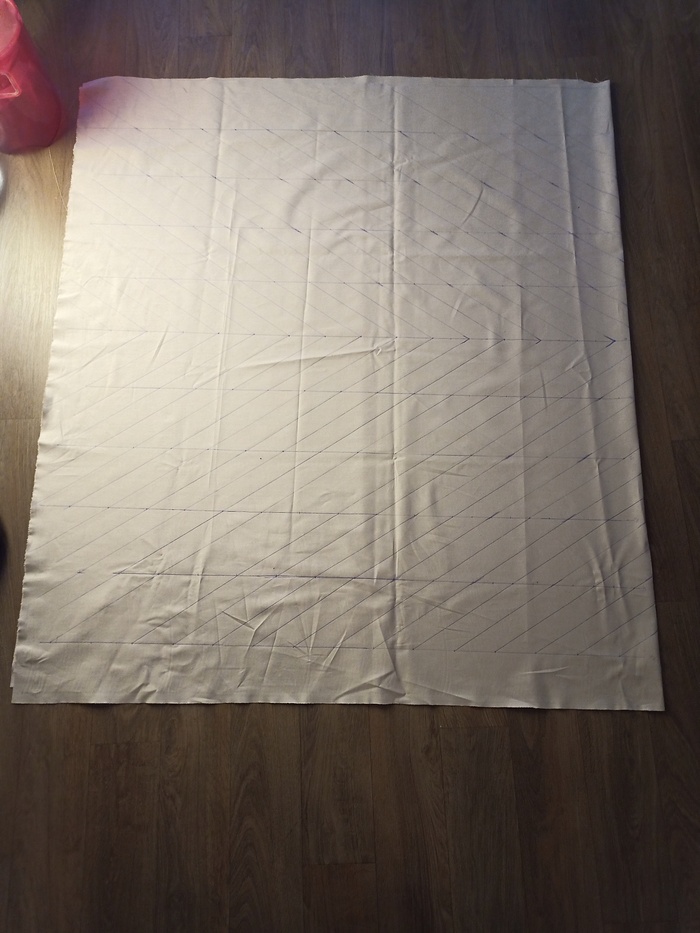
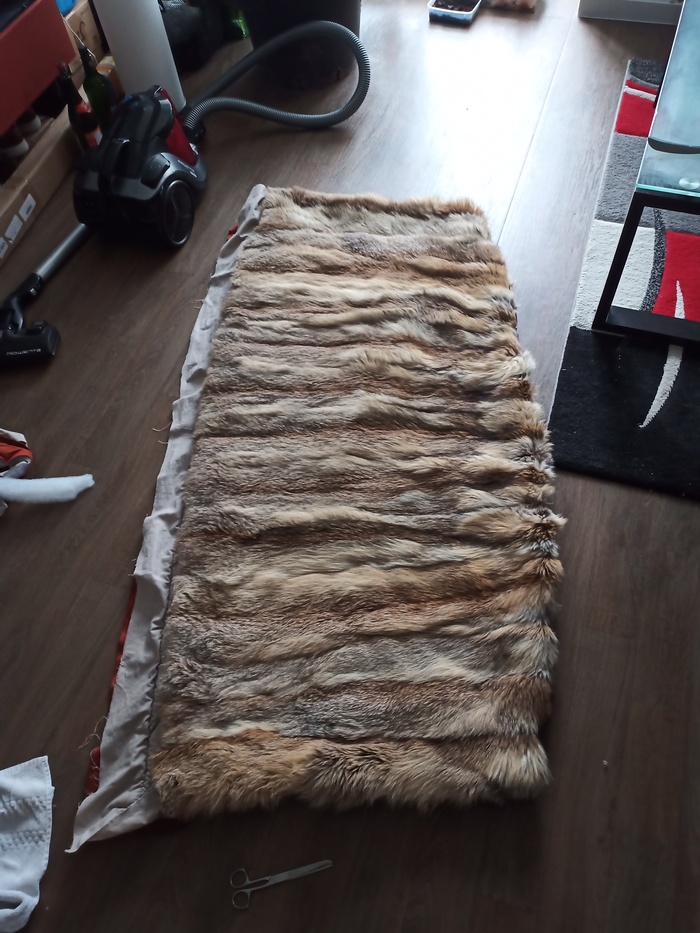
I reproduced the same pattern on a 1.8m x 1m piece.
(It takes time to draw all these lines, but this is necessary).
This is one half:
Next, stitching: the fabric with the lines on top, 2 duffle layers, and last the velour. I did not draw the lines on the velour side. Only on the cotton fabric.

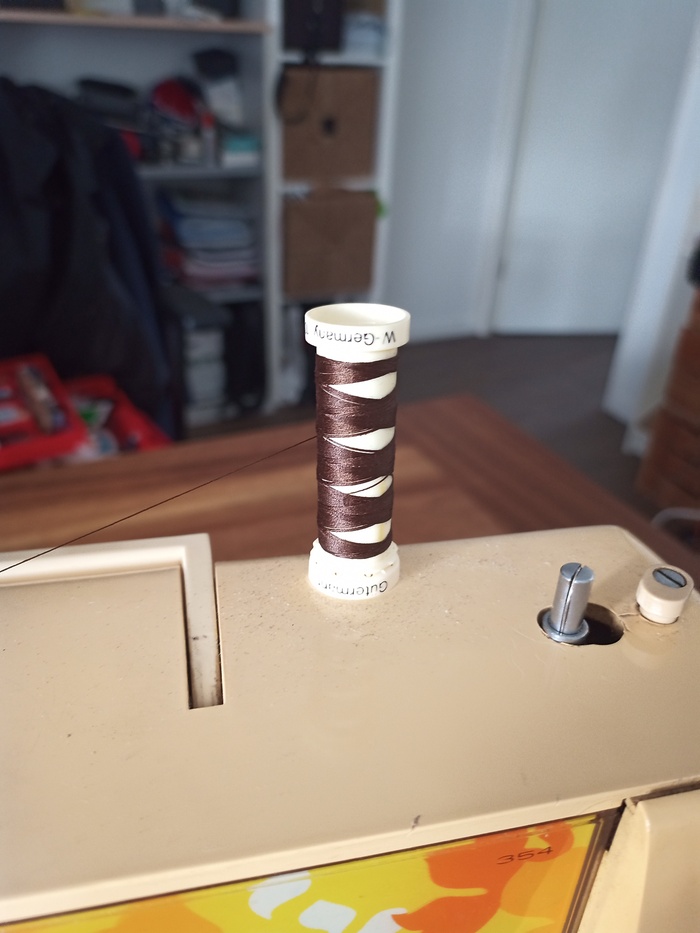
Because of the lines, it takes a lot of thread.
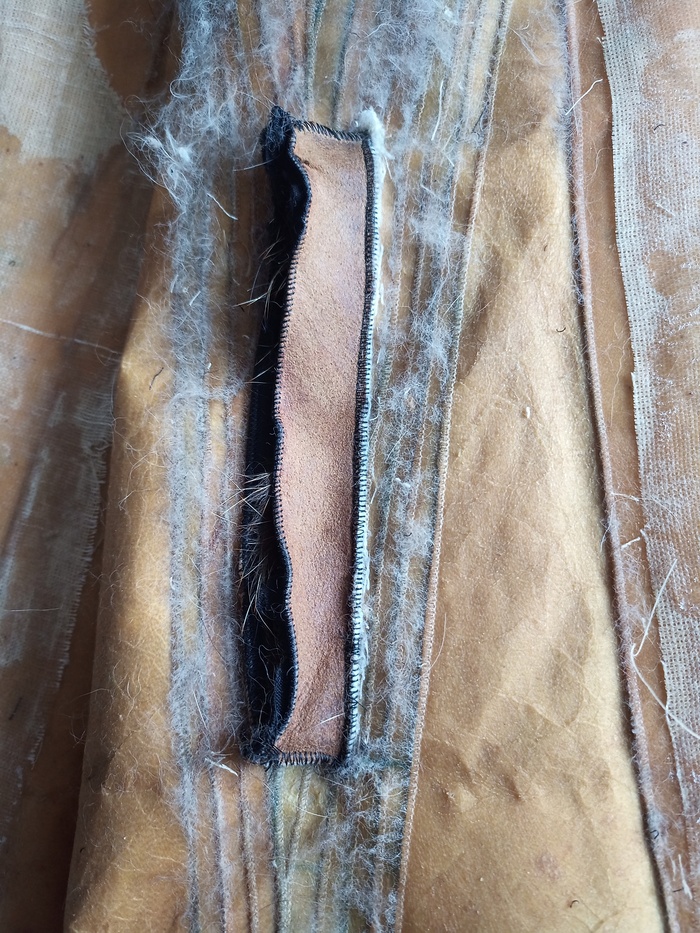
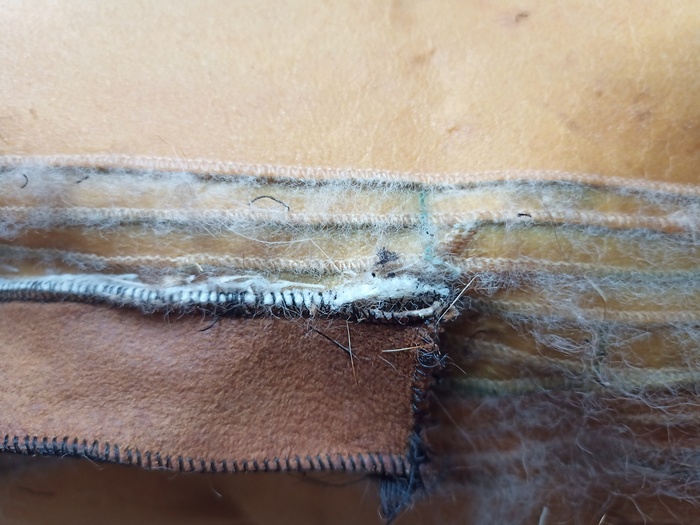
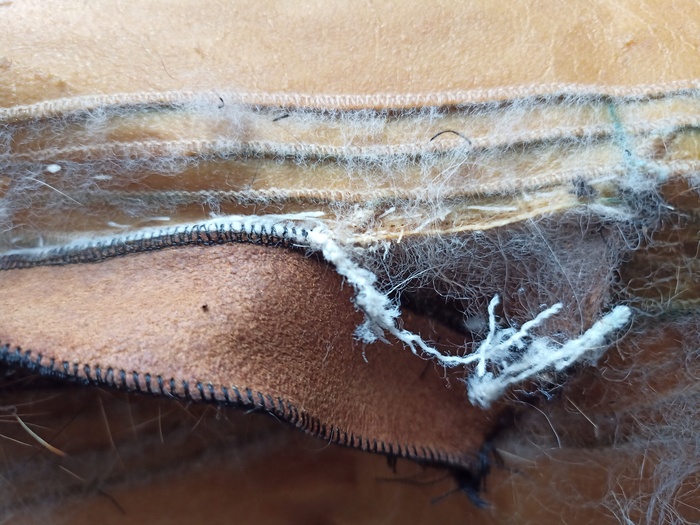
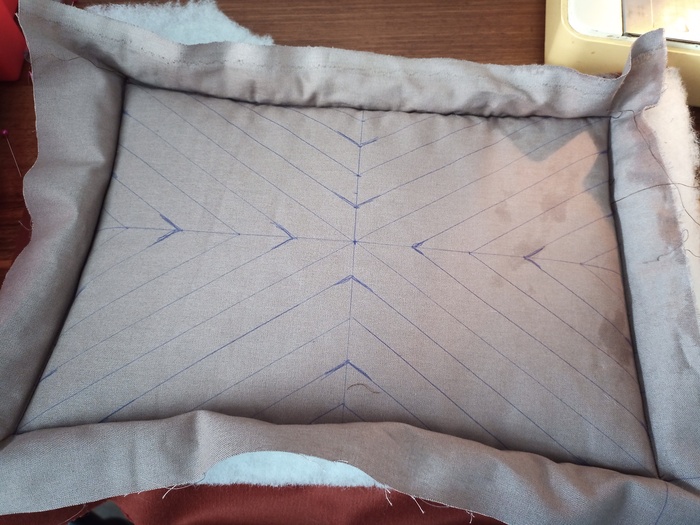
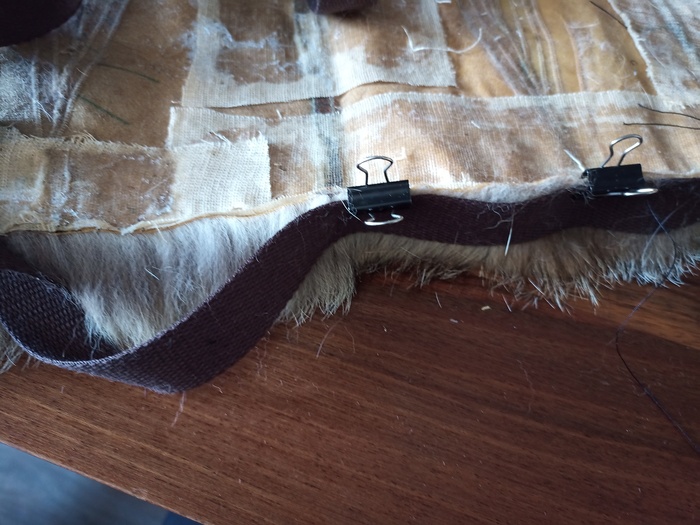
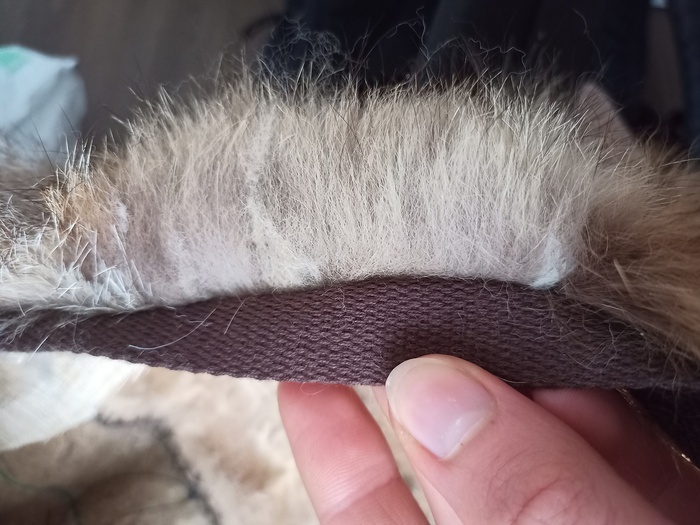
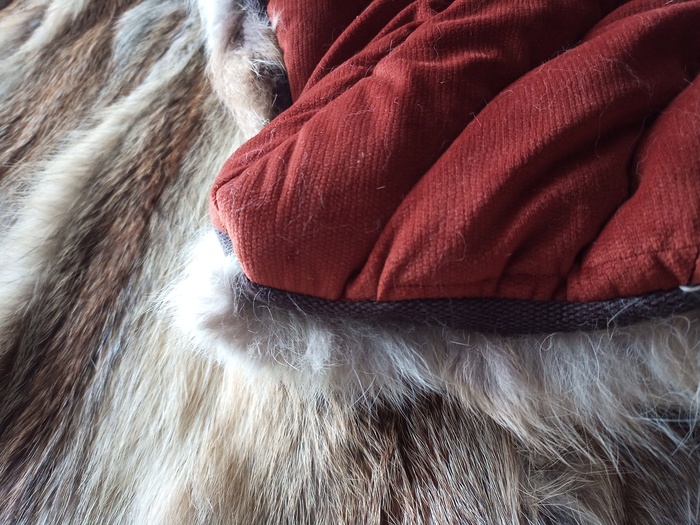
Next, I needed to stitch the border. The border is necessary to distribute the constraint on the skin and ease the junction with the liner.
First, I needed to glue some cotton fabric on the border to strengthen the skin where I will stitch the border.
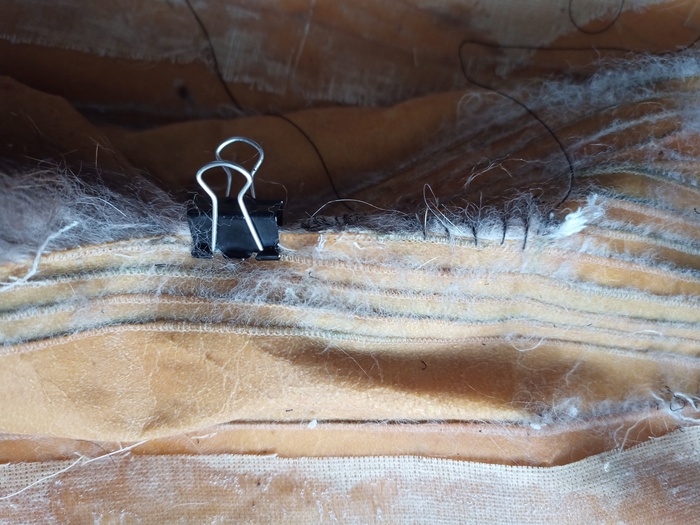
Next, I use a clip to maintain the border and the fur skin together.
When done correctly, the stitching is invisible from the fur side.
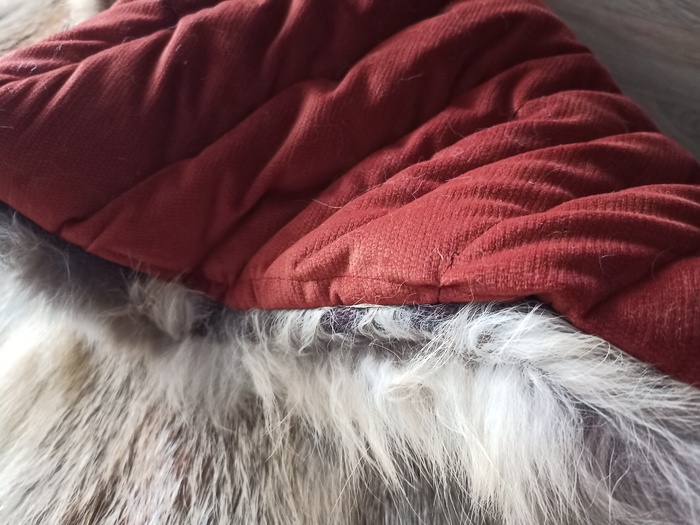
Last, we need to fix the linner to the fur part.
Here, 3 edges over the 4 can be done with the sewing machine. The leftover needs to be done by hand.
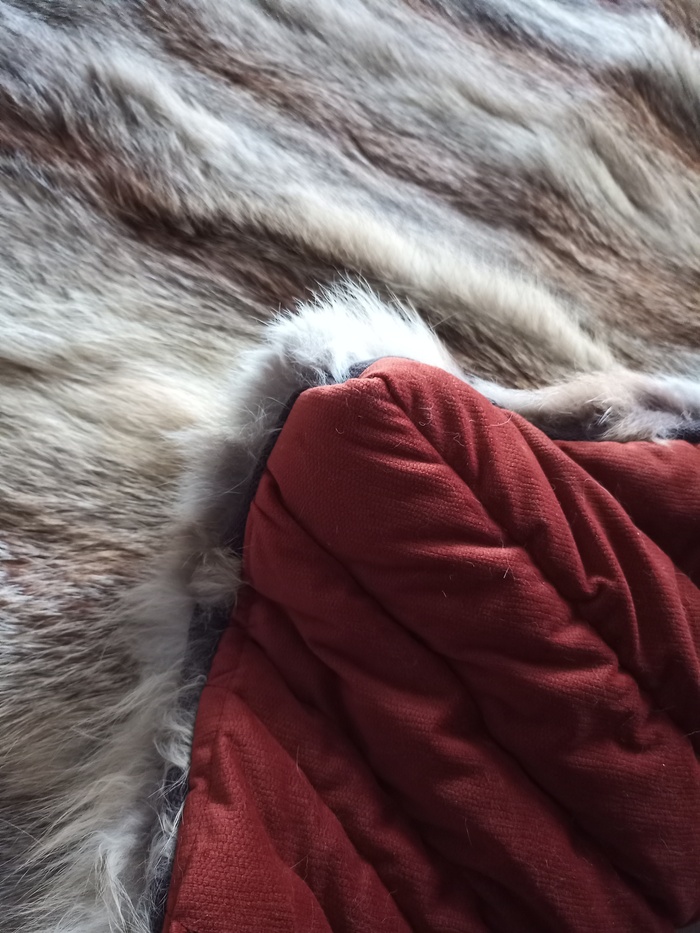
After sewing, some hairs might be block in between the linner and the border. Use a pen or something else to gently extract them out.
Before
After
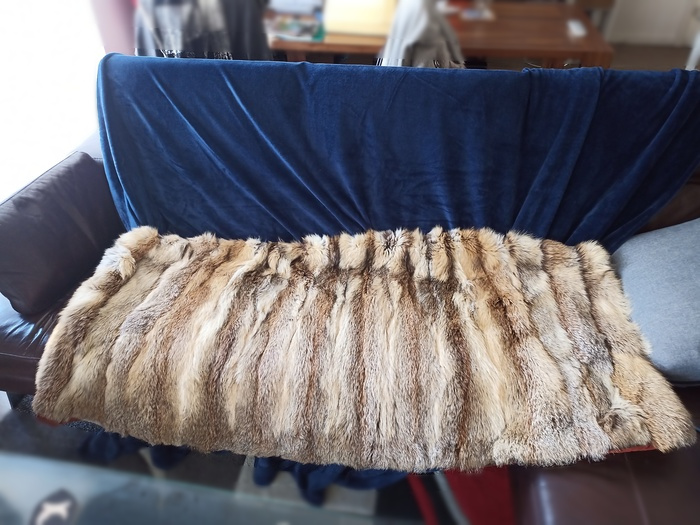
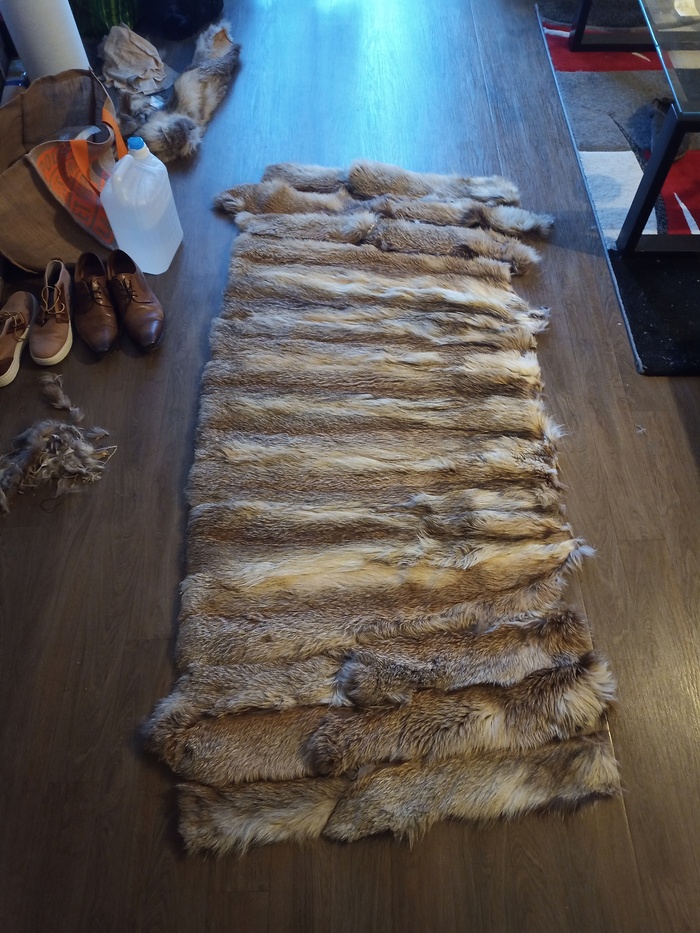
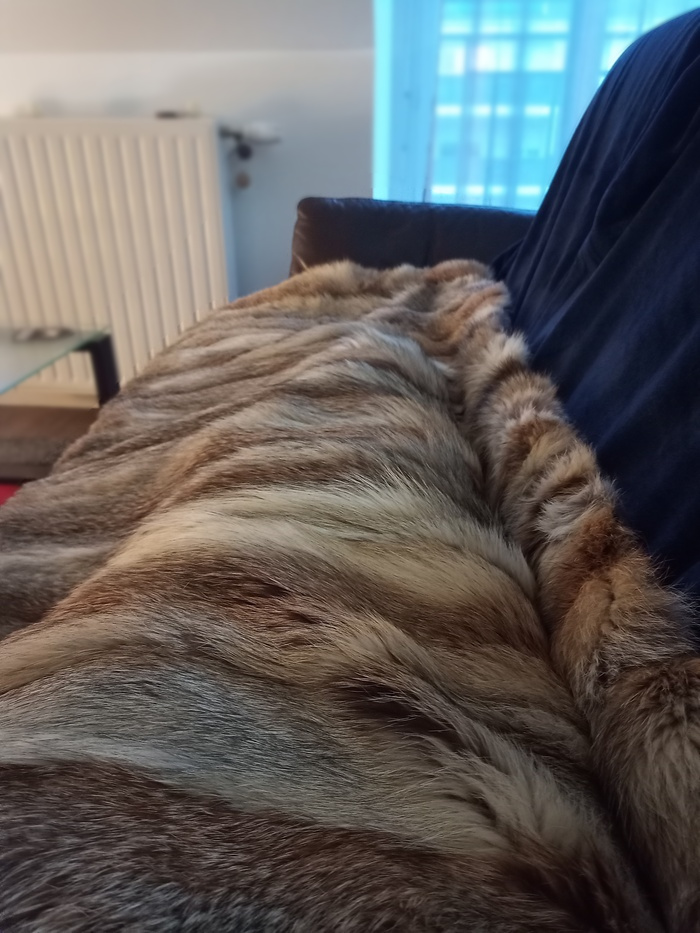
The plaid on my sofa.
>> You can subscribe to my mailing list here for a monthly update. <<