
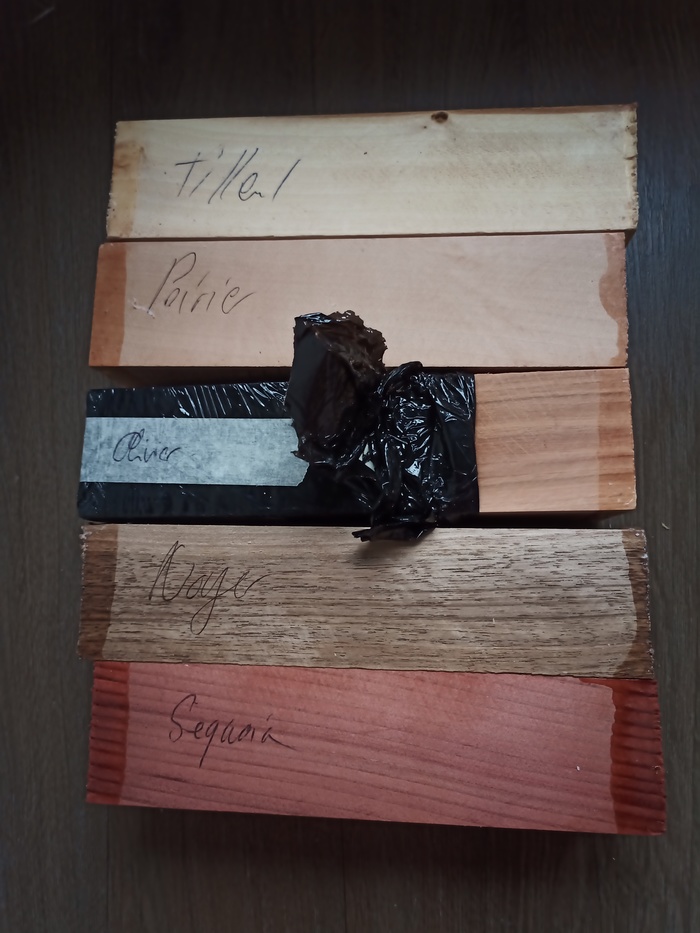
Bought a pack of different wood. You can see the (natural) color differences.
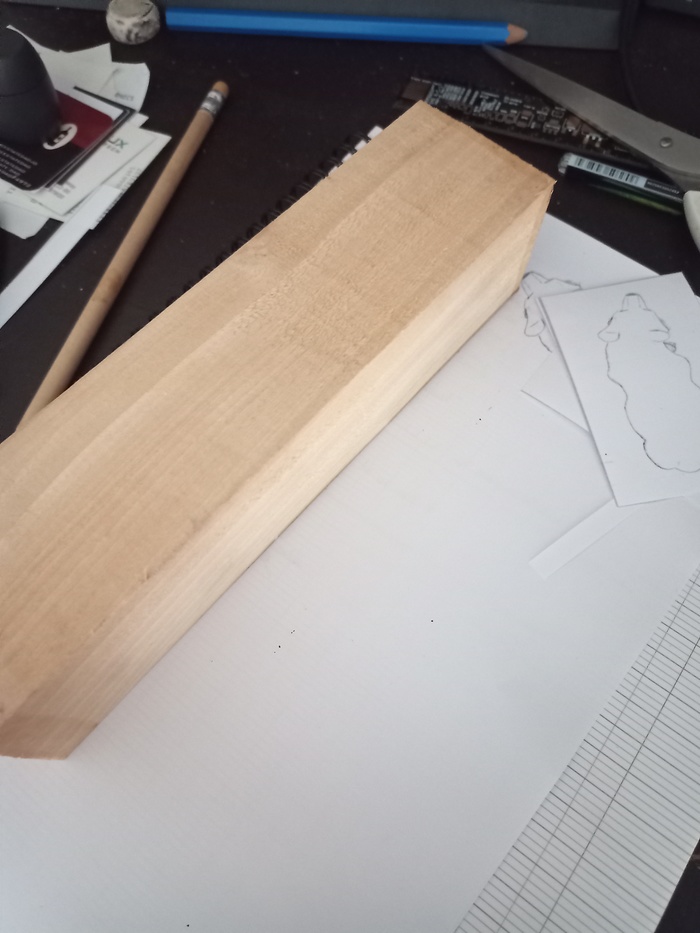
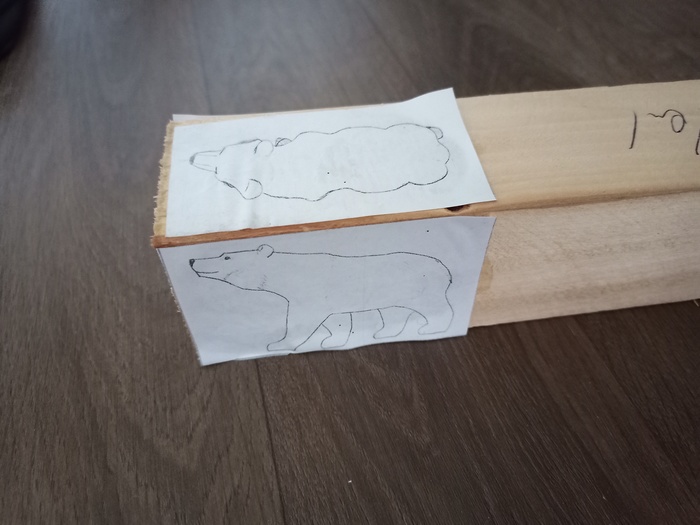
I wanted to start with basswood, which was recommended for beginners.
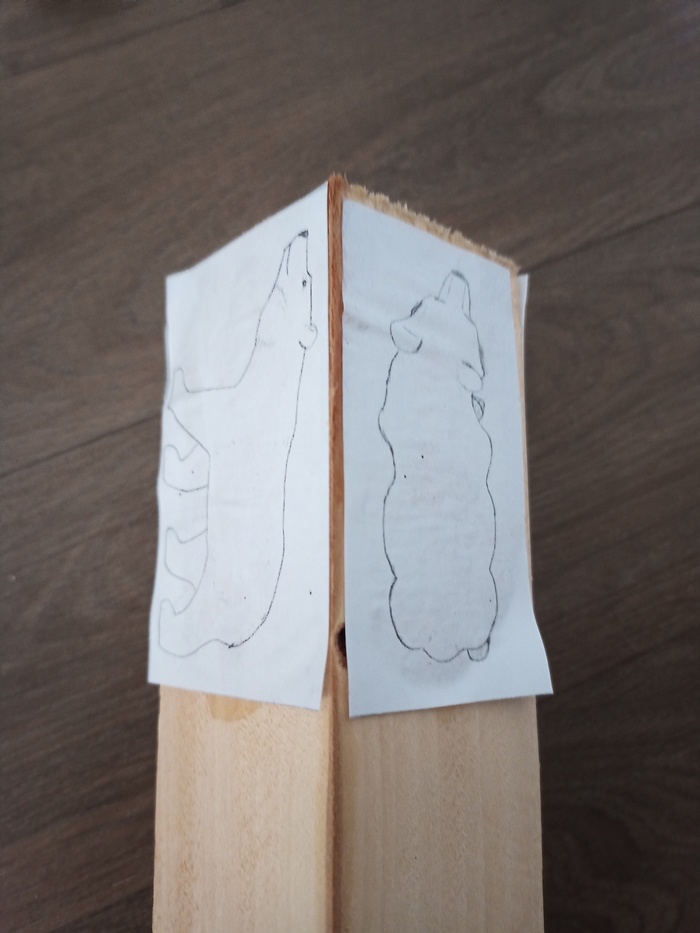
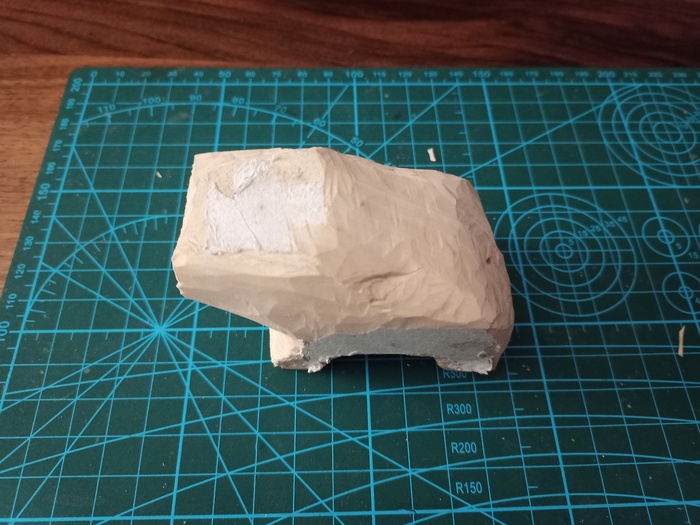
I glued my pattern to the wood. Afterwards, I would not recommend this option …
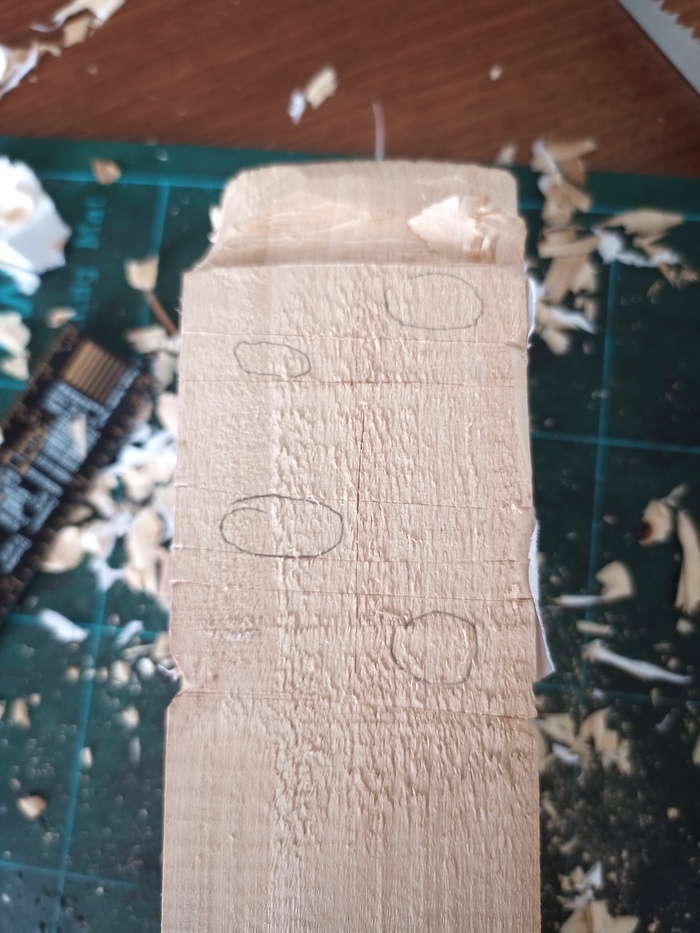
Nevertheless, for some part, you have to imagine it yourself
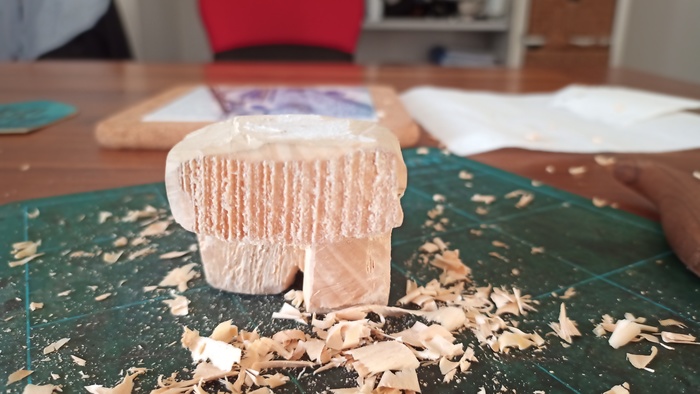
If you have a chain saw, you will save time for this first step. I did not have one, so it took me a lot of time before getting the bear done.
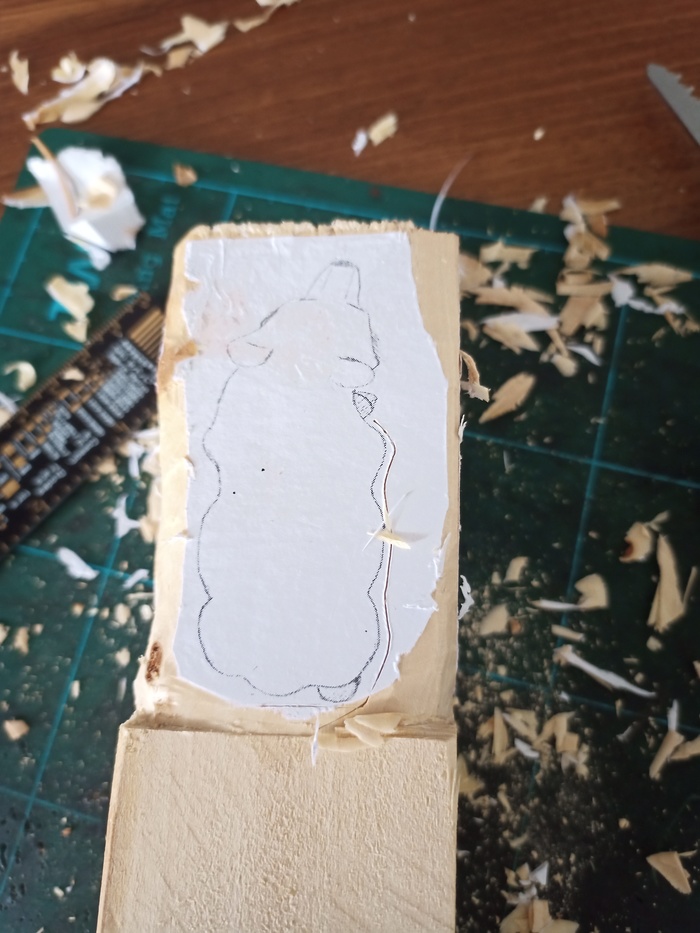
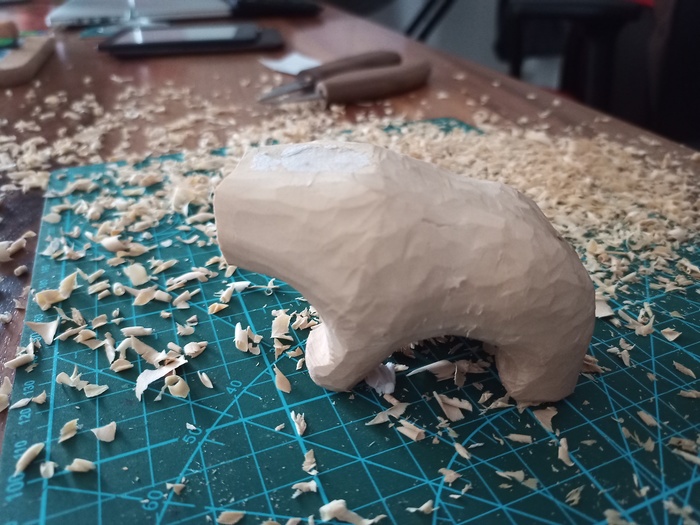
Now, we have extruded all parallel elements. The paper on the top was useless.

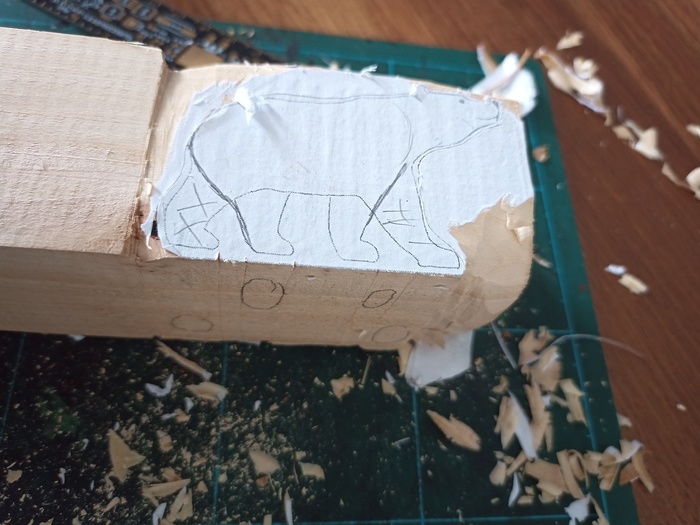
Maintenant, nous pouvons affiner la silhouette de l’ours.
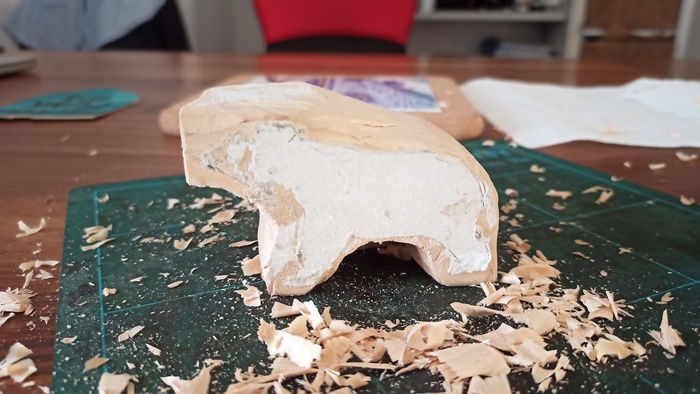
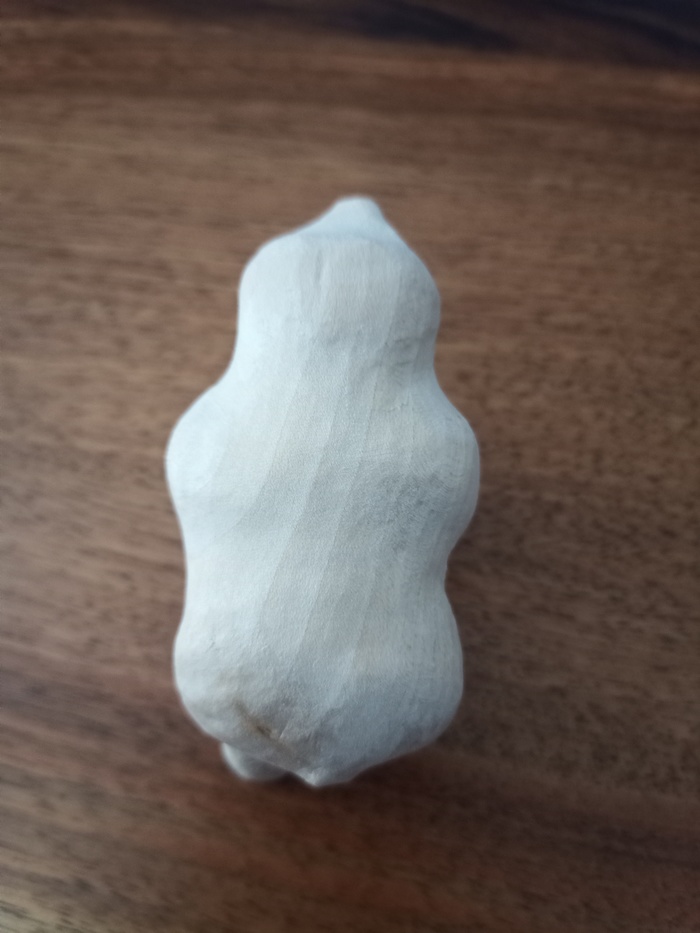
Feats are well separated now.
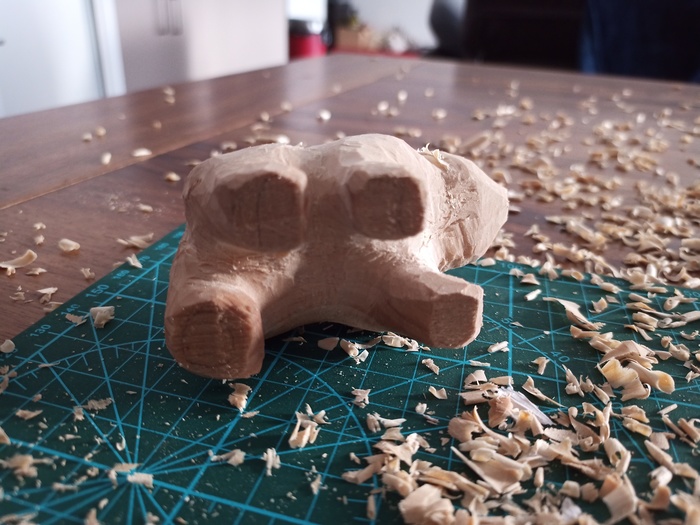
The head is still undefined.
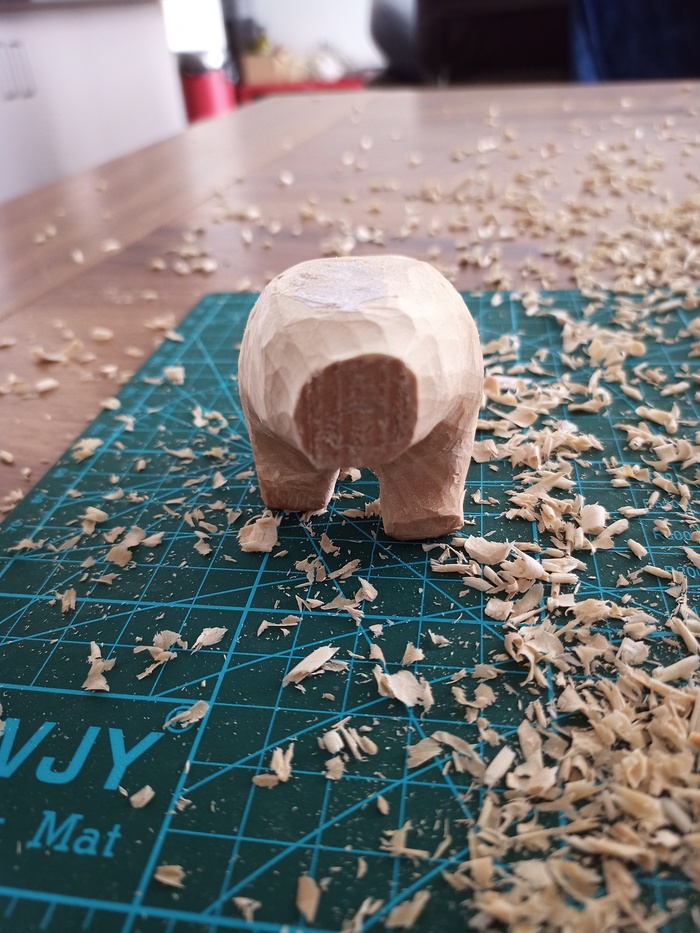
But general aspect ok
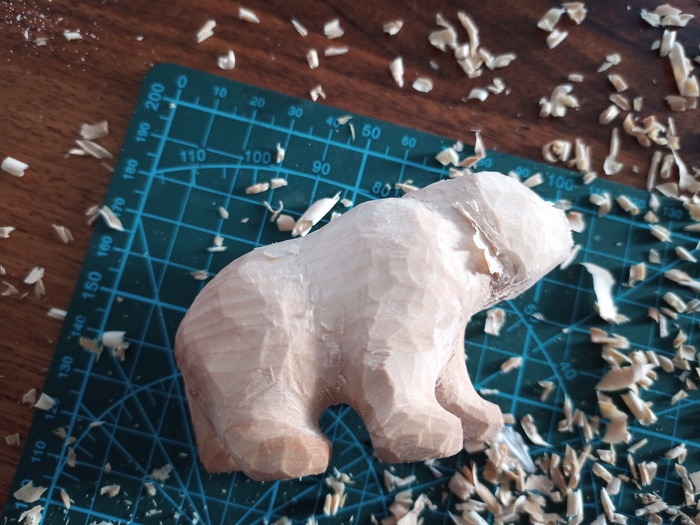
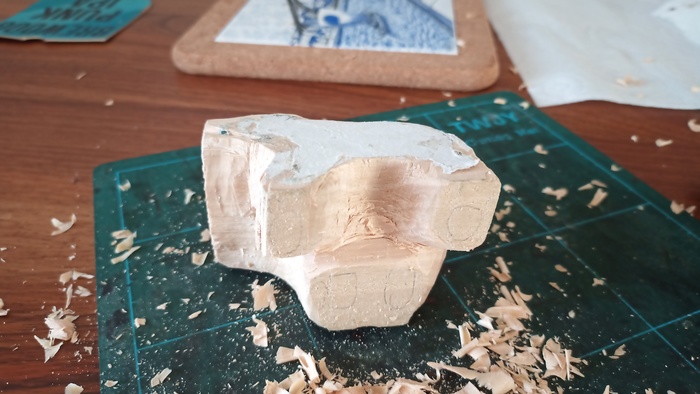
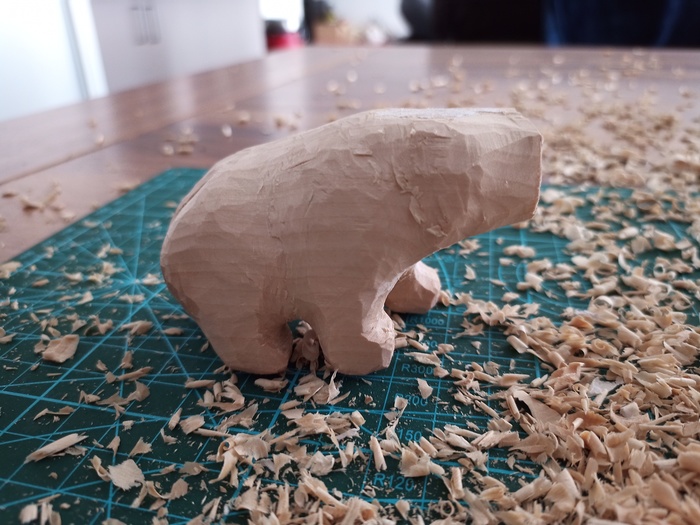
Progressively, we remove materials to make the nose appears.


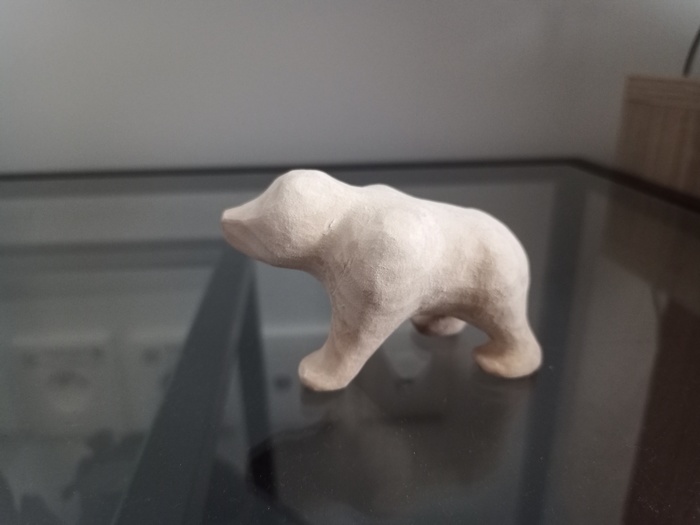
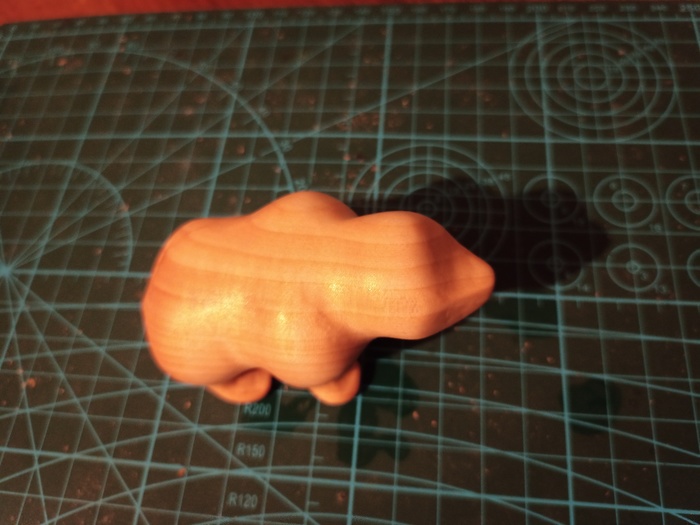
Now it “looks like” a bear. But very roughly
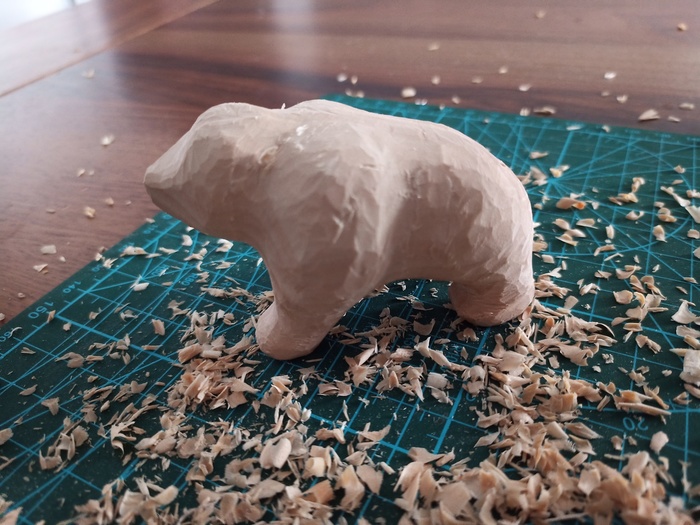
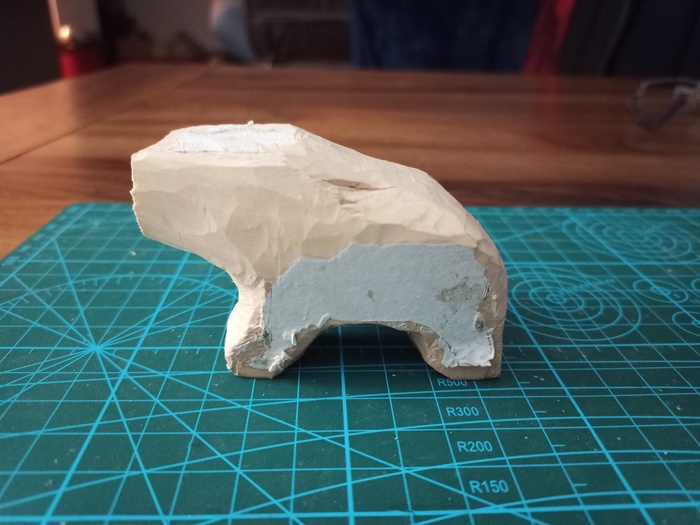
The edges are rounder, but it is still a big bear.
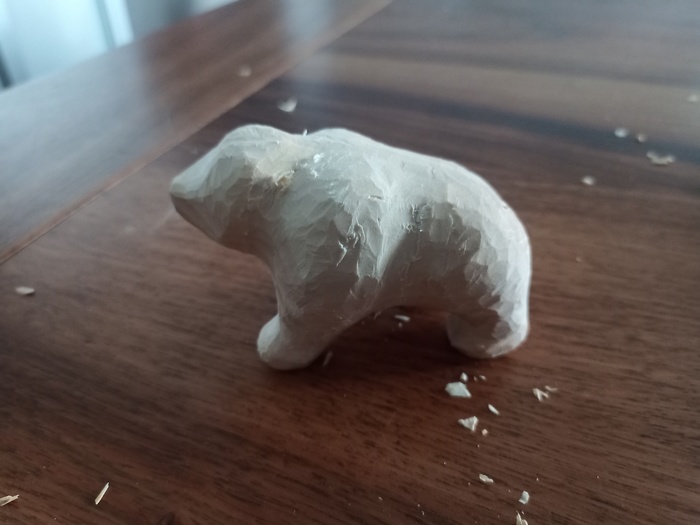
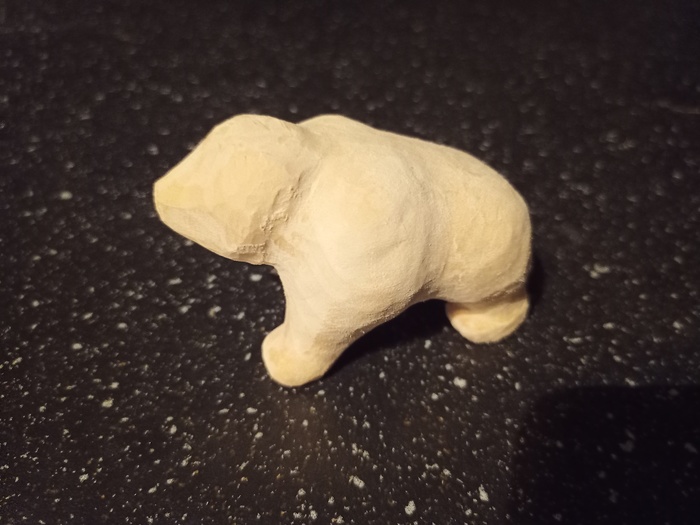
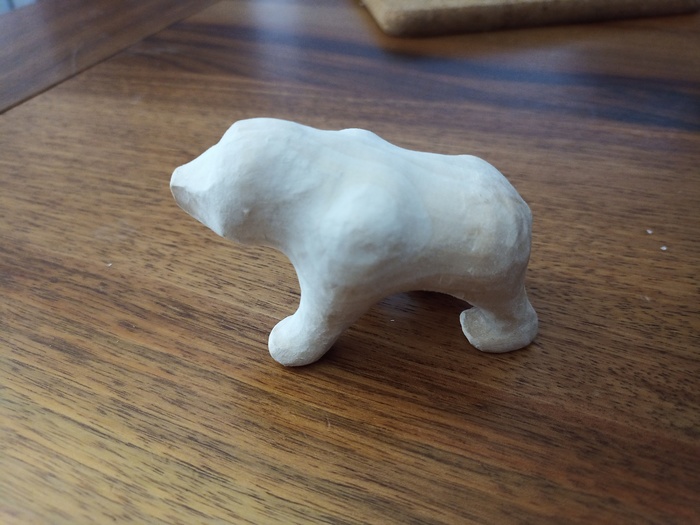
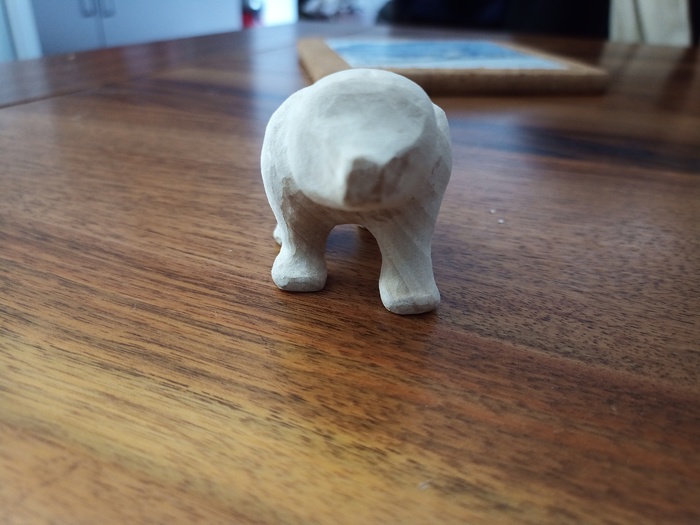
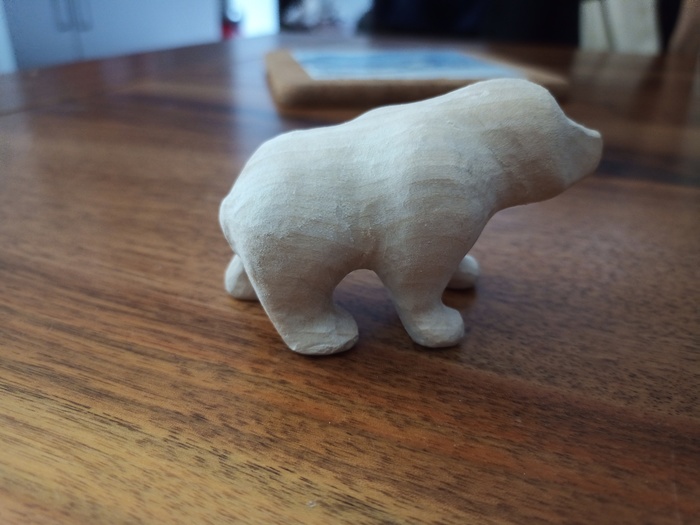
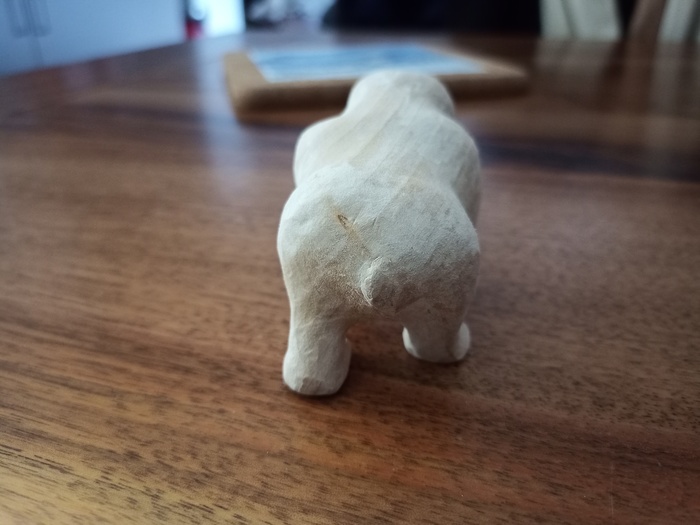
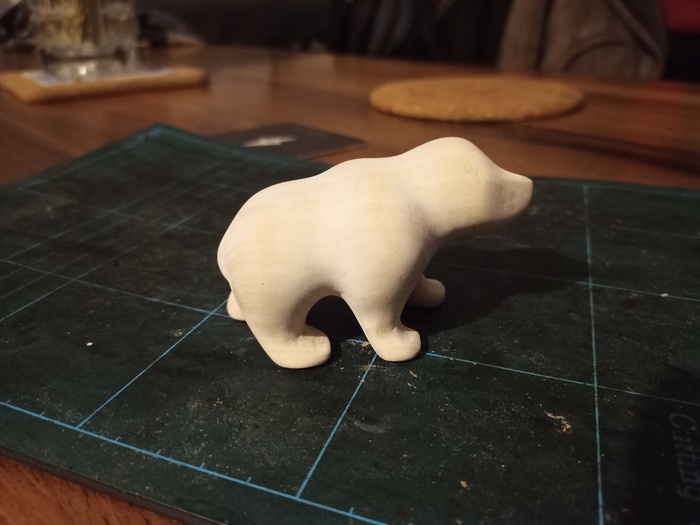
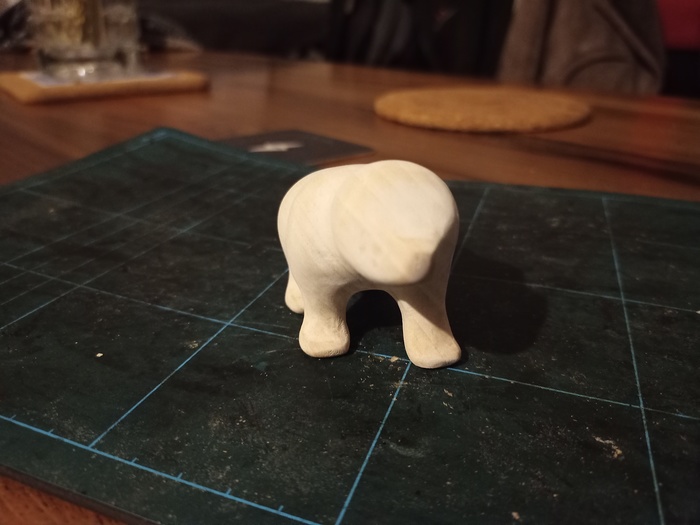
360 Over the bear.
General view
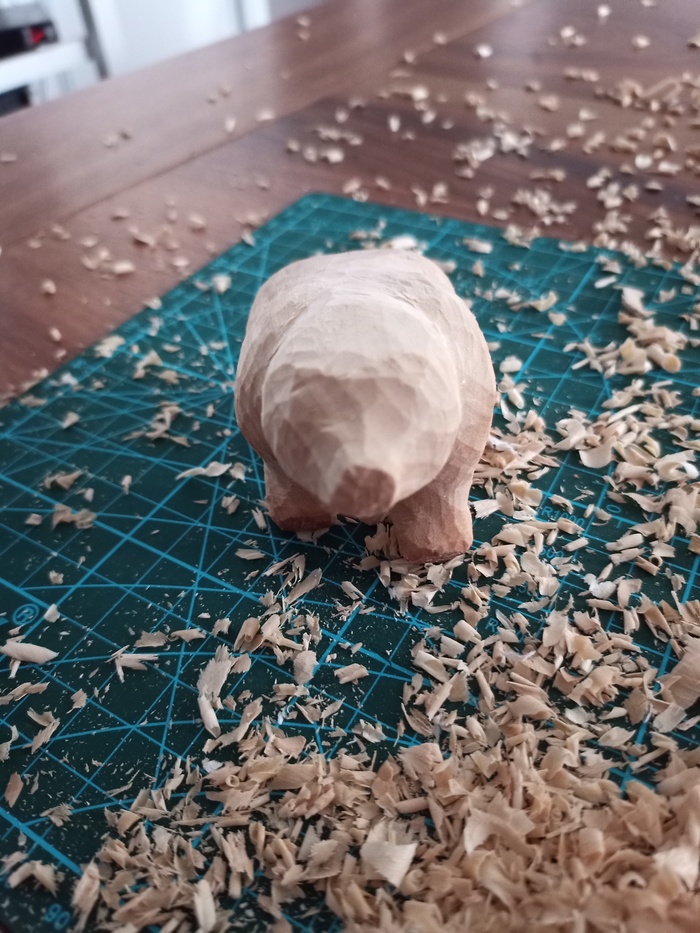
Front: Nose still missing
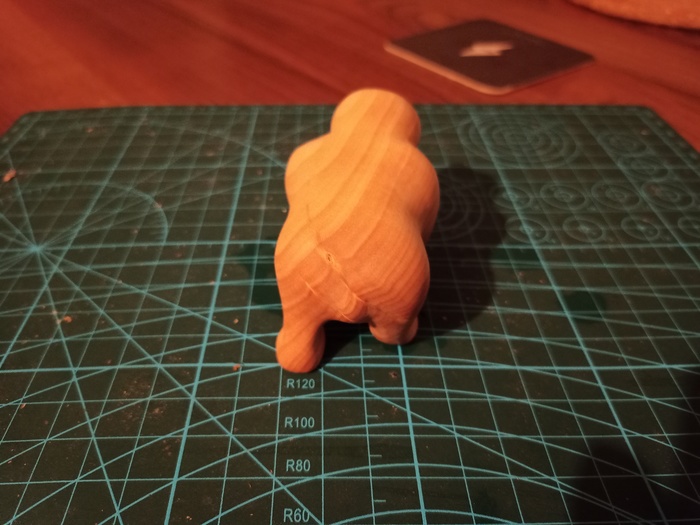
Other side
Back: The diagonal line arriving to the tail is a node of the wood. The wood here is very strong, making this area difficult to carve.
From top:
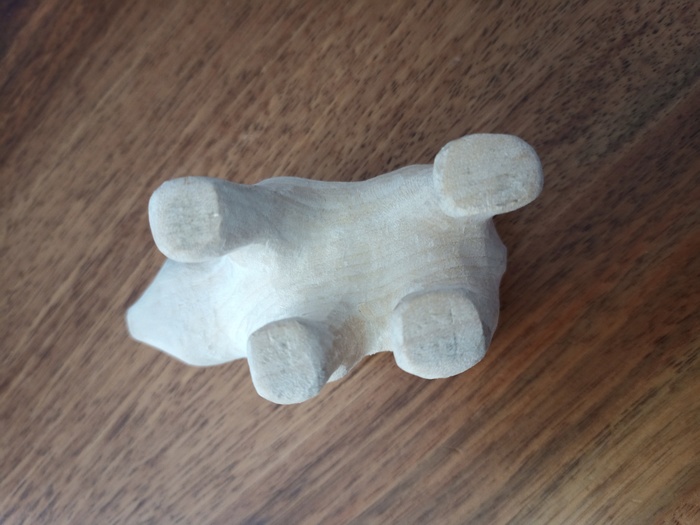
From under:
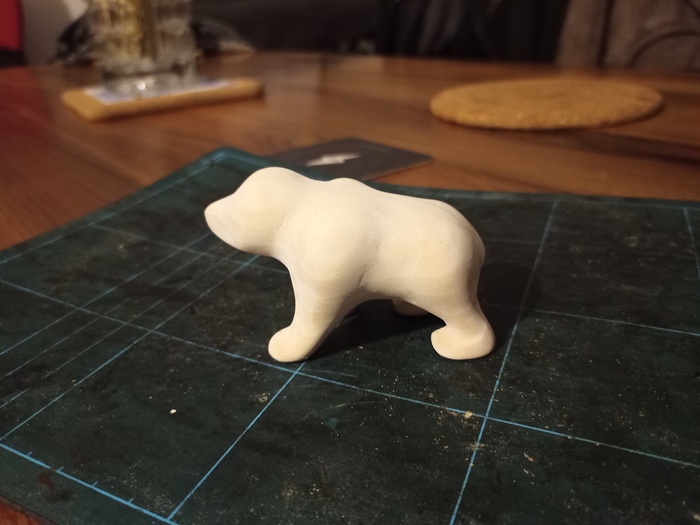
Now, we consider having the correct shape of our bear. We need to sand it to get a nice texture.
For a better sanding, it is recommanded to follow this kind of protocol:
Increase the grain until its smooth. Normally, 500 must give you already nice results.
Wetting the wood has another advantage. It lets you see the veining of thee wood, what you can expect after finish.
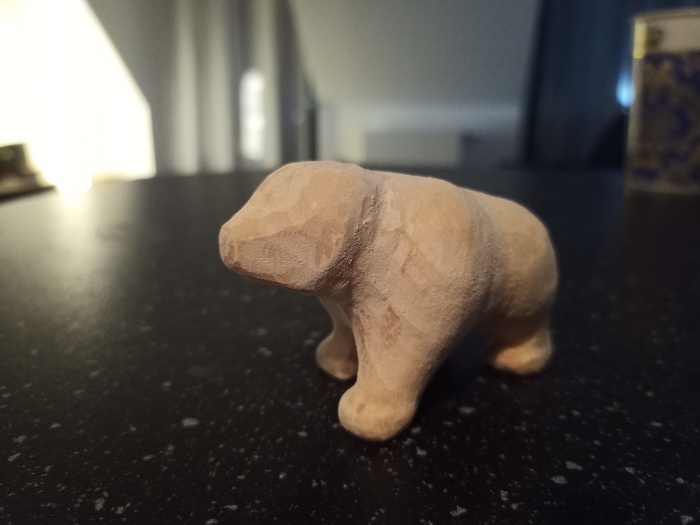
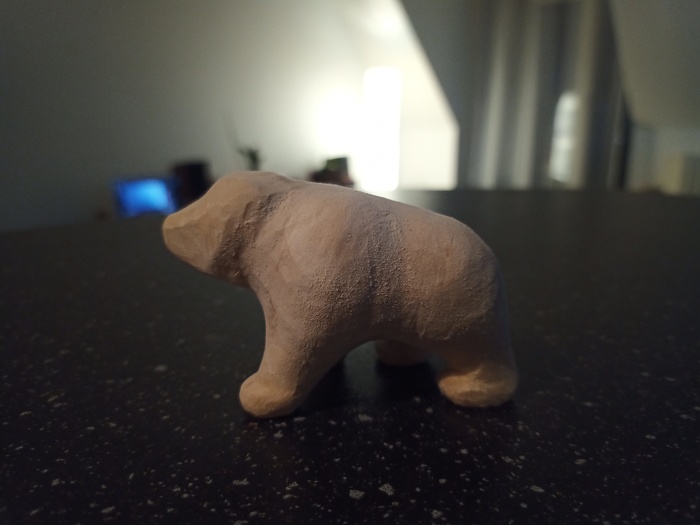
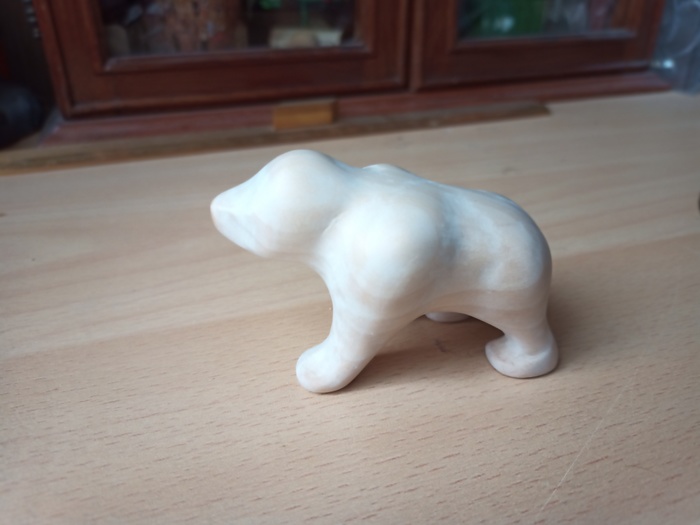
General view
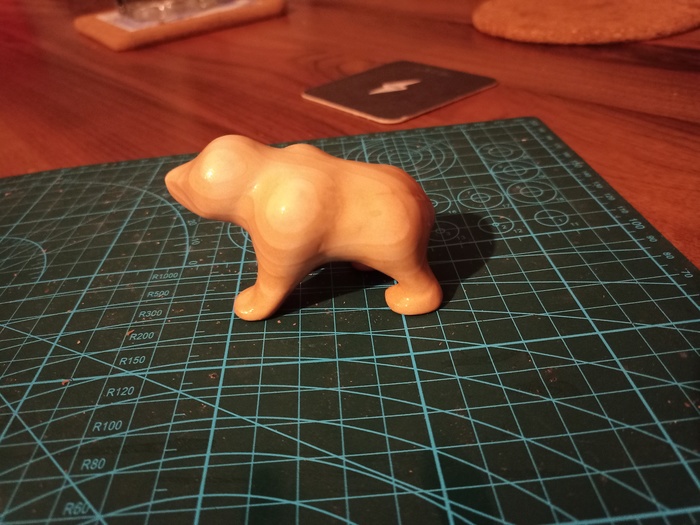
Front
Side view

Top
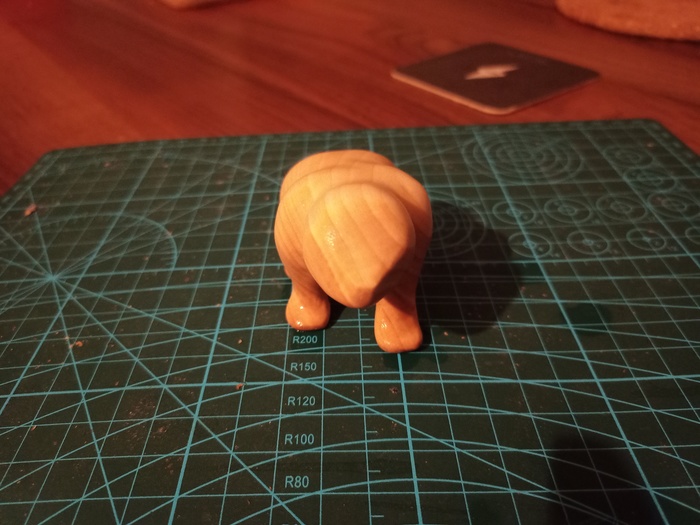
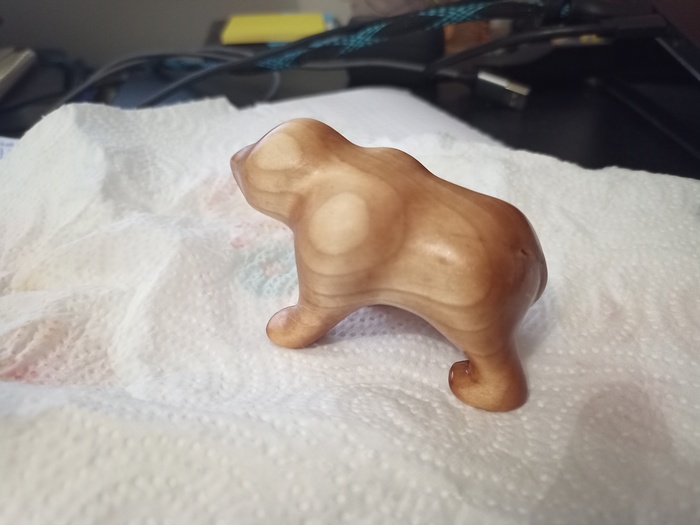
Back view: Here you can better see the veining, and the wood node
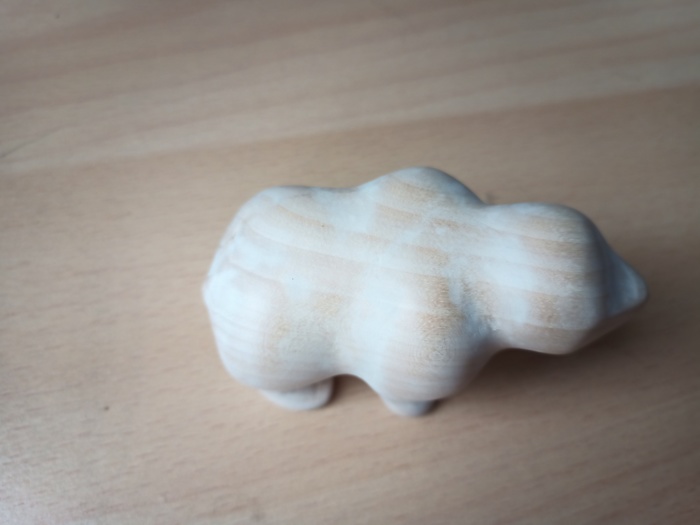
Back to its original white color.
Where the wood has its wood color, the sanding is good. When its white, this could be improved. Sanding must be done again.
I tried different finishes.
Varnish was not good at all.
Lasuring was not OK either.
For each “missed step”, I needed to sand again to remove the varnish layer / wood layer that was affected.
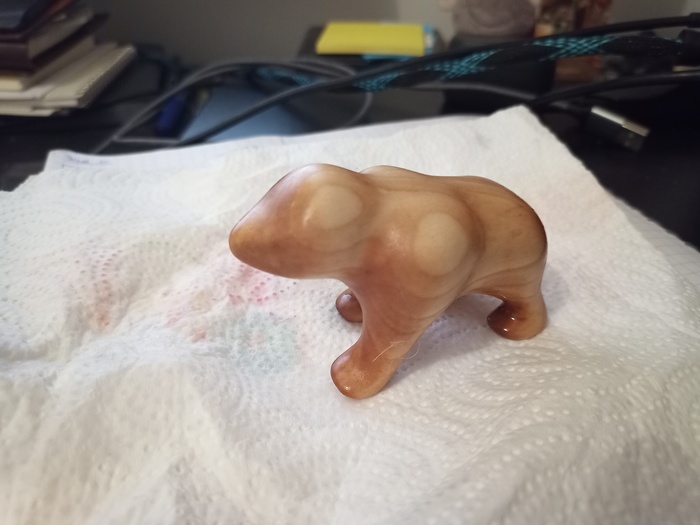
Oil gave the best result.
>> You can subscribe to my mailing list here for a monthly update. <<