
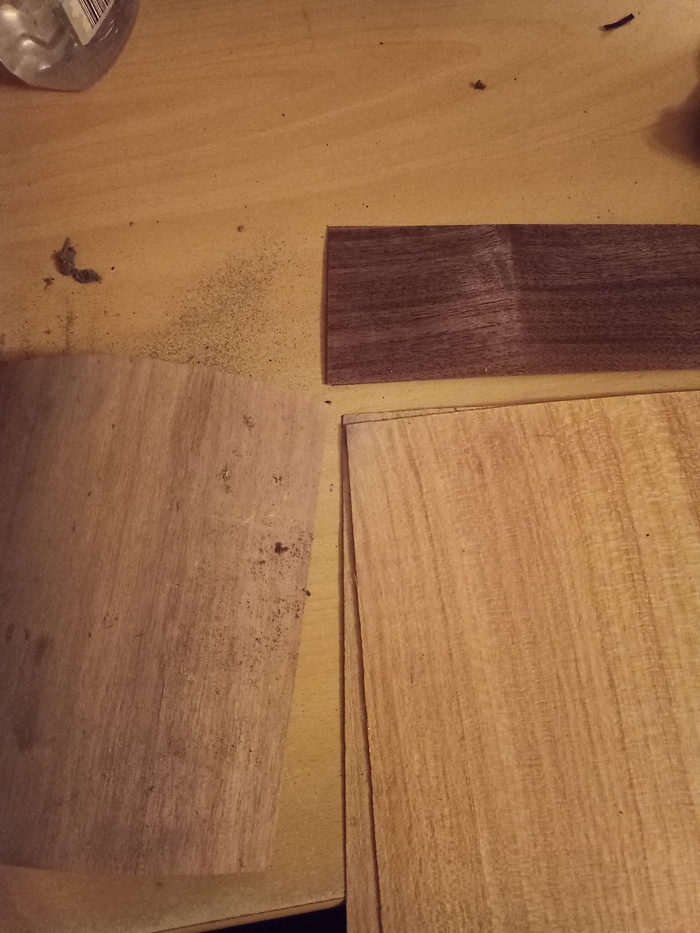
In a storage room, I found marquetry sheet under 20 years of dust. While old, the wood is great. I just needed to remove the dust with a paintbrush and to clean with a wet sheet.
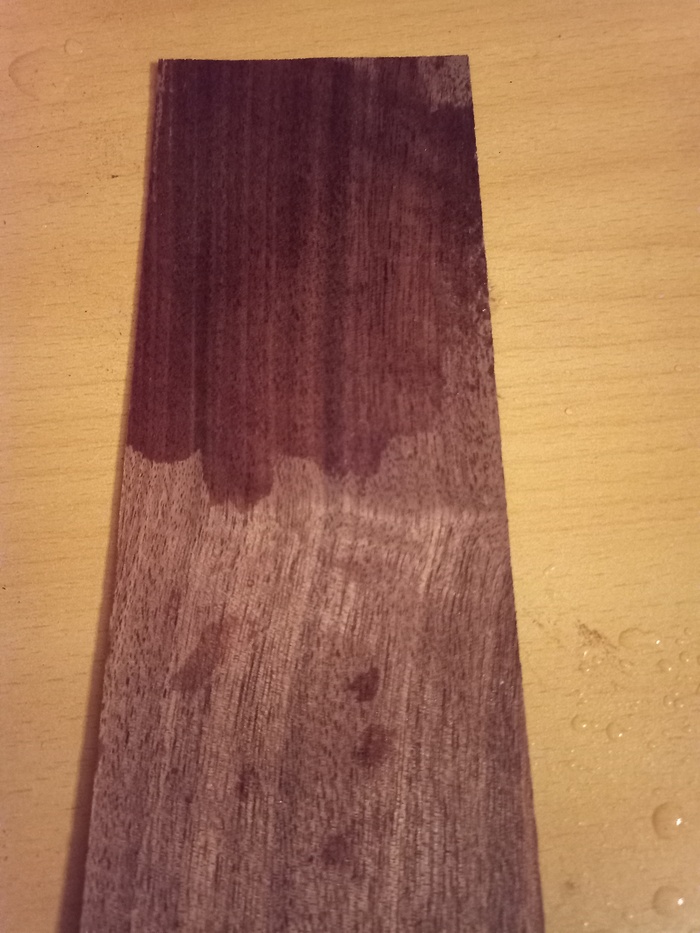
By wetting the wood, you can see what would be the final result after varnish or oiling.
This is Walnut:
These was the sheet under the complete dust. When cleaned, it’s much better. However, they are completely bended.

CCC
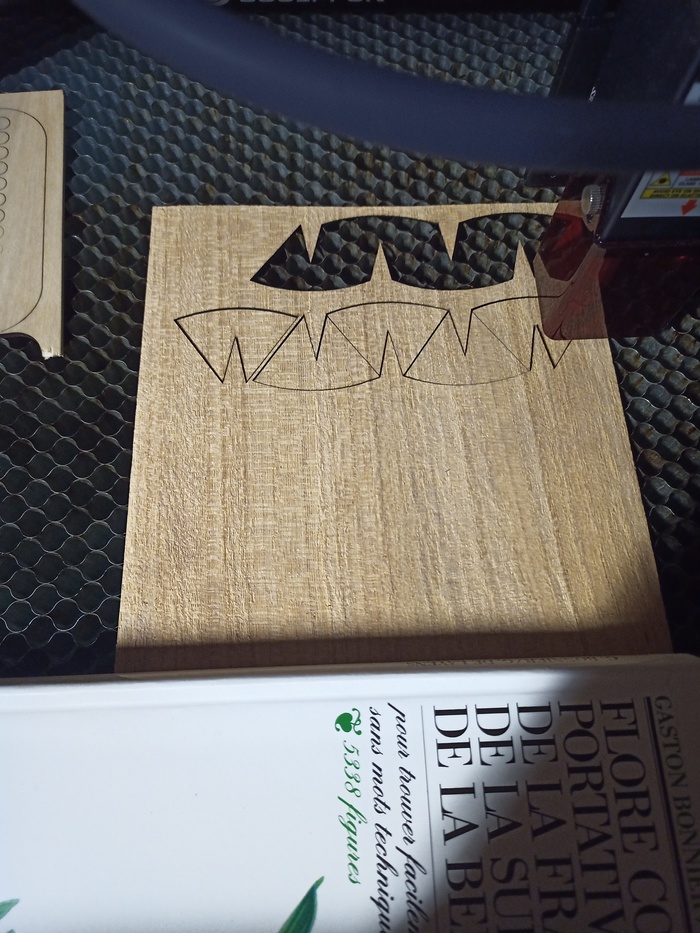
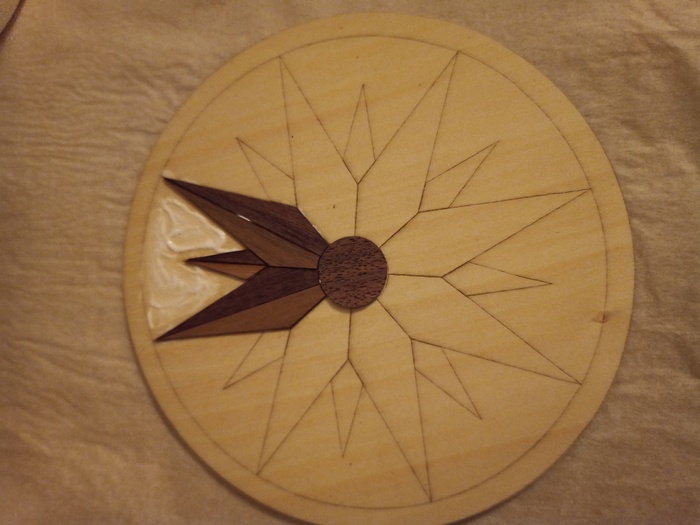
Marquetry pieces need a support. I cutted 2mm plywood for this purpose, and draw the lines where the pieces must go.
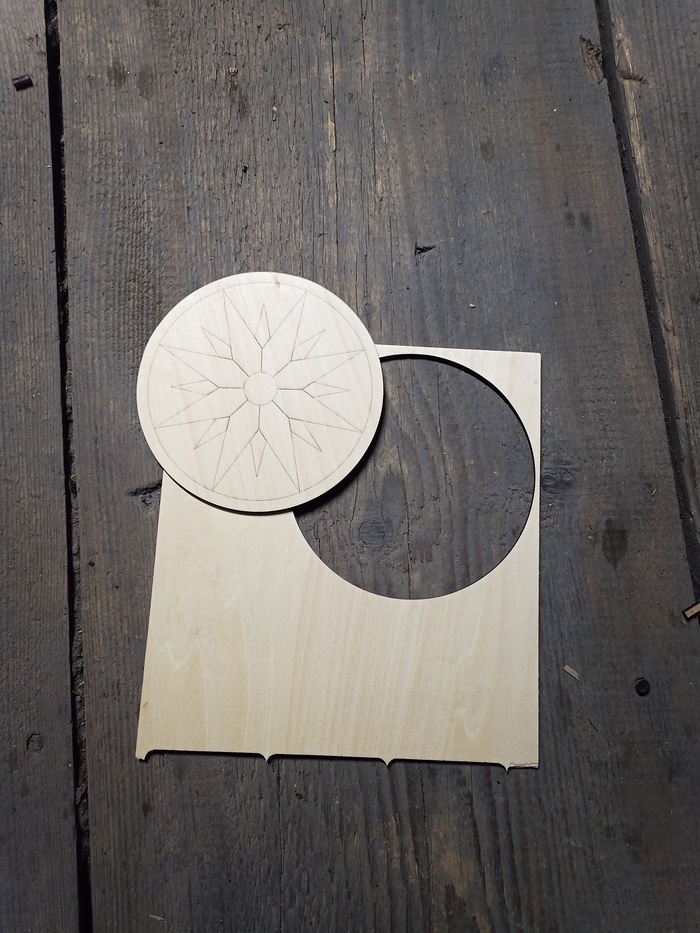
I try to make the assembly without gluing to see how everything goes, to learn to manipulate the pieces.
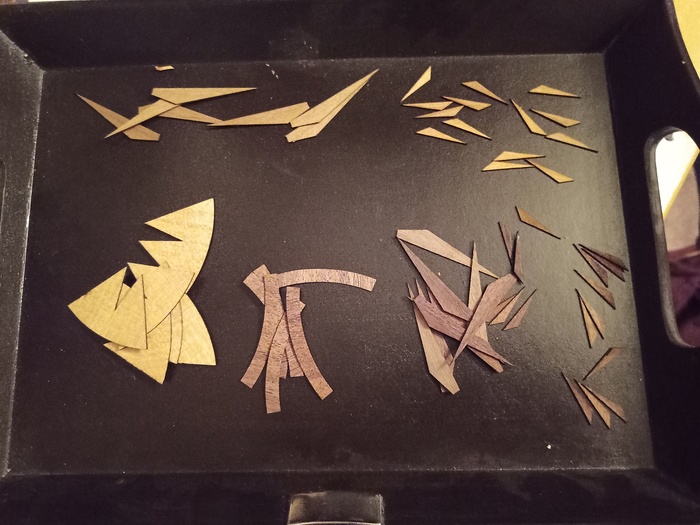
I cutted the pieces AND additional ones. Because the wood is very thin, it is likely to break. One more is not too much. Plus, these are very small pieces, it is not going to cost anything.
When cutted, all pieces are stored on a plate. Here, I have 6 different types of pieces, plus the middle, so there are stack of pieces waiting.
Now, it is time to fix everything.
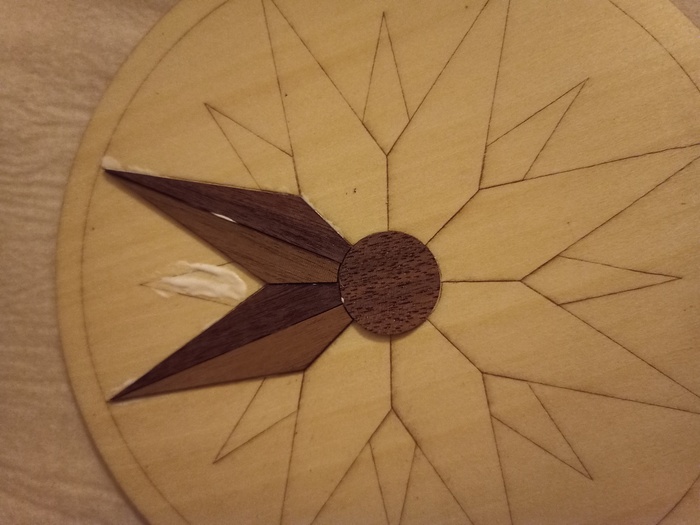
I putted glue on the plywood with a cotton swab in order to control the quantity. I started with the middle, and start gluing one pattern at a time.
Almost done.
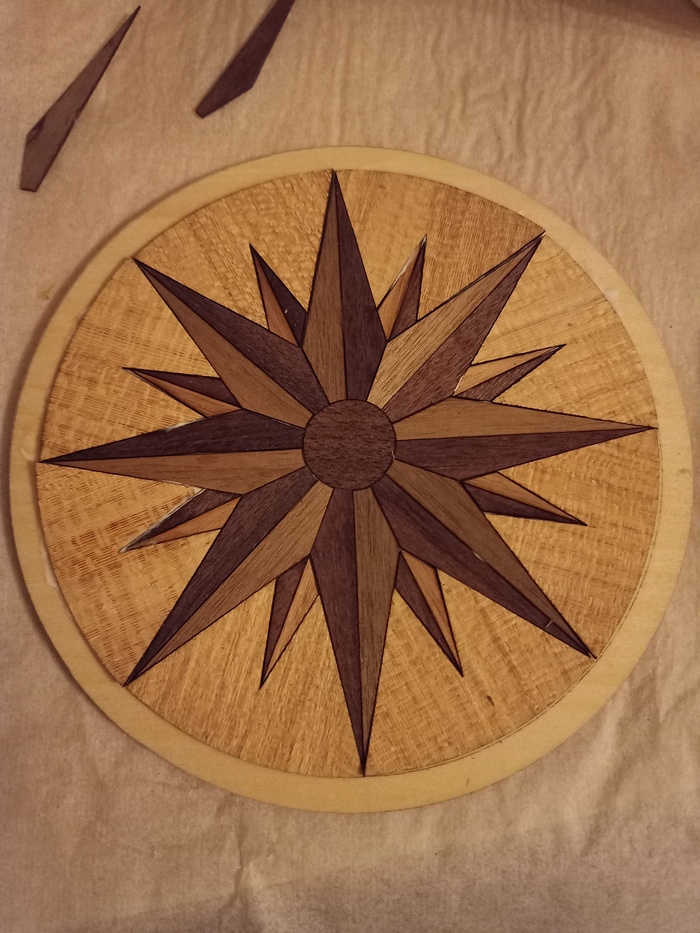
Even if the laser engraver is very precise, because some wood is destroyed on the burnt line, there are some gaps. This makes easy the piece placement.
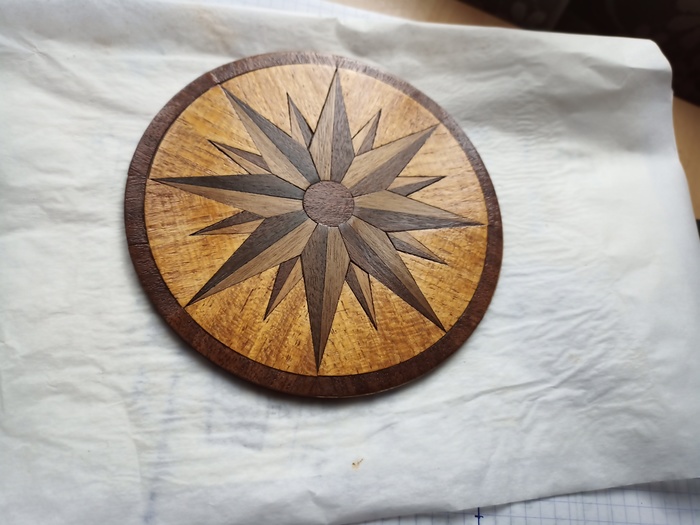
Now the borders:
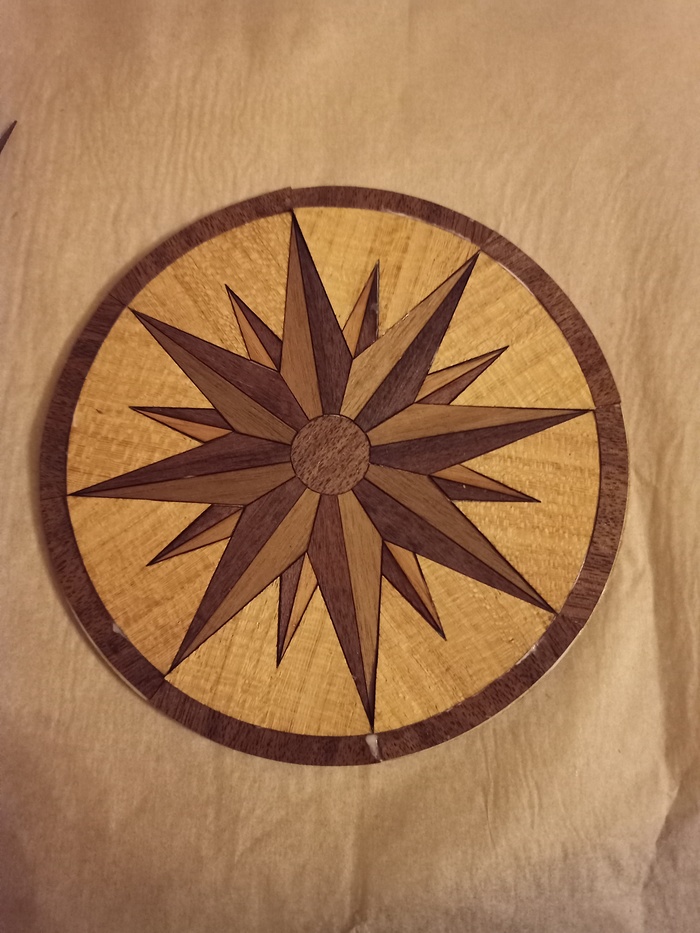
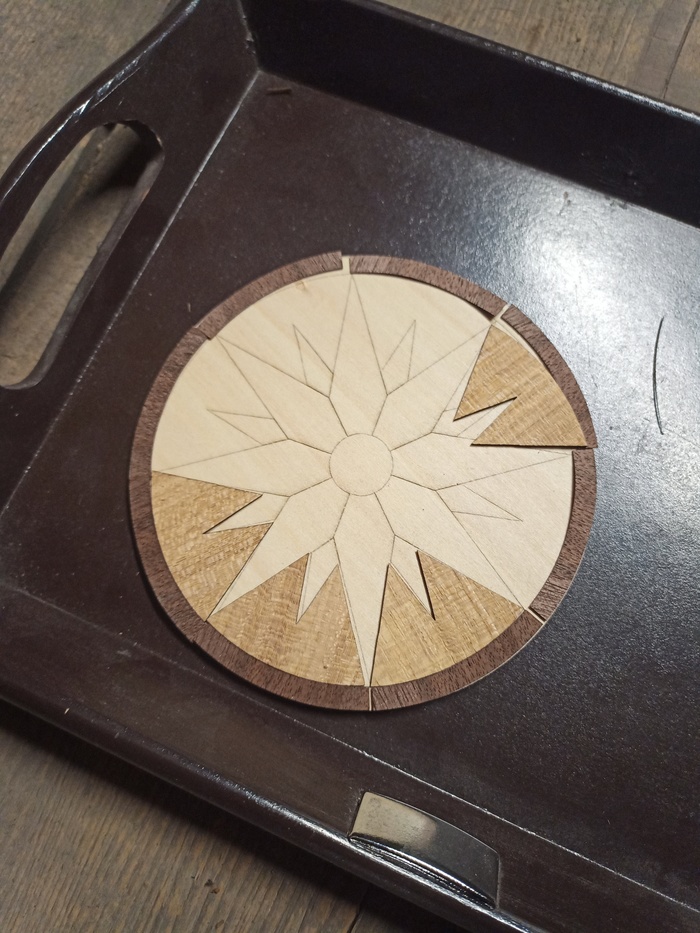
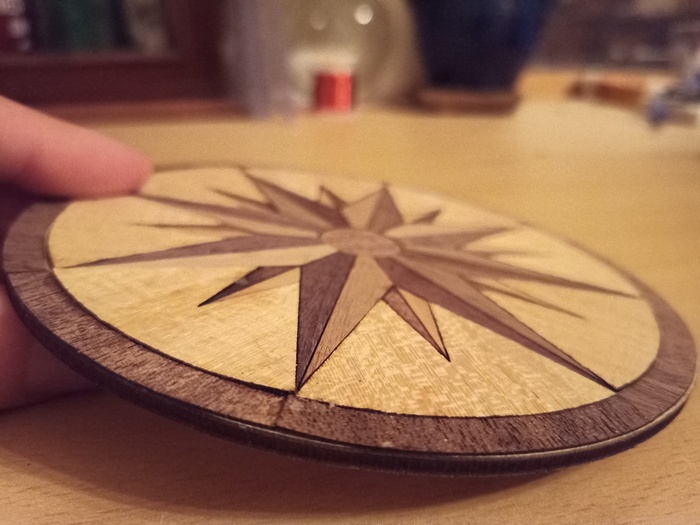
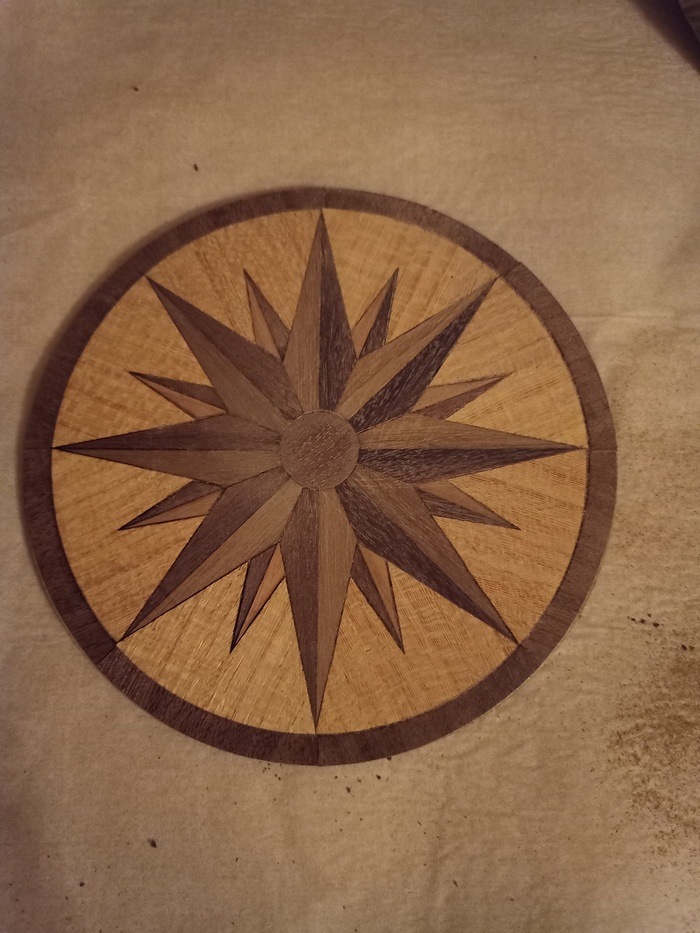
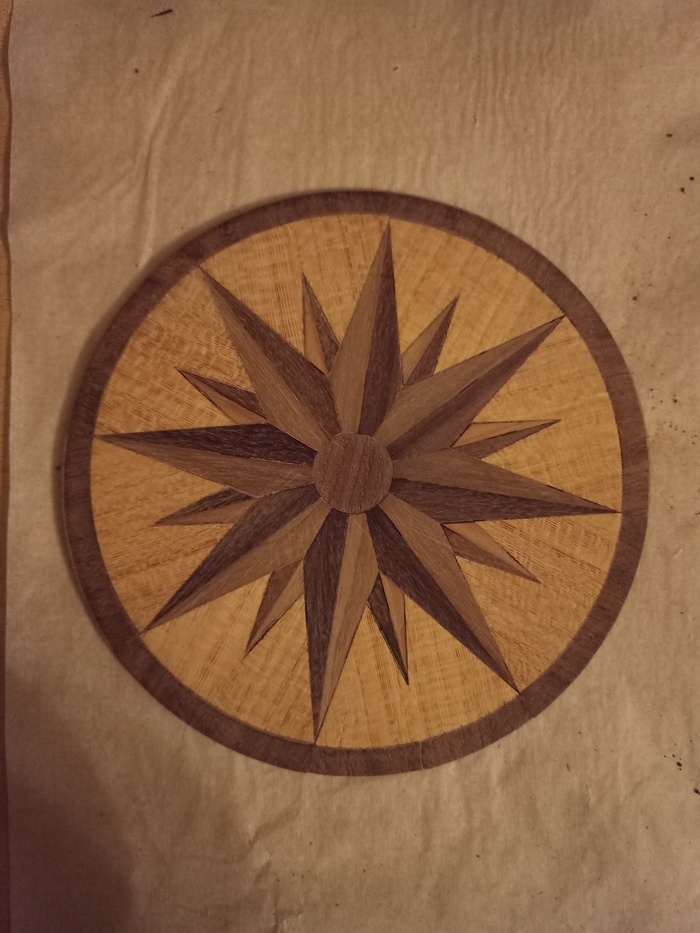
Then, I let the glue dry overnight. With natural light colors, I get:
You can see that it’s not flat. There are some pieces overlapping. This is a first project, next time I will do better.
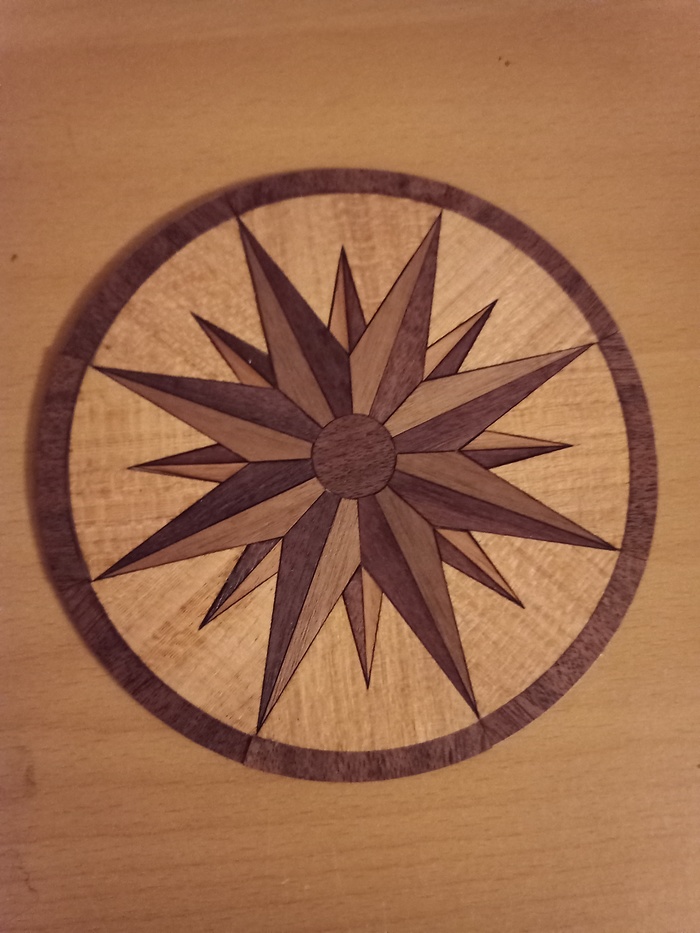
I start sanding the whole. I gently started from the middle, and sanded gently with the hand to avoid breaking the pieces. I started with grain 100, and finished with 180. Also, the initial sheets were not the same thickness. Sanding helped to put to the same level all sheets.
I read about one technics for finishing properly the sanding. After one pass of sanding, wet the wood (a little bit, just the surface). By wetting, some wood fibers get out of the plane. When dry, re-do sanding, so you would get a better surface.
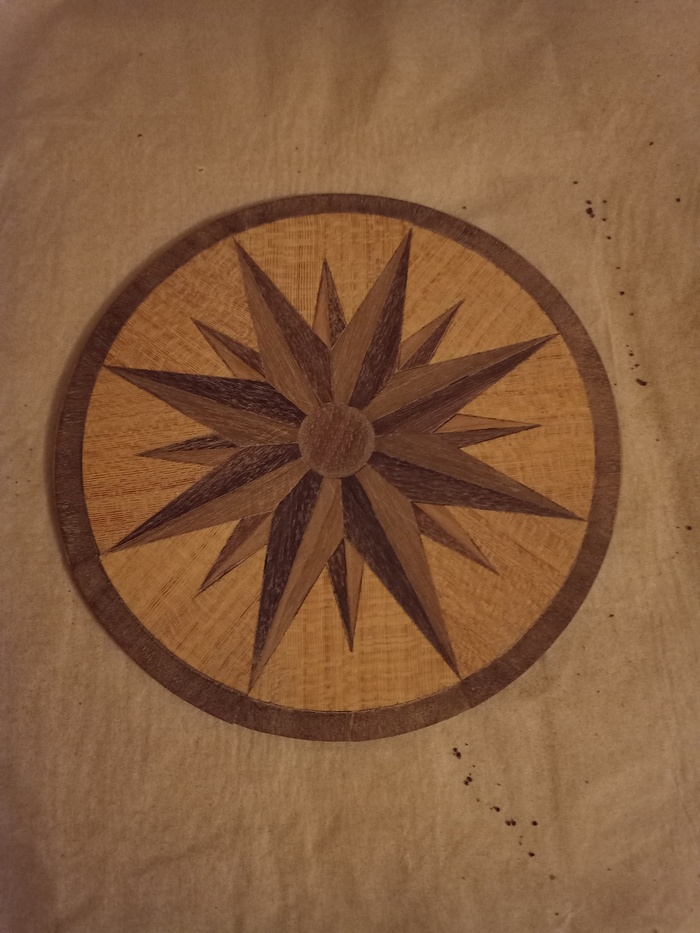
After wetting the surface:
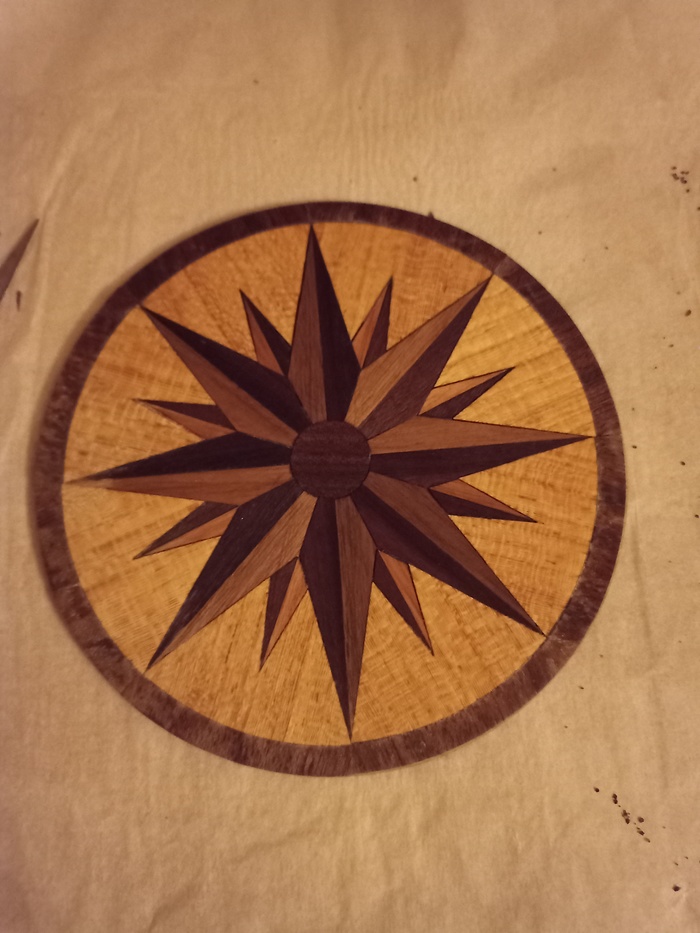
After sanding again.
For the varnish, I selected a water-based, mid oak color.

>> You can subscribe to my mailing list here for a monthly update. <<