
(Draft)
| Params | Value |
|---|---|
| Model | Sculpfun S30 10W |
| Mode | Cut |
| Plywood | 3mm |
| Cut Speed | 4mm/sec |
| Power | 100% |
| Air Pump | Yes |
| Params | Value |
|---|---|
| Model | Sculpfun S30 10W |
| Mode | Engraving |
| Plywood | 3mm |
| Cut Speed | 200mm/sec |
| Power | 100% |
| Air Pump | No |
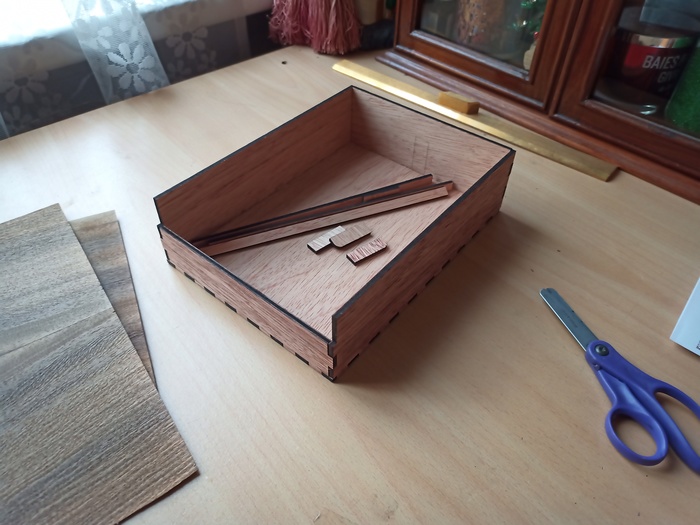
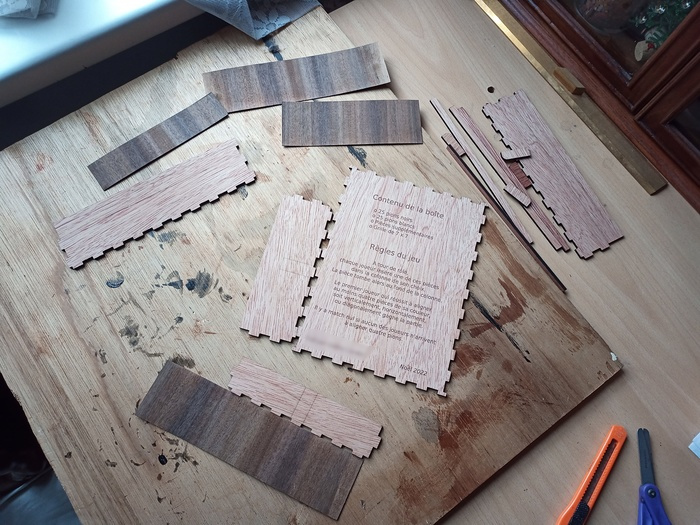
Designing and cutting the pieces takes some time.

Try the assembly without gluing.
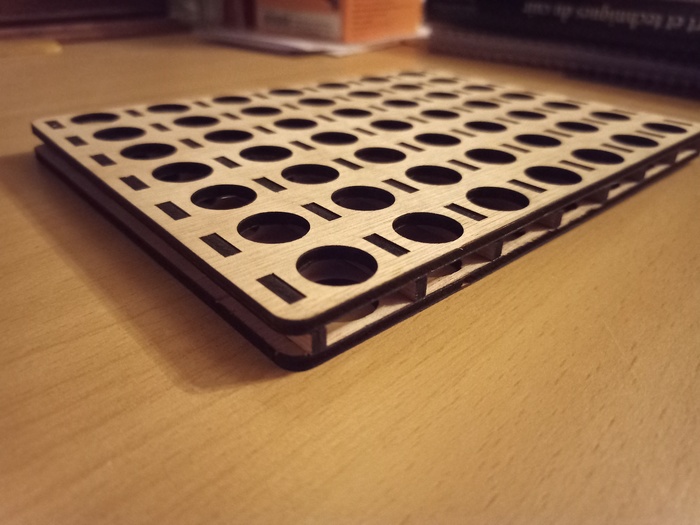
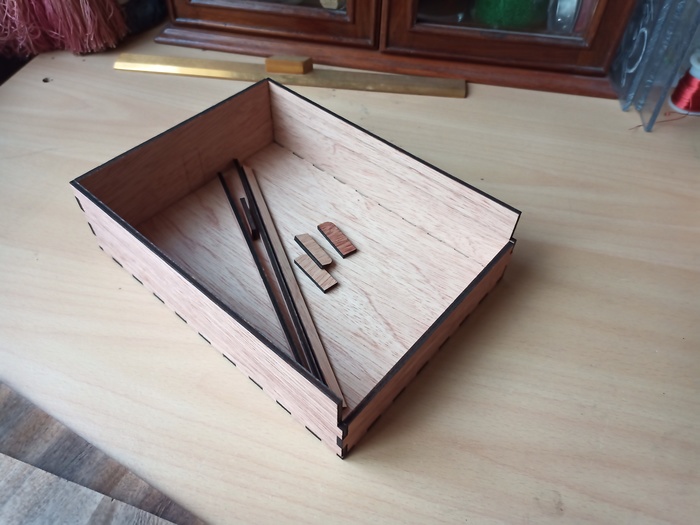
To avoid getting dark borders, I will use some marquetery sheet to cover the plywood.
I just need to cut it as the plywood, without changes.
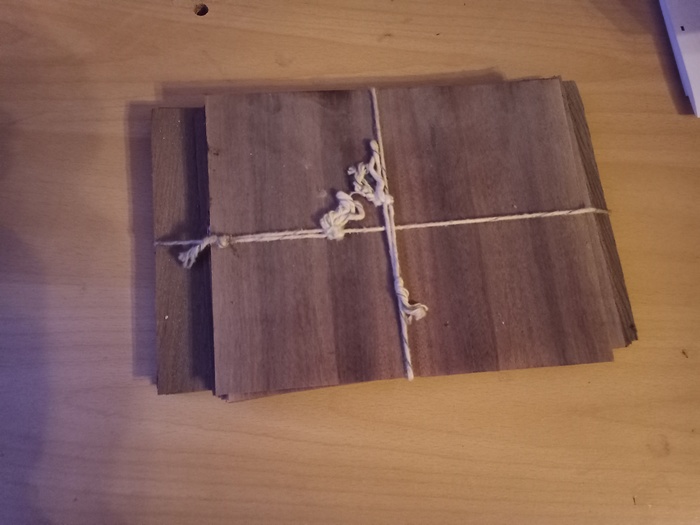
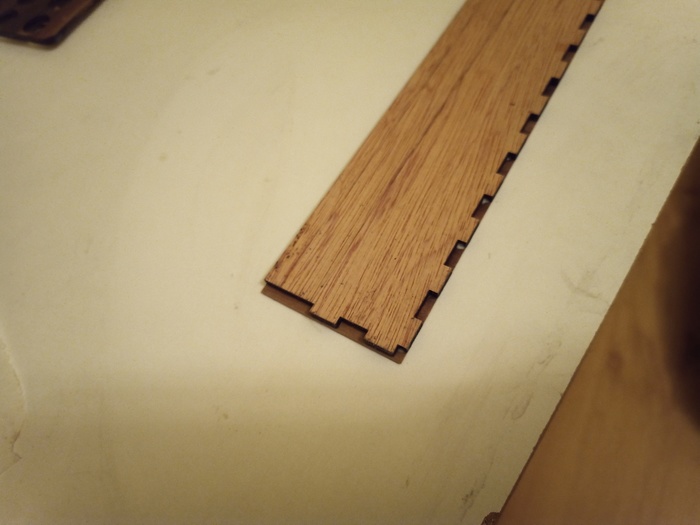
This wood is very thing and must be manipulated carefully
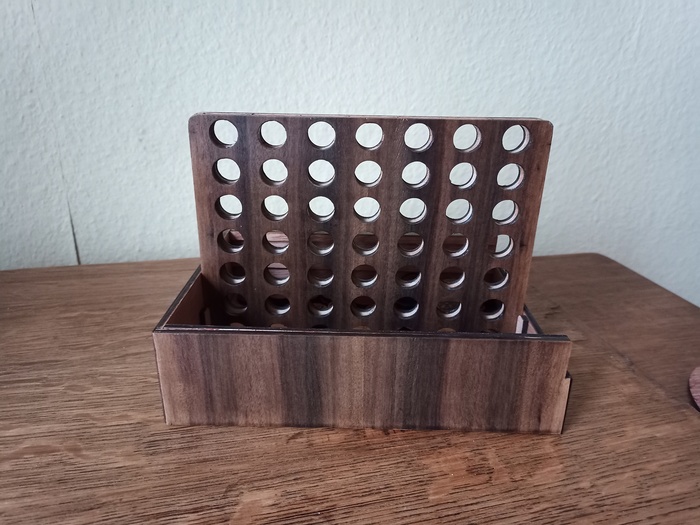
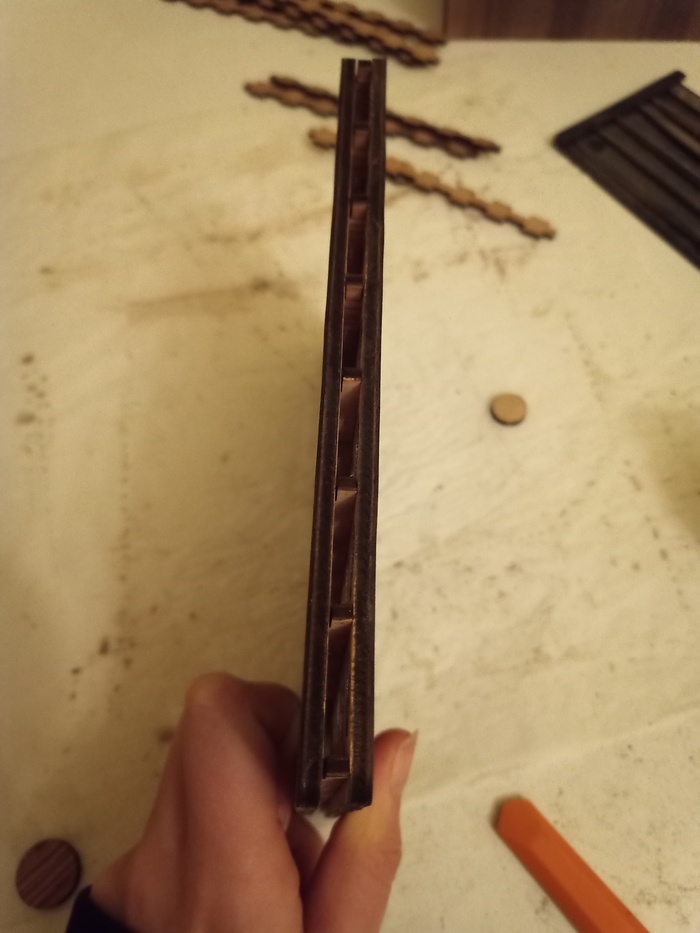
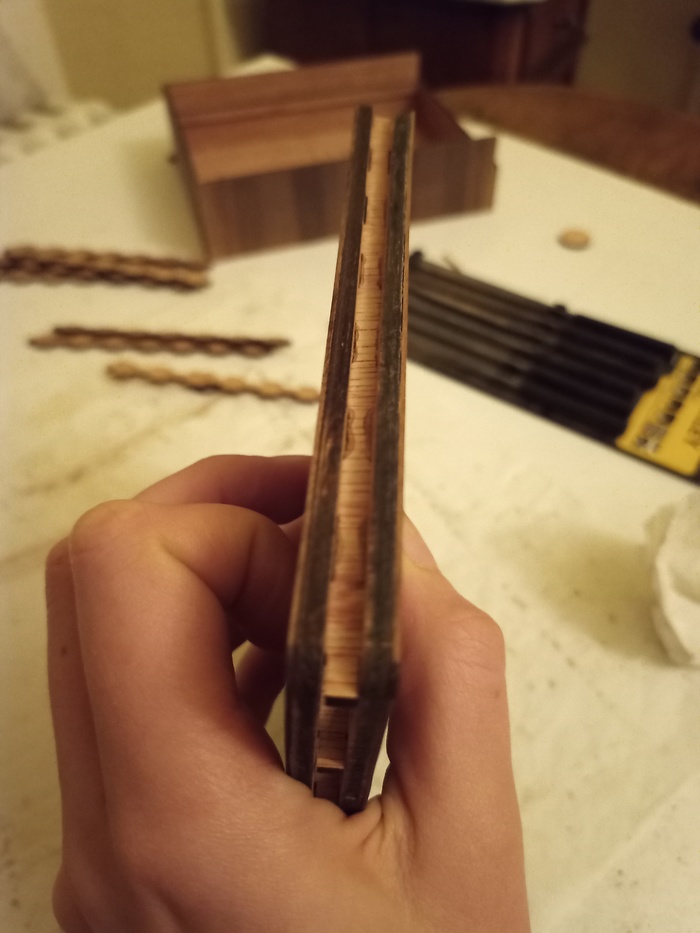
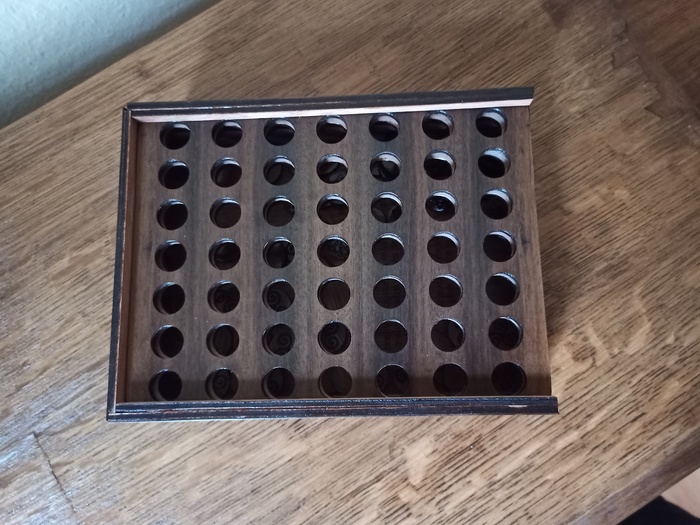
Mounting the box to see if everything OK.
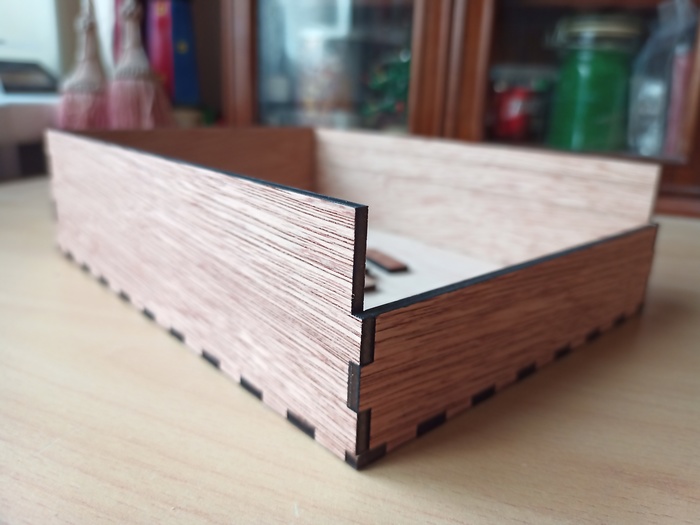
We need to glue the thin sheets to the plywood. Afterwards, it would have been better to glue the structure and after the covering sheets: because of the glue, the pieces couldn’t match correctly as before.
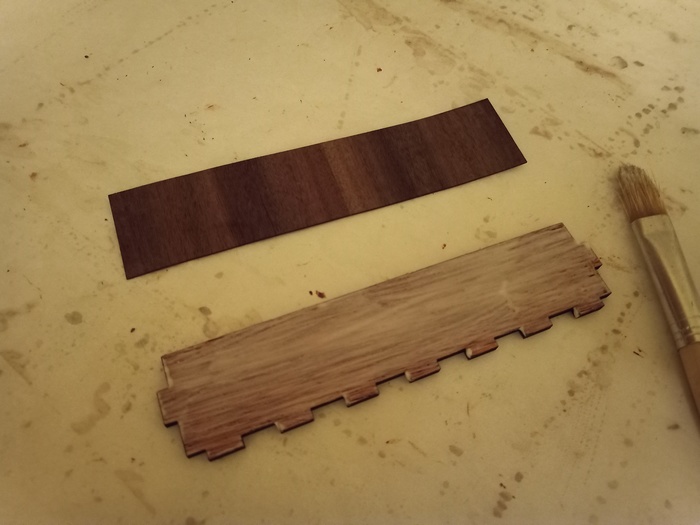
The thin wood is a full rectangle.
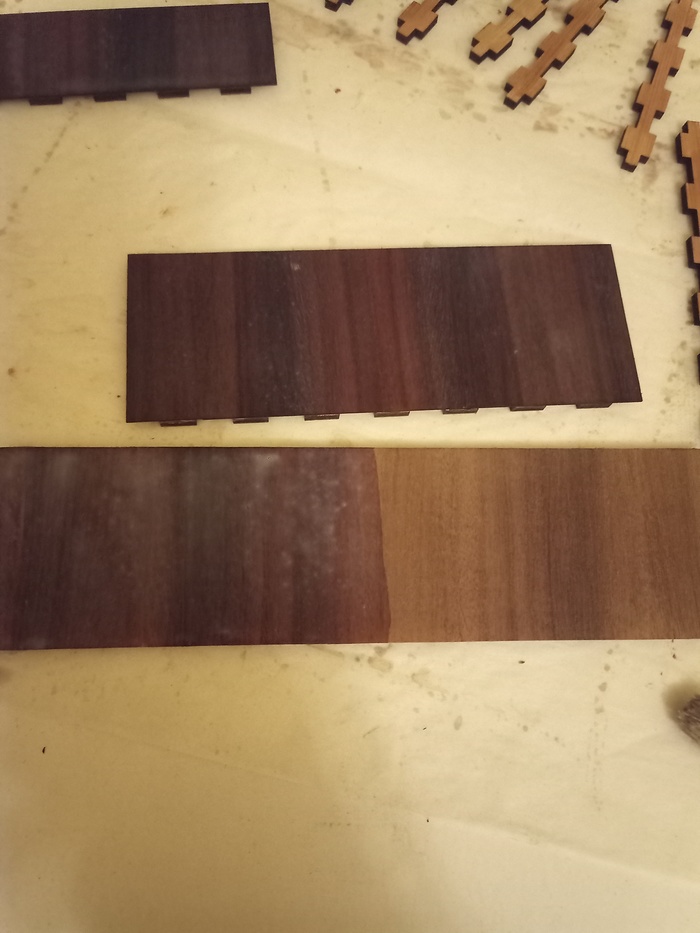
You can see the before / after varnish color.
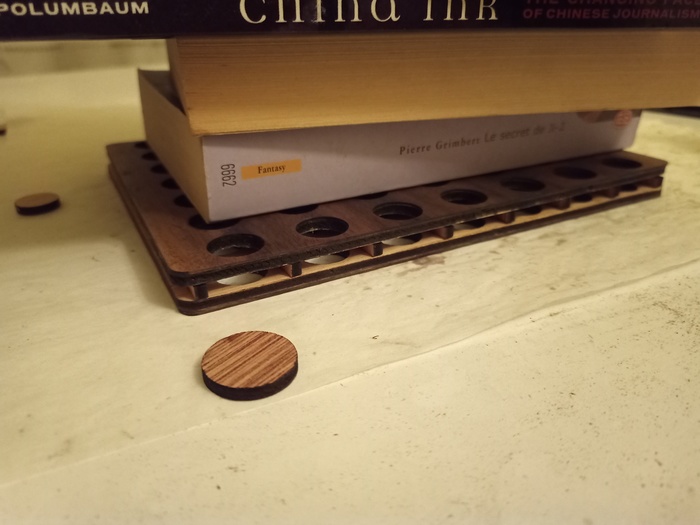
I use a few books to be sure that everything is glued together.
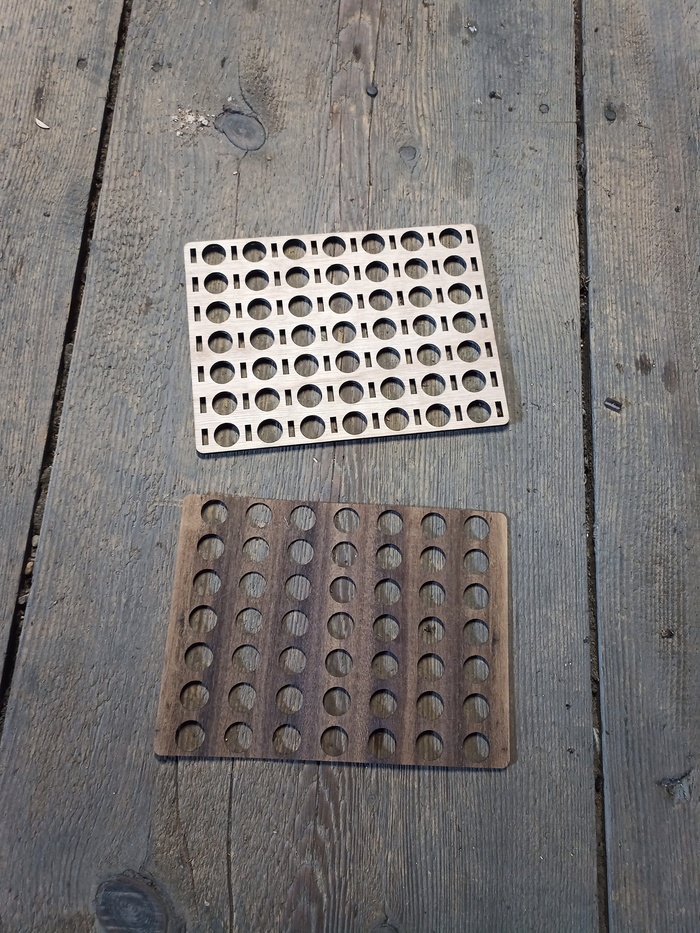
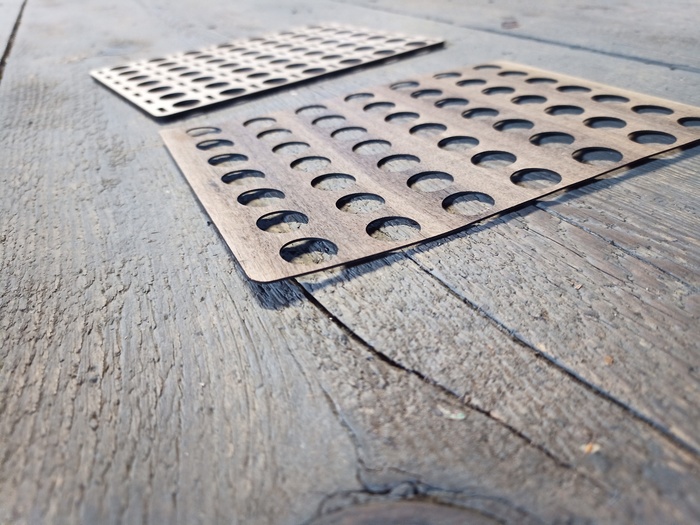
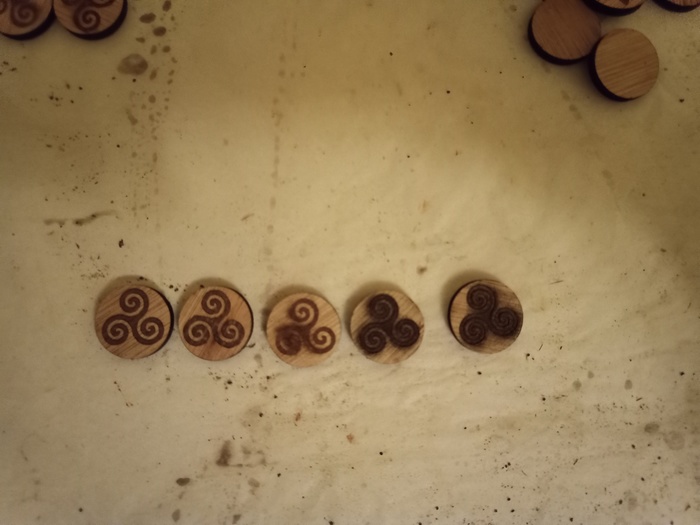
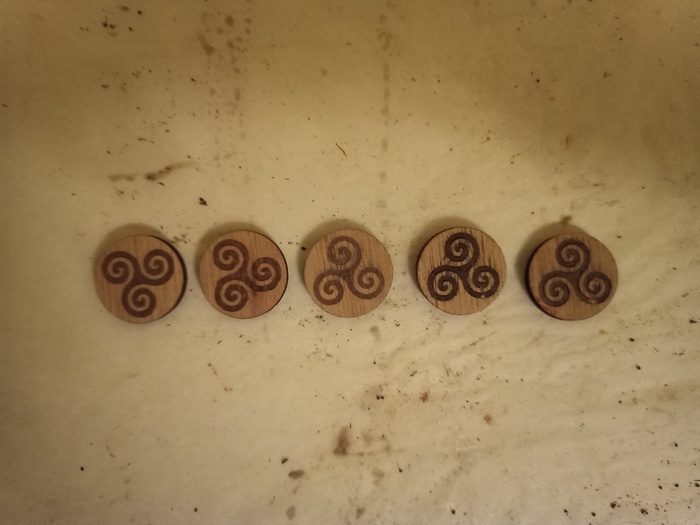
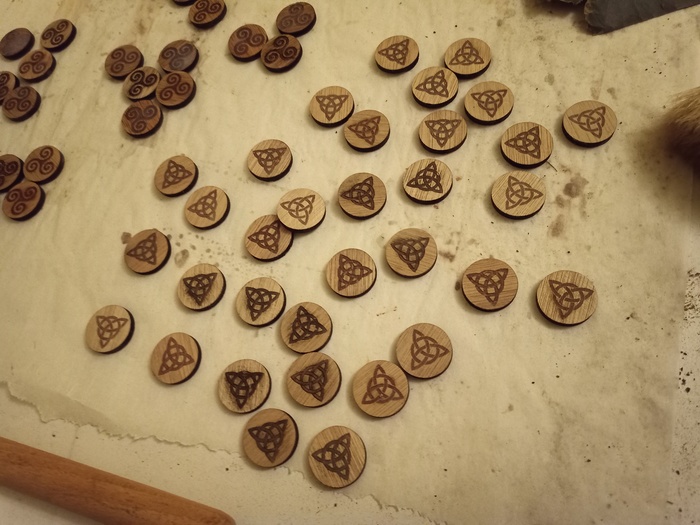
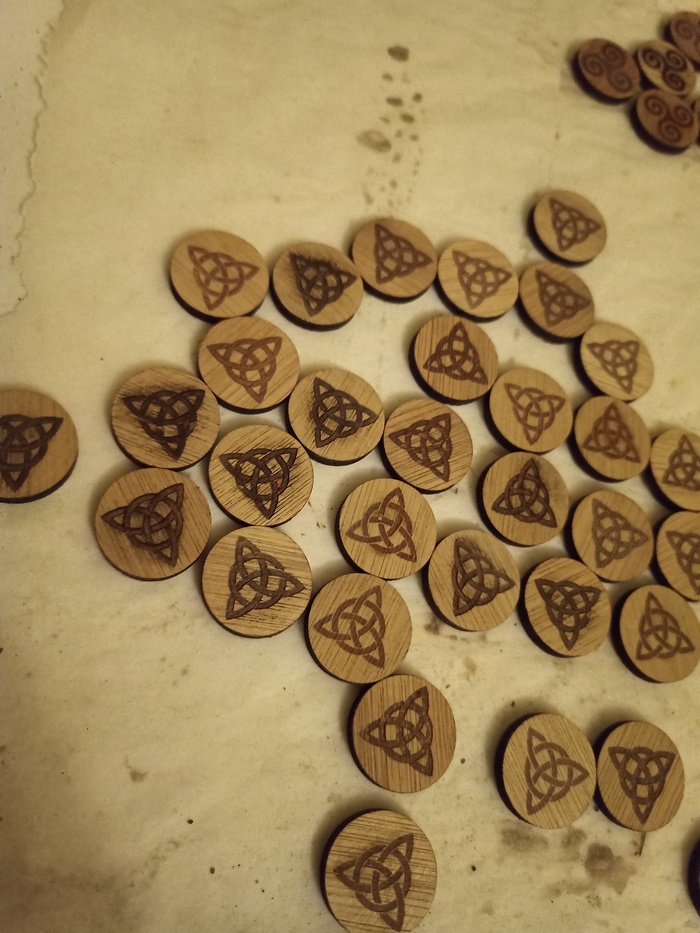
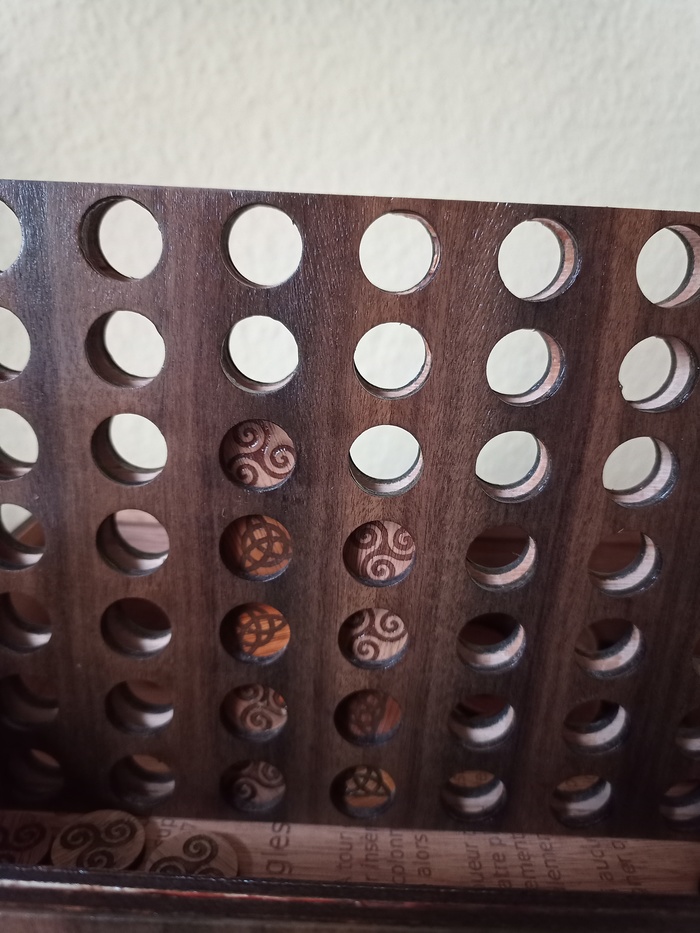
Now, the coins. I used two plywood, one a little bit darker than the other, and draw a specific pattern on.
I got one unresolved issue with the laser. As the laser heat after starting, it seems that it reaches its max temperature. However, this burn the wood. As an example, here are 5 coins cut on the same plywood during the same pass. The first are not burned while the last are quite dark.
With a little bit of sanding, everything is (almost) okay.
Next, varnish on it.
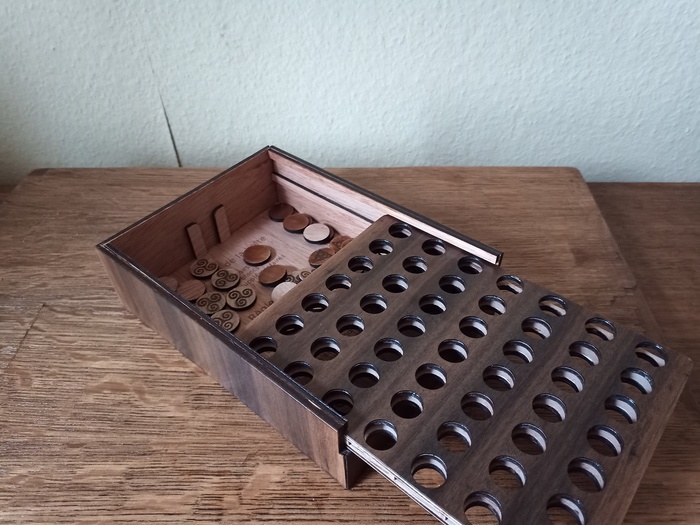
With some coins in
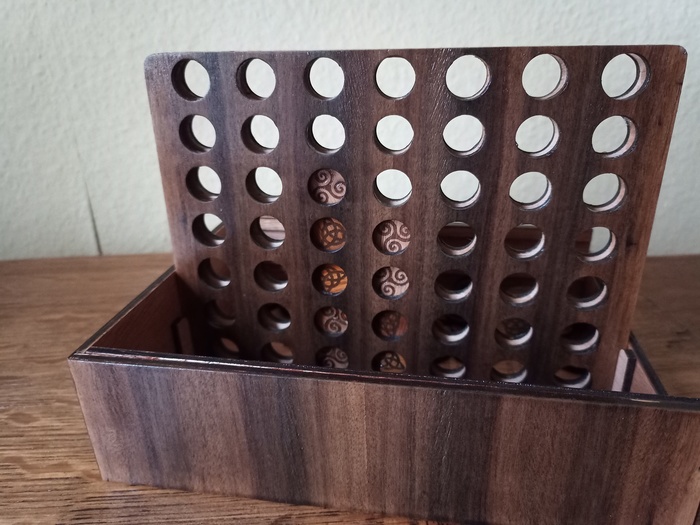
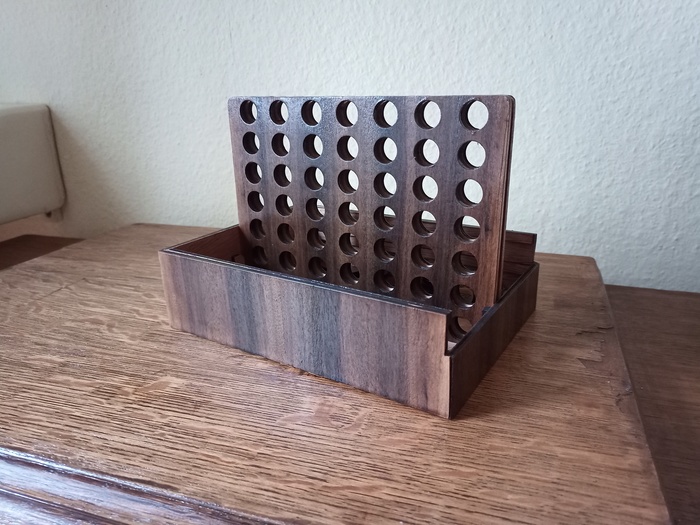
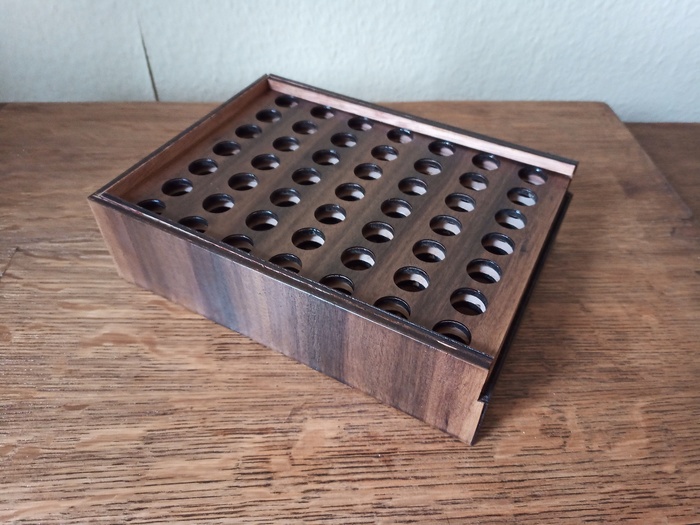
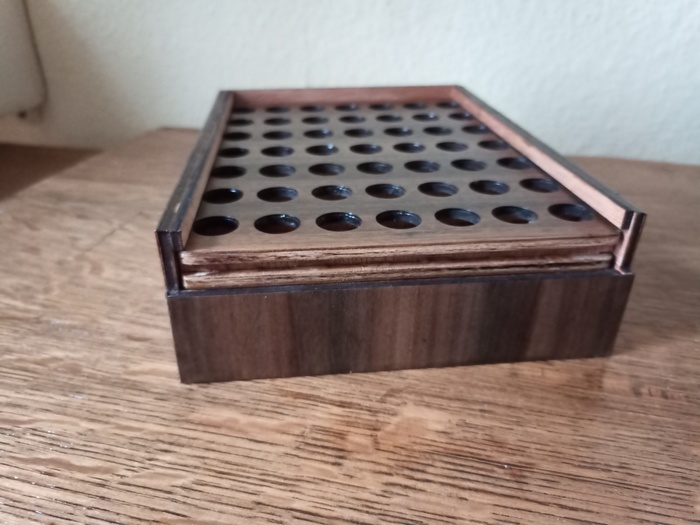
The box is designed with a rail so the grid can slide into the box.
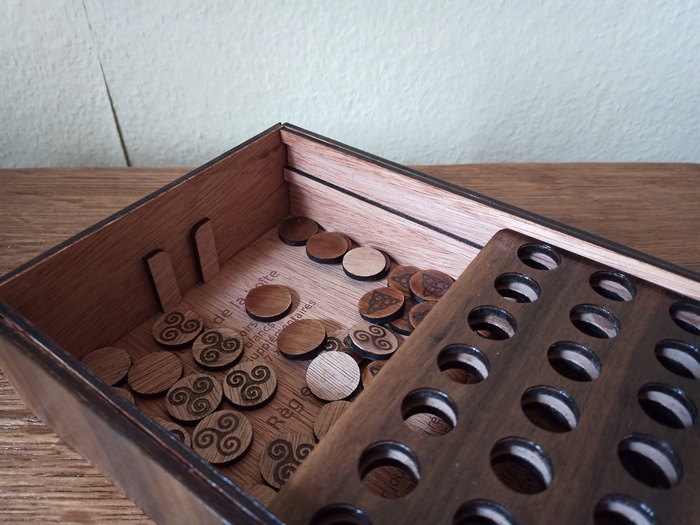
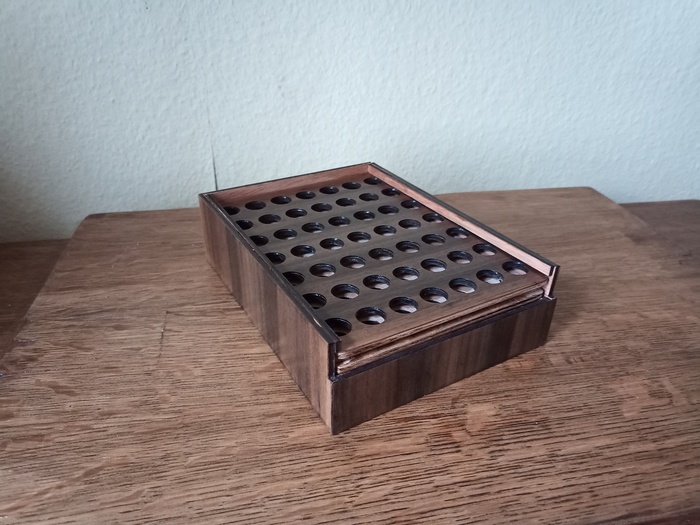
Now, everything is clean.
>> You can subscribe to my mailing list here for a monthly update. <<