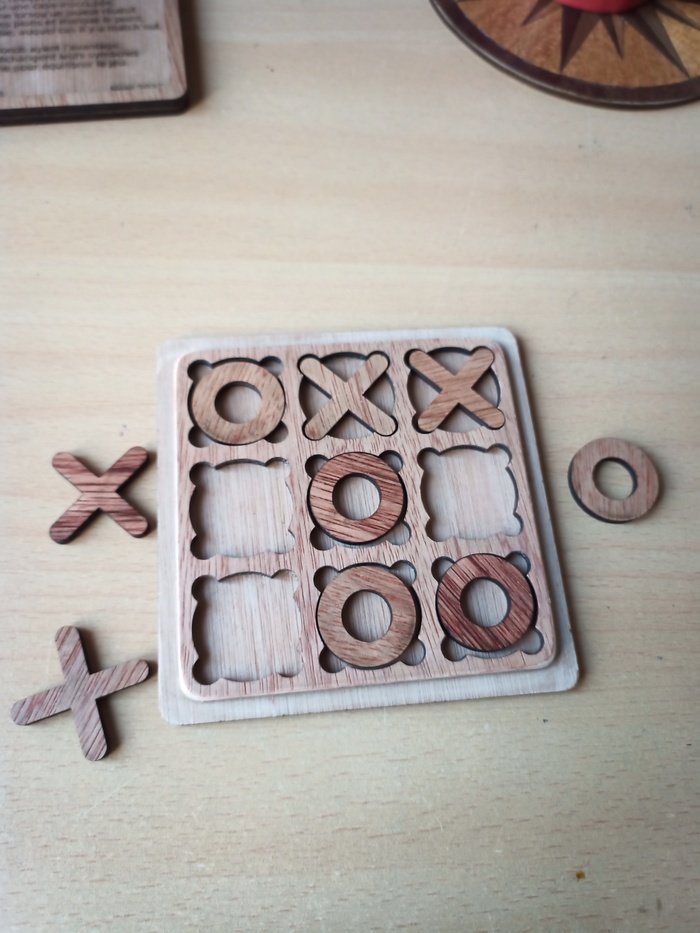
For cutting the wood:
| Params | Value |
|---|---|
| Model | Sculpfun S30 10W |
| Mode | Cut |
| Plywood | 3mm |
| Cut Speed | 4mm/sec |
| Power | 100% |
| Air Pump | Yes |
For engraving:
| Params | Value |
|---|---|
| Model | Sculpfun S30 10W |
| Mode | Engraving |
| Plywood | 3mm |
| Cut Speed | 200mm/sec |
| Power | 100% |
| Air Pump | No |
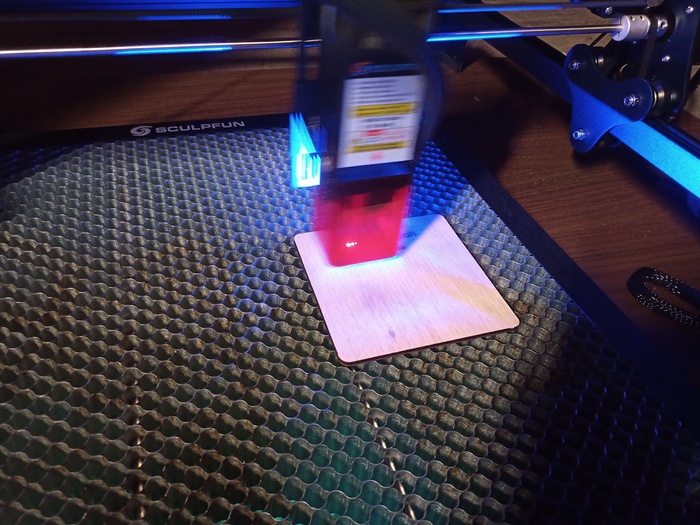
Like many other laser engraving machines, 2 axis.
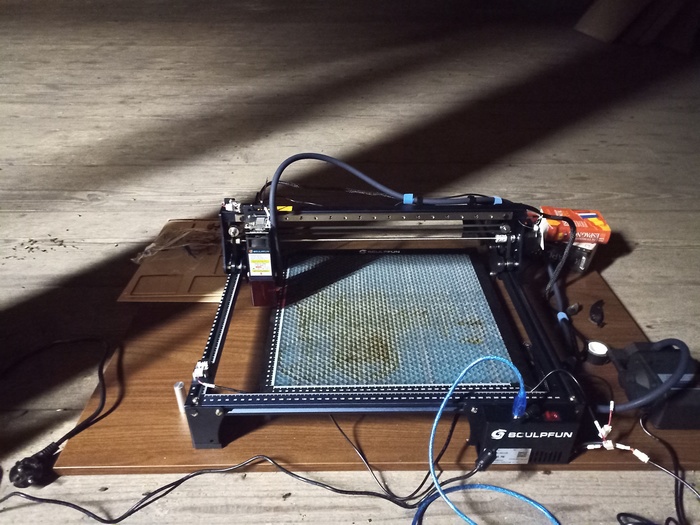
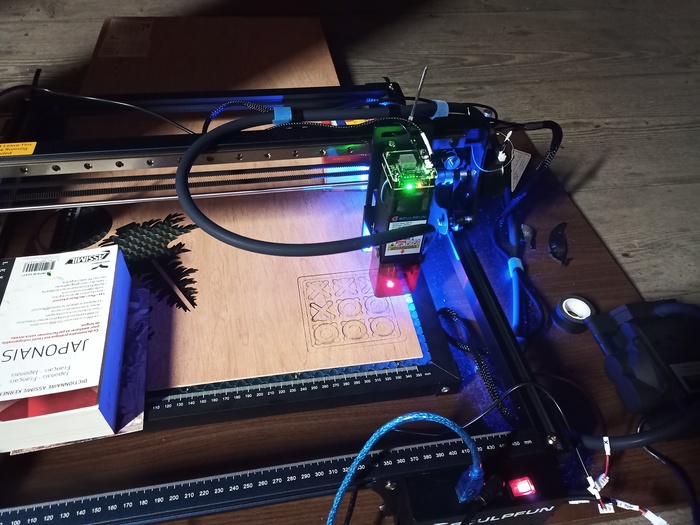
The honeycomb under became quickly dirty
I used a dictionary to maintain the 40x80cm plywood
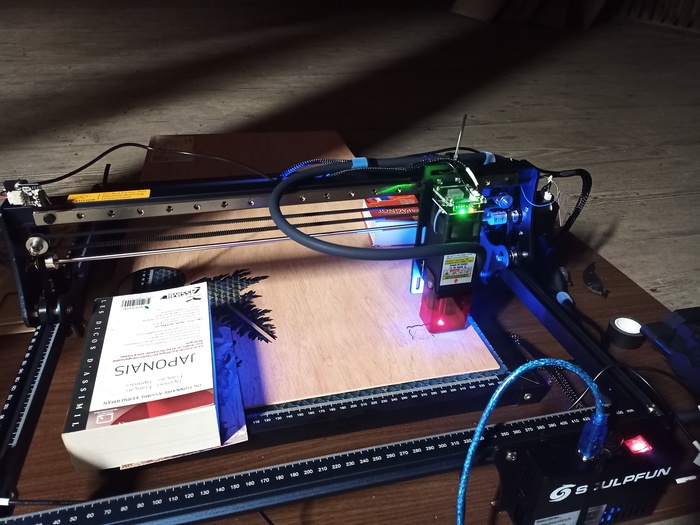
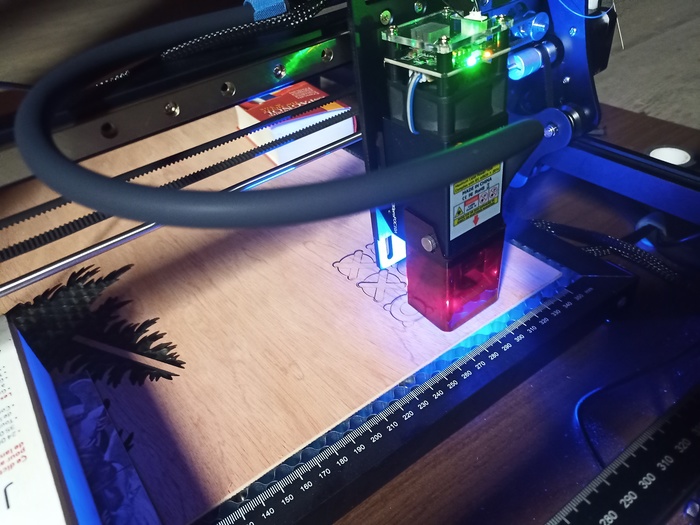
Almost done.
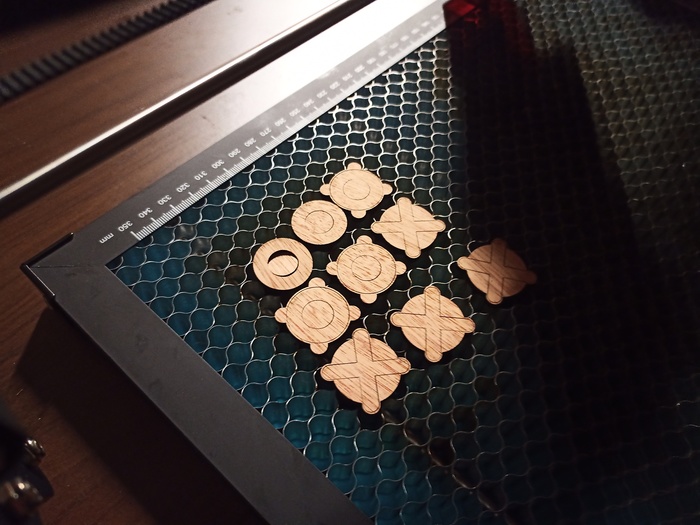
When we have the good setup, the piece must fall by applying a small pressure. If the laser power is too high / speed too low, the risk is that the pieces drop prematurely. In that situation, the laser would not cut the other pieces insides correctly (incorrect focal).
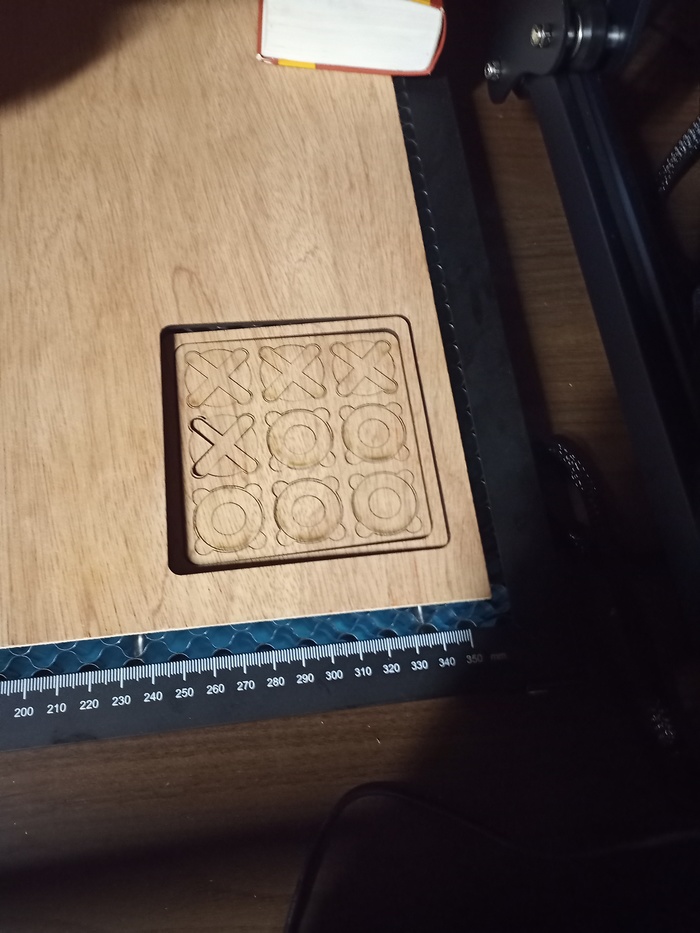
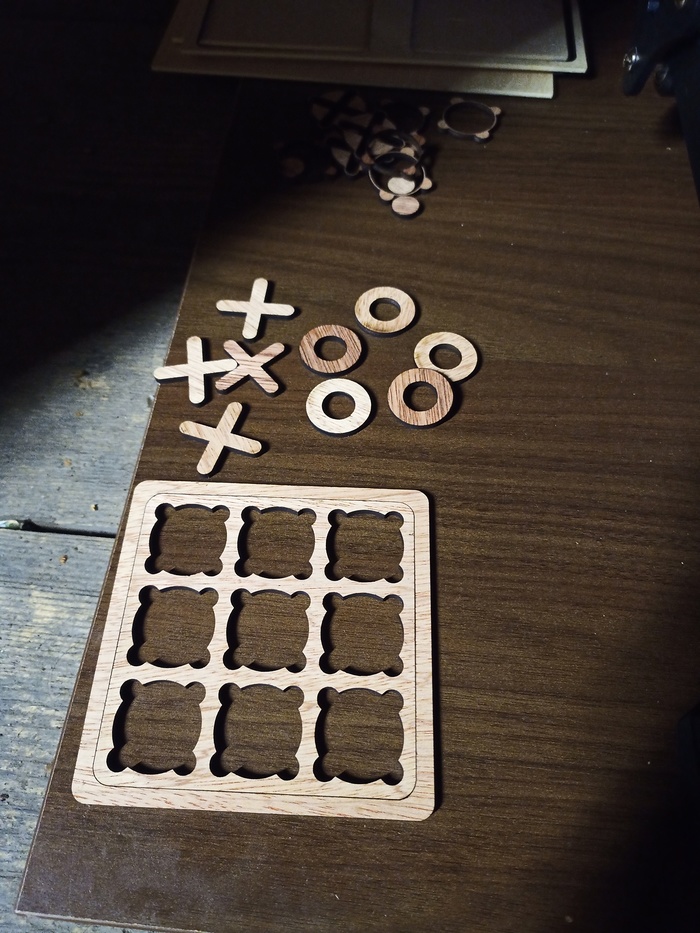
Just have to separate them
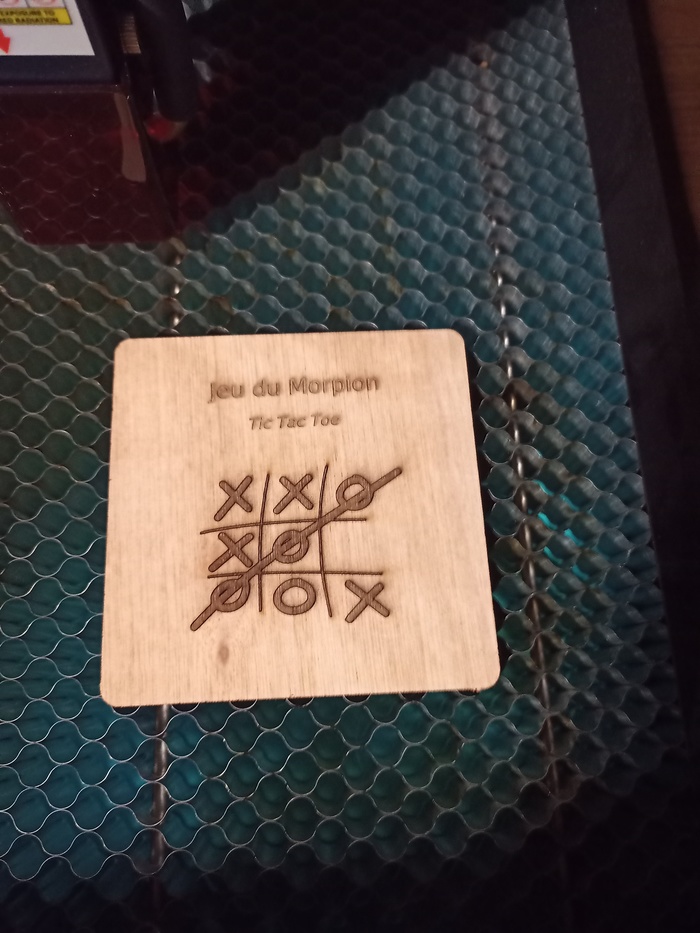
I wanted to engrave two things:
Even with the pump, sometimes there are dark cloud around the shapes. A little sanding steps makes everything clean.
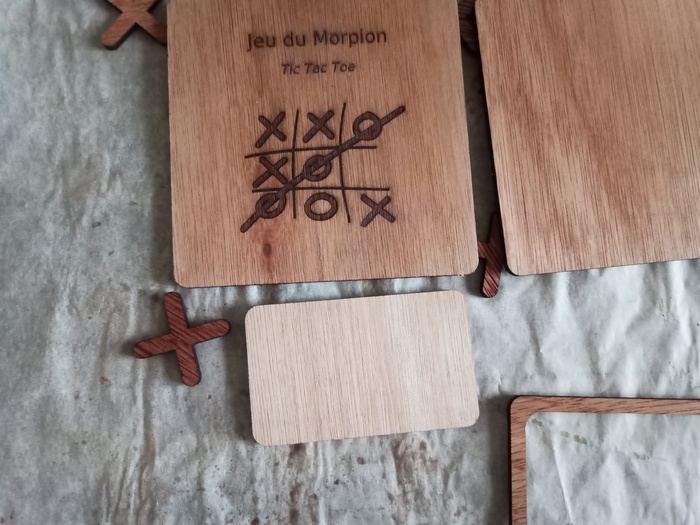
Putting Varnish for better color.
You can see the color difference with unvarnished wood (small rectangle under):
To protect the table, I used a cooking sheet, which is much better than journal paper, as the wood won’t stick to it.
I first started with the top cover (right, almost invisible on this image). The thin border must be adjusted to the big square.
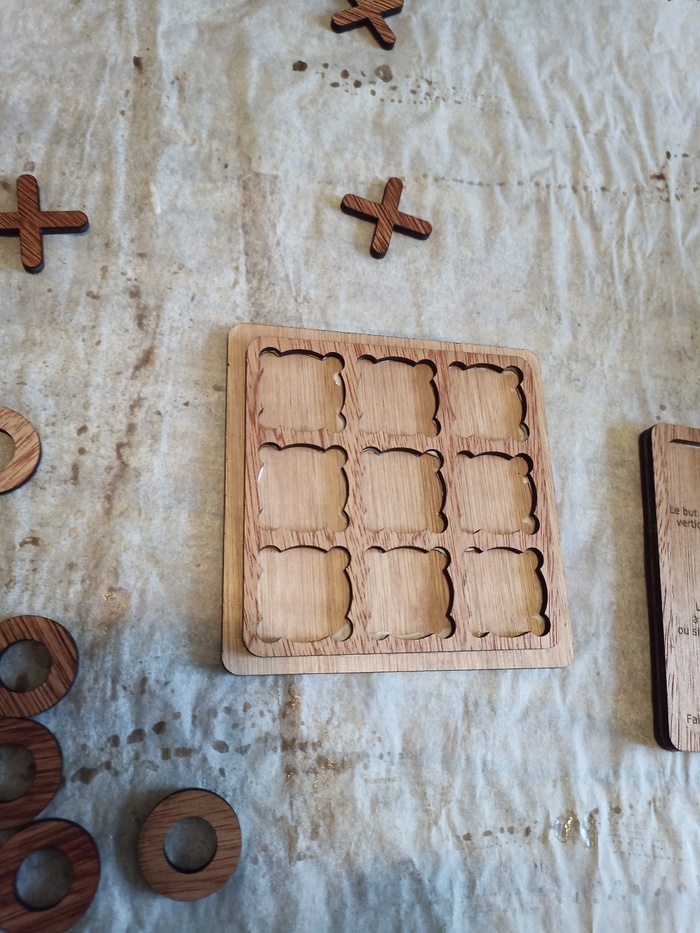
Next, I made the board. The difficulty here is to put the drilled layer in the correct position, so when you close the box, all edges are aligned.
At the end of this step, I needed to sand the borders: some glue move on the border closing, making impossible to properly close the box.
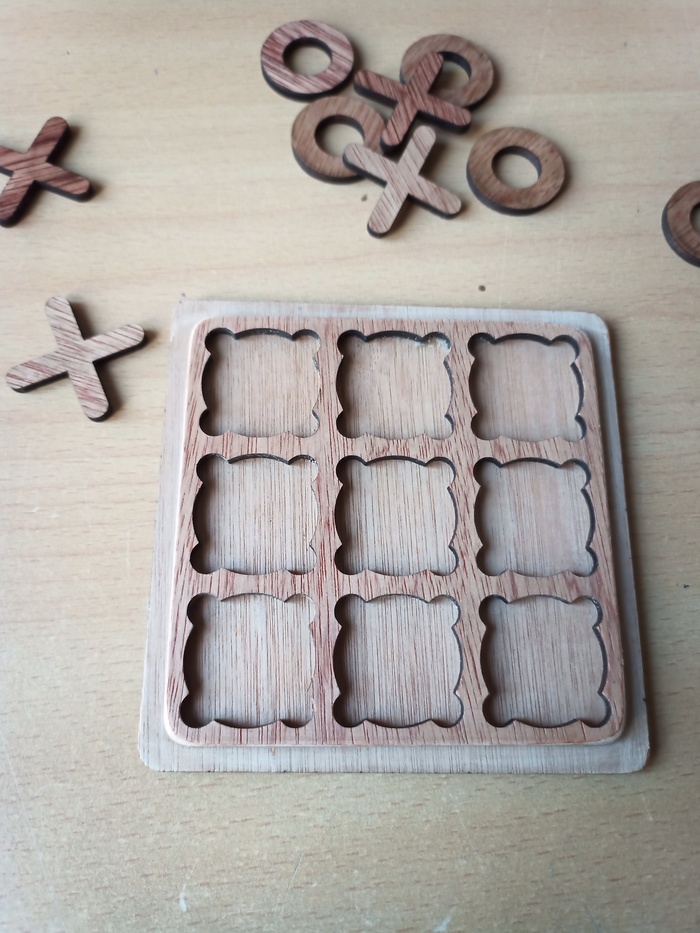

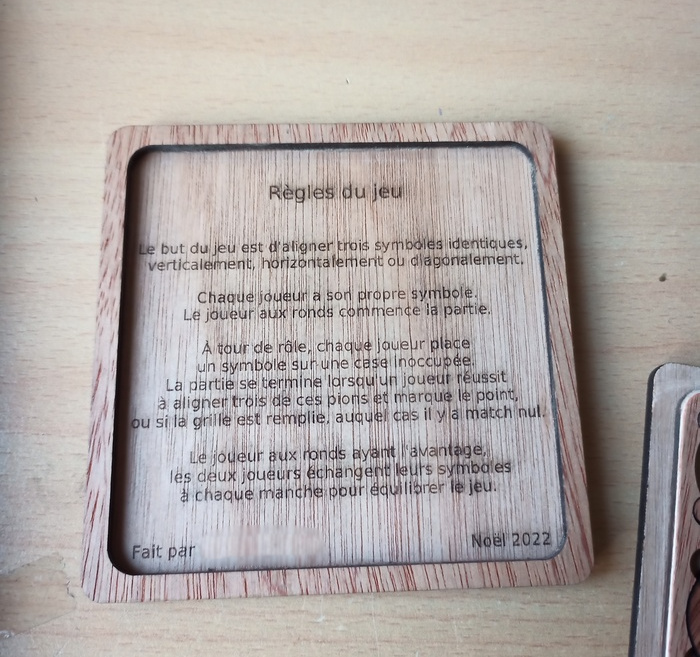
Rules on the cover:
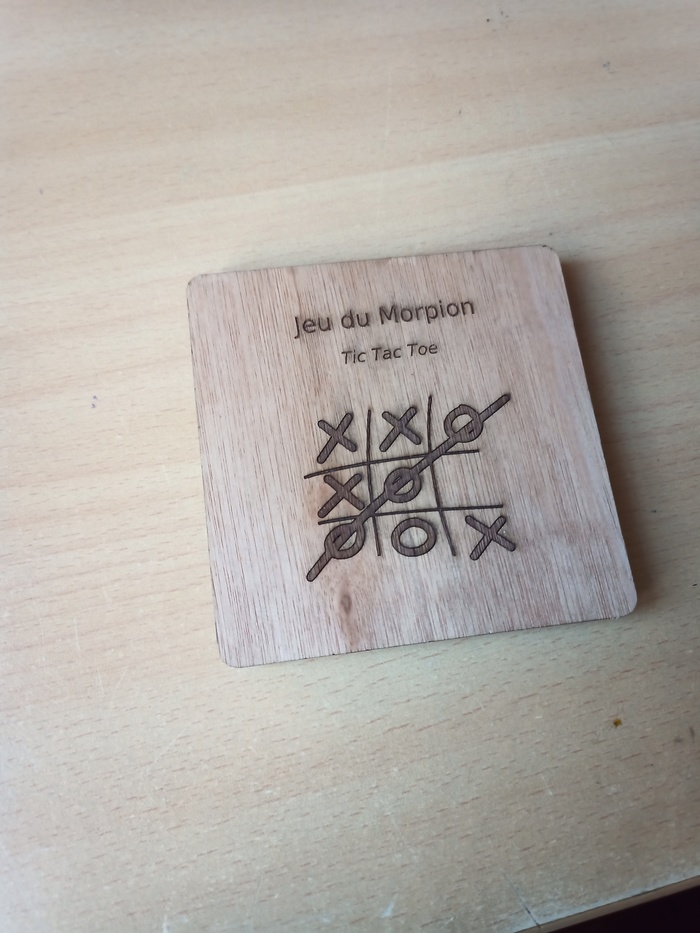
Closed box
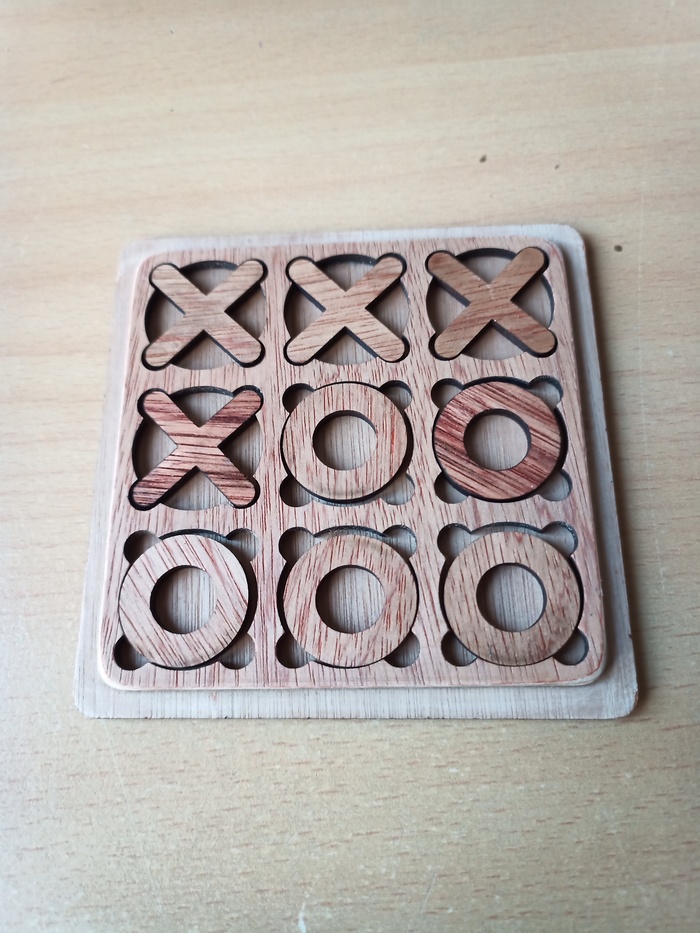
Now the game is ready to play !
>> You can subscribe to my mailing list here for a monthly update. <<