
(Draft)
I bought a Sculpfun S30 pro 10W with air assist. I choosed a 10W because 5W laser would not allow to cut many materials, while the 10 additional W of the 20W would be used very infrequently (the gap of price between the 10W and 20W is about 200€).
I took this machine because it was the only one with air assist by default. Many other machine required to buy a separated pump for 100~200€ more. According to some youtube video and vendors flyers, Air assist helps to get nicer cuts with less power (air remove smokes, so laser beam is not absorbed by).
The assembly is easy. It takes some times, but all tools are provided. There are some parts that are shady to understand, but with some logic, we find out how to complete the parts.
Lightburn was the most recommanded software, despite the fact that it’s not free. At least, there are 30 days of trials, which are more than enough to try the soft.
In Lightburn, there is a menu to configure the laser. However, the sculpfun was undetected. The Sculpfun laser needs GRBL configuration. We need to setup the length and witdth, plus “no start point”.
I have a linux 18 on my machine, and libc6 was 2.7. However, lightburn 1.3 required libc6 version 2.8. I tried to install the packages, but it starts to broke my machine so I rolled back. I took the lightburn 1.1, which did not required the new libc6 version.
Configuring is not enough. First, we need the drivers.
When plugging the laser, and typing
dmesg
lsusb
I could see that I needed a CH341 driver.
There are the official drivers that are broken, I could not install it on my Linux.
I needed to take an alternative one.
Last, as in Arduino, I needed to authorize device communication:
sudo chmod a+rw /dev/ttyUSB0
In Lightburn, I needed to select ttyUSB0 (or ttyUSB1).
In the Lightburn console, I got the message “OK”, and I could ask the laser to move.
I do recommand following the first tutorials of lightburn, so you discover the pannels and options available to you.
On lightburn, you have 4 types of layers:
fill + shift
There is a system of layer, as in many image editing software. There number is limited, so you have to deal with.
For a layer, you define the speed and the power of the laser. Nevertheless, you can define for each object of a given layer the relative power. For instance, in a layer with power 70%, I can define two shape:
This is useful when making test cards, rather than configuring 10 different layers.
There is no (not yet) table on the web, saying:
With laser xxx, for cutting plywood of yyy mm, you need a power of ppp and a speed of ssss.
You have to experiment by yourself, to see what are the best parameters.
For me, test sheet provided with the laser (2mm ) required 5mm / sec, 100% power. For 3.5 mm, I required two passes at 100% power and 5mm/sec. I could do it in one pass by using a slower speed, but I preferred not to burn the wood.
For engraving, it depended on the wood color. 200-250 mm/sec was a good speed. For light colored wood, 100% power gave good results. For dark wood, 70% power was better to avoid burned areas.
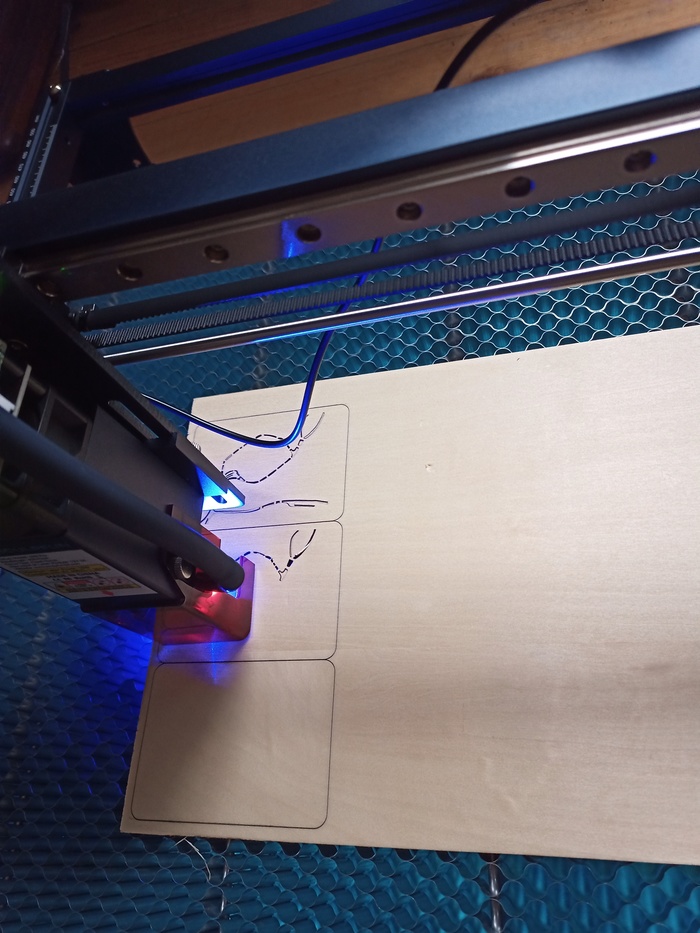
This is a (failed) test sheet: I tried too high-speed values compared to the task.

Laser with honeycomb.
I haven’t isolated the problem fully, but it seems that the laser performances change with the running temperature.
I was printing some coins for a project. The first coins were good, but the next were burnt with smoke. Hopefully, sanding them give them back the right color.
To make a full project, you need:
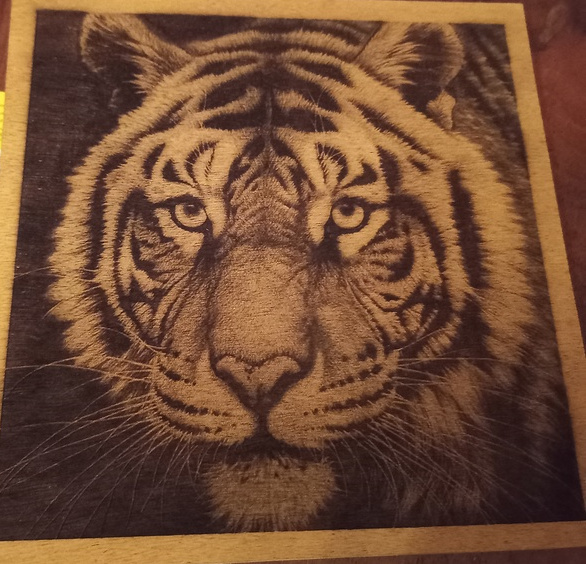
Reproducing an image. The most difficult thing is to find a good image with a right color balance. If too gray, you would not see any details at all. This takes time (almost 2 hours)
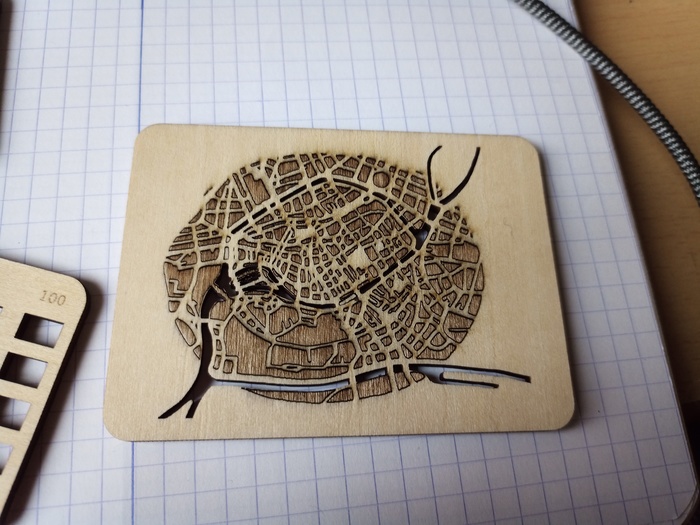
Maps. You can see how detailed it is, the squares on the paper are 5mm large:
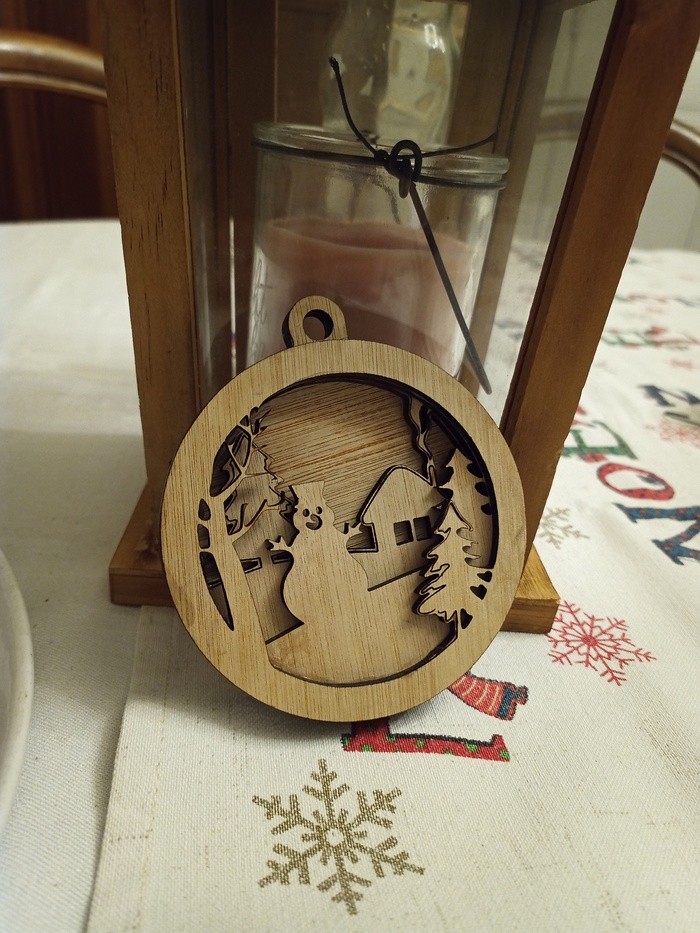
Christmass ball. You can play on wood color, or paint it before gluing it. I was on a hurry, so I didn’t, but this is quite easy to do.
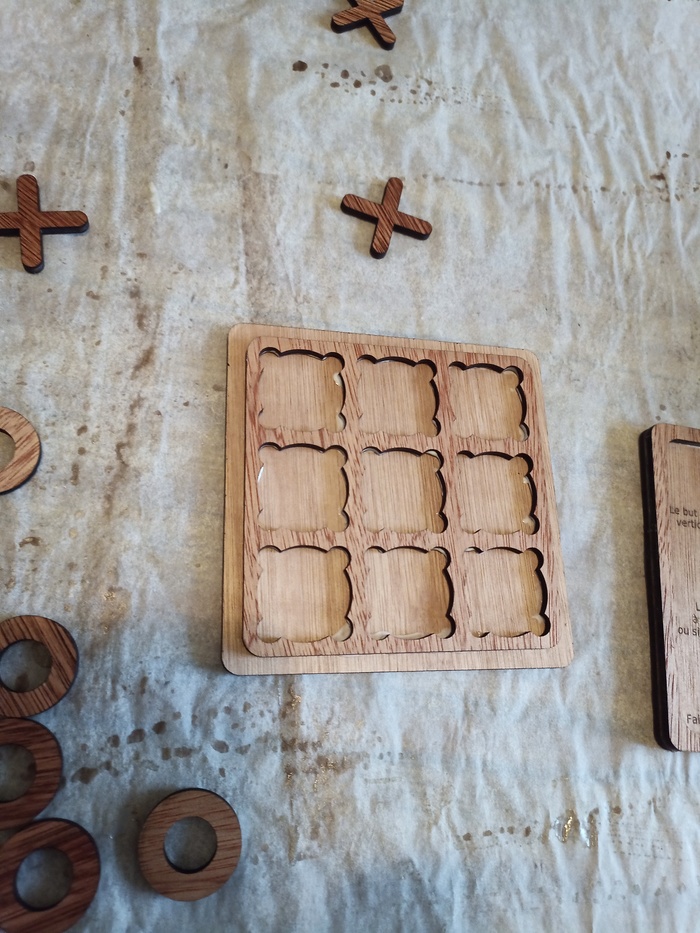
Tic Tac Toe Game. This is a boring game when you know all the strategies. Nevertheless, it is a good starting project to learn how to make box, to learn that glue is a nightmare when there is too much in.
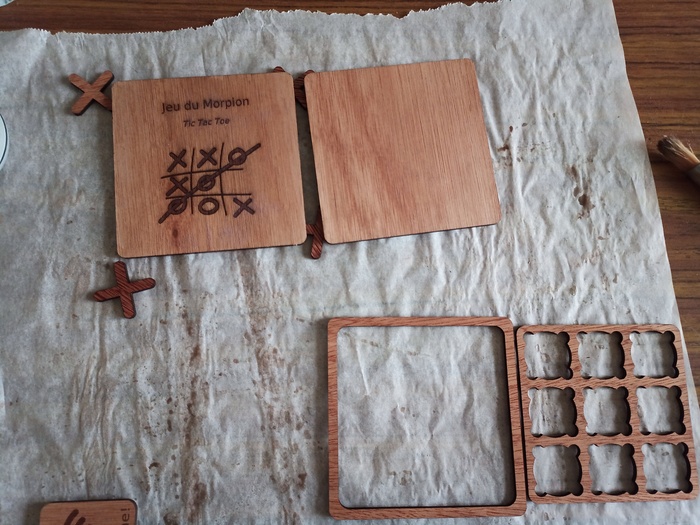
Pieces are adjusted to fit in and not move.
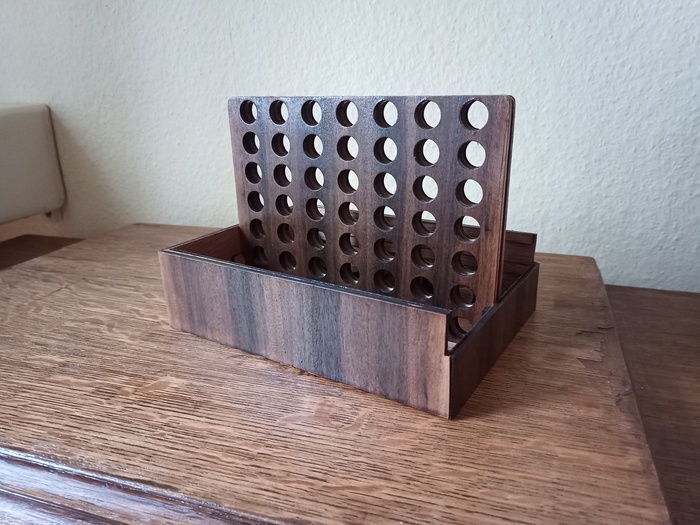
Connect 4. Here, you learn to make advanced box, learning how to deal with wood thickness and adjust your plan for.


>> You can subscribe to my mailing list here for a monthly update. <<