
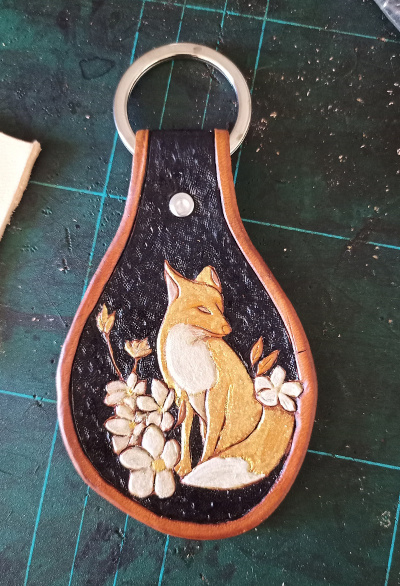
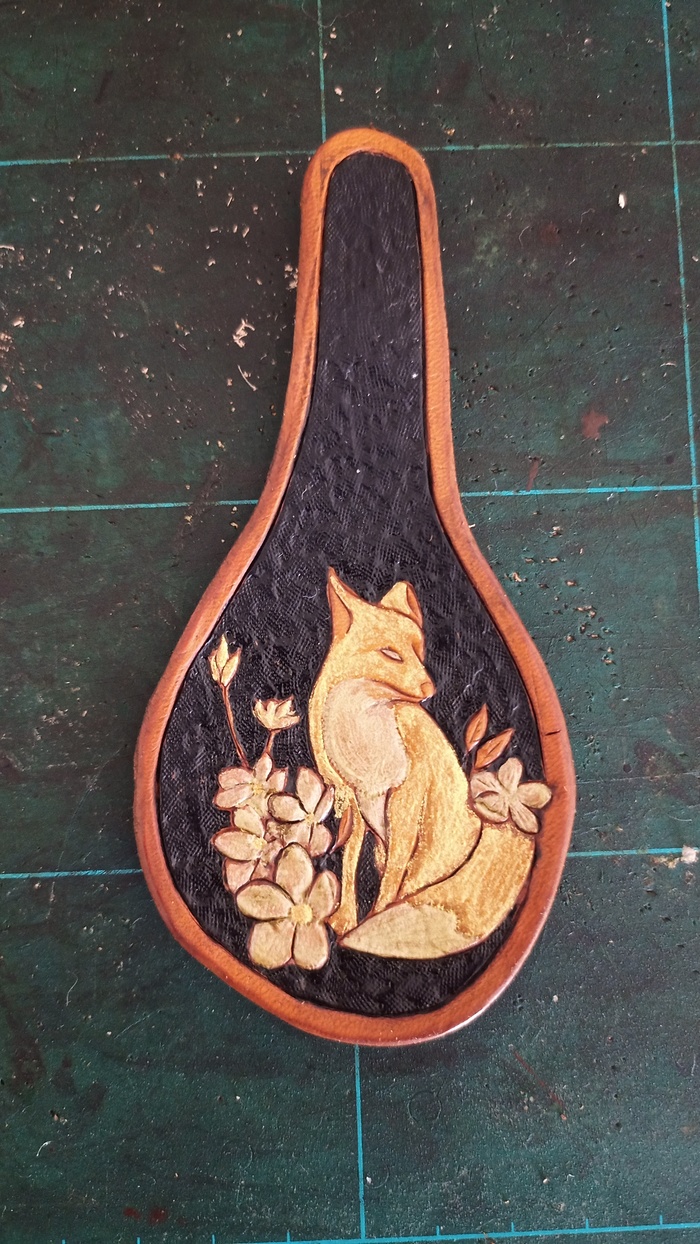
It is okay if there are some imperfection. Here, the border is a little bit cut, and I let the web sponge touch the leather overnight, which create this halo.
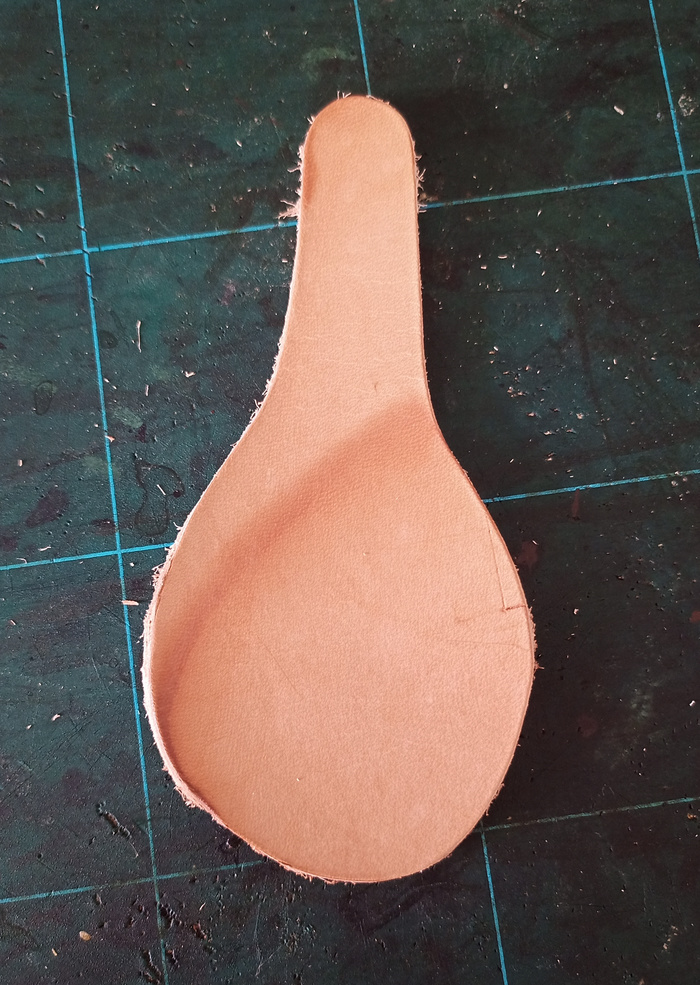
Use a razor to remove the excess of leather where you will put the ring.
Draw the pattern on a cooking sheet or transfer paper.
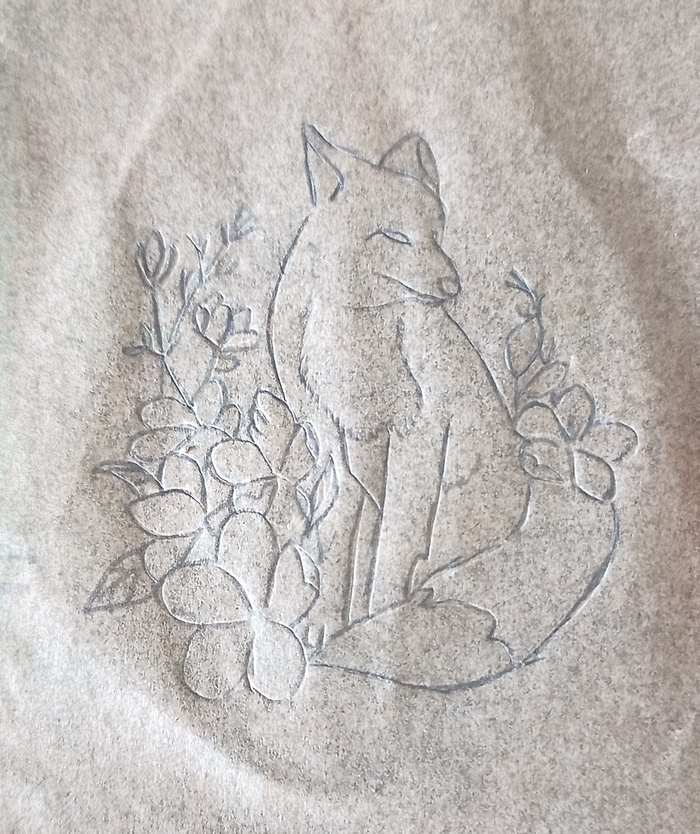
Reproduces it by wetting the leather and using a thin marking tool.
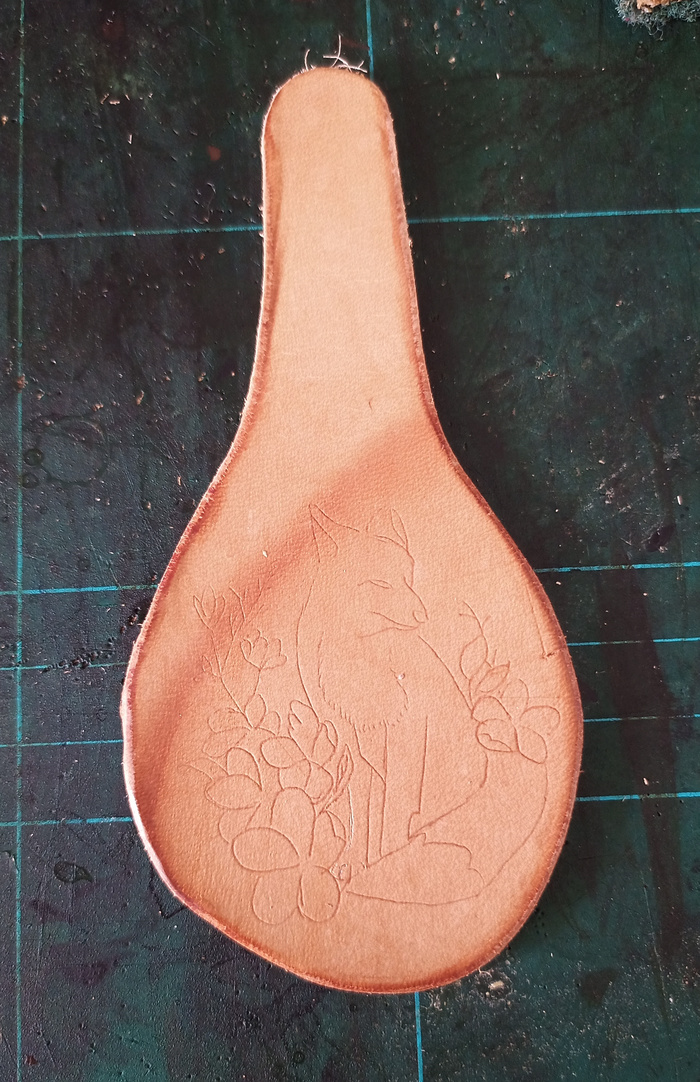
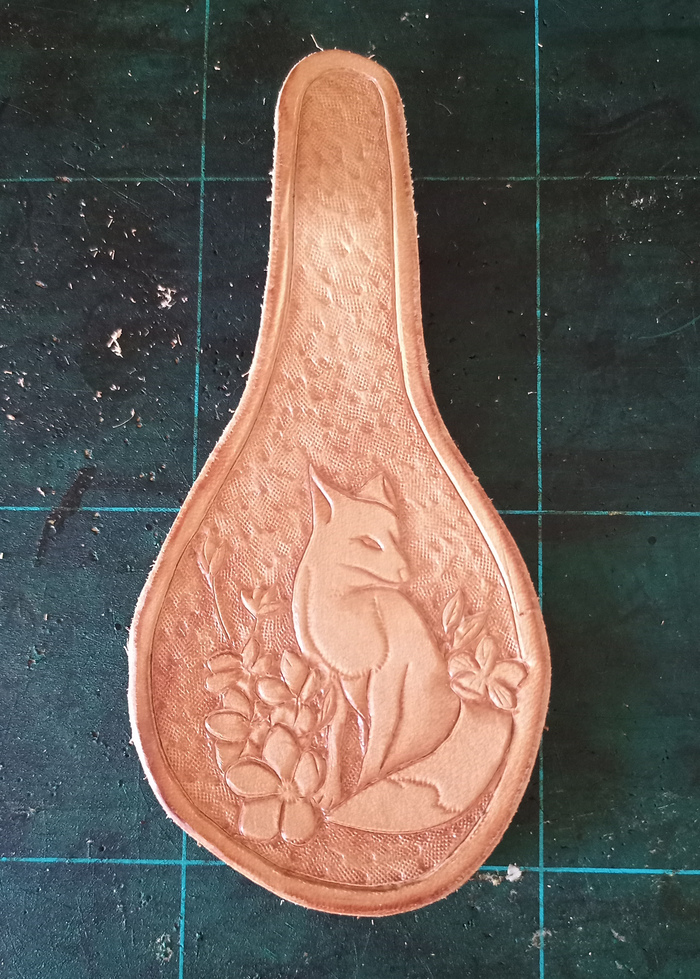
Use the knife opener to open the lines.
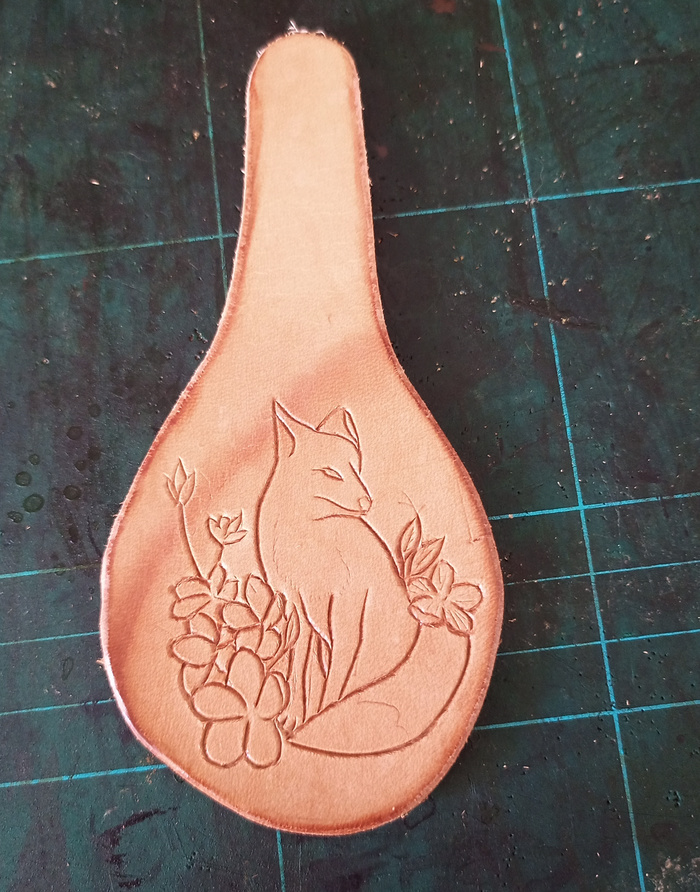
Add the borders with a marking tool. Avoid the main pattern.
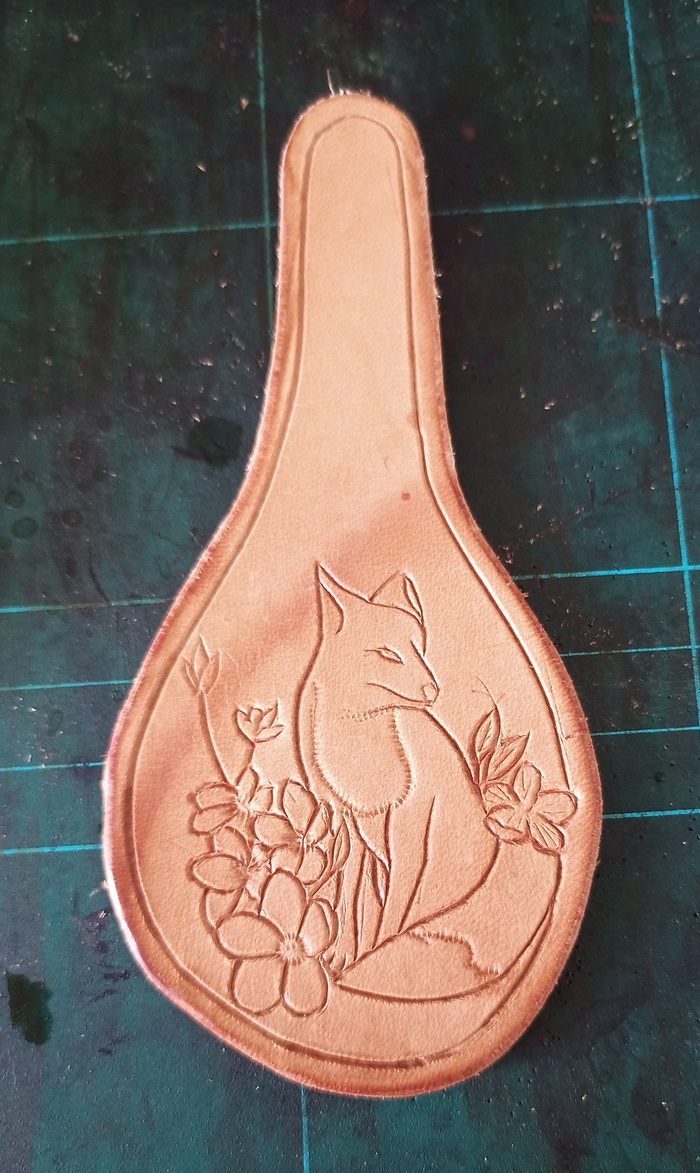
Then, start creating the relief and background.
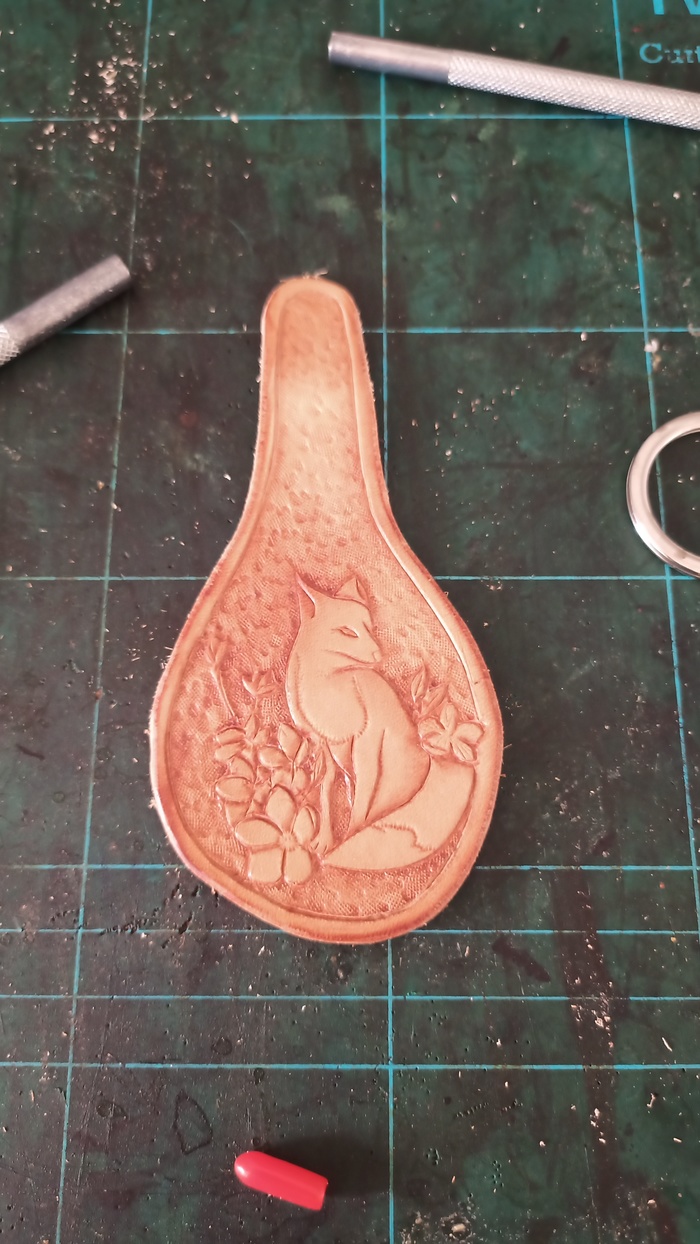
Let it dry overnight before applying the colors.
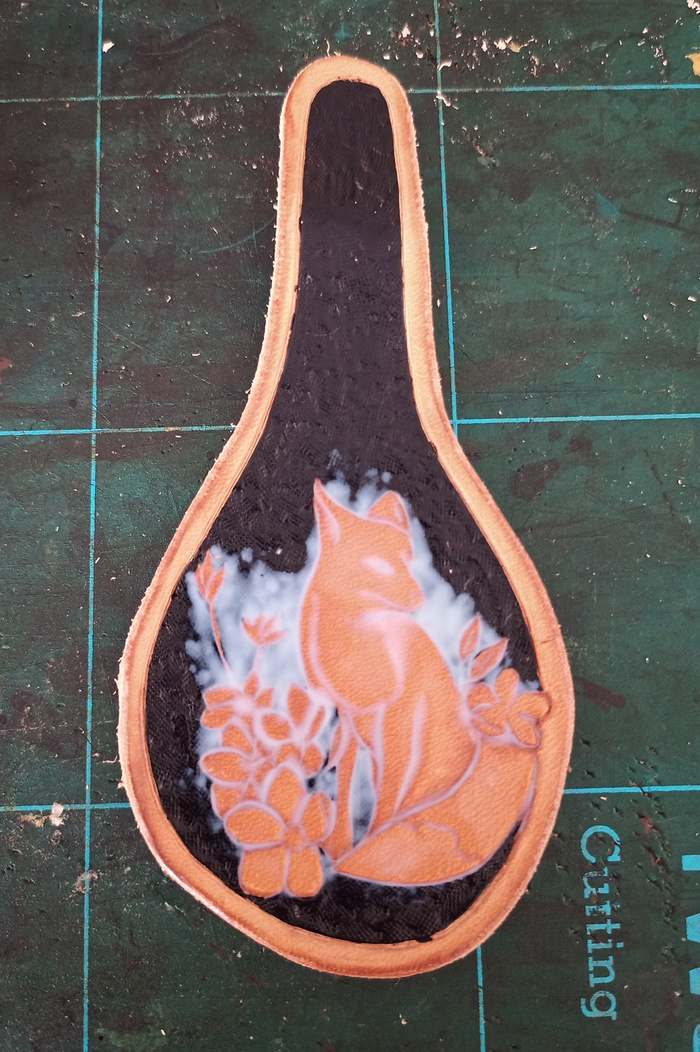
Start with the background. Here, I use acrylic color. This is not very durable (very superficial layer), but it doesn’t rub off (compare to water-based dyes).

Then, apply “super shene” to protect the fox. Do not put it on the border ! We want to create a contrast.
Apply silver acrylic color. This one is not good, it is more white than grey, so I put it BEFORE putting the antic finish, which will darken it.
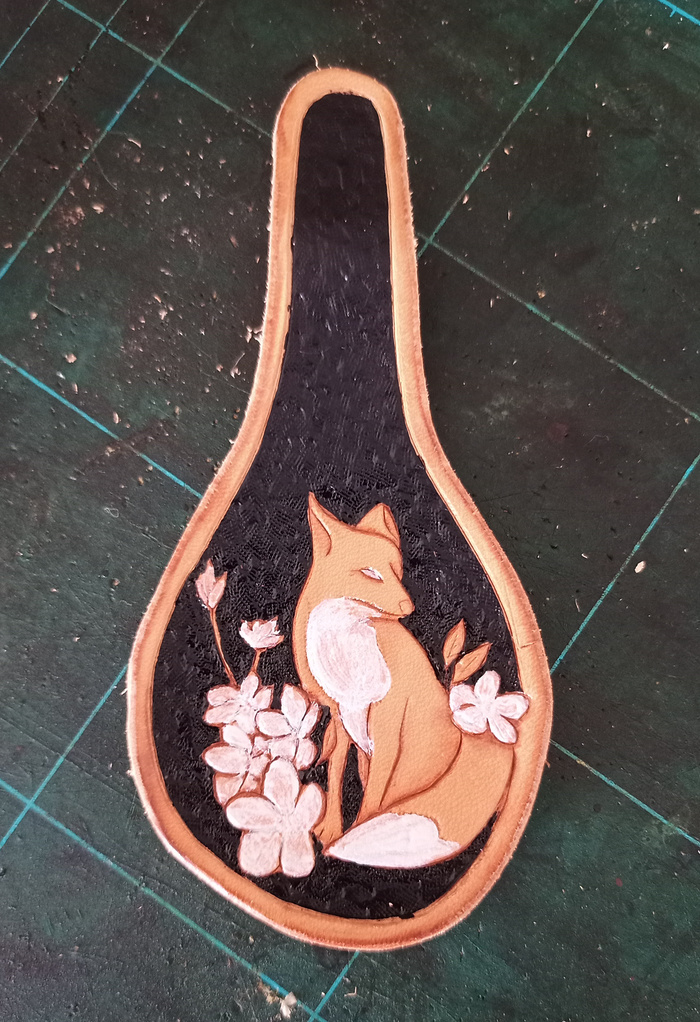
Then, apply the antic finish and some final touch of acrylic color. When adding antic finish, color also the back of the leather (otherwise, it would stay white).
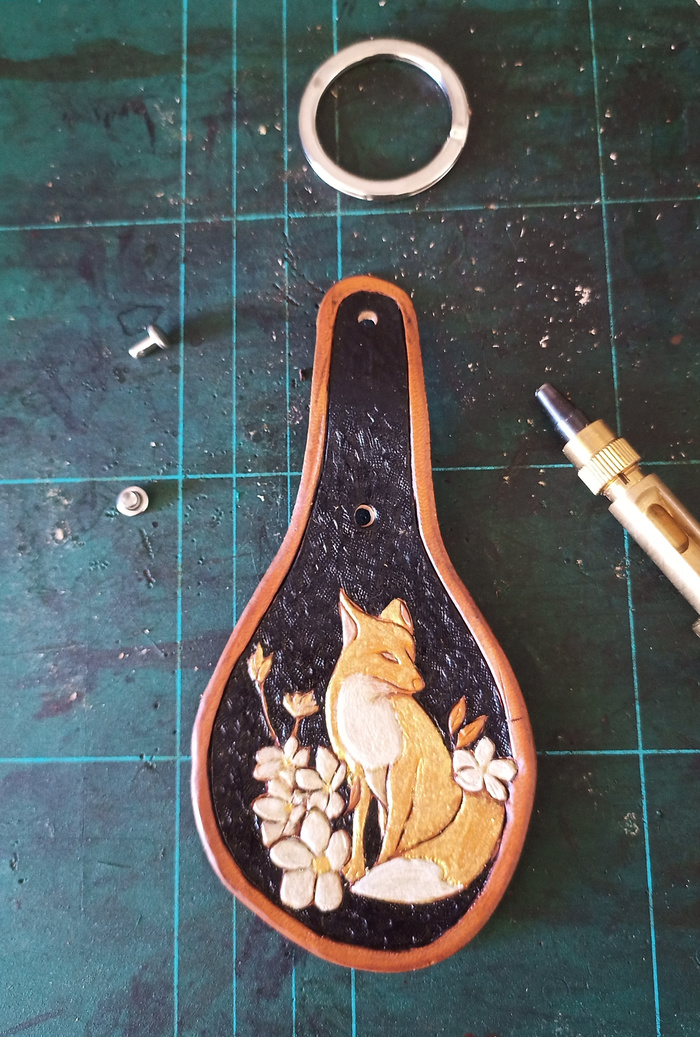
Prepare the material for closing your keychain.
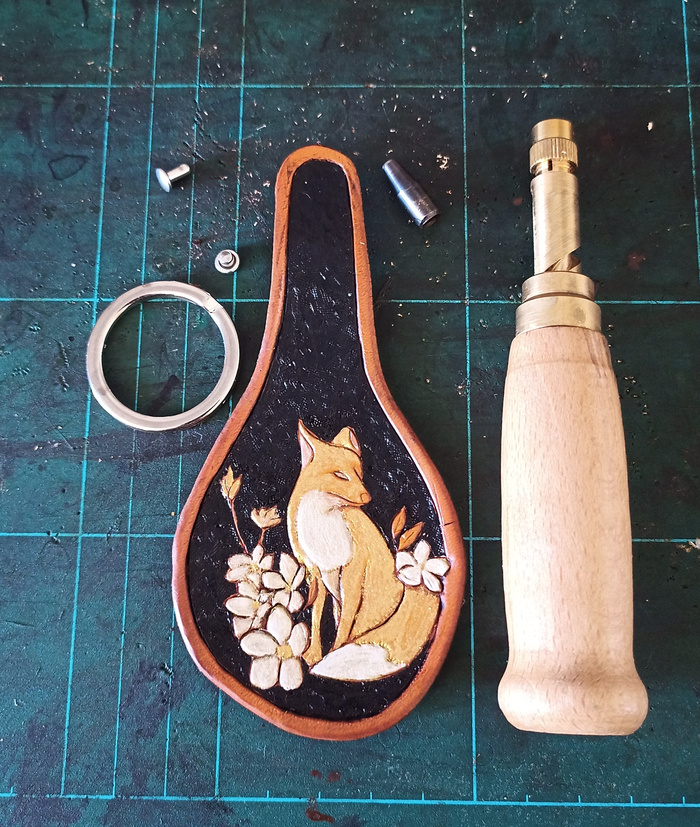
Drill two holes:
Here, I drilled holes of 4mm of diameter. It depends on the rivet size.
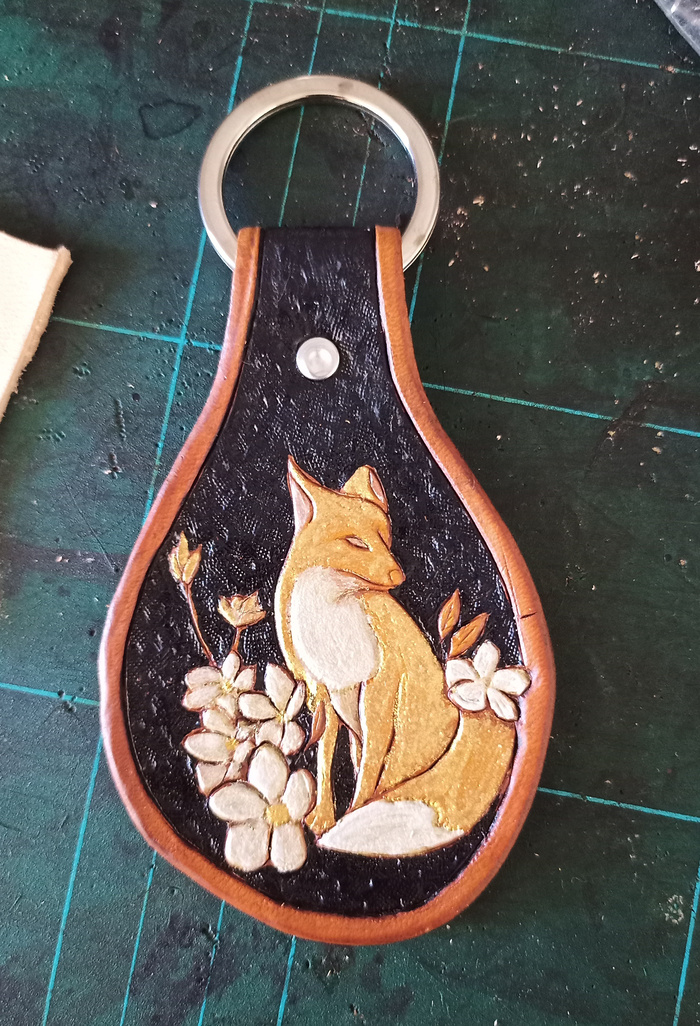
Close it, and you’re done.
>> You can subscribe to my mailing list here for a monthly update. <<