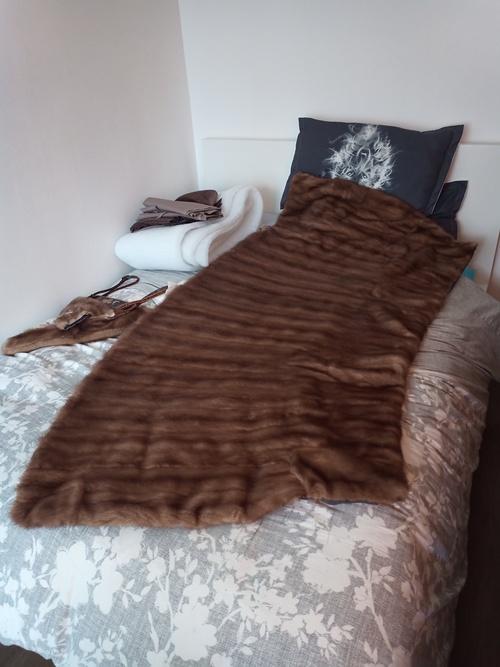
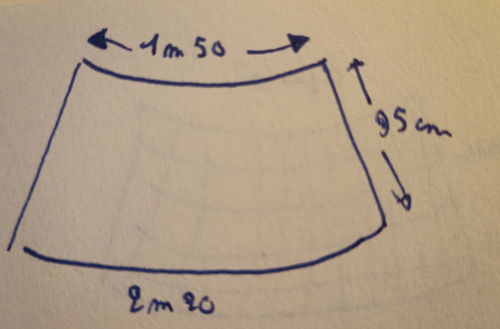
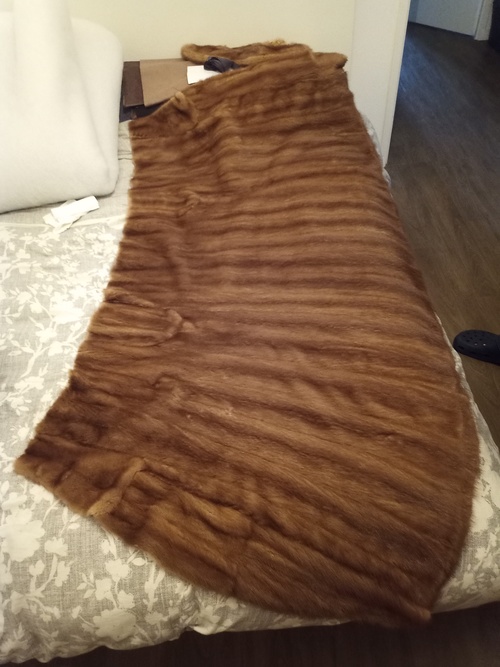
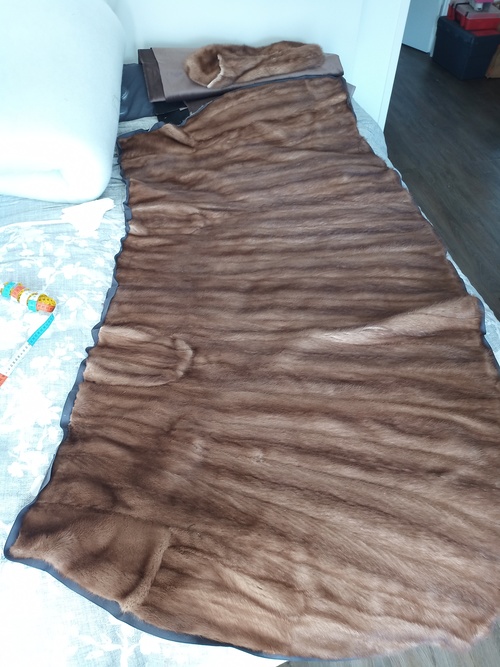
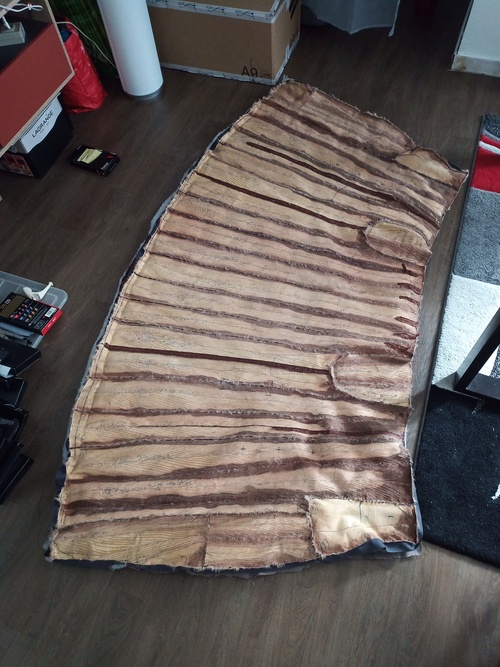
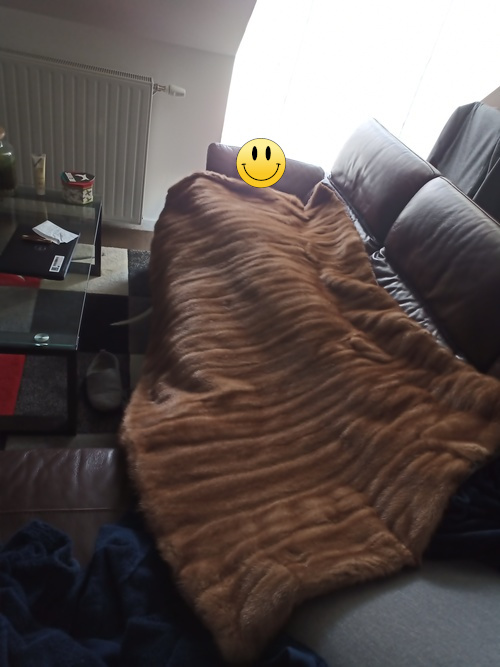
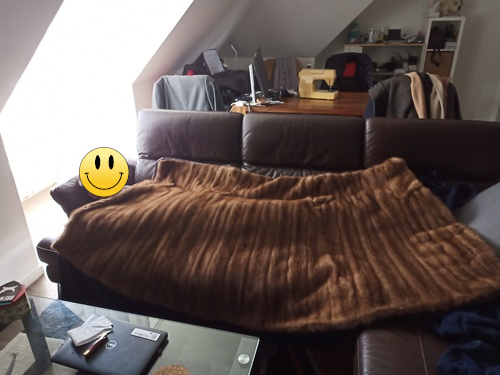
Start with the almost-rectangle fur.
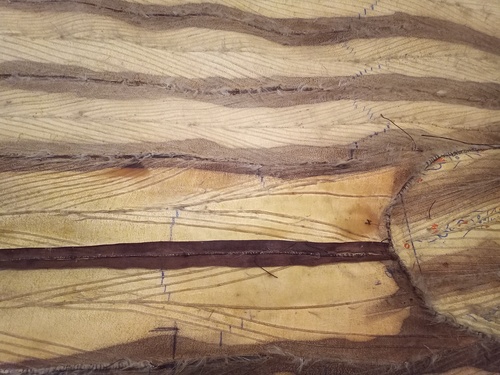
Oil the fur to avoid “dry rot”. You can see the lower band which is darker than the top one due to oiling.
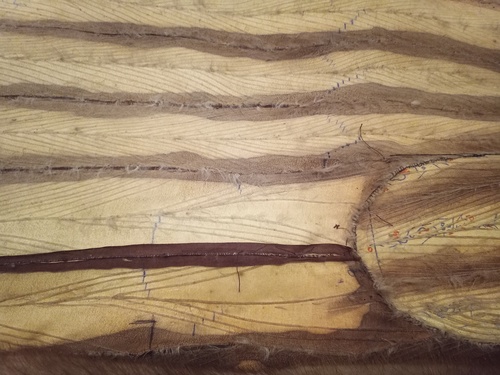
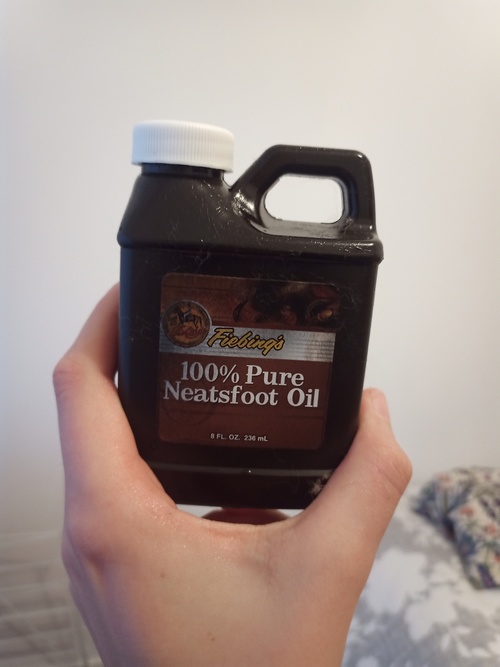
I use oil for traditional leather.
You would have spots on the areas where you put to much oil. This would have no effect on the fur side. Plus, after a few hours, you would not notice them anymore.
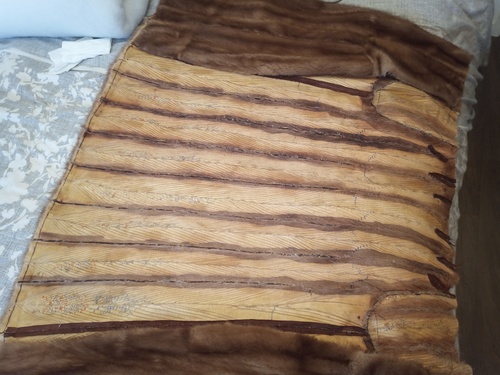
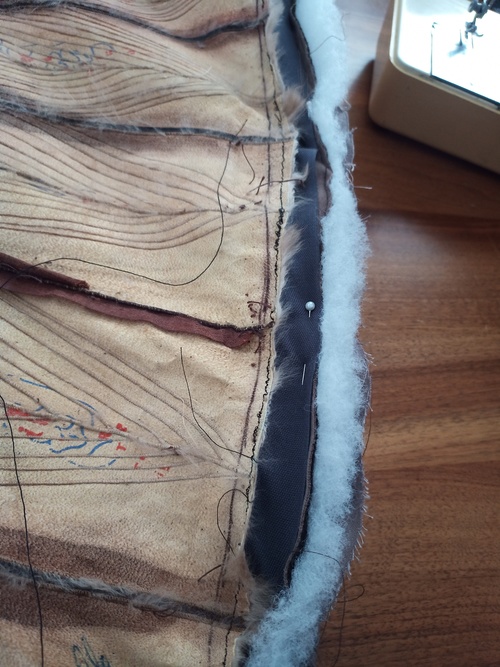
To attach the fur to a garment, you will need a ribbon (here 2cm width), so it will be distorted (instead of the fur that could degrade after some time).
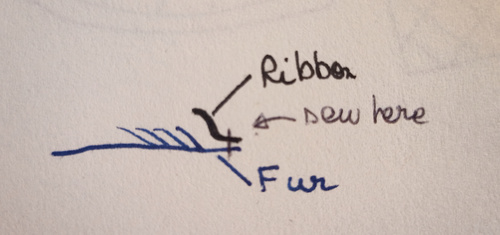
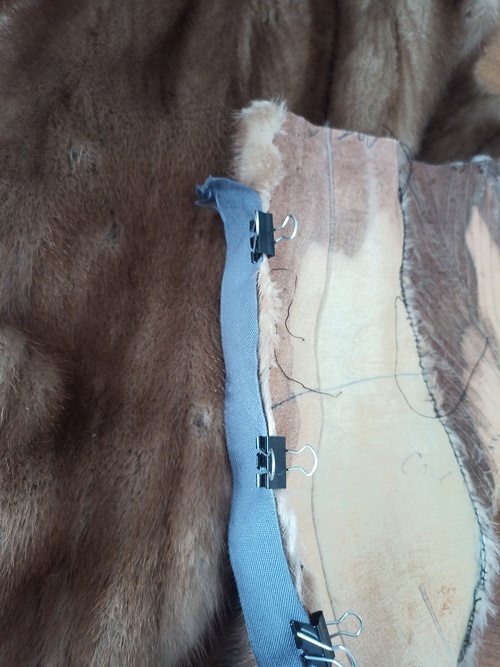
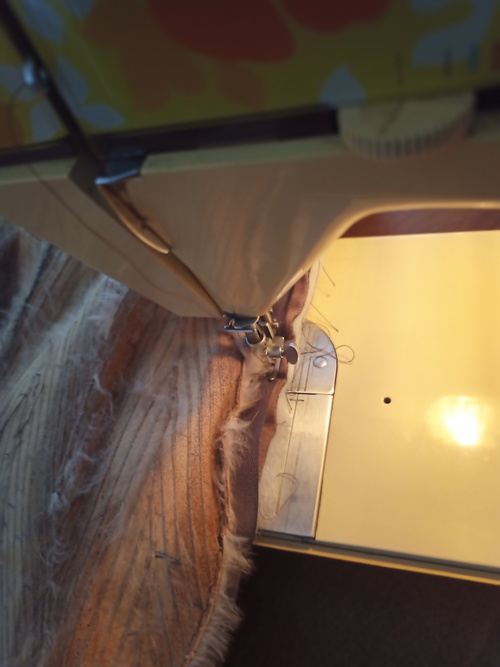
Use a sewing machine. Here we have 6 meters to sew.
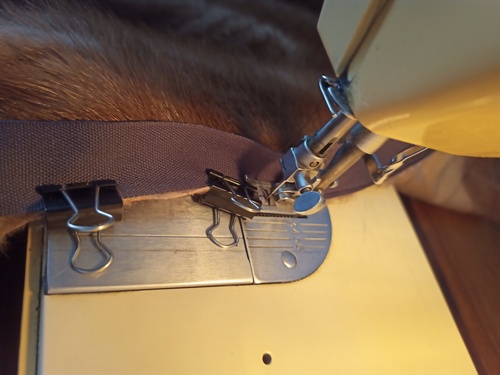
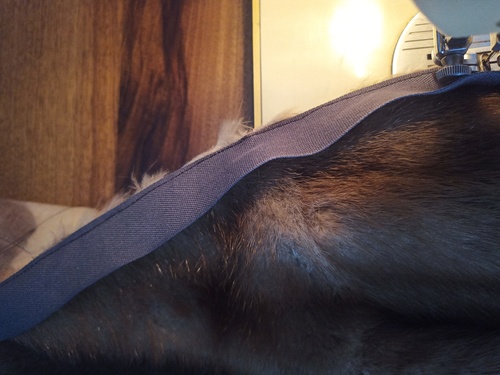
Use clips and needles to maintain the ribbon. Try to hide the hairs under the ribbon
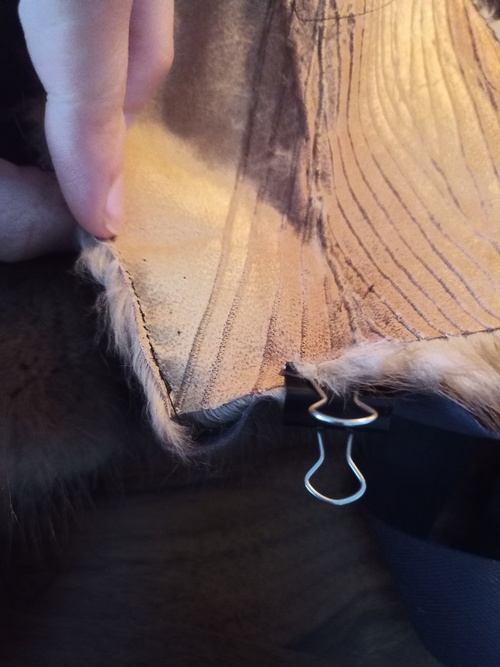
Done !
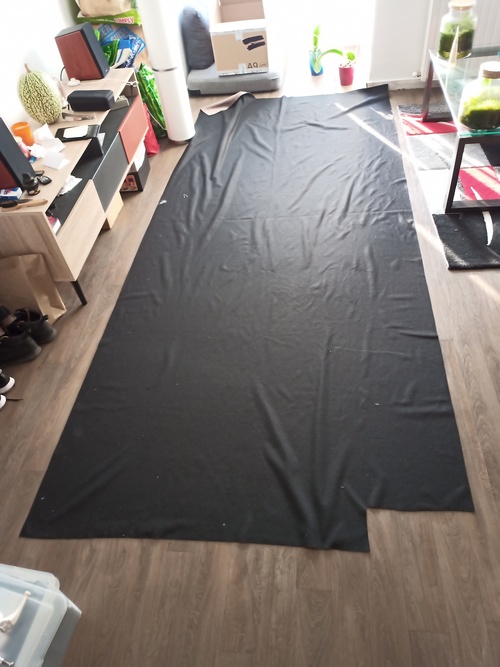
You will need 4 layers:
Put the velvet on a large table (or on a clean floor), face down.
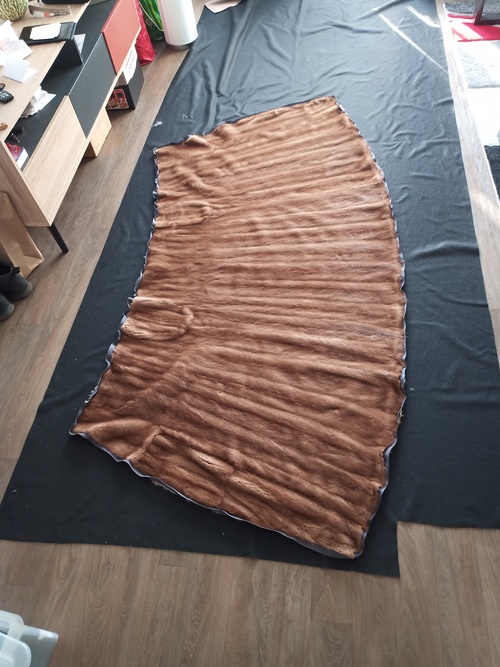
Put the fur above and cut with 10-15 cm of margin.
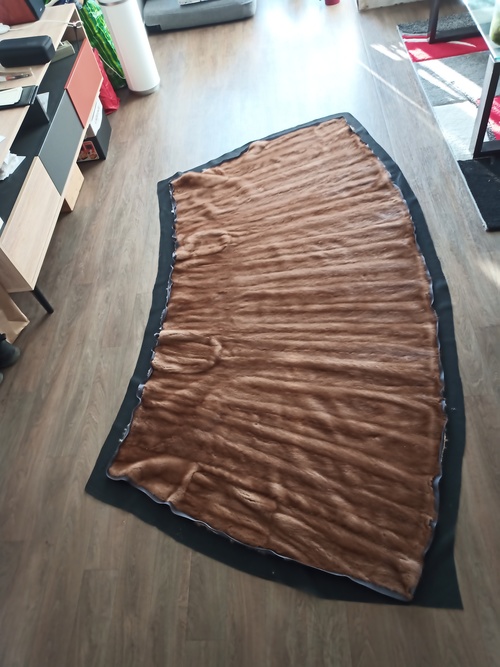
Do the same for wadding.
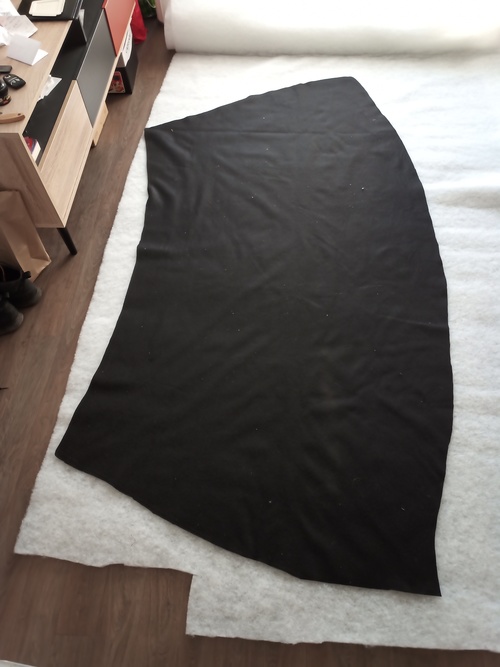
Join all the four layers by doing an external border, so they don’t move anymore. (No photo)
Then, we want to make a “fleeced/capitoné” pattern. So we draw and stitch parallel lines. We selected a random angle as we don’t have a true rectangle. Otherwise, it would seem weird.
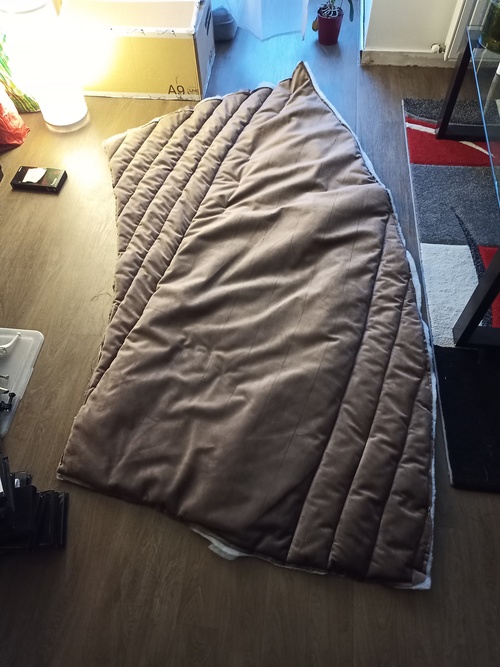
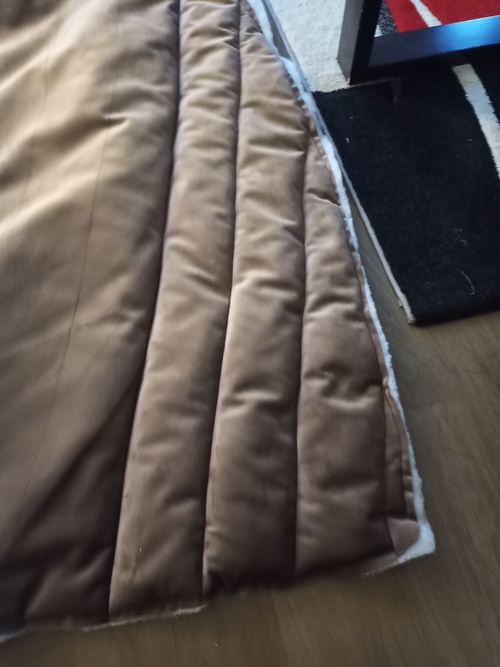
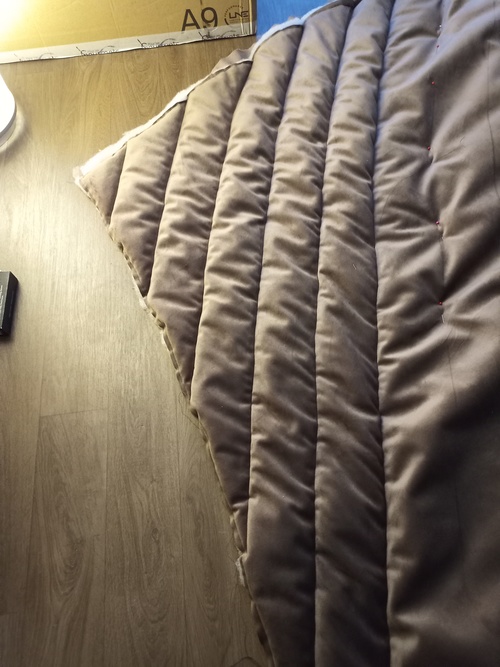
Then, you are done with the first direction.
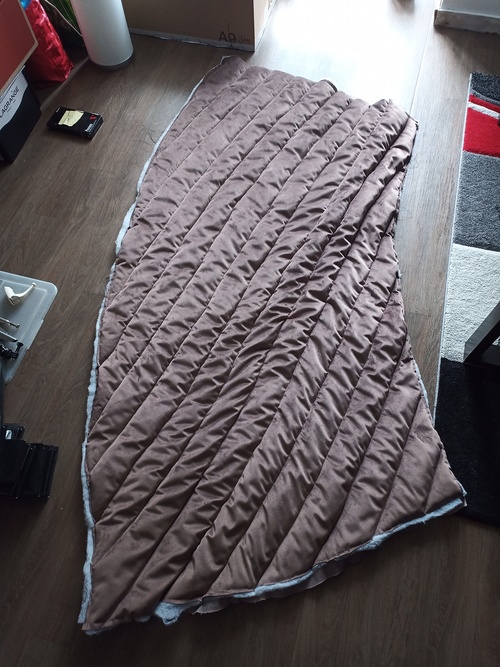
You select another angle, and you end up with diamonds. Note that the lines are “almost parallel” and “almost straight”, so all the diamonds are not equivalent.
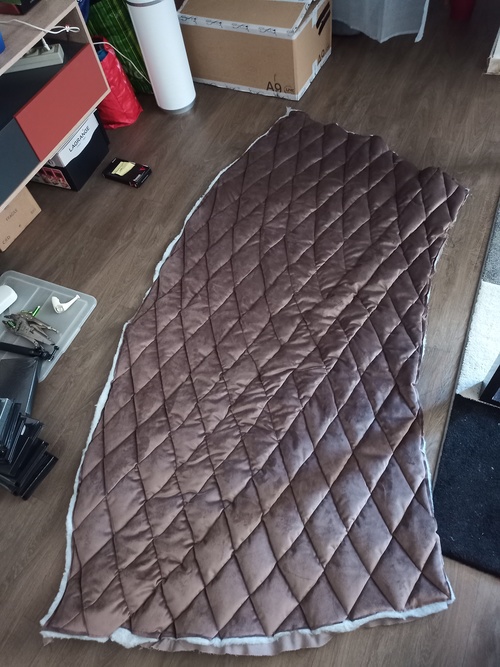
You need to stitch fur against the velvet side (so you would not see the stitching on the ribbon). As for sewing the “capitoné””, it is hard as you have a lot of material to move under the sewing machine.
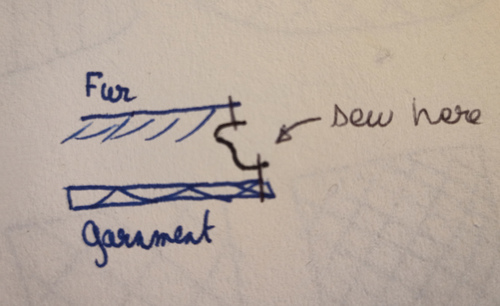
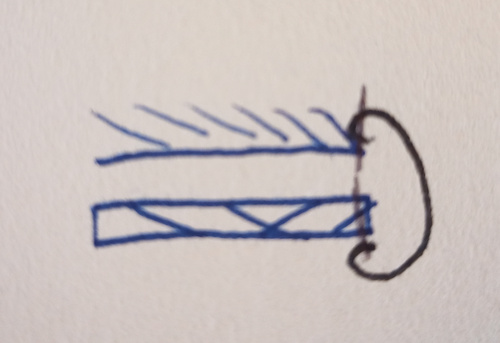
Now you can see the result for one side.
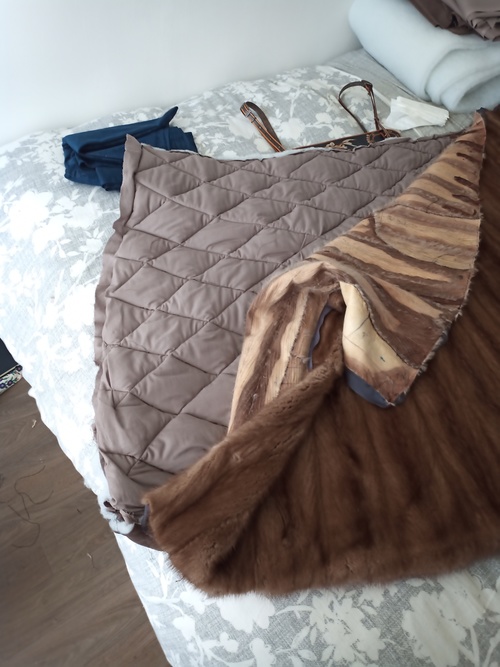
Next, do the other stitching to close 3 of the four borders of the rectangle.
Now you are done, you need to put the fur face-up. Be careful not to break the fur.
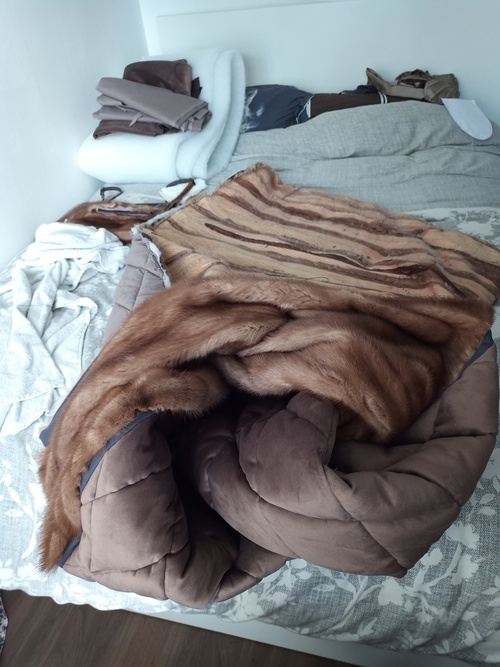
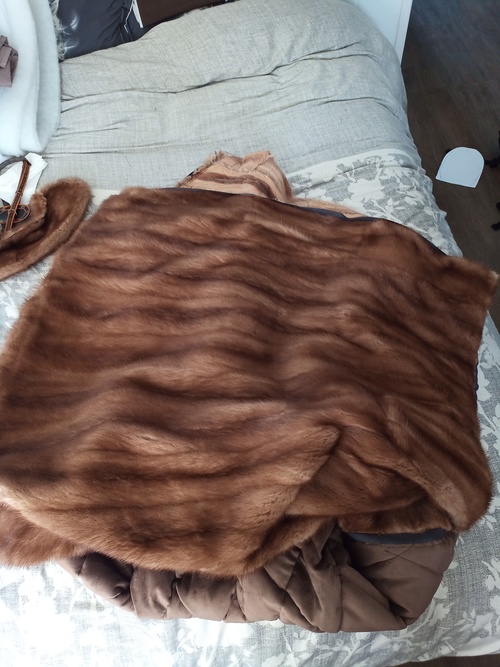
Then do a hand sewing using an invisible point. Mine is not so invisible, I tried but didn’t succeed
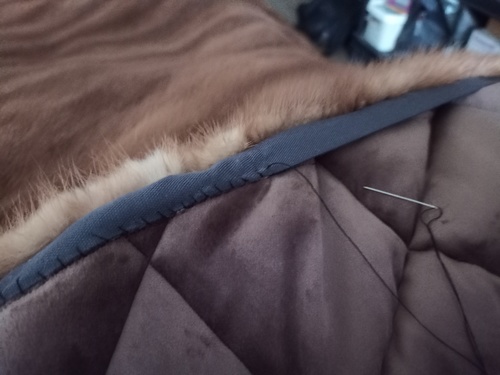
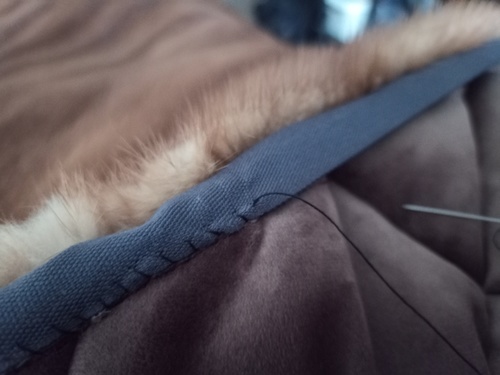
Next, to avoid distortion, you need to partially sew the fur to the Liner. You would need to hide the points in the capitoné lines. This would not be visible on the fur side.


>> You can subscribe to my mailing list here for a monthly update. <<