TLDR: it is cheaper to buy a fur coat and transform it rather than buy fur pelts to make it.
During my holidays, I went into a shop where they were selling many cosy home stuff with discount. There were a plaid in natural fox fur, very soft, but the price was 5000 €, so not reasonable.
I wanted to know about the fur pelt prices, which was around 30€ for a mink pelt, 80€ for a fox. For a coat or a plaid, you would nead around 20-30 minks, so around 600-900€ of material, which is better in terms of price, but still expensive as I had no knowledge about working with fur.
I saw that some transform coats into plaids, so I checked the prices on different (french) websites:
There are many different prices. On average, betwenn 100€ and 1000€ depending on the fur type (fox or wolf pelts are expensive, mink is cheap).
The first difficulty is to learn to distinguish real natural fur from synthetic fur based on the photograph. On average, people don’t try to fool people on the second hand market. People selling a natural fur coat want to sell it because it is made of natural fur, because it was quite expensive (2000€+ new), while people selling synthetic fur coat sell it because they consider it as “ethical” compared to the natural fur, so often it is written if it is natural or synthetic.
To help searching faster the coat, a good idea is to target a particular pelt type: mink, fox, opposum, beaver, badger, …
For the start, I wanted to make a first plaid out of a cheap coat so if the project fail, I do not loose too much money here. So I found a mink one for 50€, which was quite cheap, and of very good quality.
Disclaimer: Photographing fur is very hard. Depending on the light, you see it differently, it looks darker or lighter.
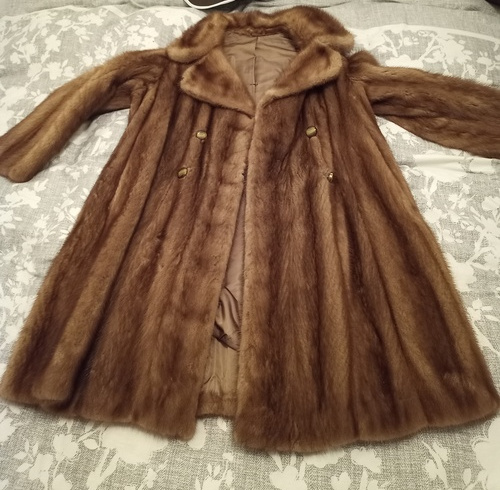
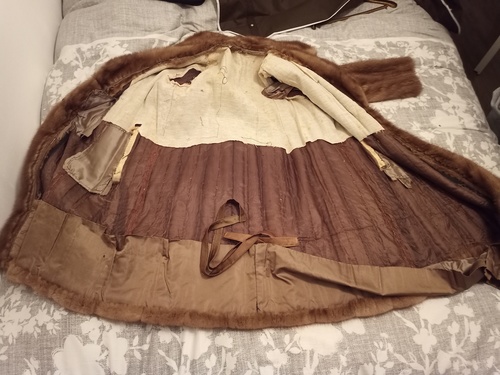
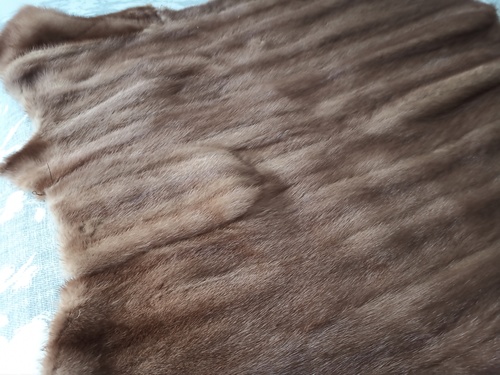
This is a basic women trench coat. The length is about 1 meter, and the size is large so when I open the coat, I have around 2 meter of fur. The color is palomino.
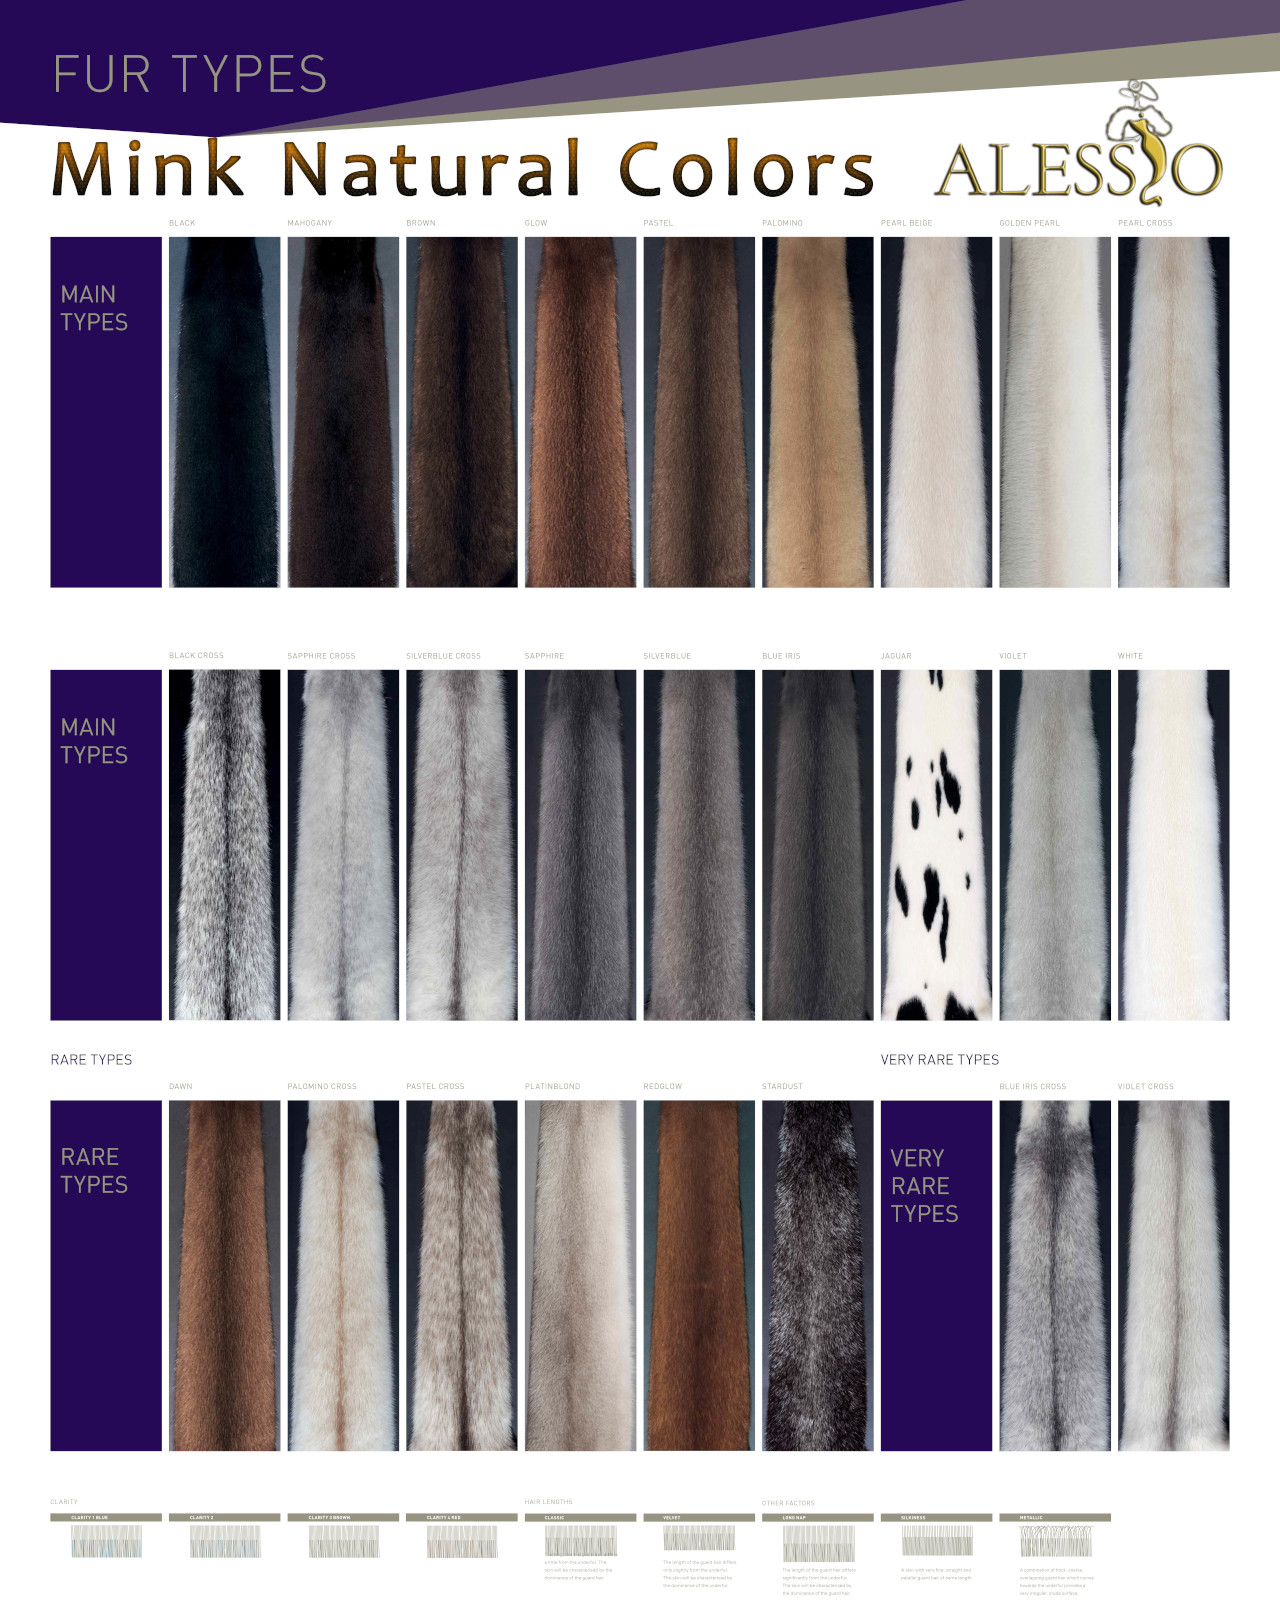
I found a color pannel on canadian website, which helps a lot to distinguish and target a particular mink color.
The coat I have is made of palomino mink. If I take a photograph in light condition, you will see the difference.
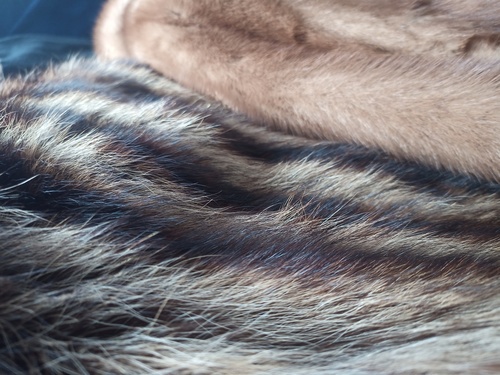
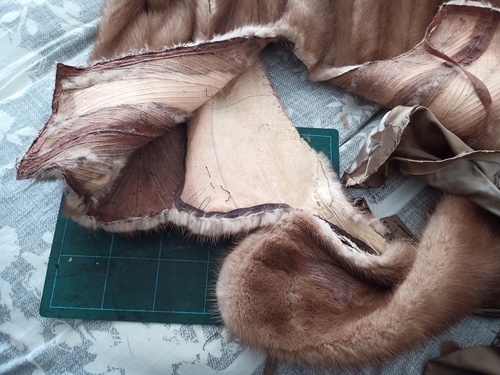
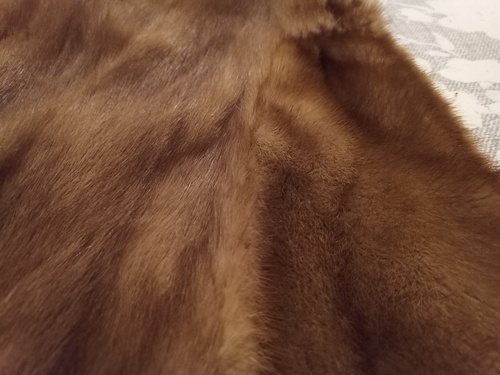
I also bought a marmot coat, to see the difference between the pelt’ hairs. On the previous image, the front coat is the marmot one, while the back coat is the mink one.
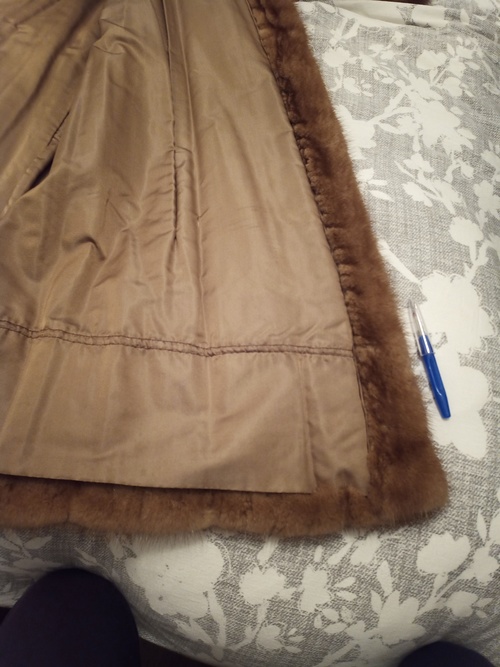
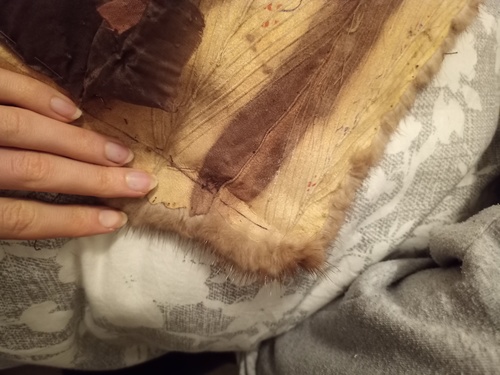
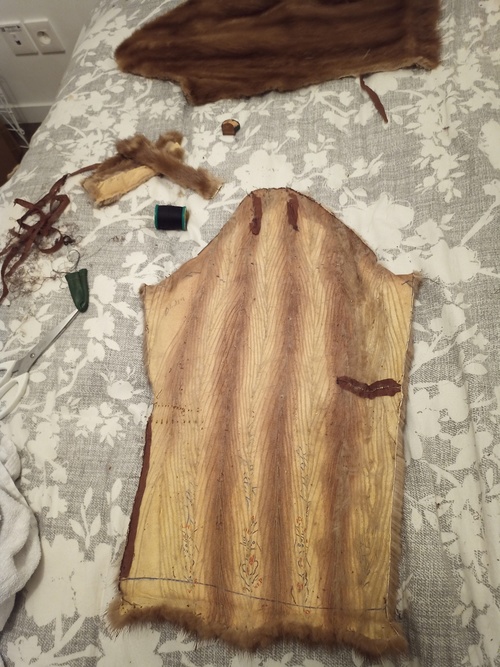
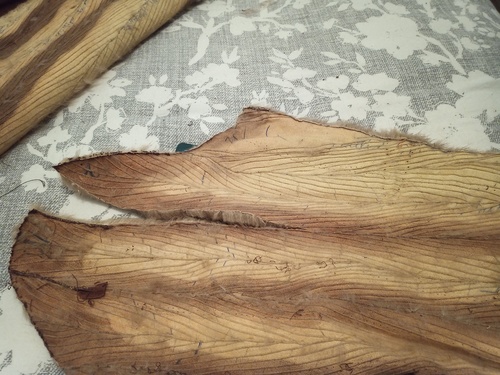
To exploit the coat, you need first to remove ALL fabric that is attached to the fur pelt. This takes time (4 hours for this coat), and you need to be careful to not break the fur.
To not see the stitches between the fur and the doubling, there is an extra one which is sewed only on the borders and the top of the coat, which is easily removed. You can see some cotton on the top to absorb sweet (it is a supposition, otherwise I don’t know the reason).
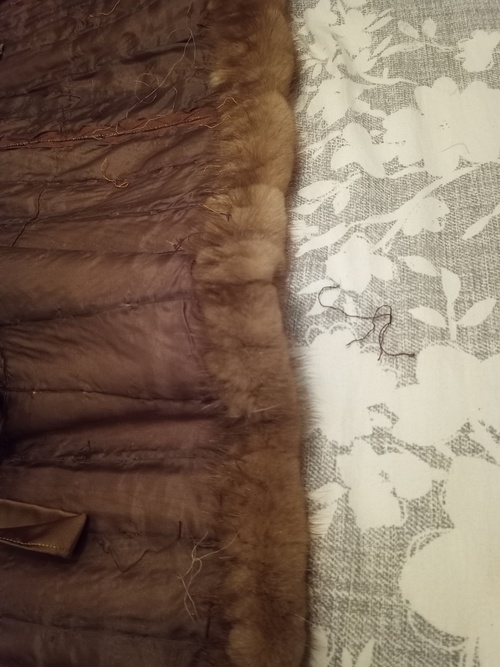
You need to unstitch the borders of the coat. However, because they where bent for a long time, the hairs are likely to be broken there, so we may cut this part later.
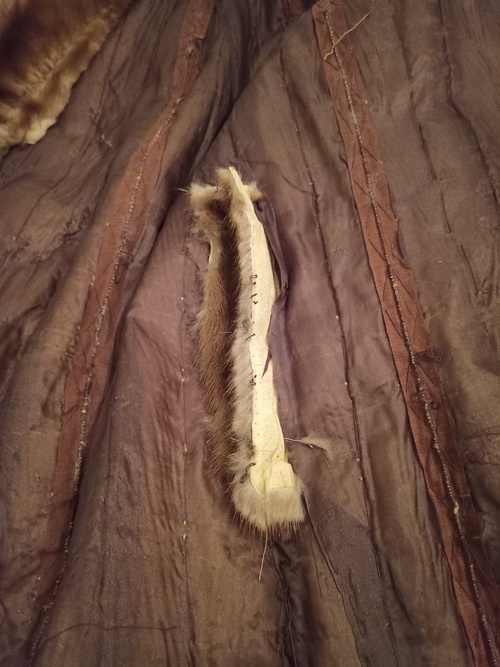
When you remove all the fabric, you can see the raw pelt.
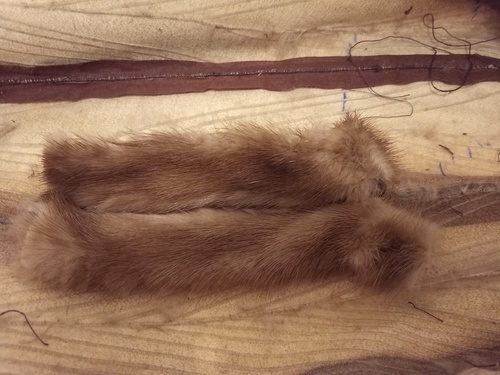
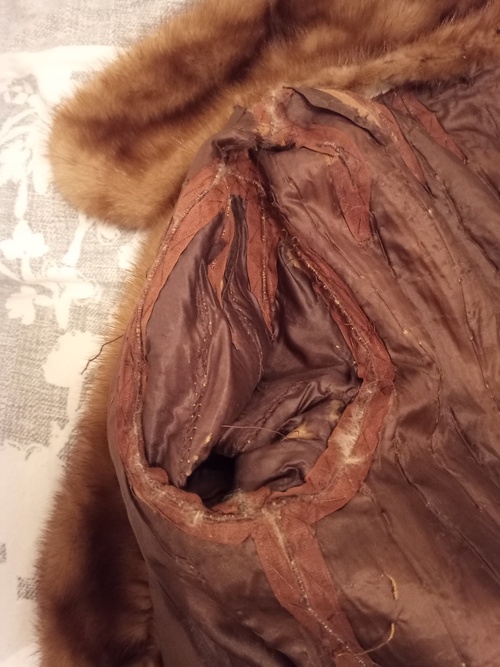
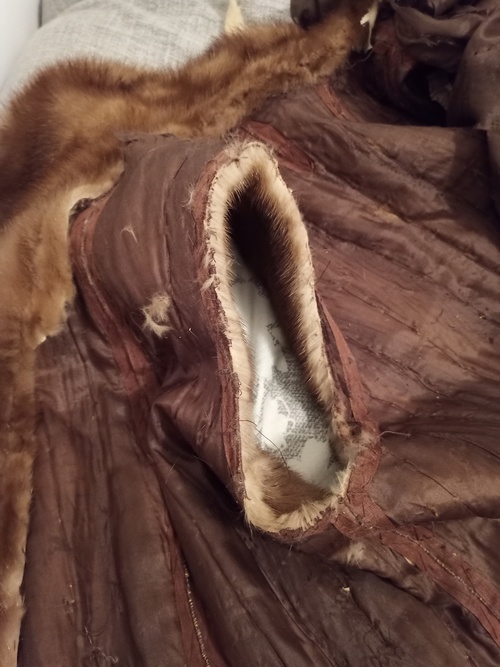
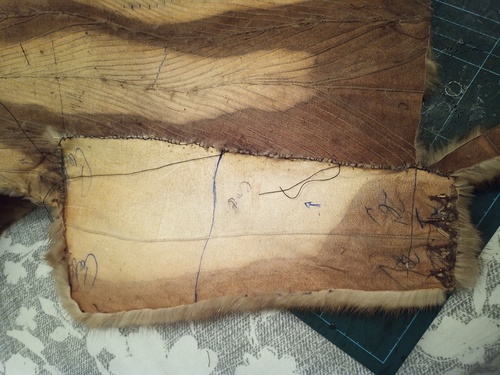
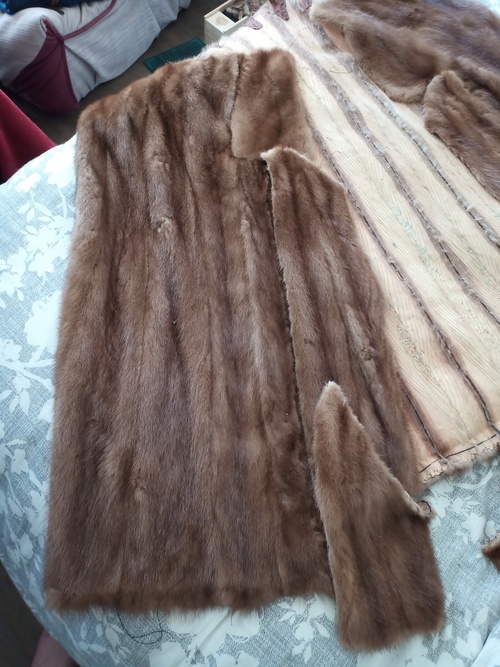
For pockets, there are extra piece of fur attached to it to make the fabric invisible from the outside of the coat.
On the left, you have a pocket with two rectangles of fur on each side. On the right, they have been removed.
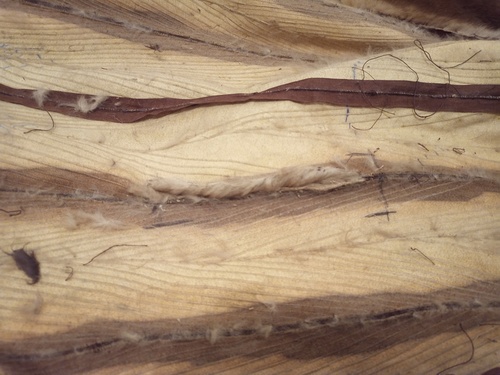
Next, we stitch to close the hole.
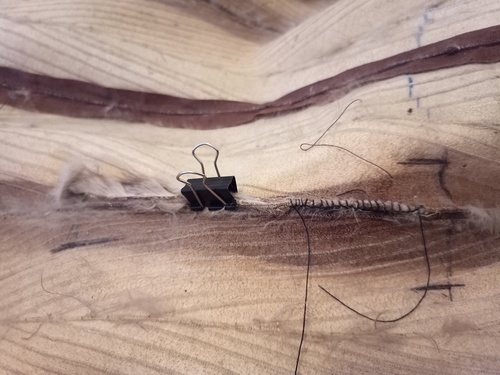


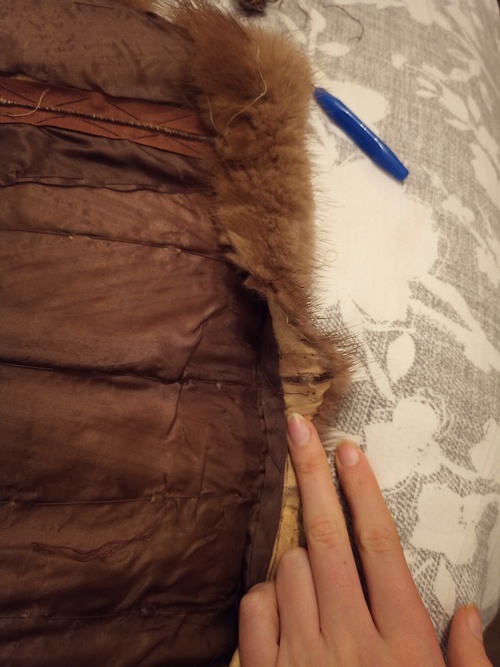
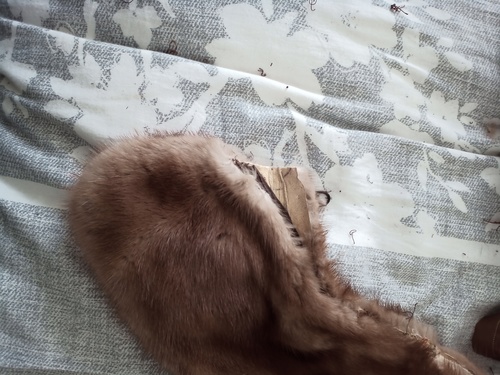
You need to detach the sleeves. For that, you need to remove the main sew.
Opening a stitching made with a fur sewing machine is very hard, because pelts are tightly joined. What I found is to use a pair of scissors and to cut the thread, and not to try passing between the two pelts. You are more likely to cut the pelts.

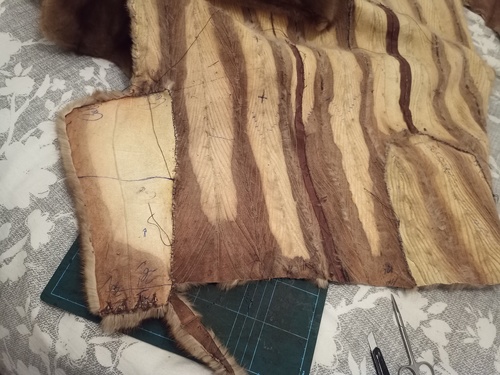
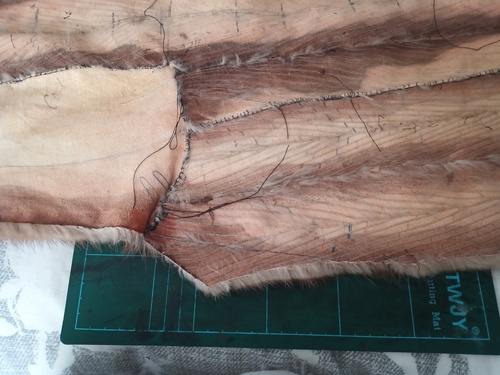
You would need to detach the front from the back near the sleeve to get something flat
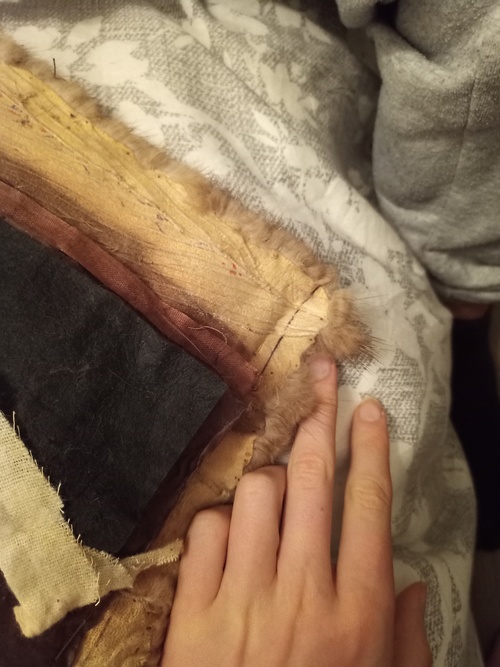
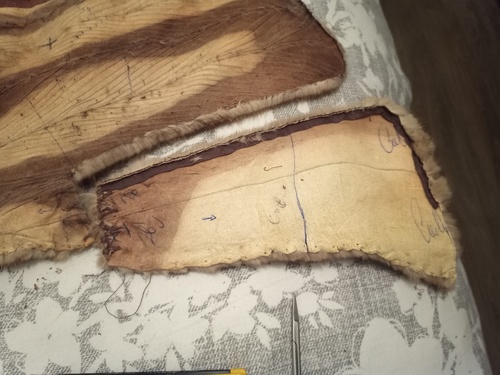
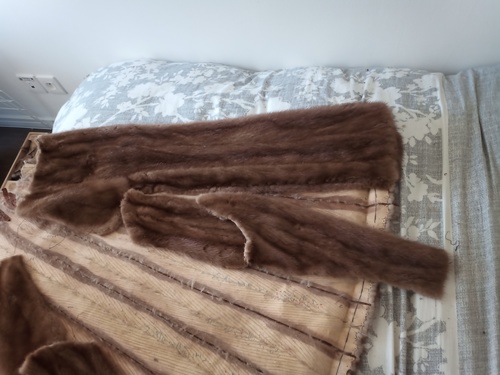
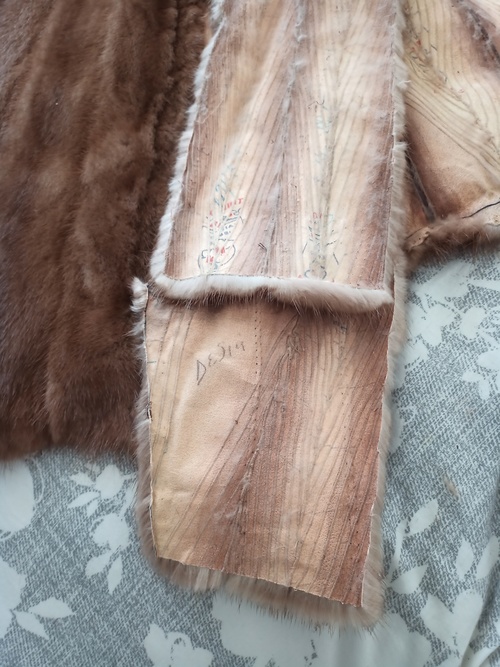
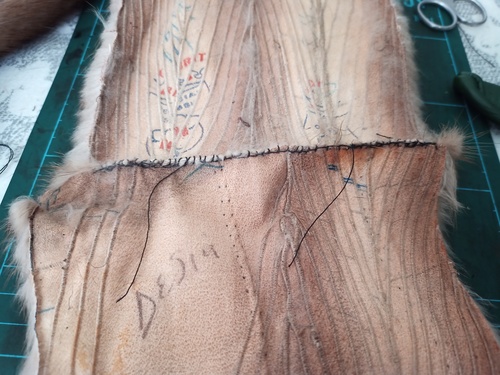
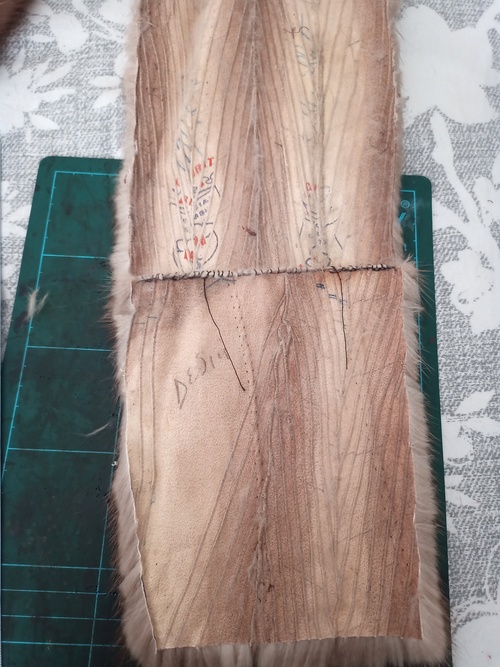
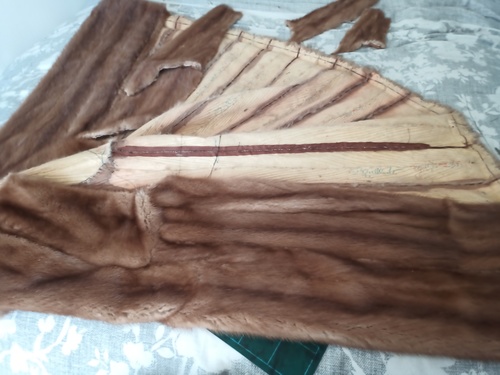
The collar is attached to the main piece on the back. It is not possible to detach it completely, we need to cut at some point the pelts. Use a ruler to get something straight and clean.
The collar is on the bottom right of the image, while the main large piece on the top. It is attached near the sleeves.
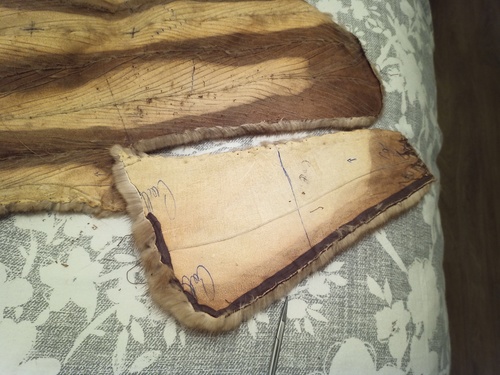
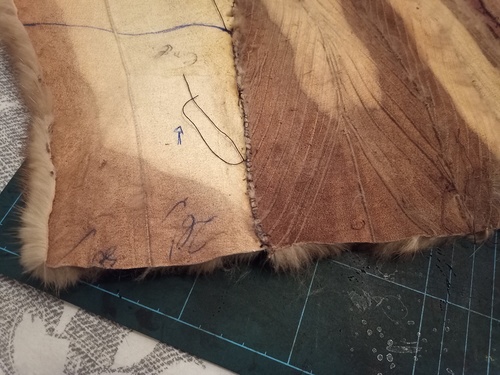
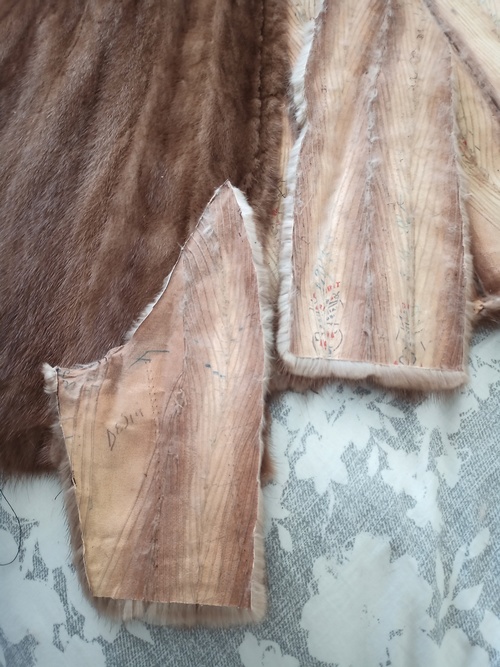
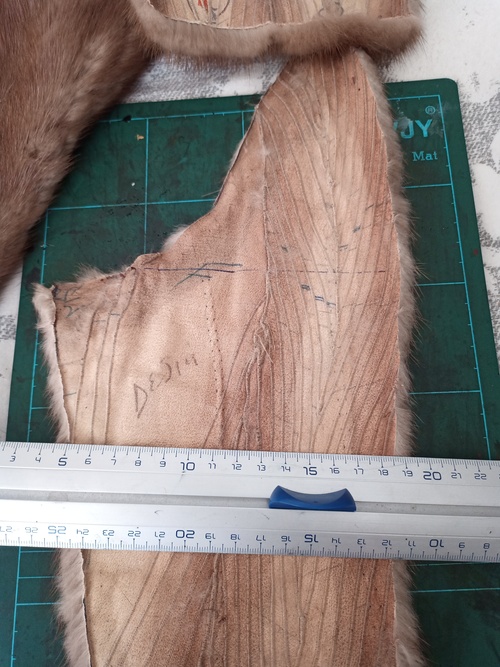
After cutting, you have it free.
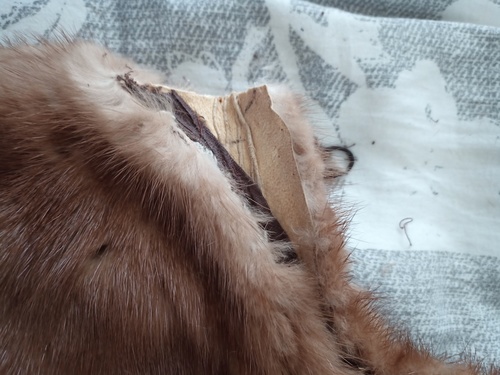
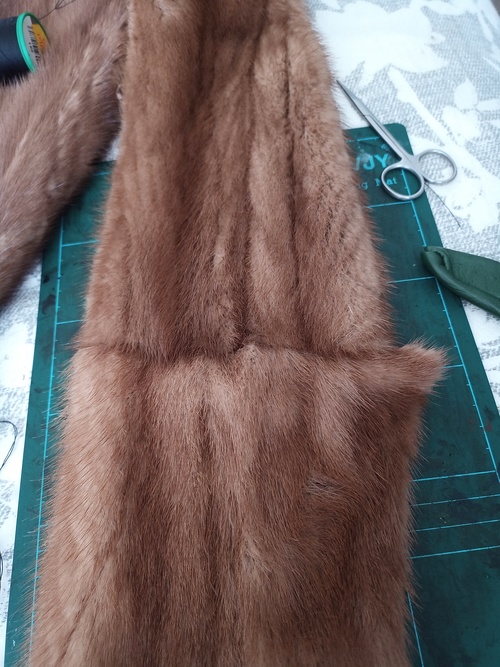
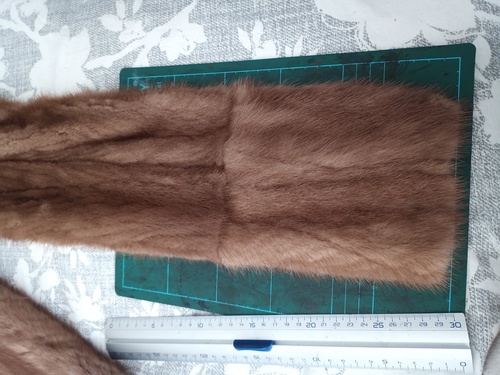
And the main piece also.
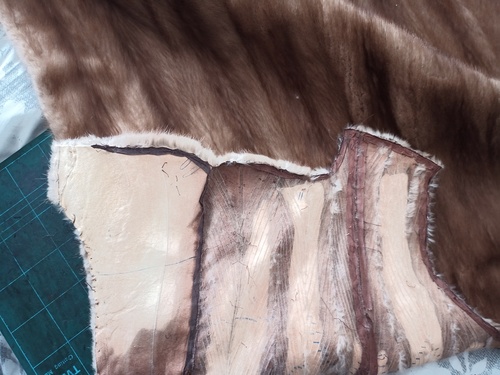
This would be a fastidious part if you do not have a fur sewing machine. You would need to fill the sleeve holes to get a large rectangular piece. Some people avoid this step and cut all the fur just bellow the sleeves, but it is a large waiste of fur.
We will use the sleeves to fill it. You can see the pelt sewed with the leave-out technique (the pelt is cut in strips, which are sewed back to make a longer pelt). The brown part are the border of one pelt while the light part is the middle.
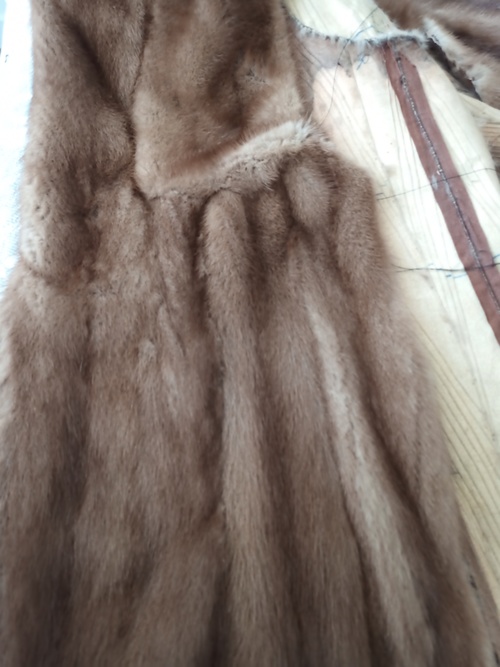
You can see that the sleeves are not symmetric, and not planar, as you have some pliers (two on the top, one of the right).
You will need to take the right amount of fur for each sleeve hole and to take it on the sleeve. You need to pay attention to the fur hairs’ direction. Also, as it is not fabric, you do not need extra centimeters, as you stitch on the edge.
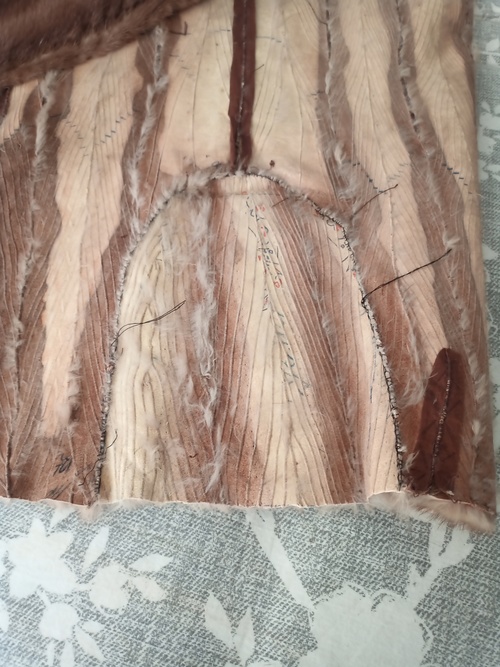
When re-purposing a coat, it is difficult to have the pelt lines matching each other. On the previous photograph, you can see that the brown line do not match at all. Here, I did not want to waist fur, so I prefered to optimize the use.
After sewing, you can see the piece that have been added. With darker fur, this may not be as visible.
To get a nice effect, the side collar is made of fur with the hairs on the opposite direction of the coat.
On the left, you can see the hair going backward (so you see the full length), while on the right, they are going forward (so we see the hair ends and looks darker).
I disassembled the collar piece and inverted the direction.
Then, sewing it again, starting from the right angle to avoid discontinuities.
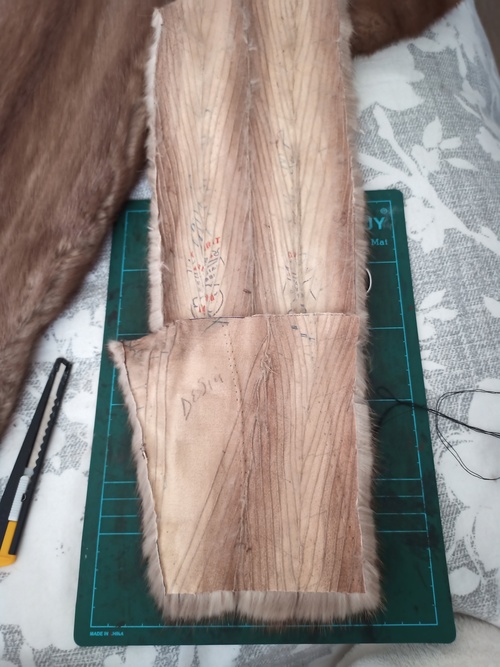
Then, I cutted the bottom (but not the other side) to get all the fur bands of the same length.
Above the collar pieces, there is nothing, and we have still one sleeve to use. So we used the sleeve to fill the vertical line. We are not interested by having a pure rectangle so we completed as we could.
The sleeves are cut along the pelt lines.
Before sewing the lines, find the best arrangement for both sides. On the left: arrangement for the right side, on the right, for the left side.
Now we now where each piece will go, we need to create the band, and next to sew the band. (It is easier to sew a line to another line rather than sewing like the collar with one right angle).
Without / with overlap.
Draw and cut following a straight line.
Stitch when maintaining with clips.
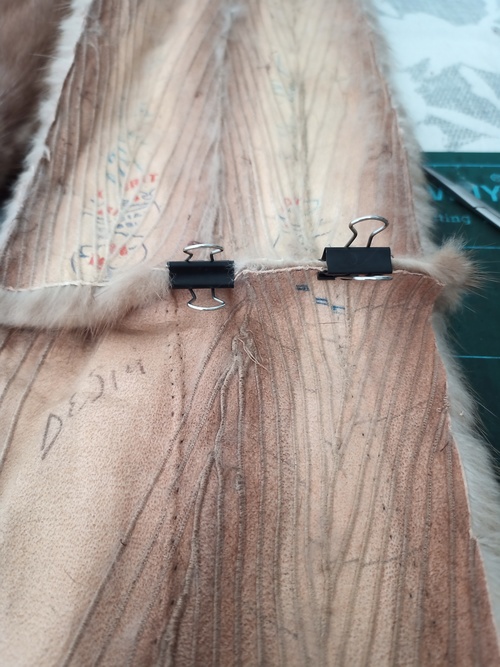
Then, cut the leftover to get a nice line.
Then, assembled bellow the collar.
Do the same for the other side.
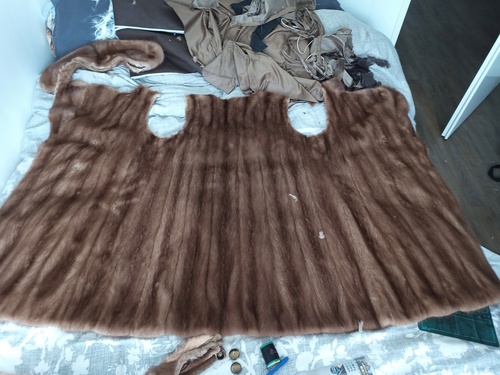
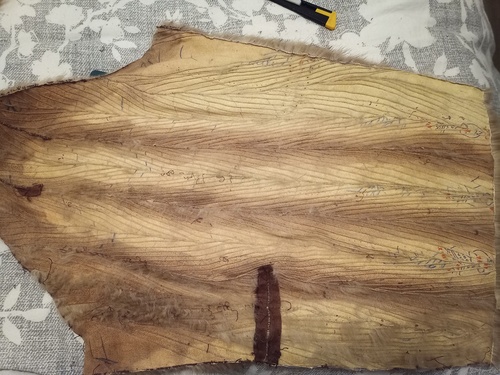
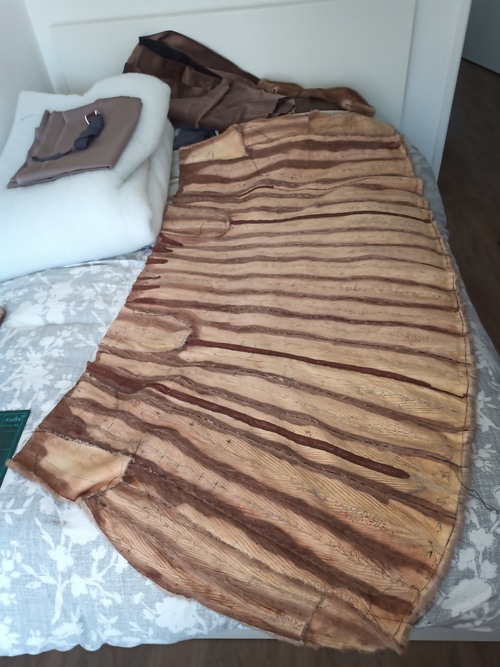
This is the result for the complete fur. Because it is a woman coat, the top part is shorter than the bottom part. Normaly, pelts can be stretched to readjust the size and get something planar. Here, I don’t have the materials, so I will keep it like this.
>> You can subscribe to my mailing list here for a monthly update. <<