
When you work with leather, there are typical object you can made with:
When you have done all of them, you wonder what you can do next. I have a list of suggestion on my Pinterest profile.
So here is a list of suggestions:
So, there are many options, some that requires a lot of leather, others that do not.
I choose to make a blanket holder. The use of this object is very limited, but it can help if you have a yoga mat, you go to a picnic, you have a sleeping bag, or whatever and you have many things to bring.
You have several types of blanket holders:
I like to try new designs so I selected the first option. There isn’t that many patterns on the web to make it, listing the dimensions.
My second wish was that everything can be dismantled (so it take no space when you don’t need it). I used chicago screws for that, and a removable strip handle.
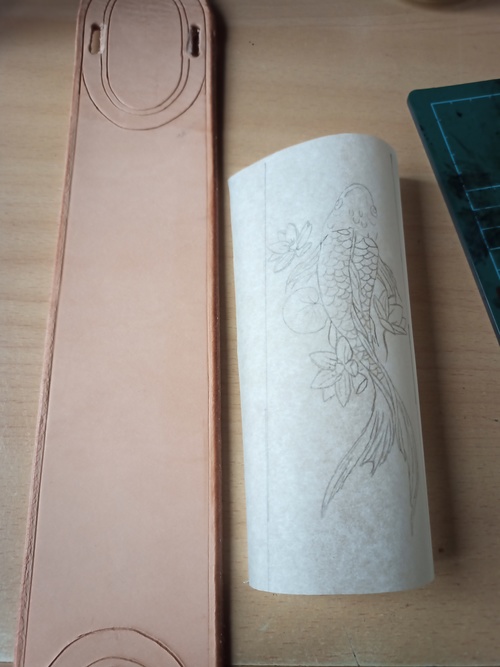
7 x 40 cm recangular piece of leather.1.5 x 90 cm.For the size of the rectangle, it depends on what you have available. As it is a project to use the leftover, I had this on stock.
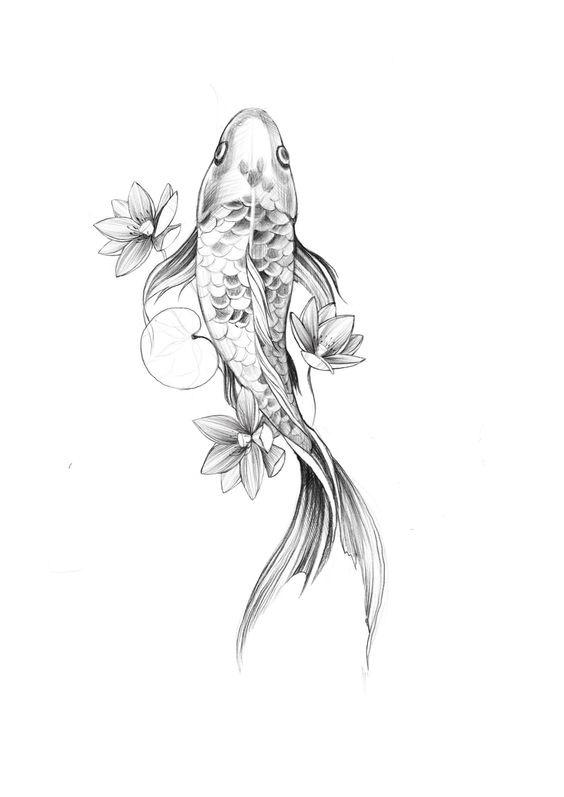
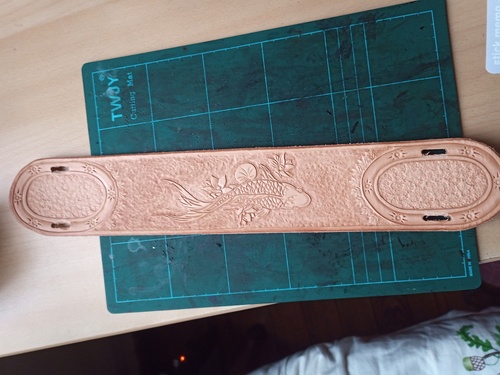
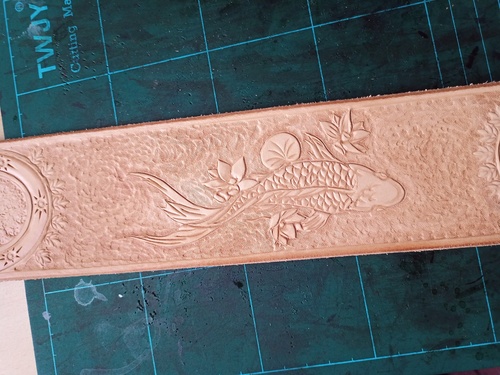
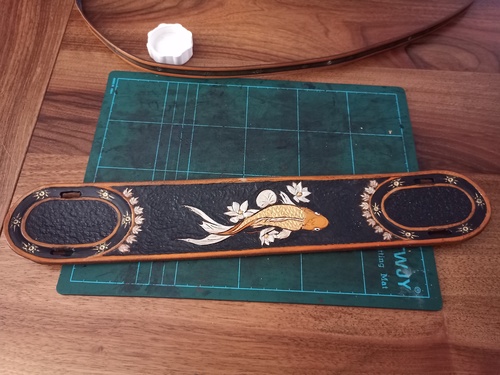
I found this drawing on Pinterest, which is not very wide, so perfect to fit into the band of 7 cm width.
Cut your leather. Draw on a sheet of translucent paper. Cut the leather with a knife opener.
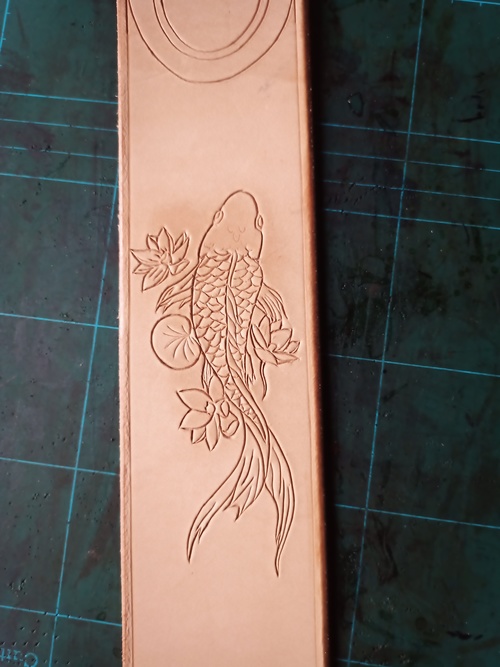
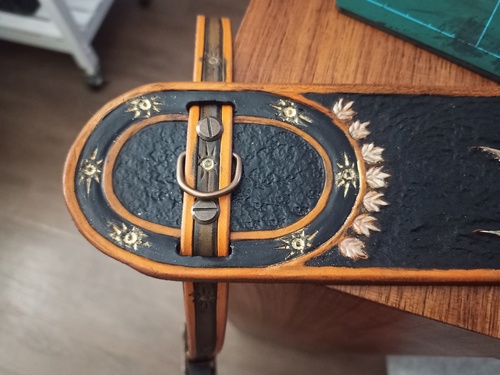
Then add some contrast.
Color the background with acrylic painting. Dye it with antic finish.
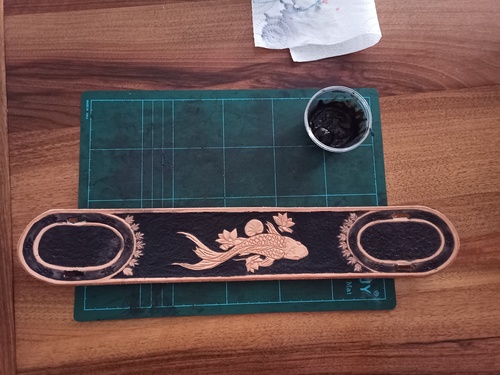

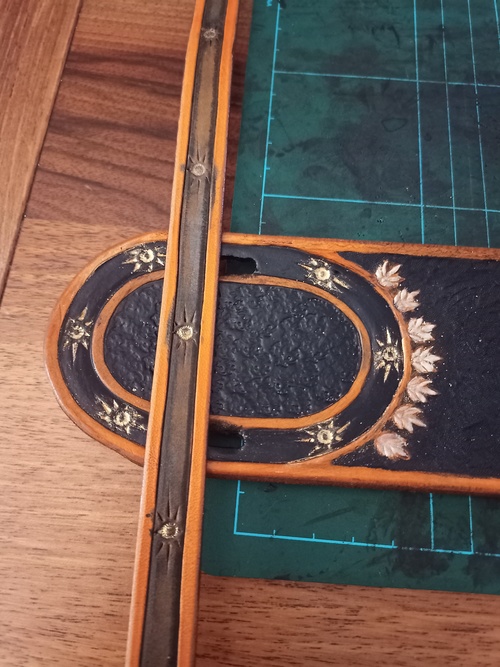
Where the strips would be, I did very simple pattern, as:
There are two larges holes, which are slightly beveled to reduce the angle of the strip.
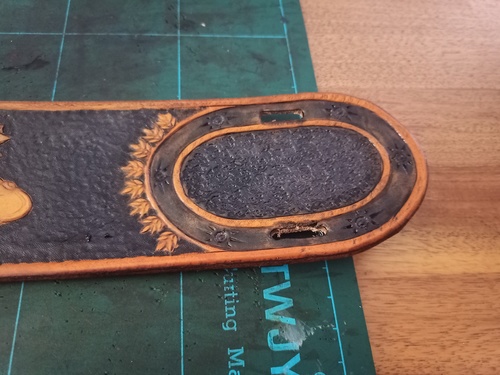
Finish with decorative colors.
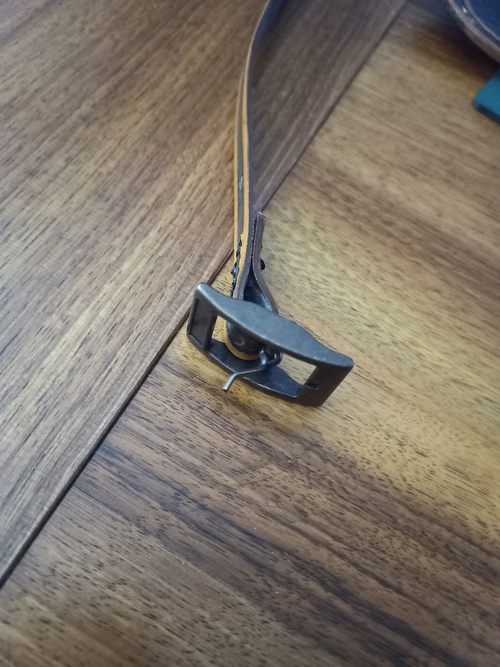
For the strip, on the one end, you have a buckle. On the other end, a “V” as in any belt.
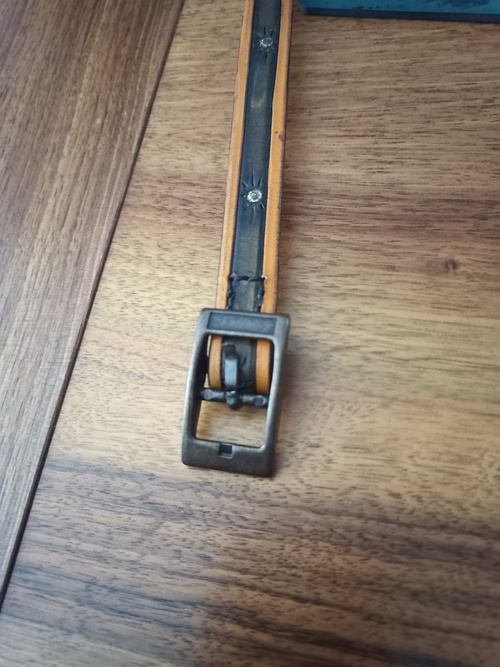
Then, I fix the strips with the screw, put the half ring in the middle, and the belt loop between the buckle and the entrance of the strip.
I wanted to fix definitively the strips, so I will never be in the situation where when removing my blanket, the strip goes off with the half-ring and the belt loop.
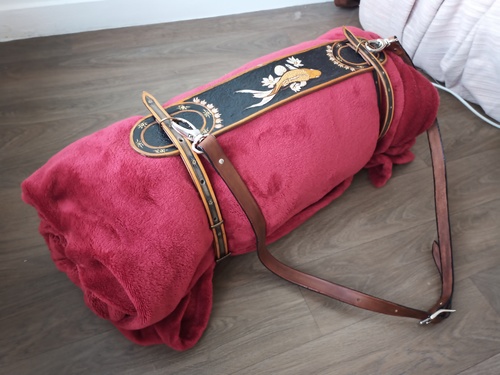
For the handle strip, I used one made for my previous bag, because they are all removable.
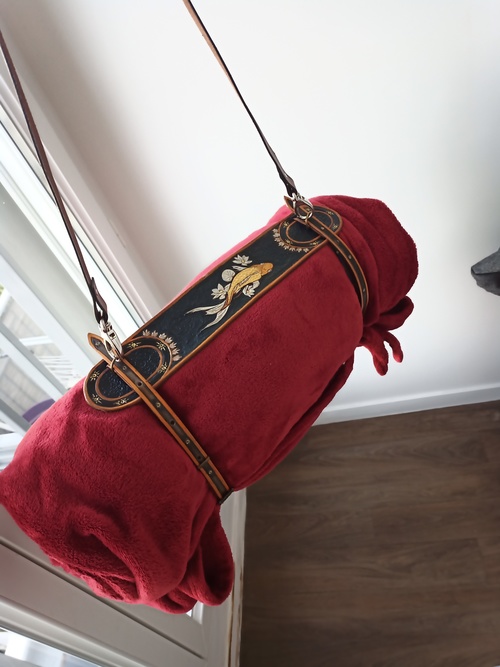
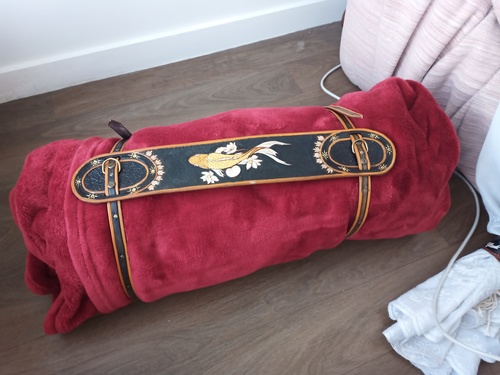
This is the result with a red blanket.
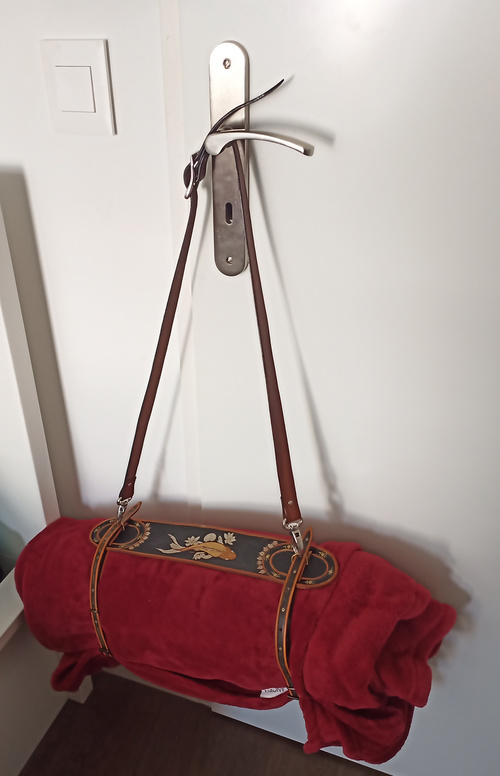
When tighten strongly, the end of the strips are passing through the half ring.
>> You can subscribe to my mailing list here for a monthly update. <<